IKEA Pax Hack for Builtin Closet Look
Disclosure: This post may contain affiliate links. As an Amazon Associate, I earn from qualifying purchases at no additional cost to you.
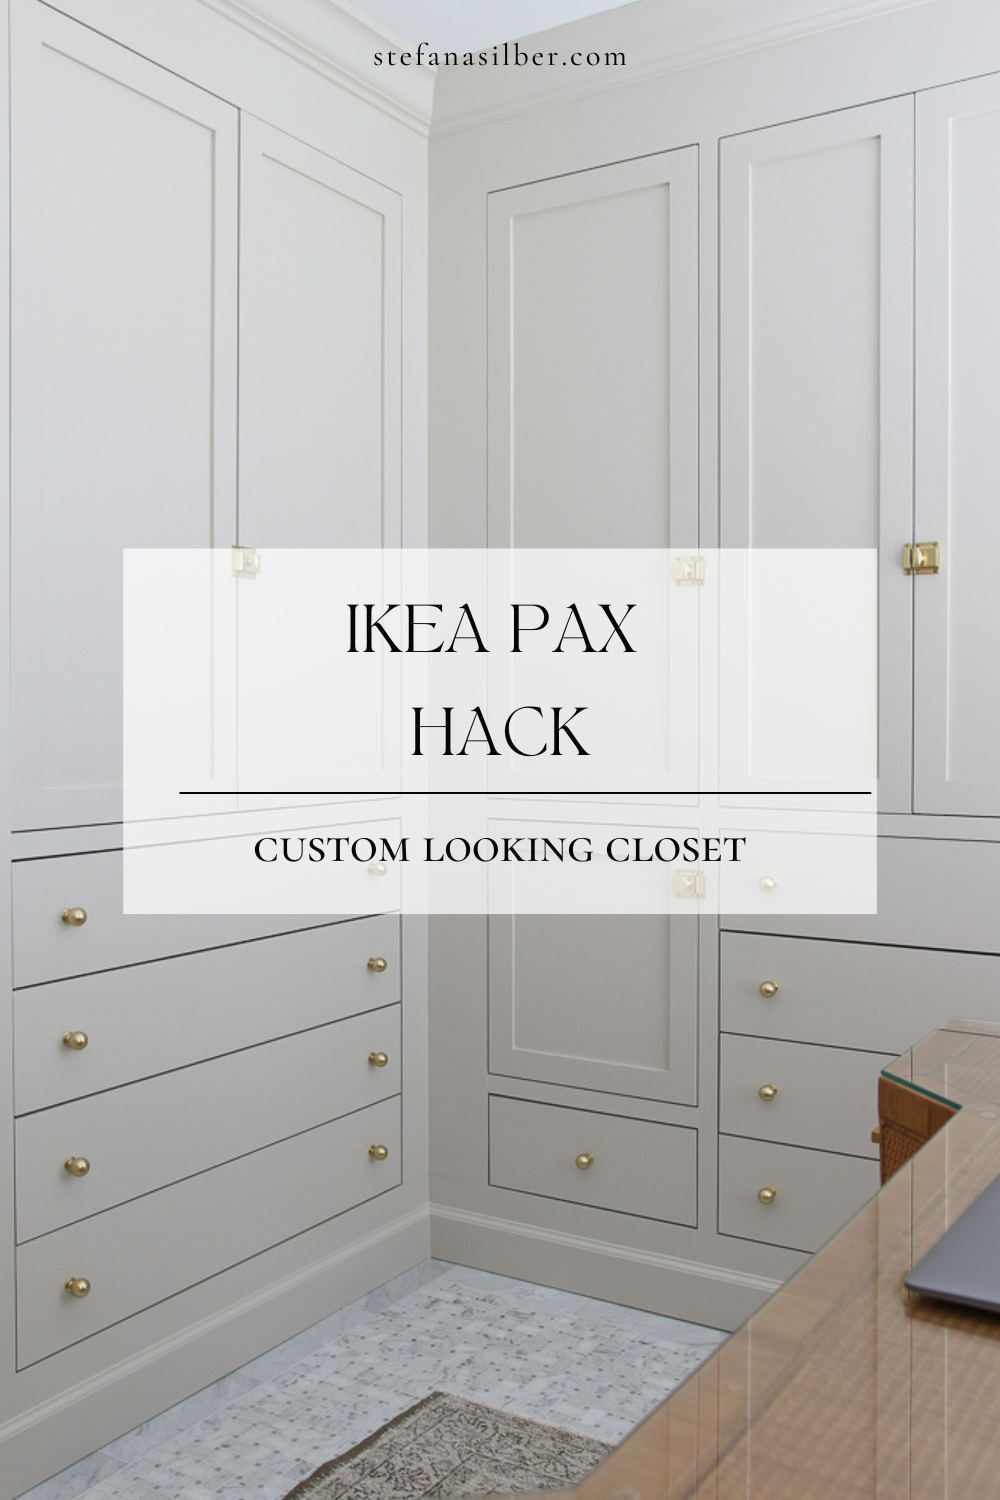
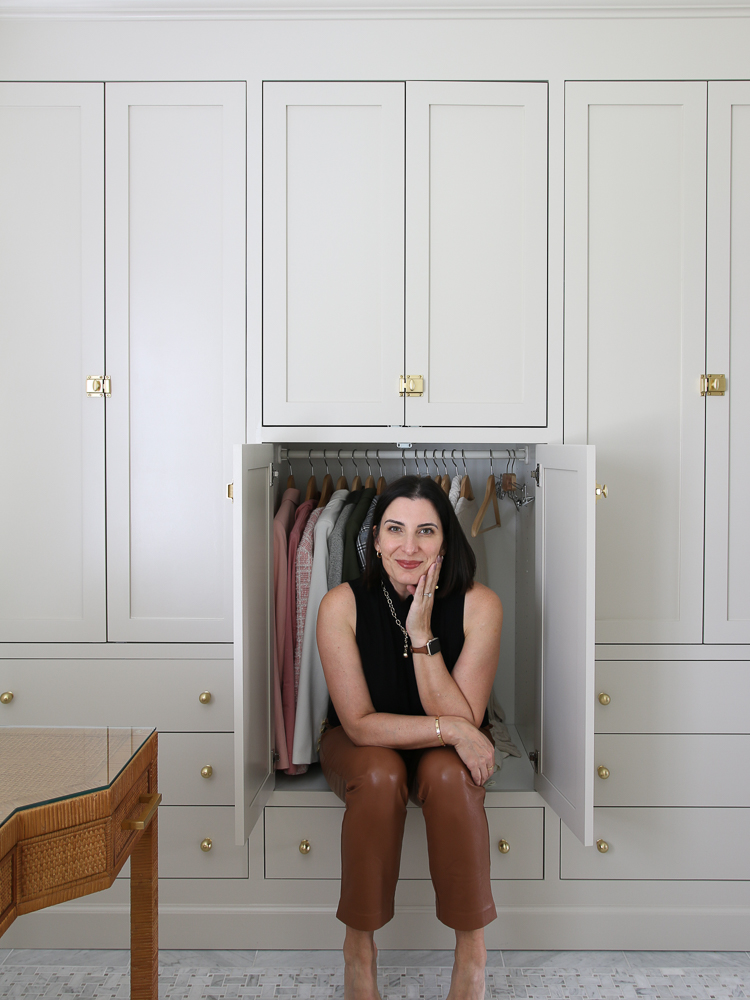
This IKEA Pax hack creates a fully custom-looking built-in closet simply by applying trim, drawer fronts, and doors to the ready-made cabinets.
The IKEA Pax wardrobes are a very popular item for building custom layouts that fit your space as well as customizing the functionality inside with various inserts. You can have shelves, hanging rods, and drawers, and configure them in any way that fits your needs.
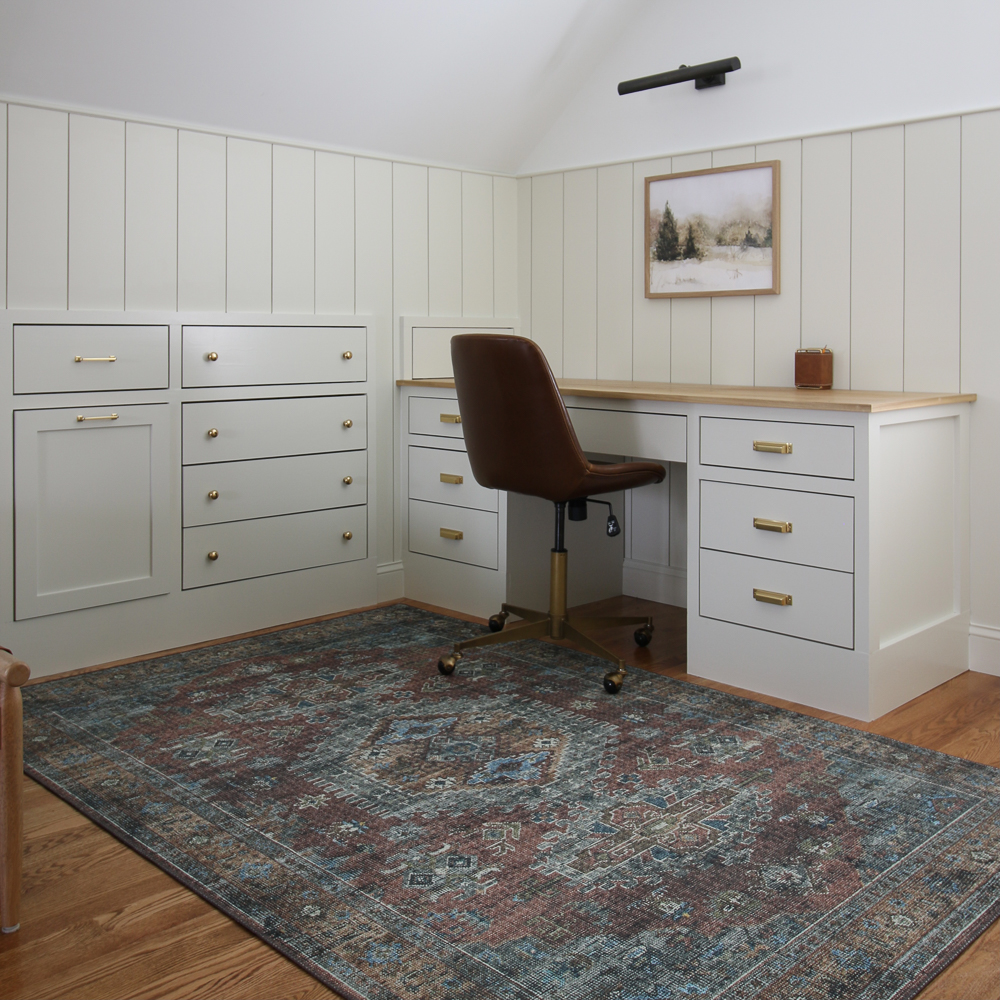
The process is similar to what I did in my boy’s room. There I made cabinet boxes out of plywood to the specifications of the PAX wardrobes. Then I added IKEA drawers, trim, and drawer fronts to create custom built-in dressers and desks.
Simple Materials Guide
Get this FREE GUIDE to different types of trim and molding materials for your every DIY need – from wall molding to cabinetry!

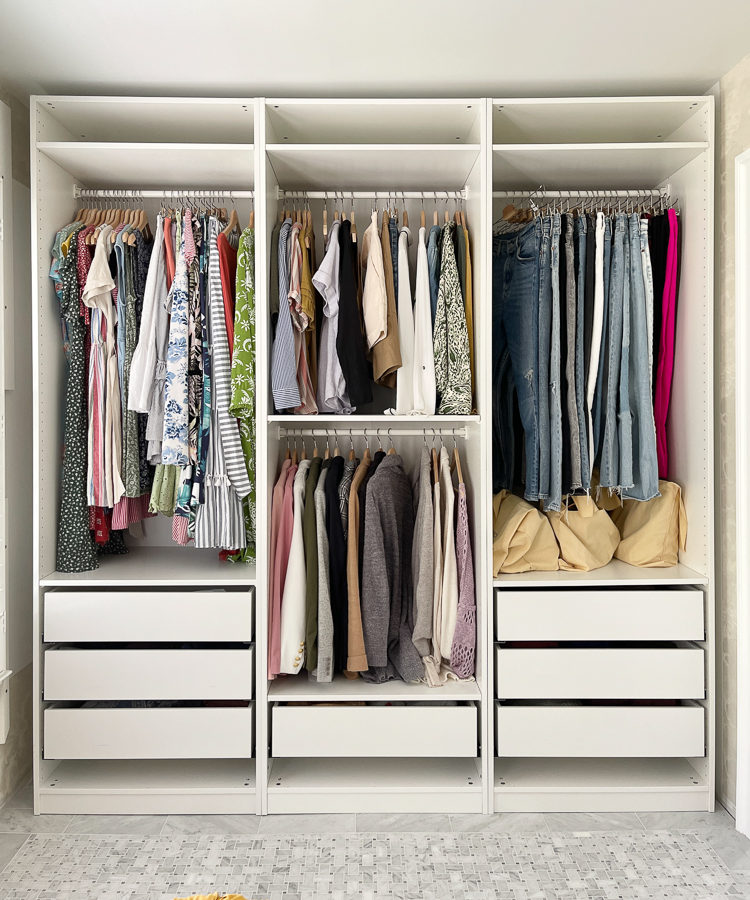
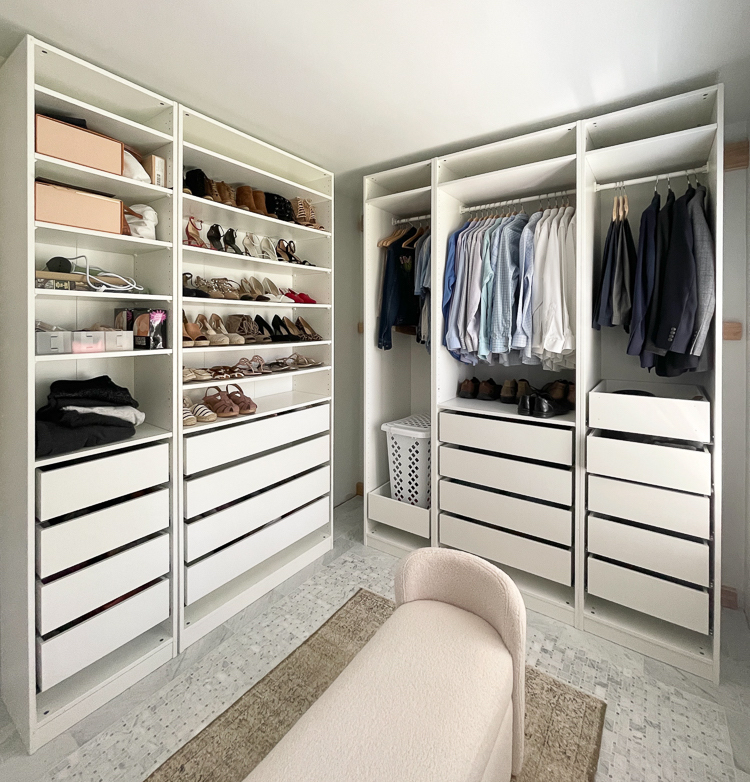
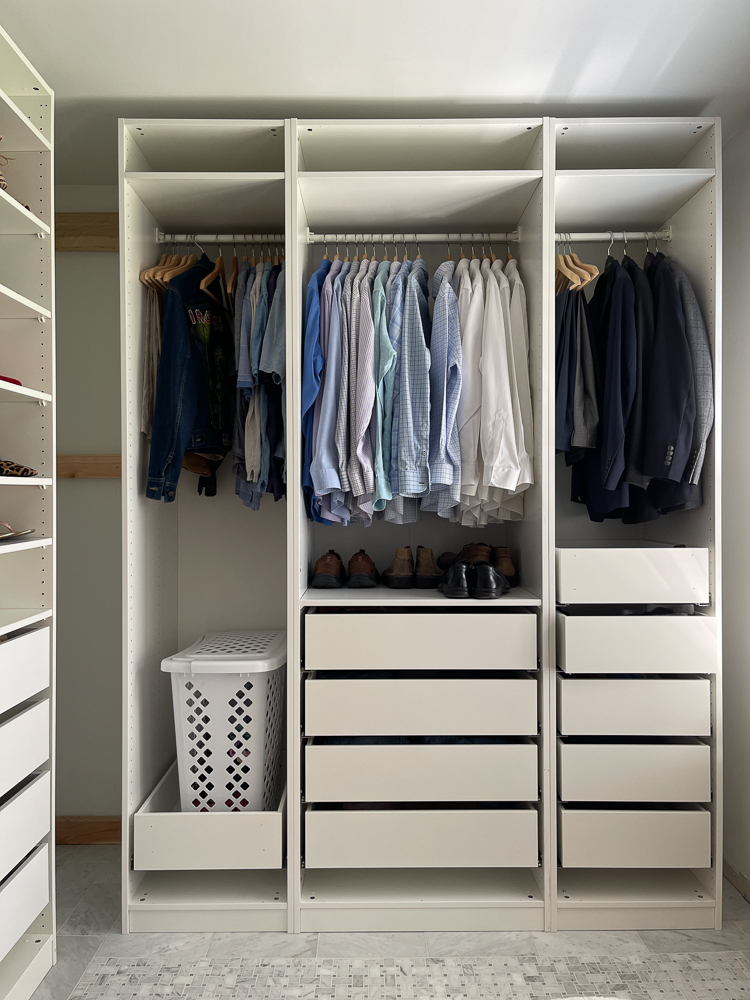
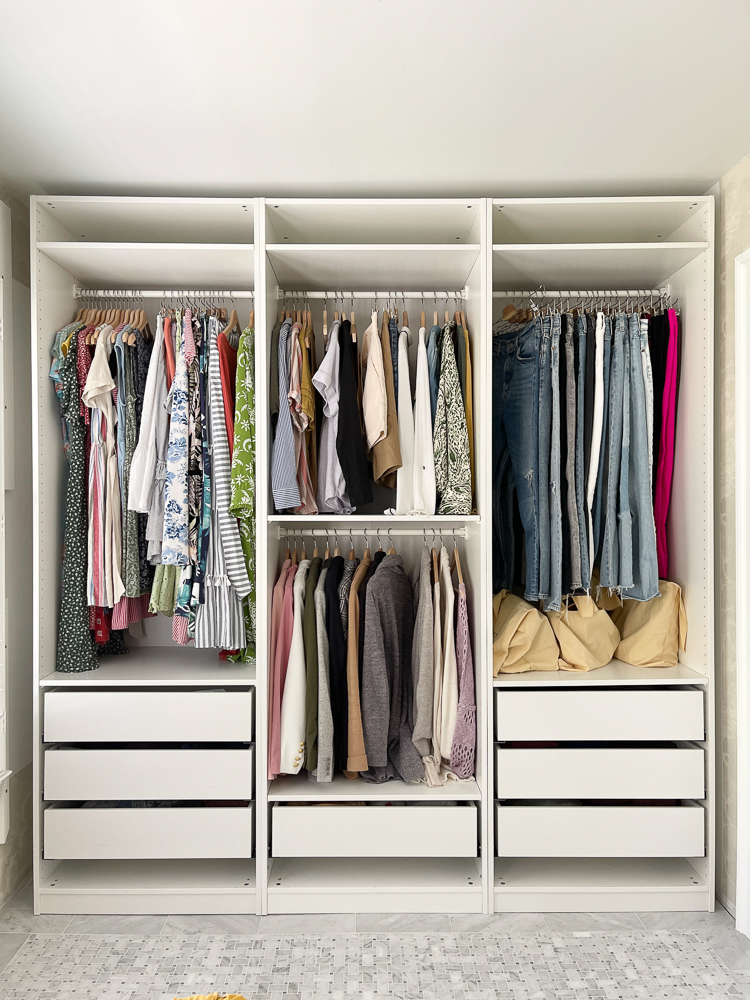
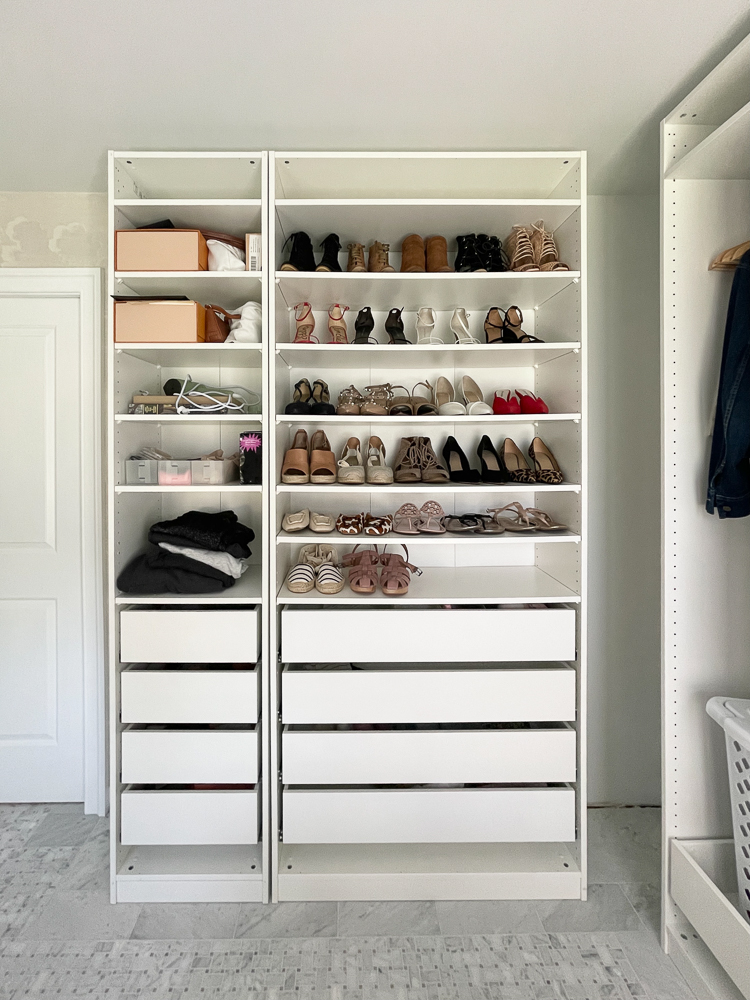
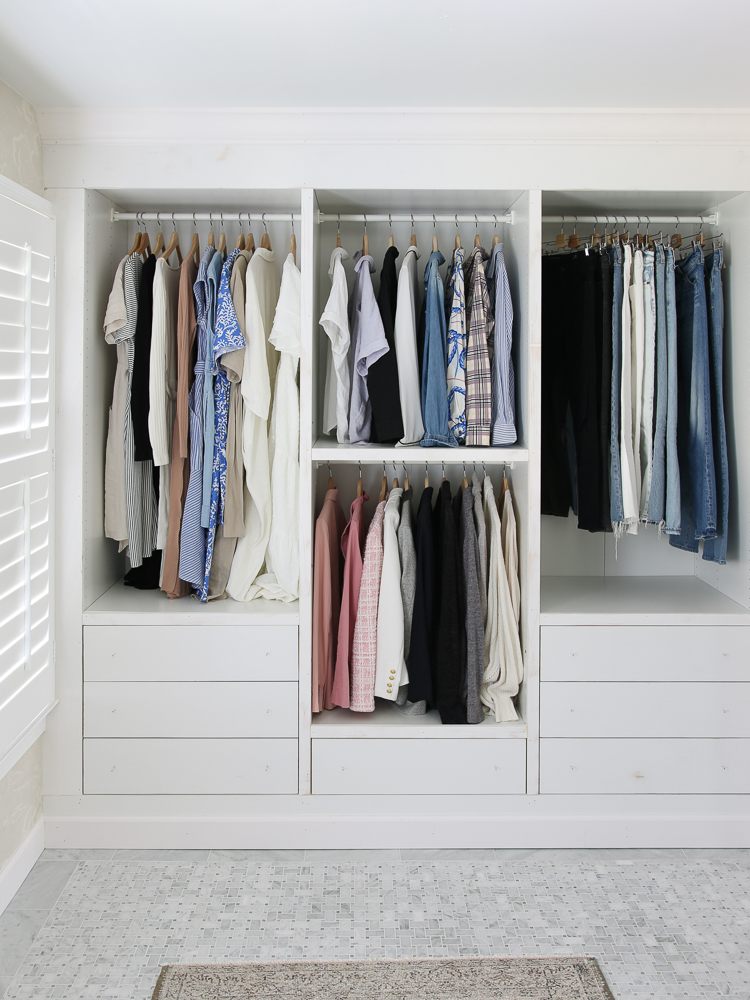
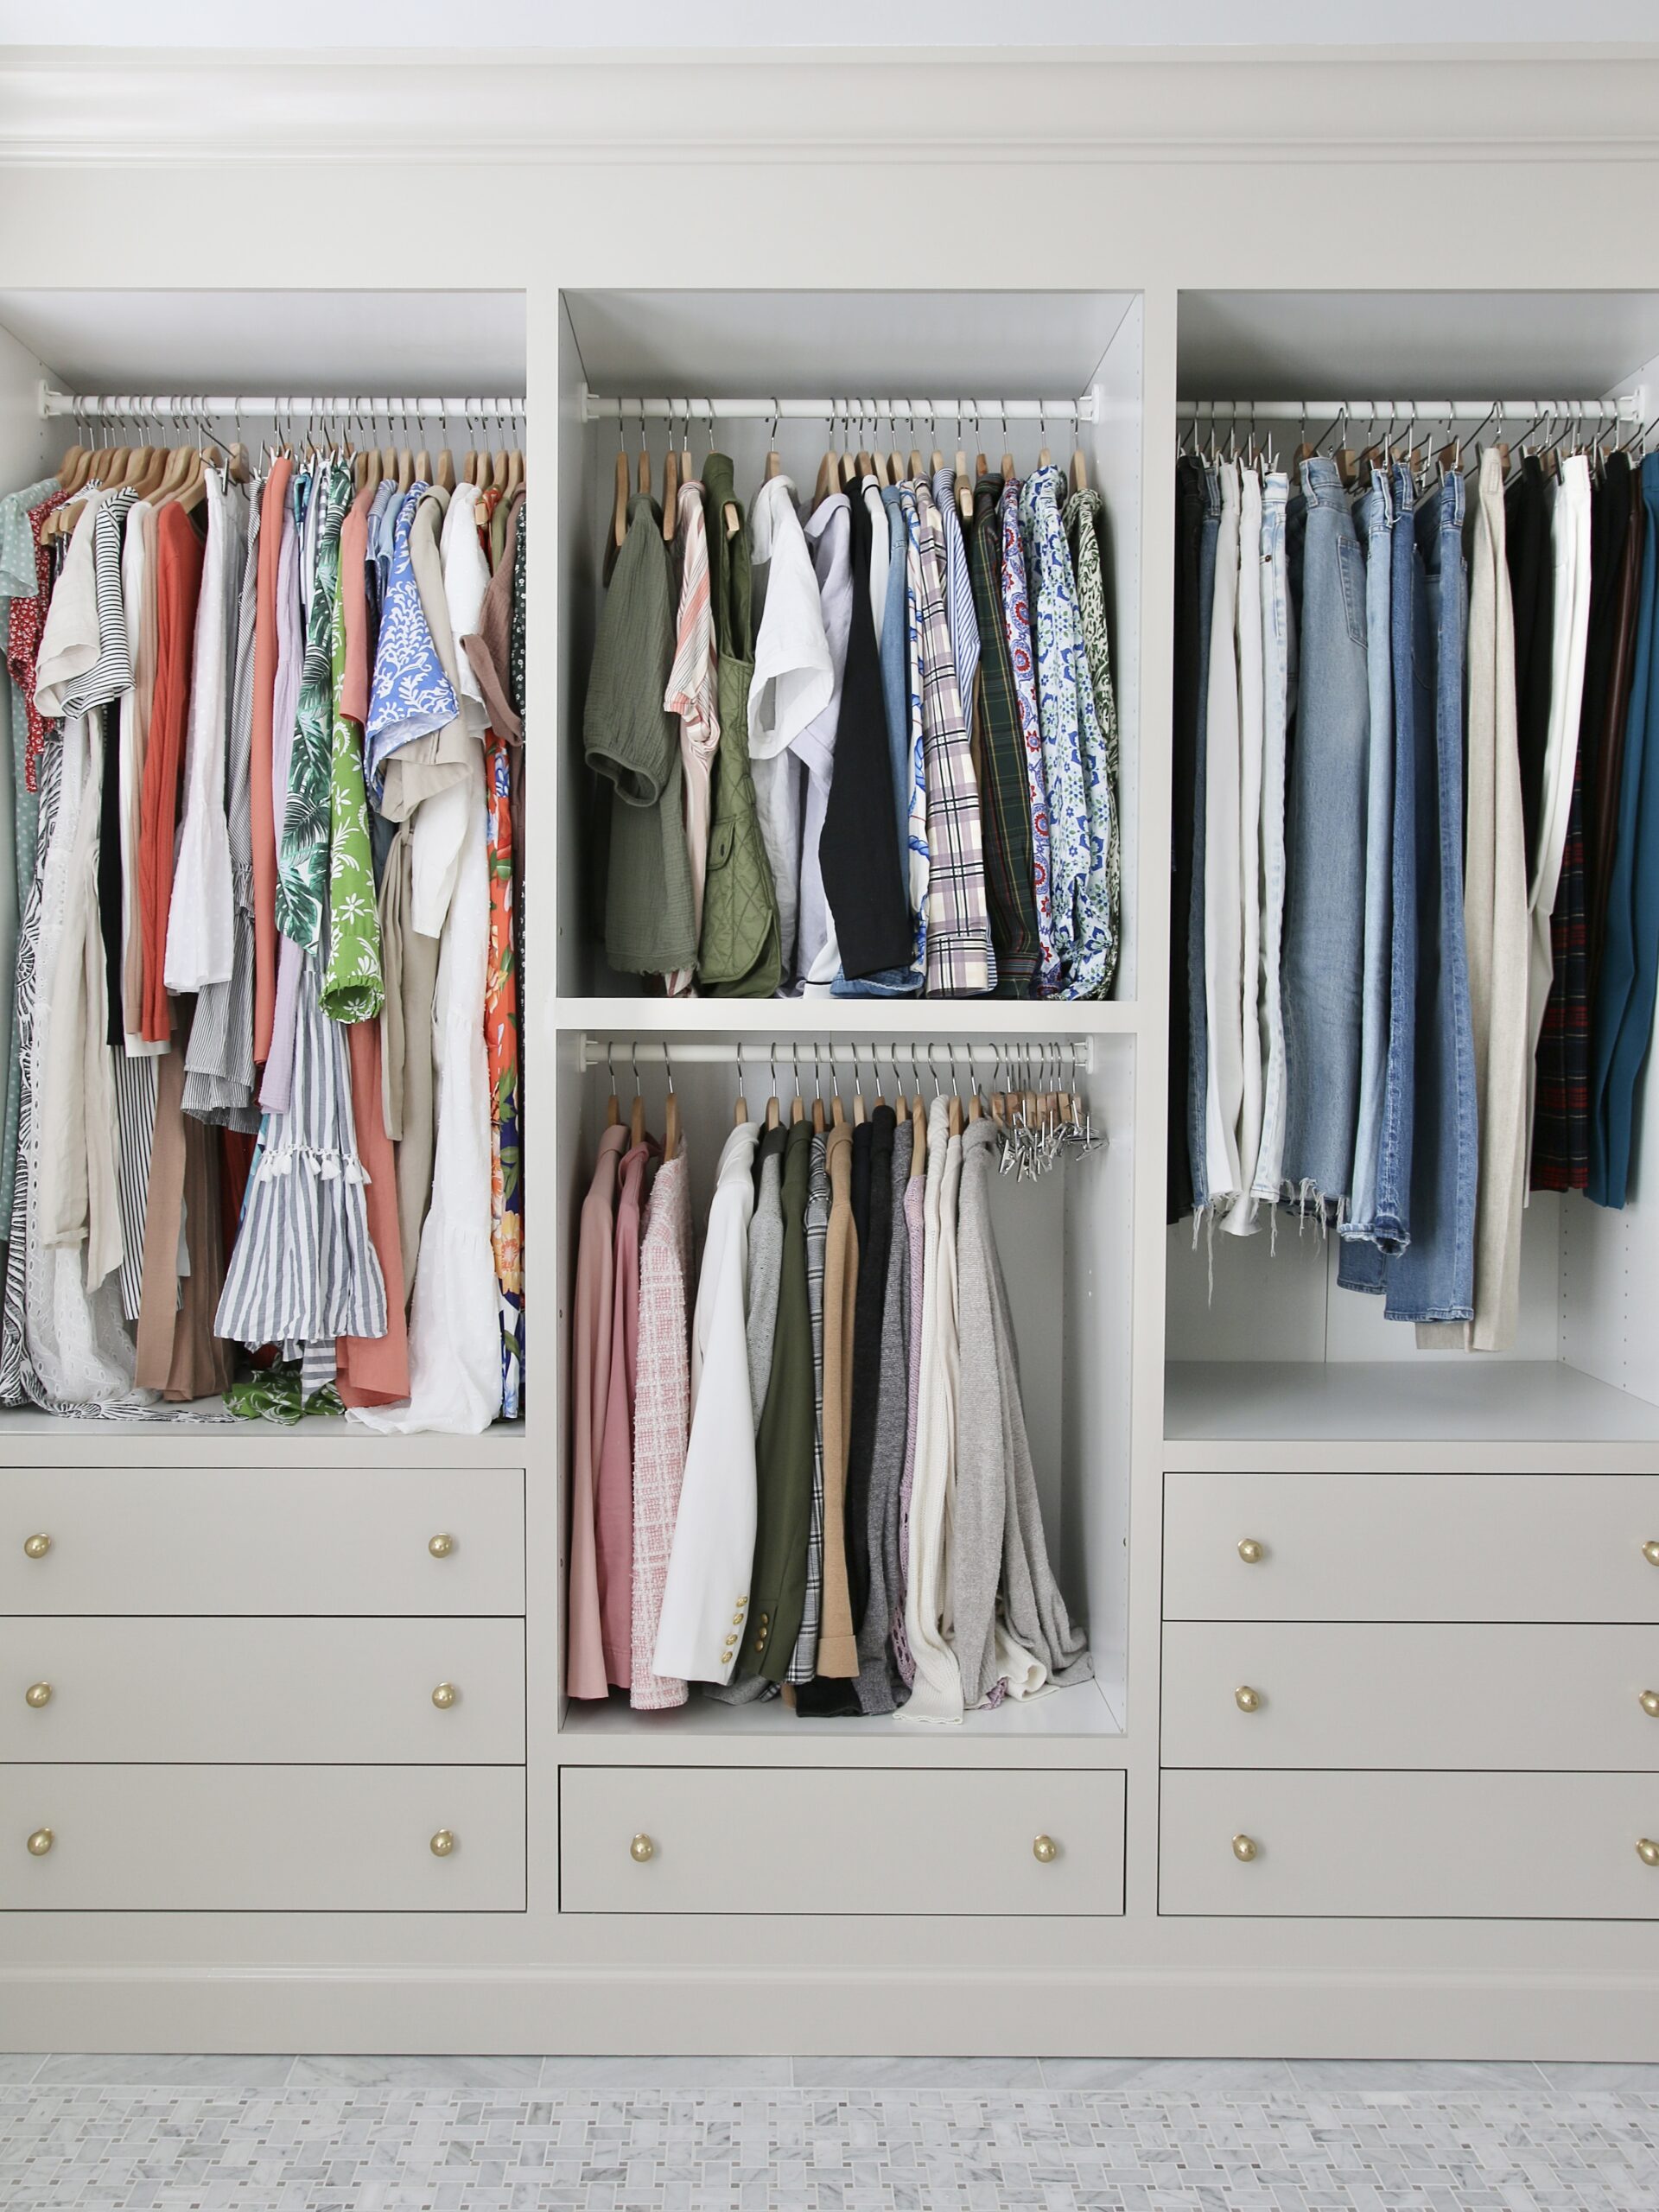
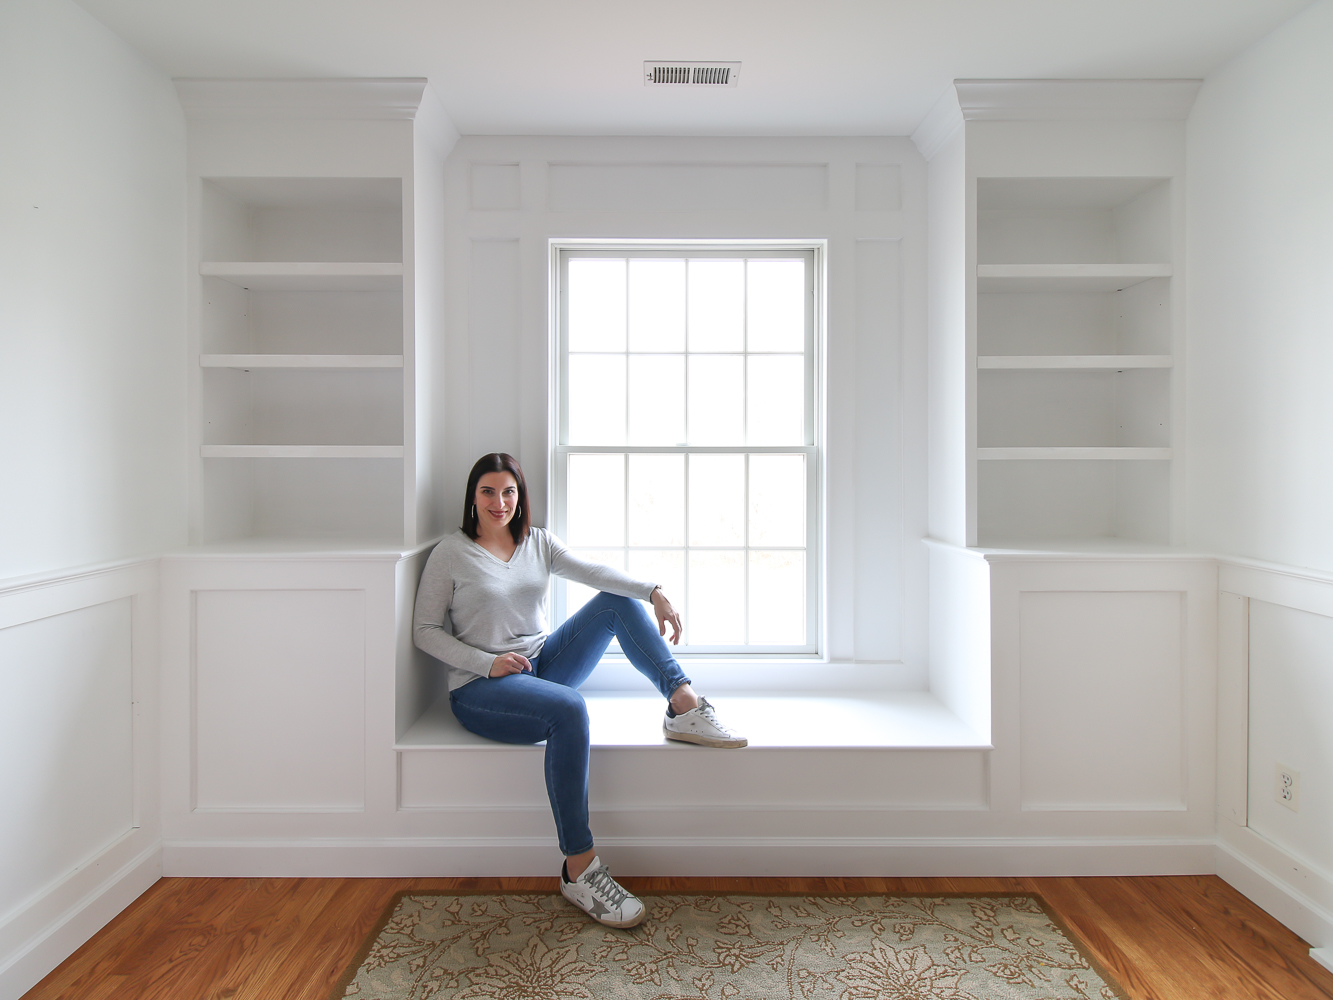
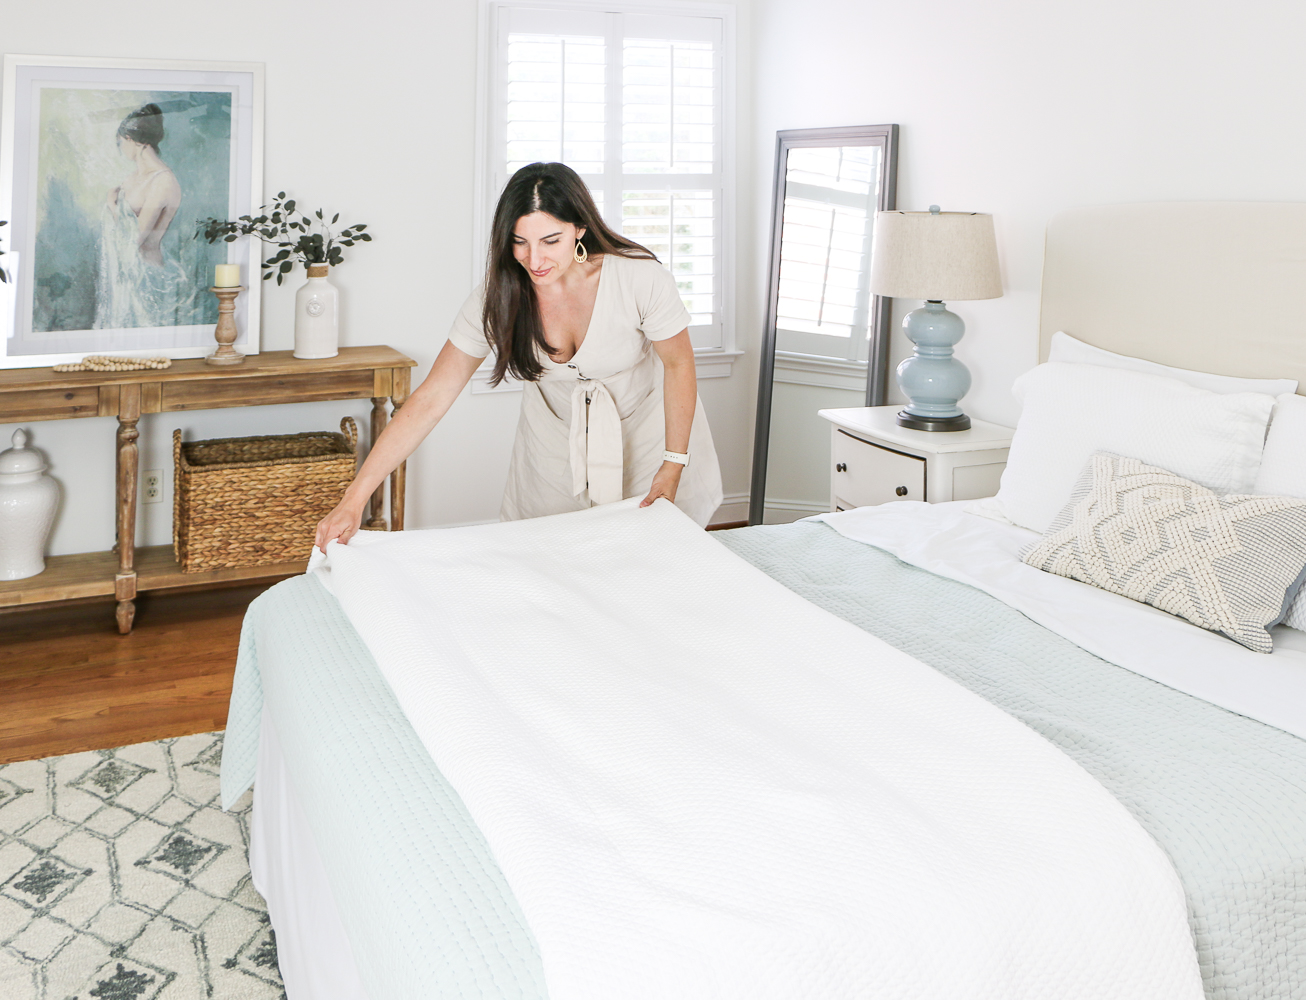
These are the three walls of our closet (the fourth wall is all windows). It is perfectly fine as it is and is how IKEA PAX wardrobes are intended to be used. However, my plans for it are to transform these wardrobes into custom closets that look built-in. Read on for the step-by-step tutorial for this IKEA PAX hack.
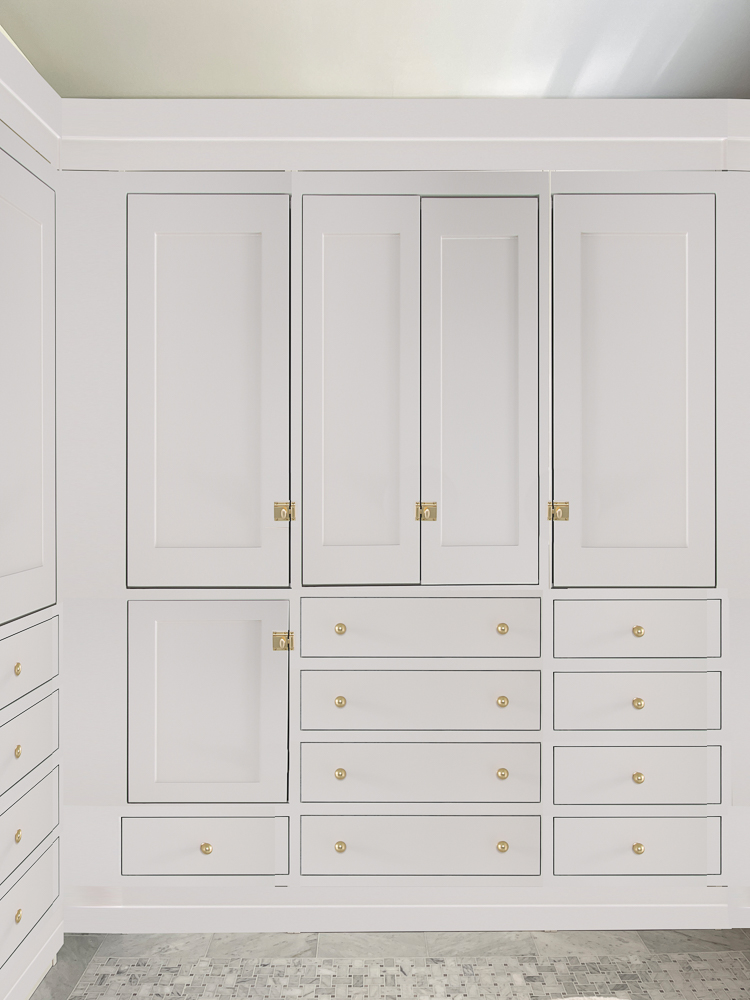
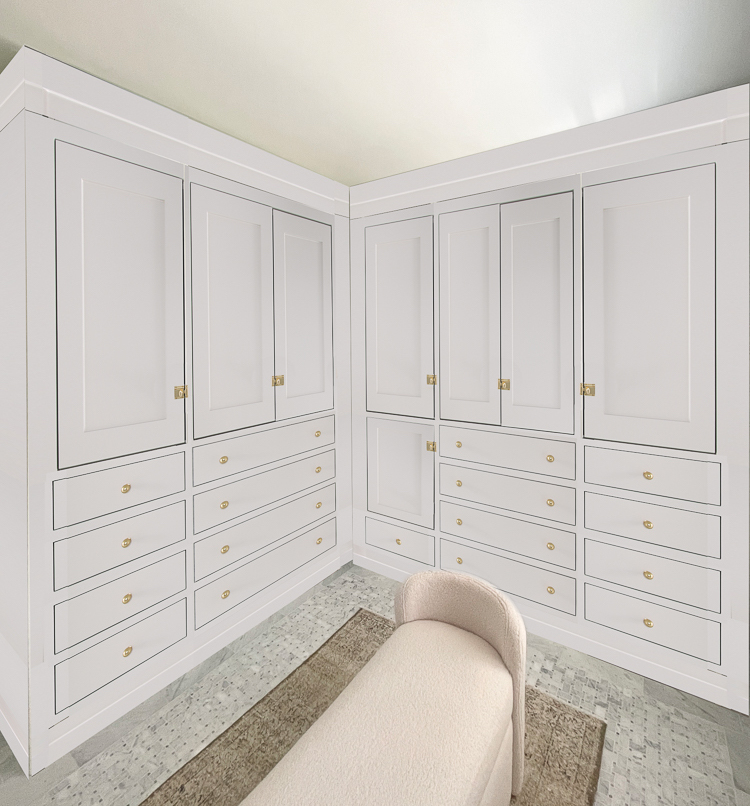
The Design Plan to Customize IKEA Pax Closet
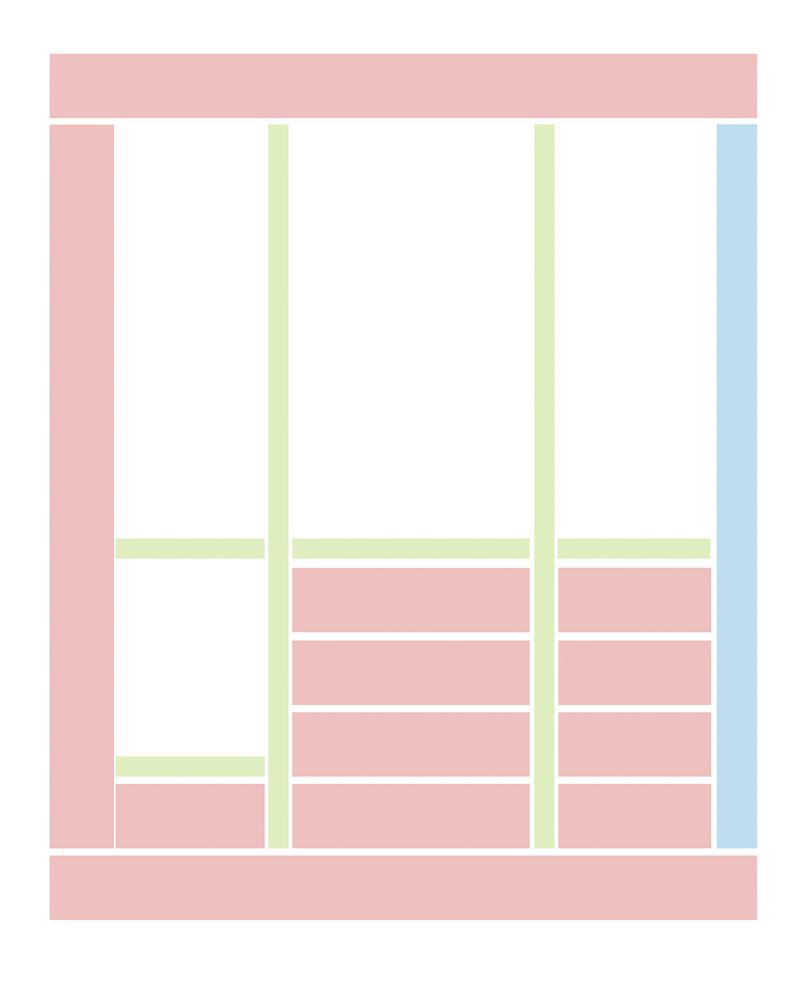
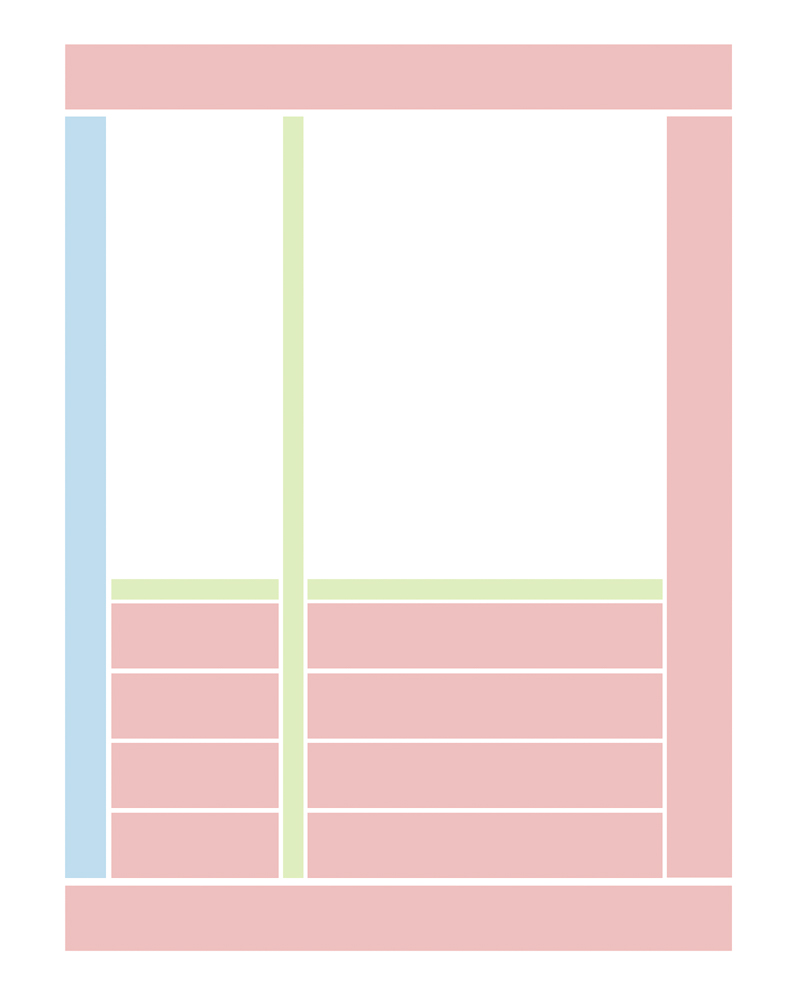
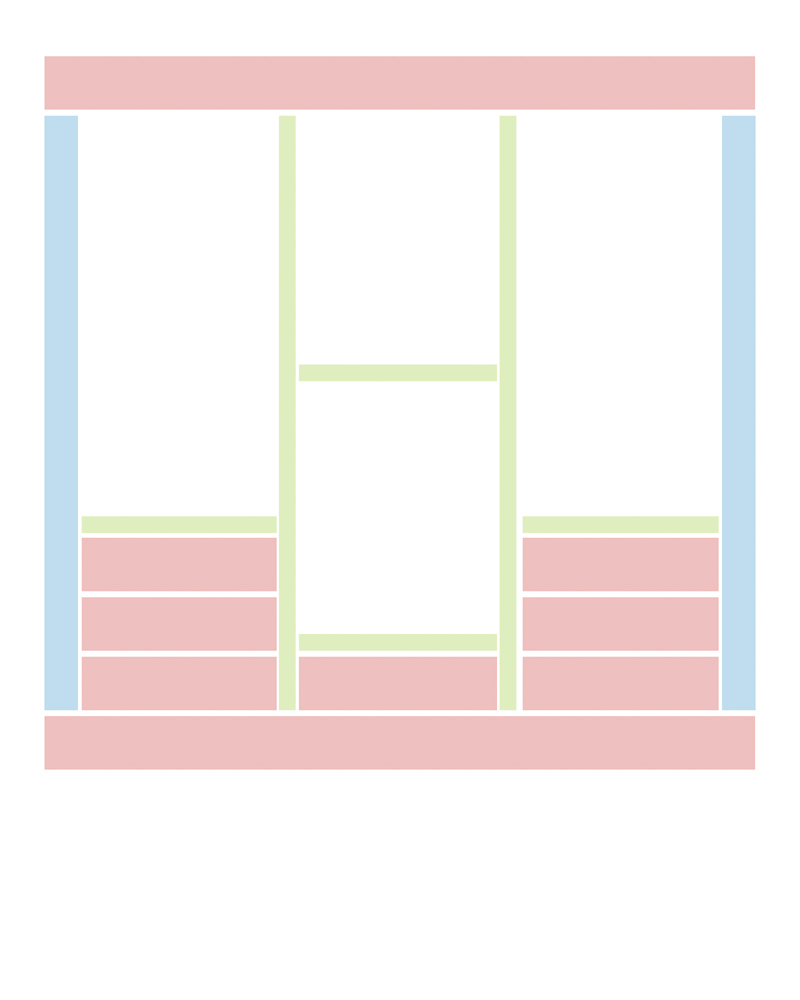
I used Photoshop to create renderings of the custom closet with IKEA PAX wardrobes. Doesn’t this take the room to the next level? Doors inside a closet aren’t necessary but I decided to add them for a couple of reasons. I am very much a Type A personality and prefer the look of closed doors to the chaotic appearance of colorful clothes. If I add doors, I don’t have to paint the interiors to match the outside color (I am using SW Accessible Beige). Leaving the interiors untouched also allows me to reconfigure them in the future if I need to – move shelves add inside drawers, etc.
Materials List
I use primed pine boards to make the face frame and drawer fronts to customize the IKEA Pax closet system. The board widths are 1×2, 1×6, and 1×8. I will also add crown molding on top and baseboards on the bottom. I plan to order the custom doors from Fast Cabinet Doors as I’ve done in the past. It’s more expensive than making the doors myself but I’m willing to pay for less headache and more perfect result.

Other supplies and tools you would need to have on hand for the IKEA PAX hack are:
- Caulk – to fill corner seams
- Wood filler – to fill holes and flat seams
- 2″ cabinet fasteners – to temporarily attach the drawer fronts and serve as pulls
- 1 1/4″ cabinet screws – to attach cabinets to each other and permanently attach drawer fronts
- Miter saw – for all trim cuts
- Nail gun – to nail down the trim pieces
- Impact driver – to attach the drawer fronts
- Sander – I sanded all the boards with 220-grit sandpaper before I installed them. This ensures a smooth and professional-looking paint finish.
Check out my comprehensive list of essential DIY tools I use for all my projects!
Construction
Important Note: Make sure that the IKEA PAX wardrobes are secured to the walls using the provided hardware. I also used 1 1/4″ cabinet screws to attach them to each other. This is important for safety but to also eliminate any movement of the cabinets in the future which can lead to cracks in the face frame.
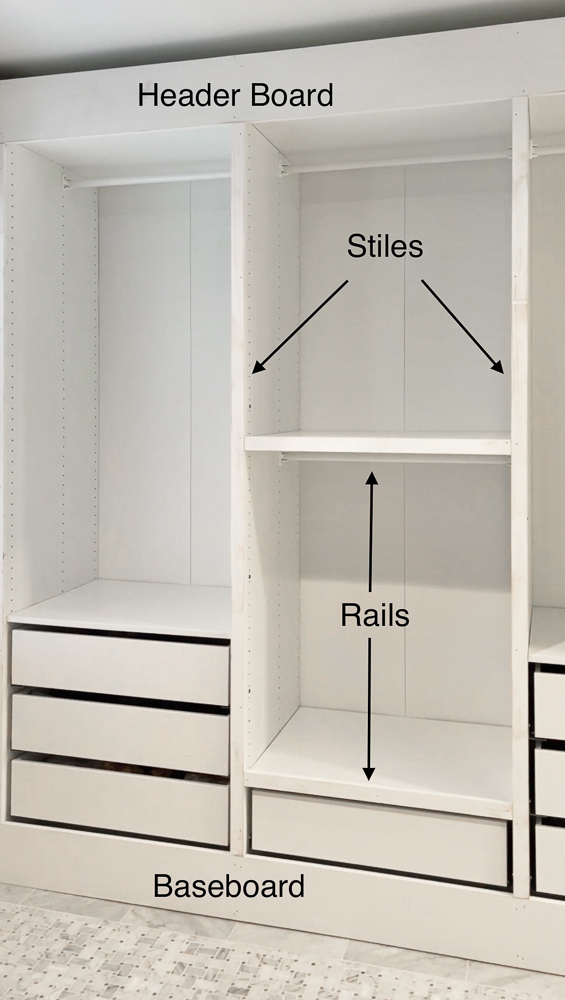
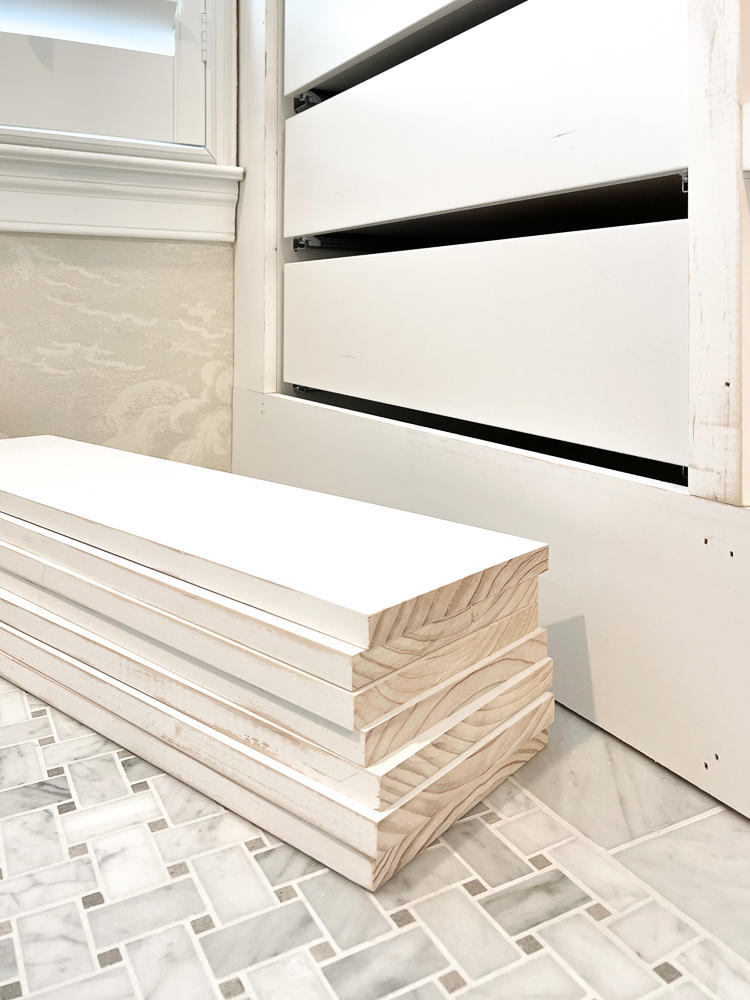
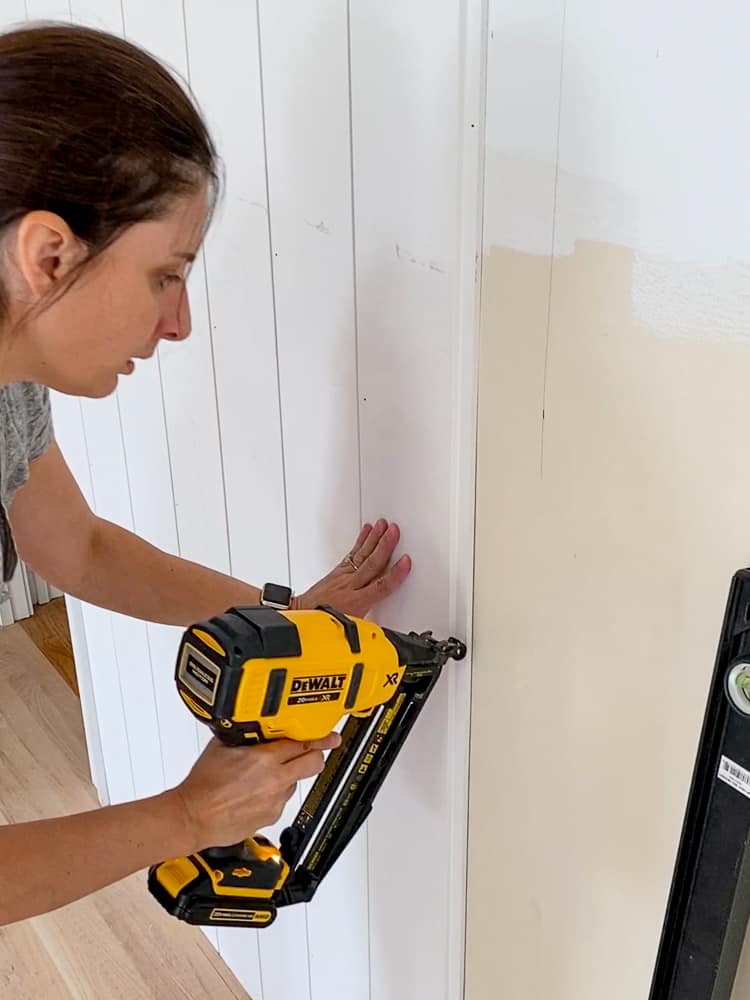
The first step is framing out the perimeter of the cabinets – baseboard, header-board, stiles, and rails. I used 1×8 boards for the baseboard and header and 1×2 boards for the stiles and rails. I had to rip down the boards for the sides to fit exactly to the walls for a no-gap builtin look.
Next, I measured the space between the stiles for my drawer fronts and made all the cuts. The drawer fronts are also made from 1×8 boards.
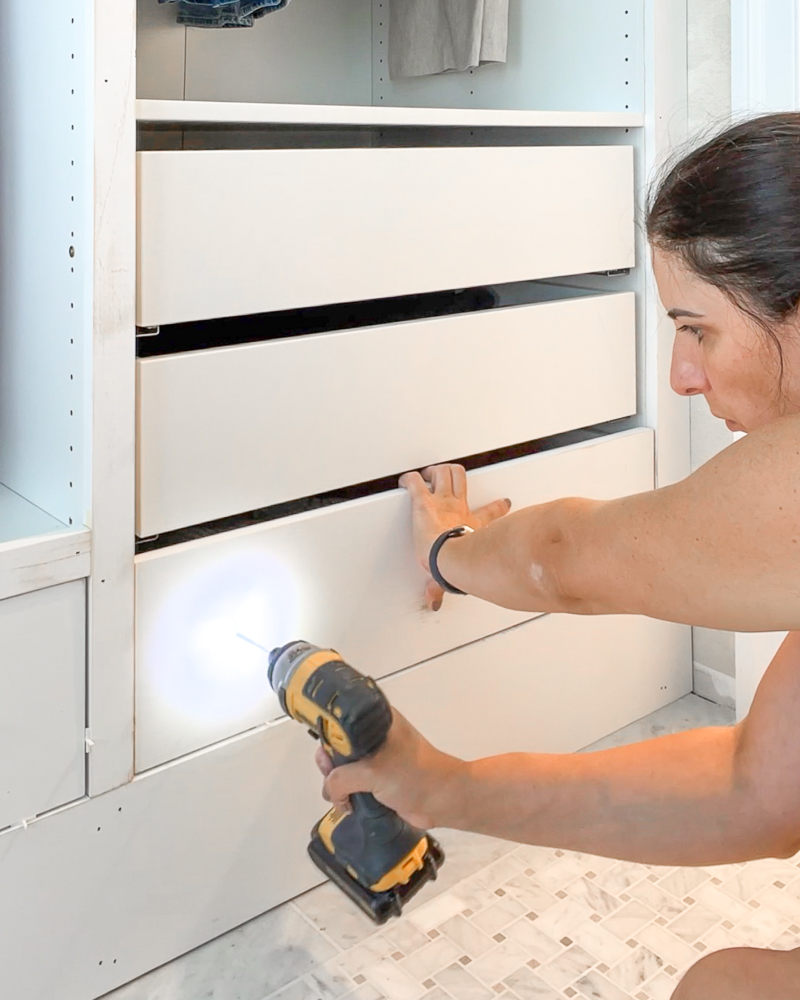
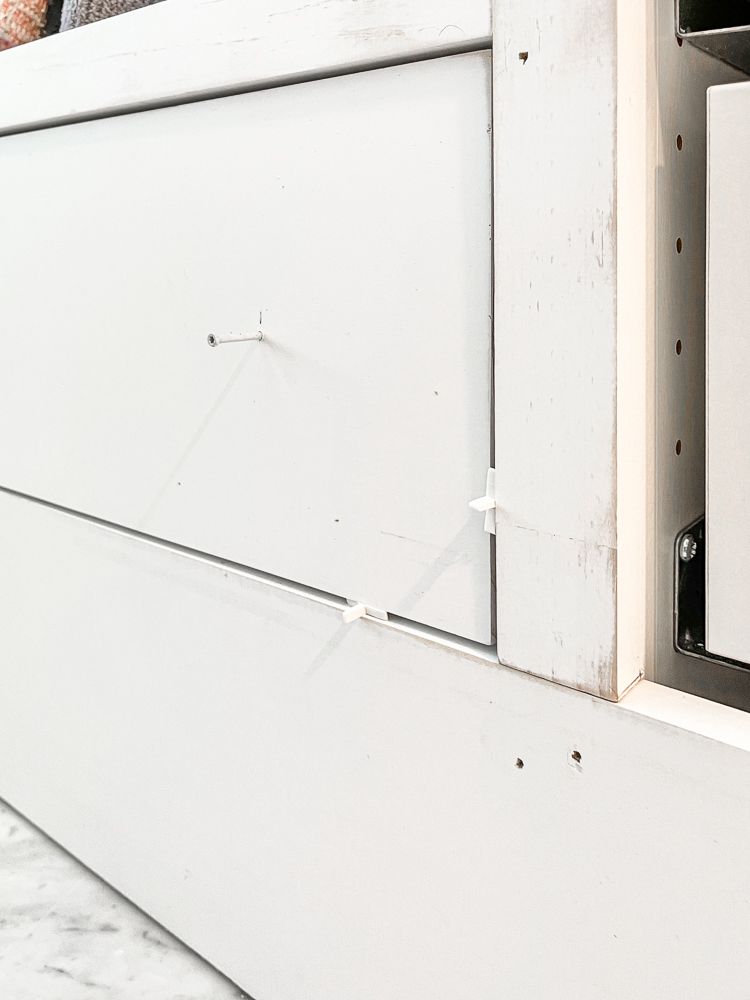
Using 1/8″ tile spacers around each drawer front, I attached them to the IKEA drawers with 2″ cabinet screws. These screws are temporary and they will be replaced by the cabinet knobs. Doing this makes it easy to attach the drawer fronts while maintaining the spacing all around. Now, you can pull the drawer out and secure it from the inside using large head 1 1/4″ cabinet screws.
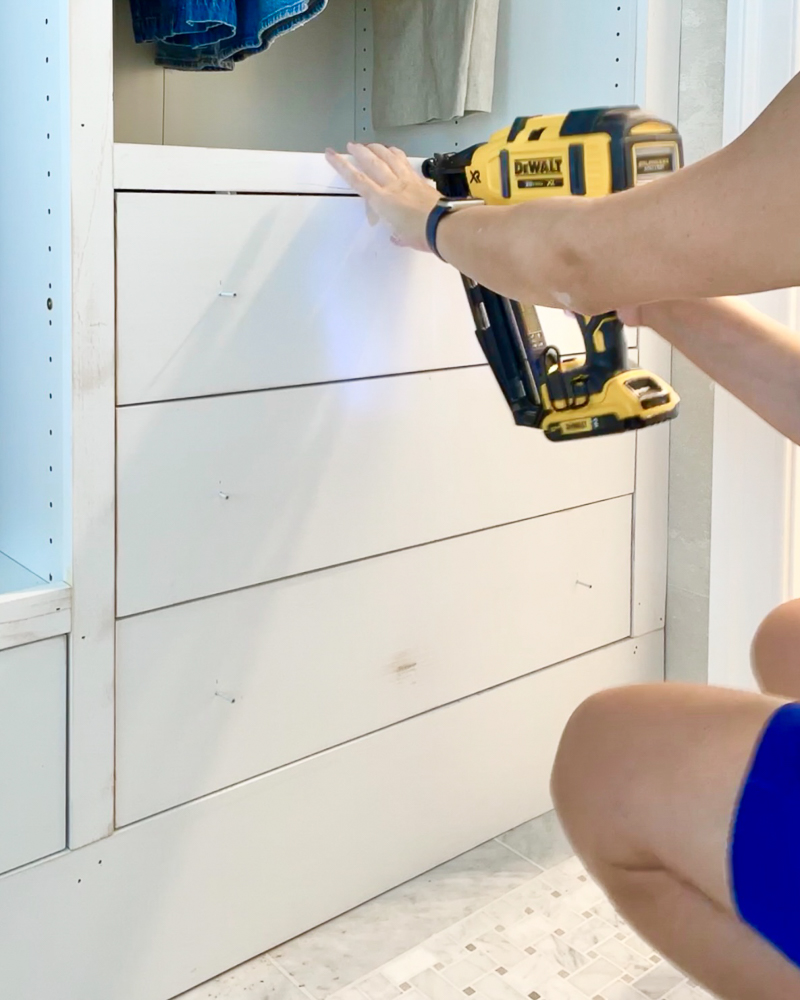
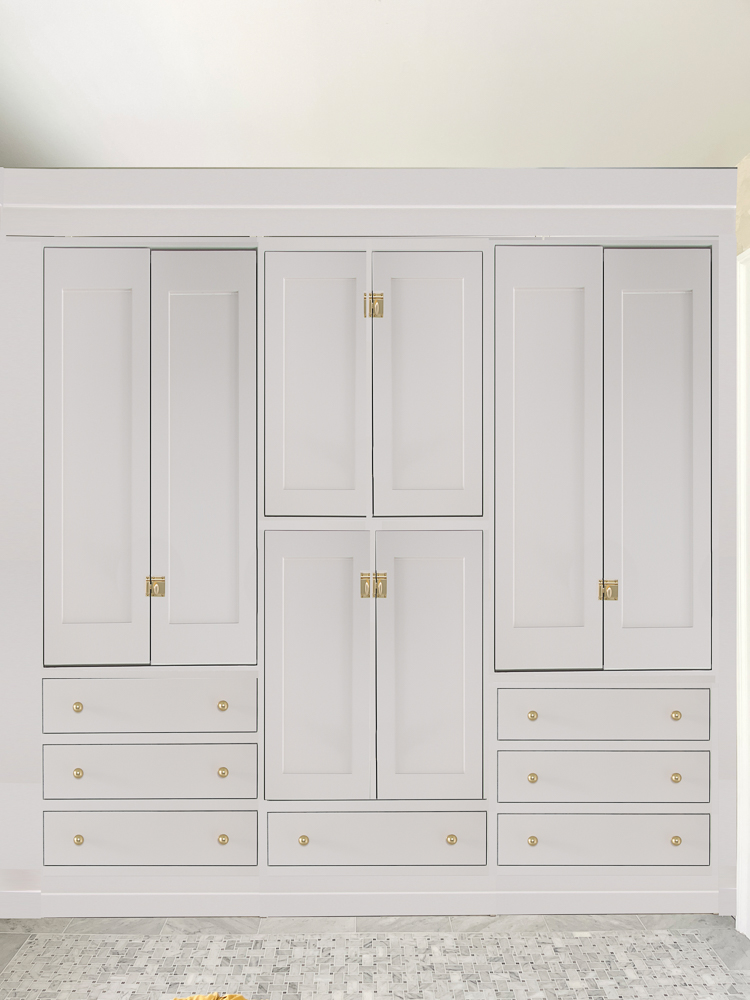
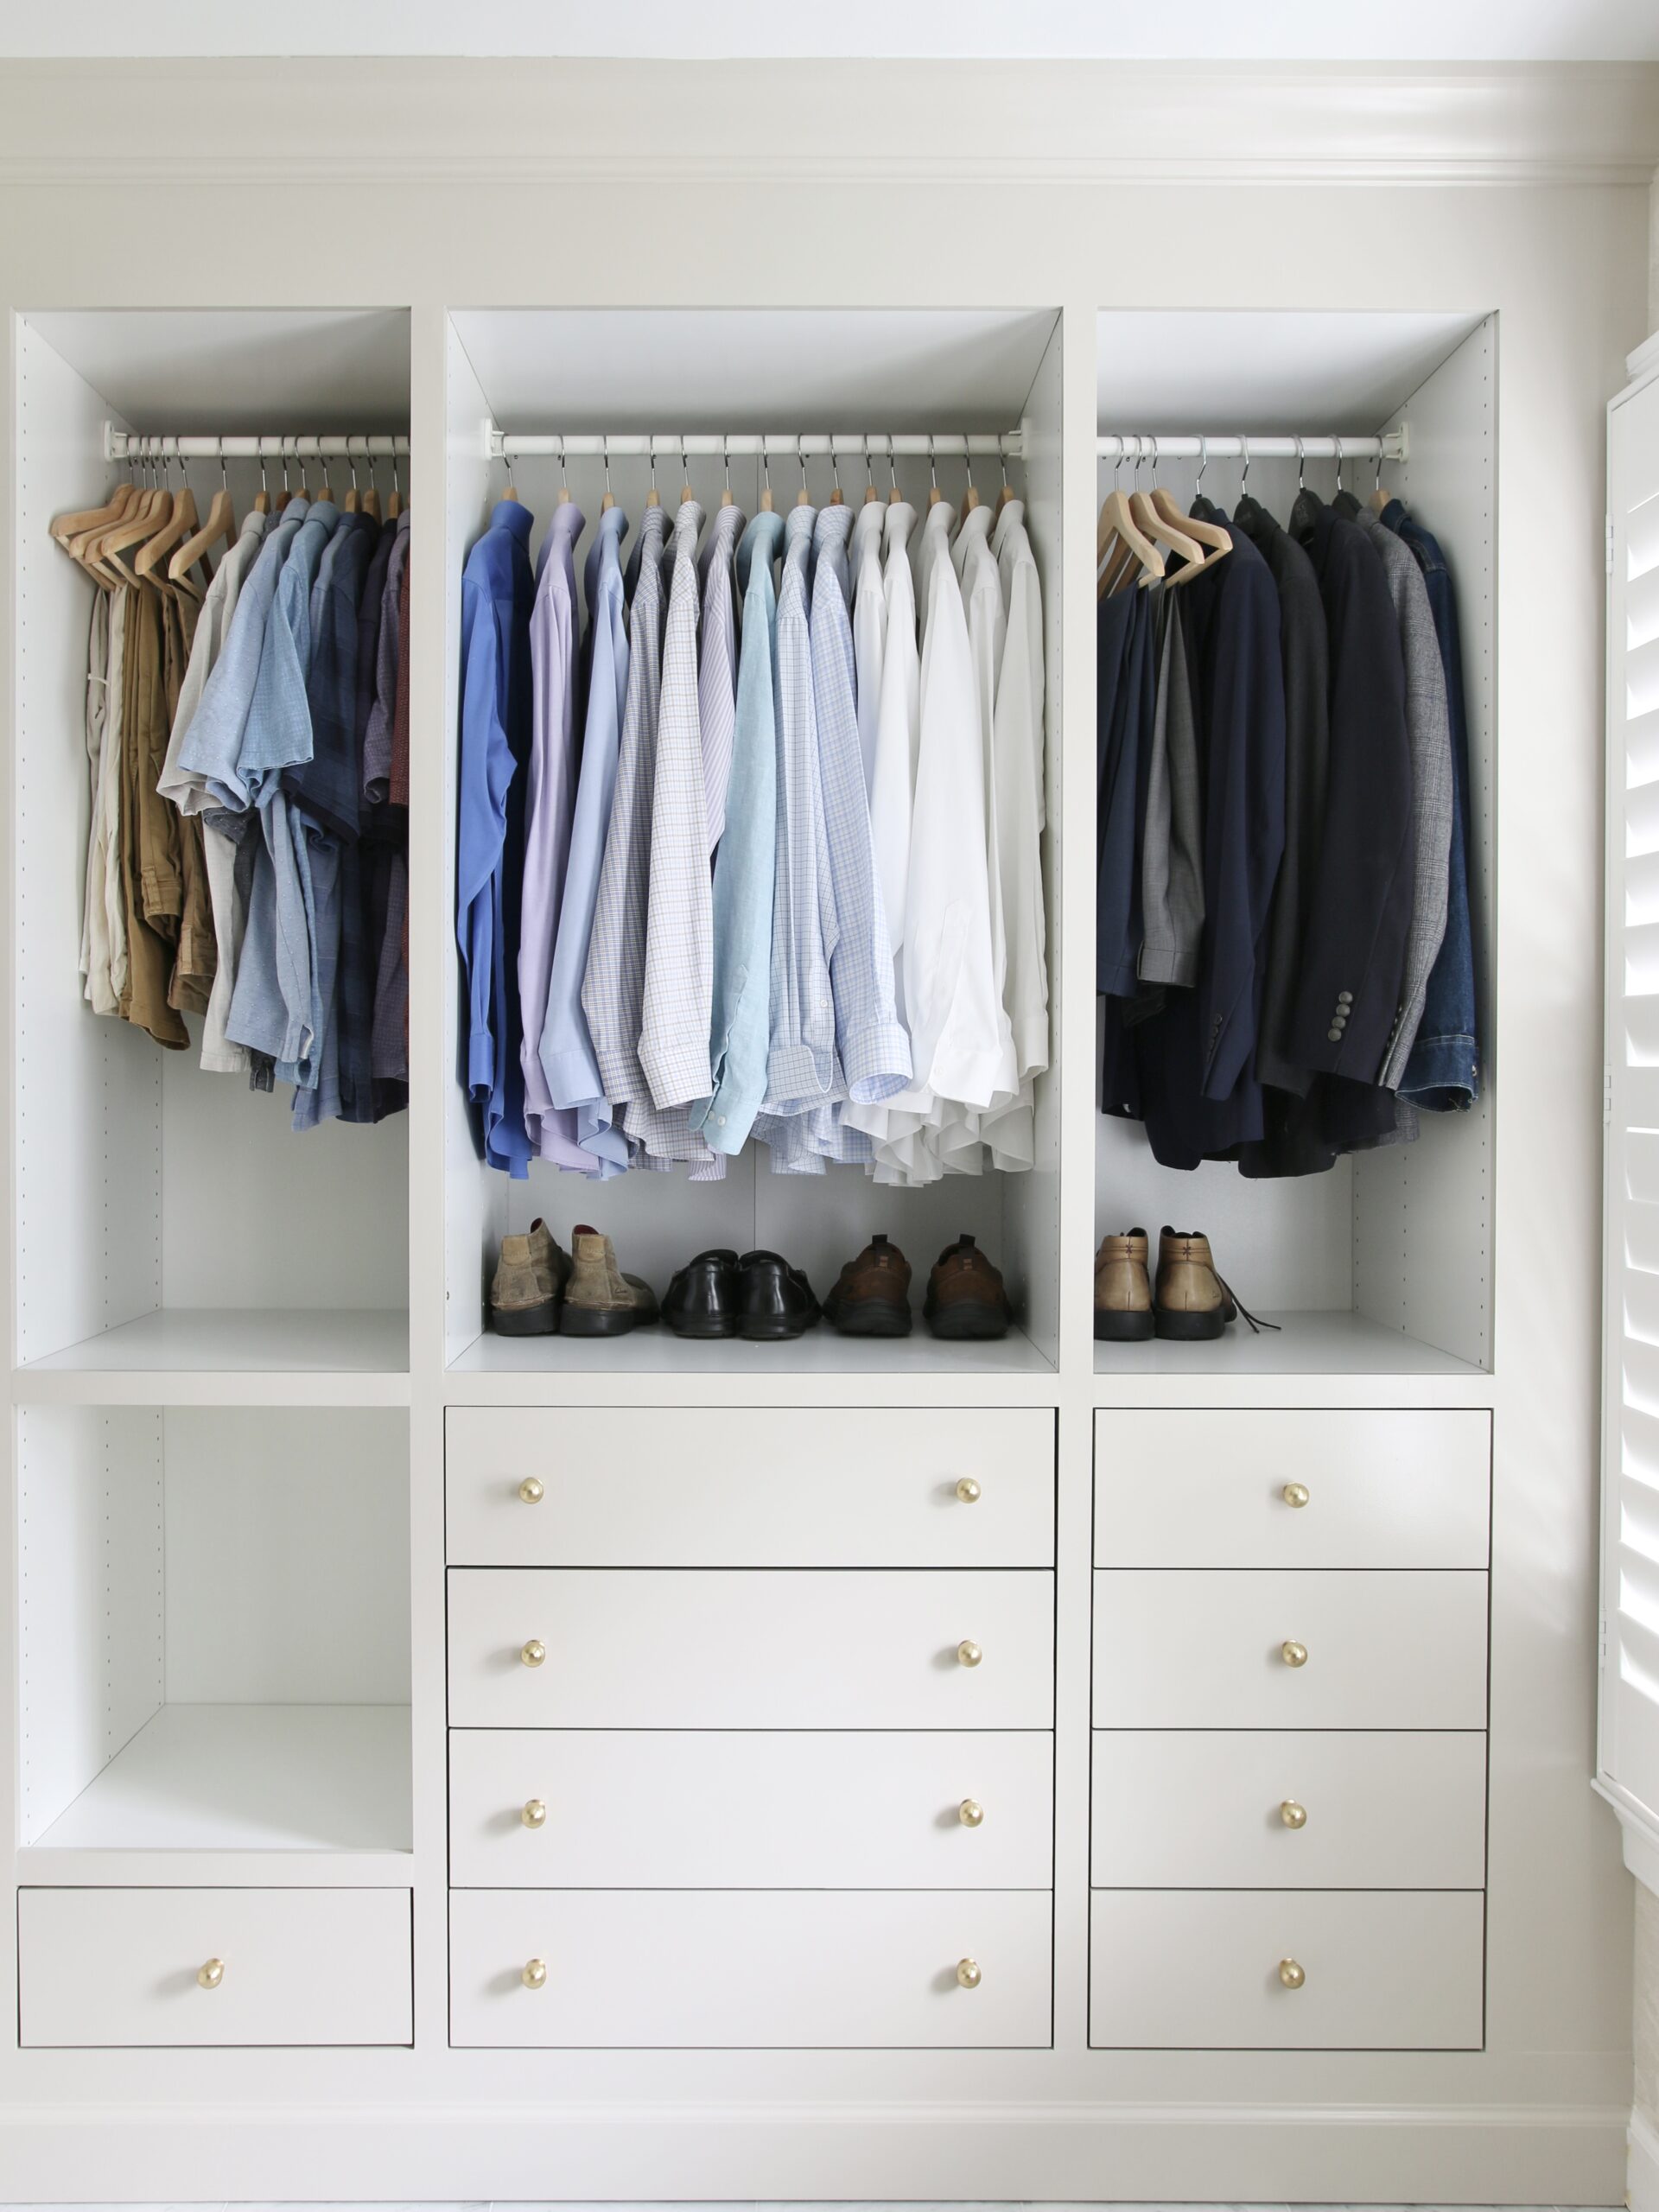
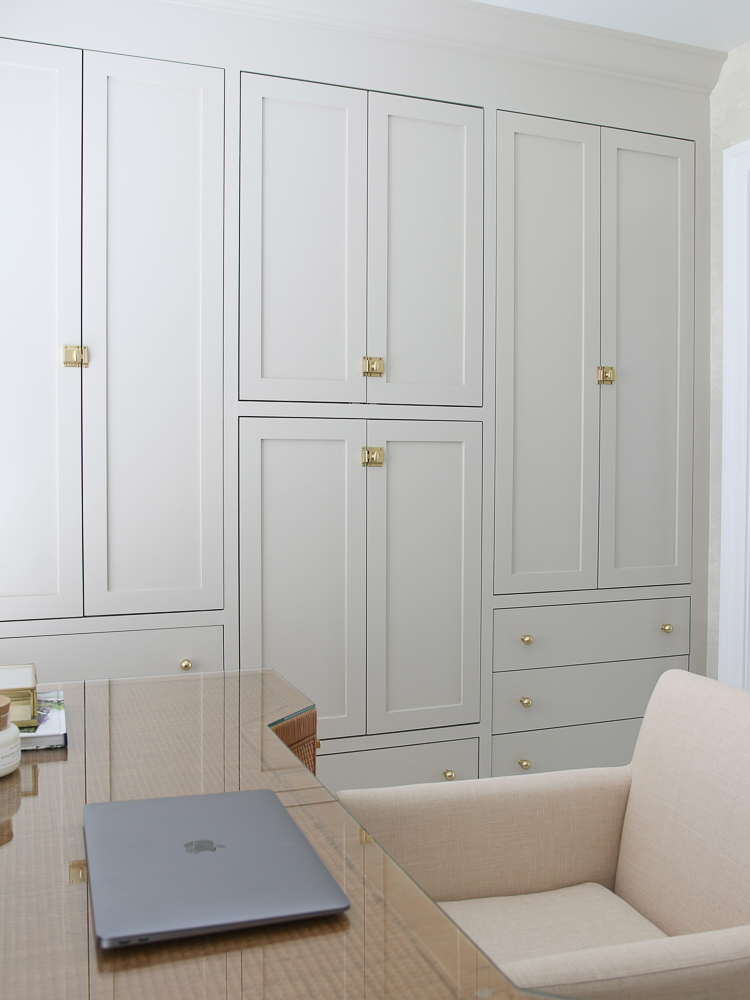
Next, I installed the proper baseboards and crown molding over the 1×8 boards. This is what it looks like after this step – an already built-in custom look! The next step is to caulk and fill nail holes, and paint!
Painting the IKEA PAX wardrobes
The typical IKEA laminate surfaces are very hard to paint. They don’t take any paint out right and you would have to prep the surface by sanding or priming with Kilz primer. In my case, I am not painting any of the original IKEA surfaces. The cabinets are covered with primed pine trim which takes the paint easily. The insides will remain unpainted because they will be covered by doors.
My favorite paint to use when painting any cabinetry is Sherwin Williams Emerald Urethane Trim Enamel in semi-gloss. The color I picked to match the bathroom vanity next door is SW Accessible Beige. This paint takes a long time to cure – 5-10 days – but once it does, it has a very hard and smooth finish. The result is a professional-looking, factory-painted surface without any brush strokes. It takes two coats for full coverage using these rollers. I lightly sand after the first coat with 220 grit sanding sponge. It ensures that the finish is super smooth.
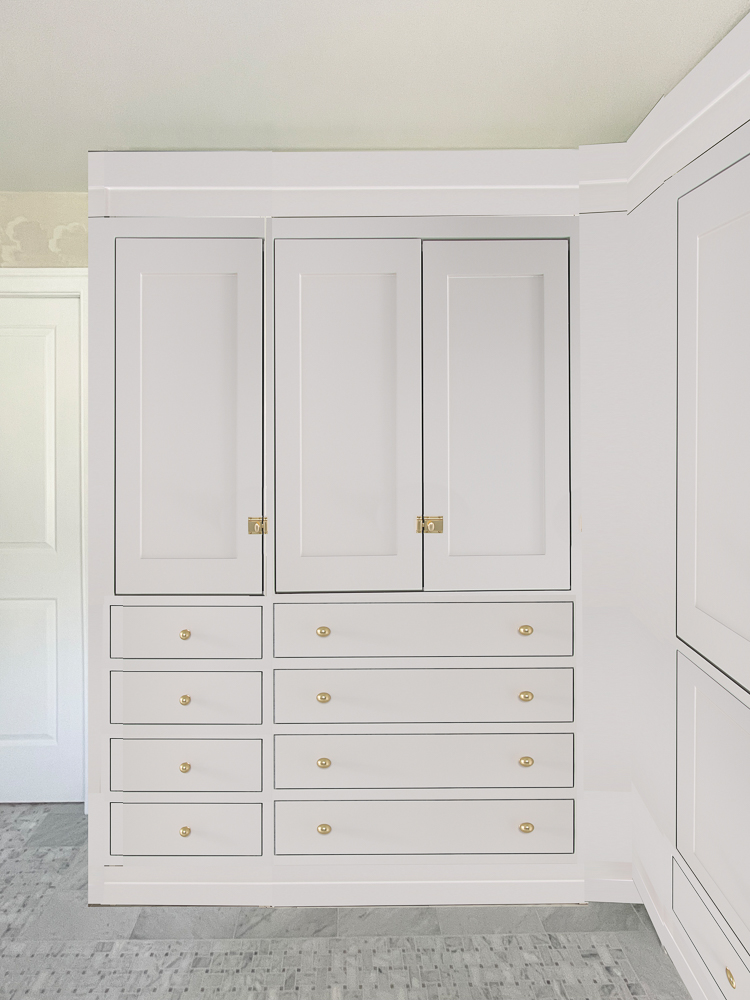
This is what the closet sides look like after paint and before the doors are installed:
Adding Doors
This IKEA PAX hack required 16 doors that I decided to order custom from Fast Cabinet Doors. I have tried making my own cabinet doors in the past and the result is less than ideal. Doors require lots of precision in measuring, cutting, and construction that I simply don’t have. There are too many of them for me to labor endlessly over them risking wasting expensive materials. That’s why I decided to order them custom and receive a superb product since they make up such a large area of the cabinets.
How to measure and order inset doors
When you measure for inset doors, you have to allow for a little bit of spacing all around the door. I like to leave 1/8″ of space all around. What that means is that once I measure the space between the rails and stiles of each opening, I subtract 1/4″ from the total length to account for 1/8″ of space on each side. If you have two doors in one opening as I do, you subtract 3/8″ from the total horizontal width (1/8″ between each side and door + 1/8″ between the two doors.)
I also chose to pay a little extra to have the holes for the hinges, or boring, pre-drilled in the doors. It would have taken me hours to drill all those holes myself. It is well worth the additional charge. The doors took about three weeks to arrive.
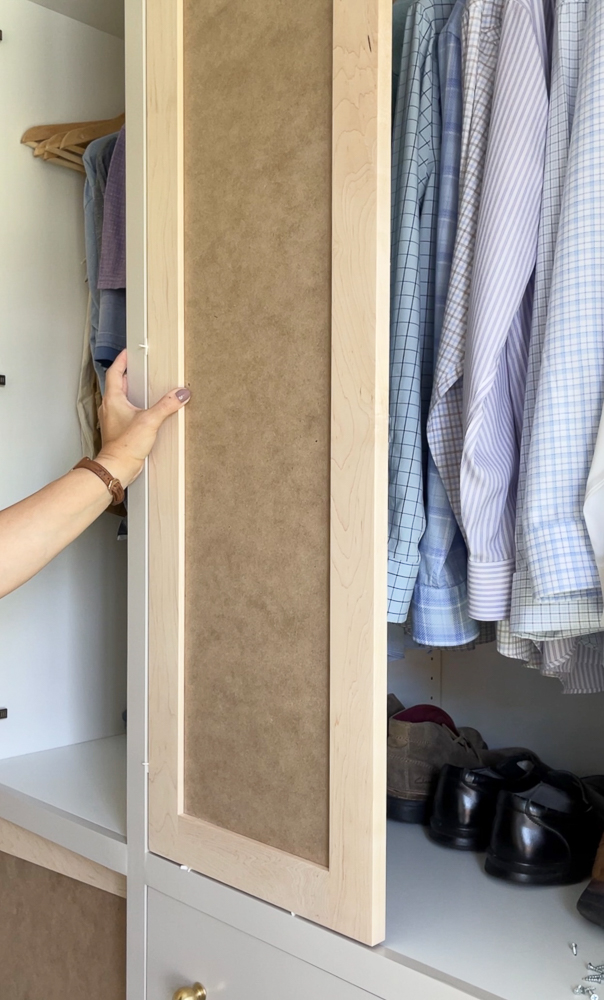
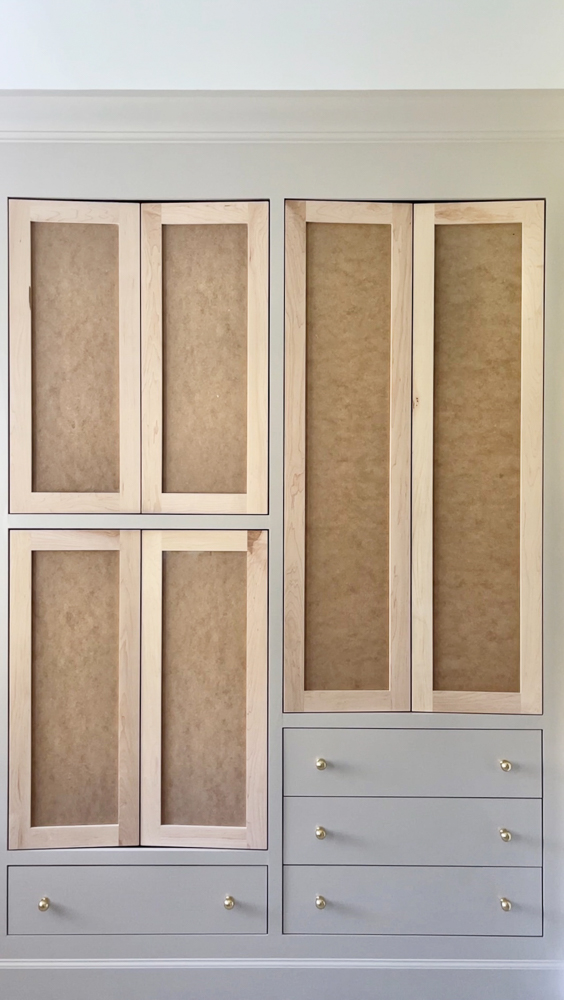
I attached the hinges to the doors and then hung them on the cabinets before I painted. This way I can ensure that they all fit and not have to handle them too much once they’re painted. Hanging inset cabinet doors requires a lot of precision. I used 1/8″ tile spacers again to make sure the doors are positioned evenly inside the frame. The hinges allow for 3 way adjustment – up/down, in/out, and side to side.
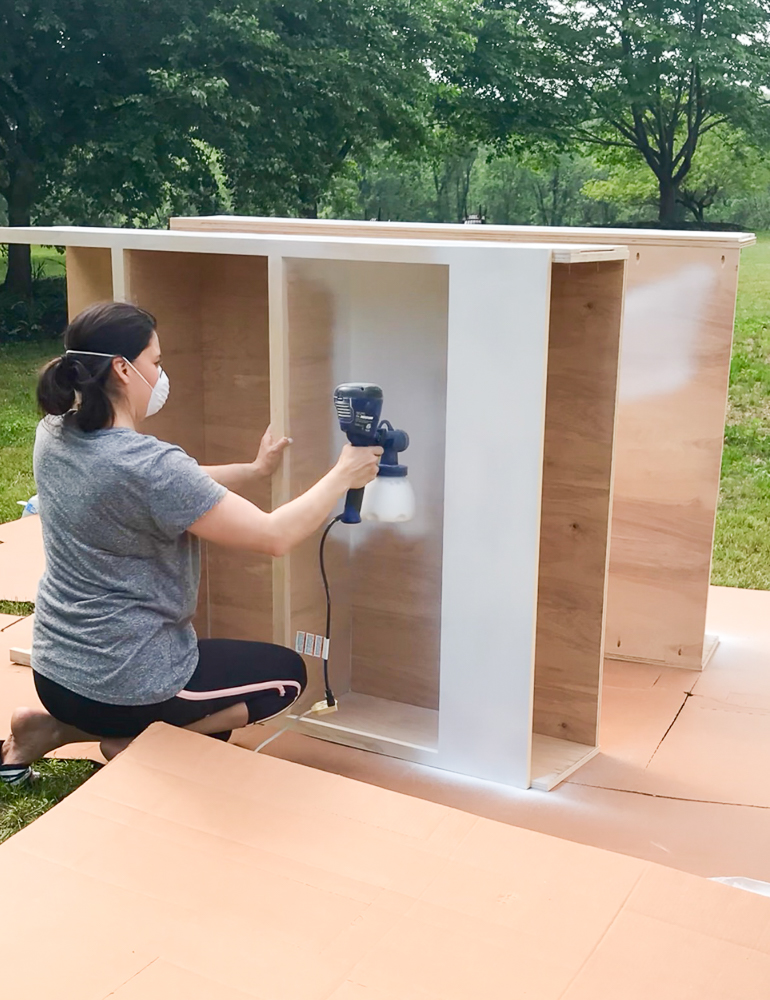
Spray painting the doors
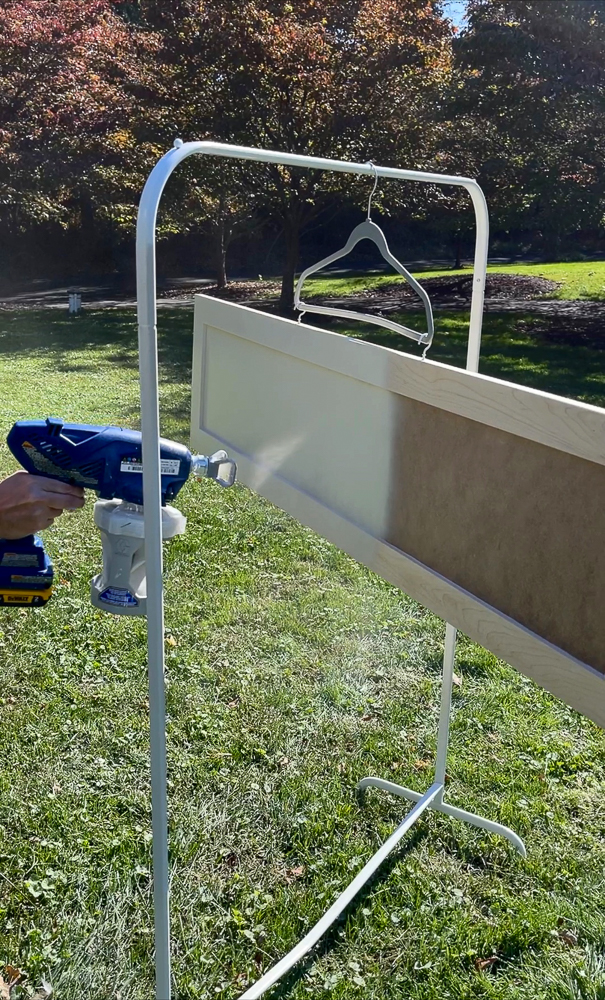
I spray painted the doors outside with this spray gun by hanging the doors on hangers using hooks. I will have a separate post all about spraying vs rolling and the best paint to use.

The Cost
The question I get most often is how much this IKEA Pax hack cost me. Here is a breakdown of the cost:
- IKEA Pax wardrobes: $1005
- Komplement drawers and rods: $1047
- Trim boards and paint: $800
- Custom doors and hinges: $2,000
- Cabinet hardware (ball knobs and latches): $970
Total: 5,822

Hi Stefana, Such a beautiful project and well written article. We would love to partner with you to show your audience how to add Docking Drawer outlets into IKEA cabinets. Can we collaborate?
Thanks! Can you please email me with a proposal: stefanasilber(at)gmail(dot)com