Best Paint for Cabinets for a Factory Smooth Finish
Disclosure: This post may contain affiliate links. As an Amazon Associate, I earn from qualifying purchases at no additional cost to you.
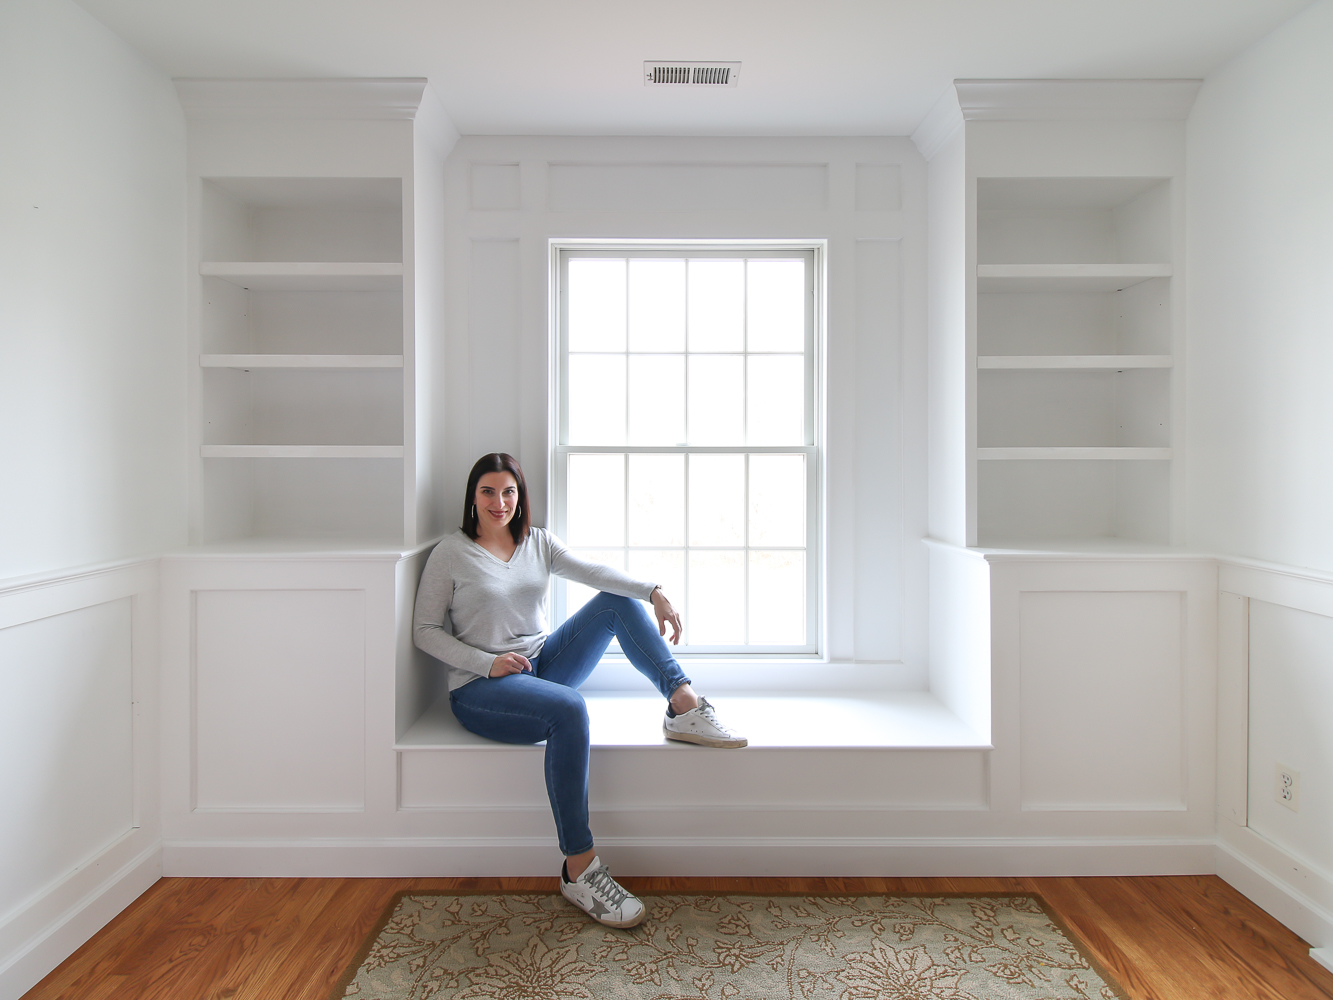
I discovered the best paint for cabinets for a smooth factory finish when I built our living room fireplace builtins and have used it numerous times since, with consistently impressive results. A newly built cabinet’s paint and finish job is probably harder to get just right than building the cabinet in the first place.
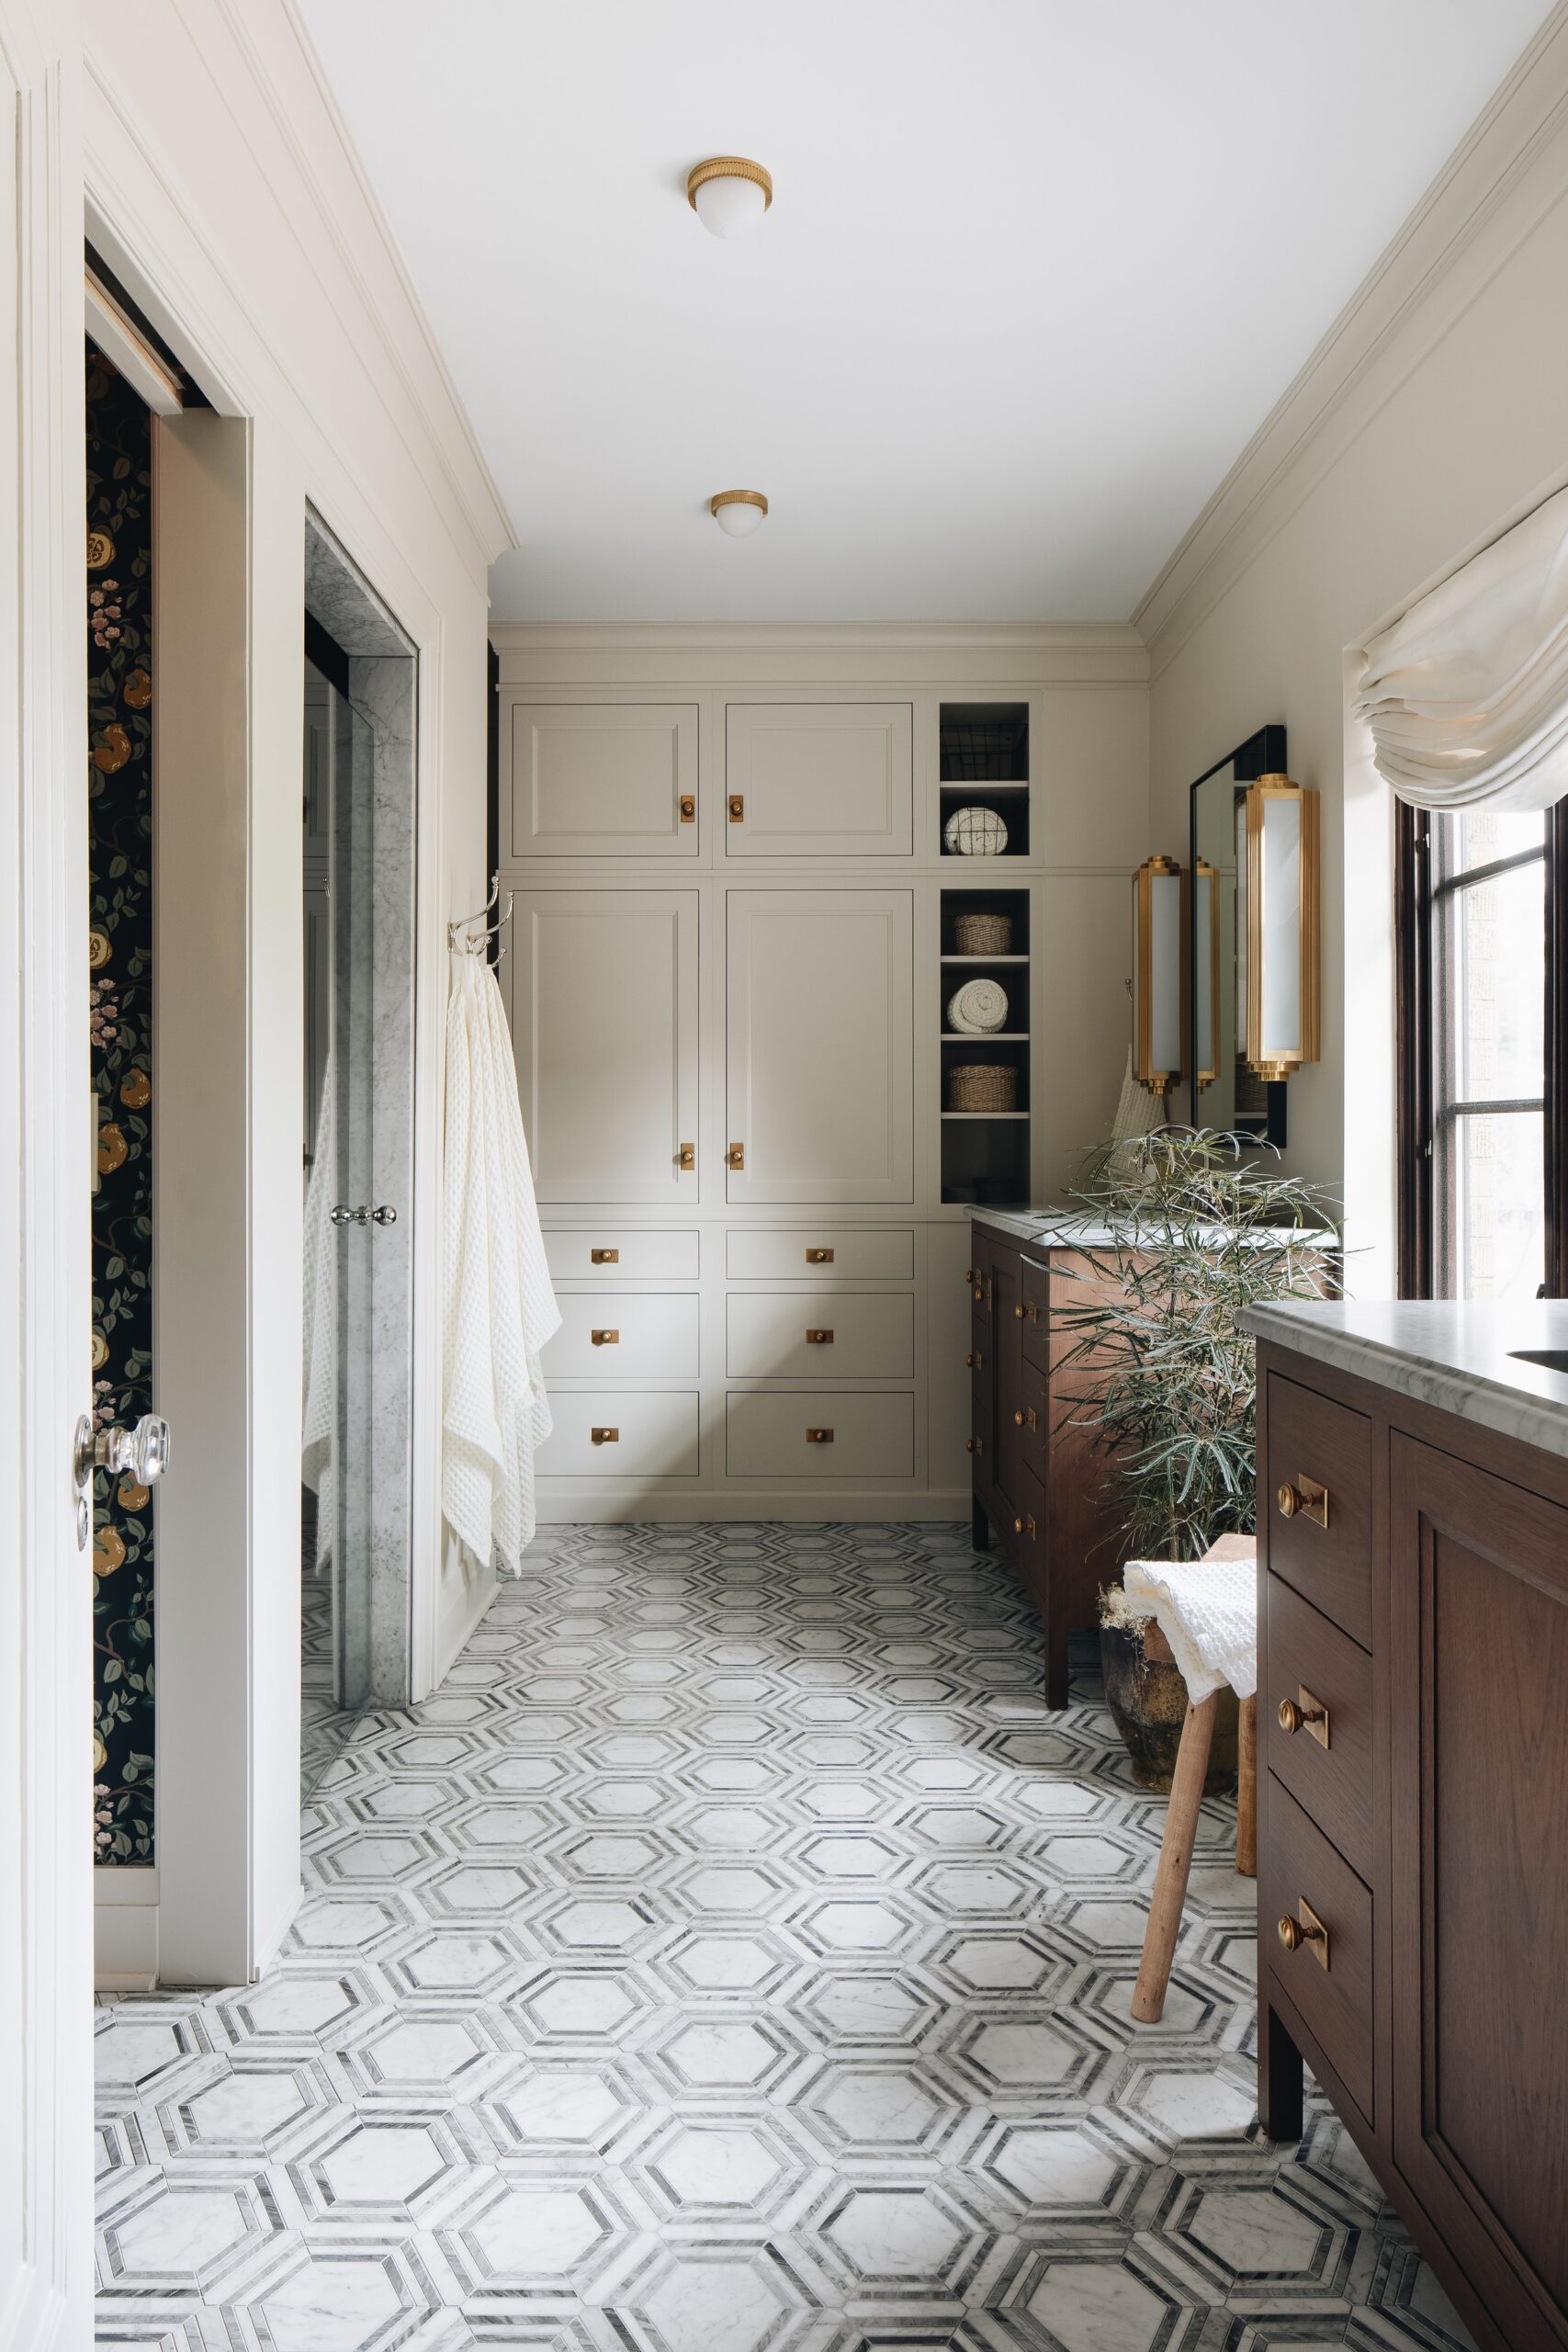
Picture light | Drapes | Drape rod | Drawer pulls | Cabinet knobs | Velvet sofa | Woven boxes

Simple Materials Guide
Get this FREE GUIDE to different types of trim and molding materials for your every DIY need – from wall molding to cabinetry!
My goal with all of my DIYs is that the finished product looks professional and not like an obvious DIY. Whether you are painting raw wood unfinished cabinets, or looking to repaint existing kitchen cabinets, getting the right paint for the job is crucial. You can’t use the same type of paint that you use on your walls.
Things to consider
For anyone attempting to repaint kitchen cabinets, there are some things to consider. It is very difficult – if not impossible – to replicate the result of a factory-finished cabinet. Kitchen cabinets are painted in industrial settings with industrial-grade paints and equipment that sprays the paint onto the wood surface with high velocity. It is usually lacquer or enamel-type oil-based paint and it might have undergone an additional curing process.
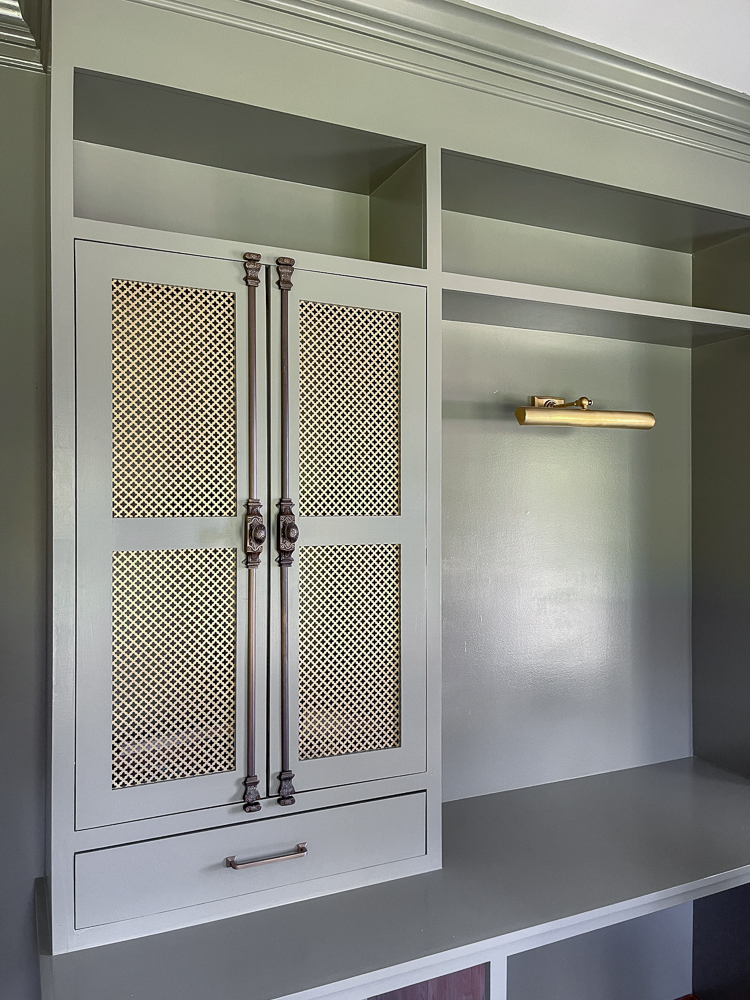
Drawer pulls | Cabinet knobs | Door latches
Oil vs water-based paint
Traditionally, the best paint for painting cabinets and trim has been oil-based paint. However, it is not easily available anymore or DIY-friendly. It has a strong and unpleasant odor, it takes a long time to dry, clean up is difficult, and it will yellow over time. Not to mention that once you paint with it, you have to continue to refresh with oil-based paint.
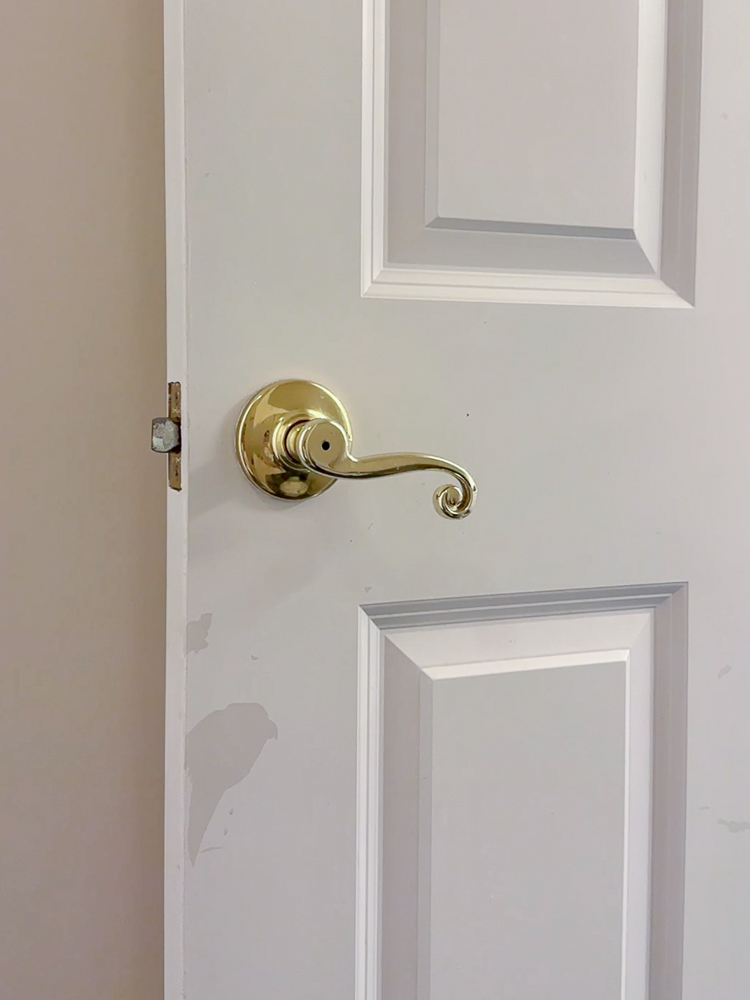
If you use water-based latex paint over oil-based paint, it will end up peeling off. The trim and doors of my ’90s home were originally painted with oil-based paint and then the previous owners painted over it with latex paint. The faintest touch causes that top coat of acrylic to peel. In the image below, you can see the results. Check out my post – How to Paint a Door – for tips and inspiration!
Water-based paint, or latex paint, has become the modern standard for paint. However, it has its disadvantages when applied to cabinetry. It doesn’t create a very smooth and hard-wearing finish. The wood surface tends to suck up the paint and requires multiple coats.
What is the best cabinet paint?
Many of the major paint brands offer specially formulated lines of paint that have many of the qualities of oil-based paint but without any of the drawbacks. The one negative point of this type of paint is the price. It is costly but trust that it is worth every single penny. My personal preference for cabinets is the Sherwin Williams Emerald Urethane Trim Enamel paint.


I’m sure the competitor brand paints are similarly formulated and deliver the same results. I am sharing my experience with the paint line I have worked with. Here is a list of the best cabinet paint lines on the market:
- Sherwin Williams Emerald Urethane Trim Enamel – my personal favorite
- Benjamin Moore Advanced – alkyd enamel paint that behaves like an oil-based paint but has no oil
- Behr – best on a budget
Sherwin Williams Emerald Urethane Trim Enamel paint
The SW Emerald line is formulated for cabinet, trim, and door application. It has a self-leveling property that helps eliminate the appearance of brush or roller marks and cures with a very hard smooth, enamel-like finish.
I have a post that shares all the paint colors in my home, but you can get your own get your very own Sherwin-Williams color deck. Having this on hand will keep you ready for any upcoming cabinet painting projects.
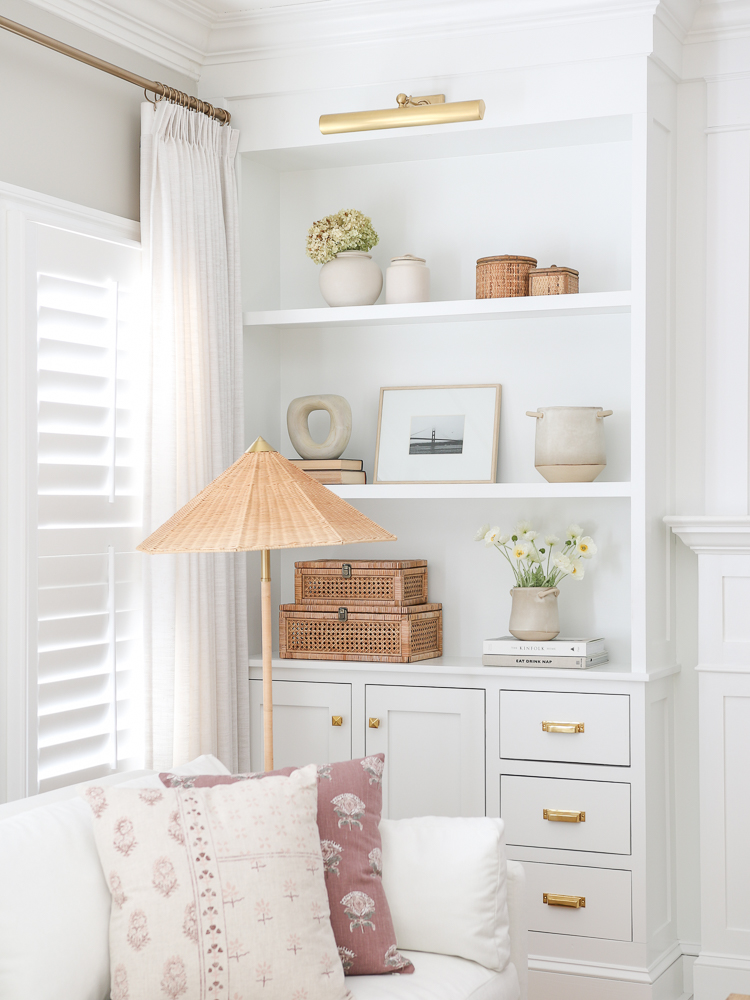
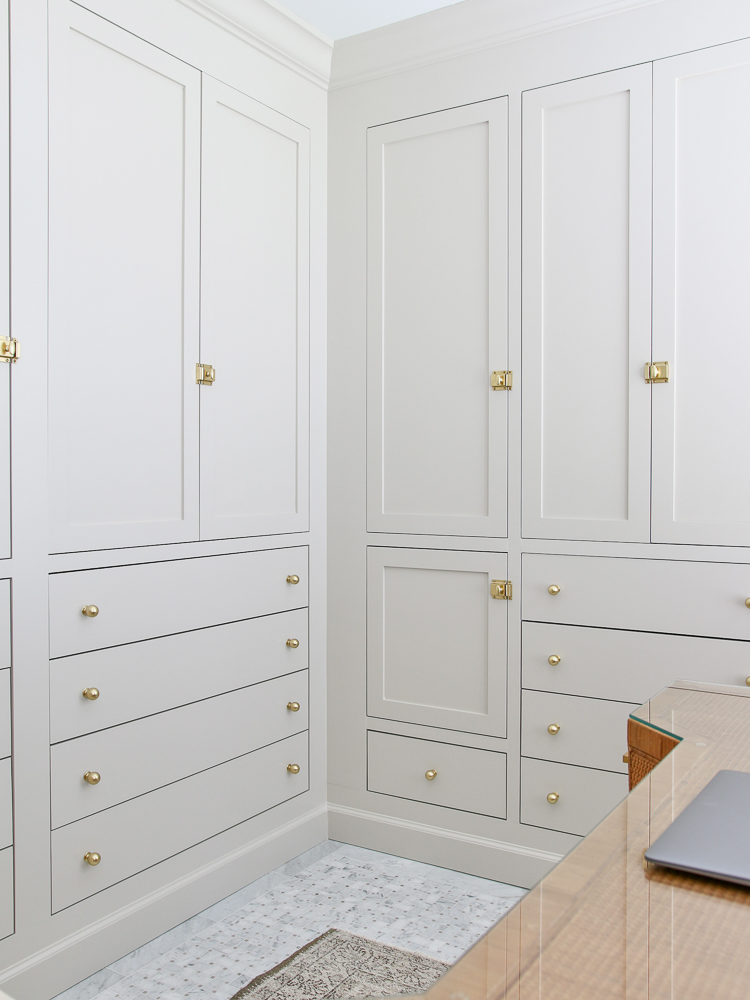
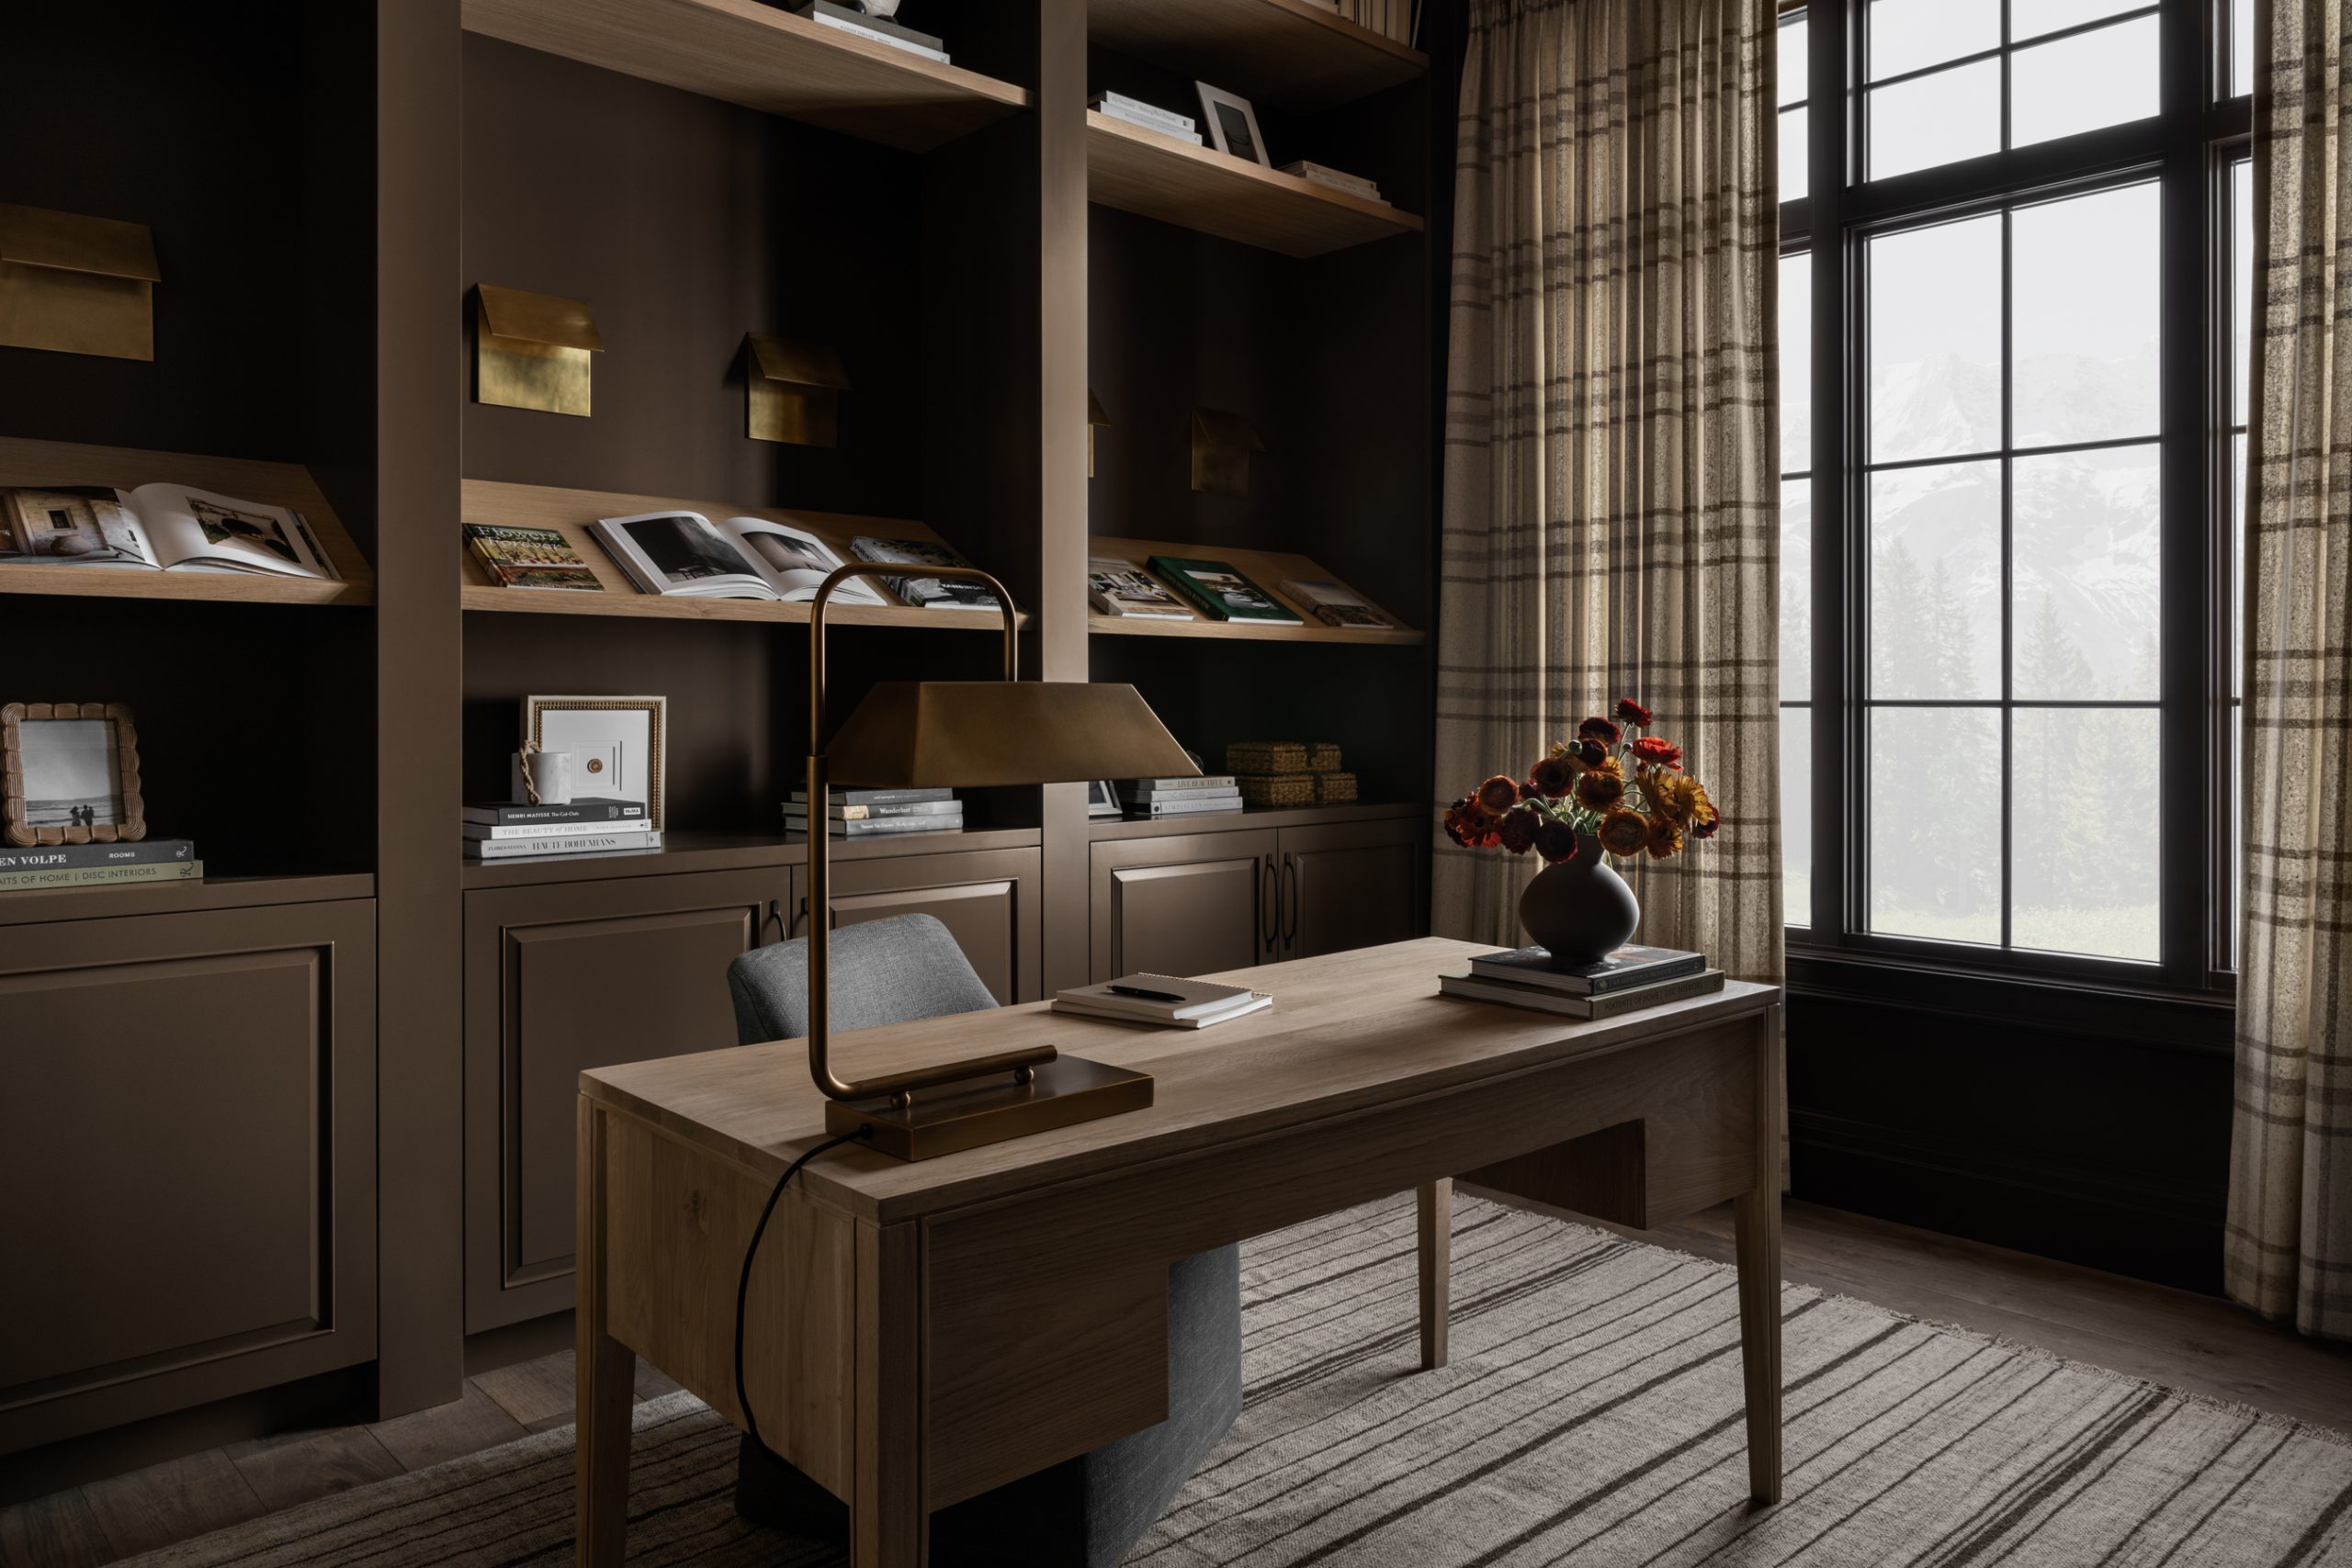
It has regular dry time between coats and to the touch however, it takes a few days to fully cure. What this means is that even though your project appears dry to the touch, you shouldn’t place anything on the freshly painted surface for up to 5 days. Allow the paint to fully cure before decorating your shelves or furniture as I did in my home office, pictured below.

Picture light | Drawer pulls | Cremone bolts | Leather desk chair
This paint comes in a satin, semi-gloss, and gloss finish. I always paint my cabinets with semi-gloss. If your surface has a lot of imperfections that you’d like to disguise, you can opt for satin. But if you prepare your project well before painting (see below), a semi-gloss finish will give it that beautiful sheen that usually comes only with factory-painted cabinets.
How to paint cabinets for a factory-smooth finish
Knowing all this helps adjust your expectations before you begin your project. You can still achieve an excellent durable result that is almost the same as the factory-painted cabinets. You just have to follow these steps:
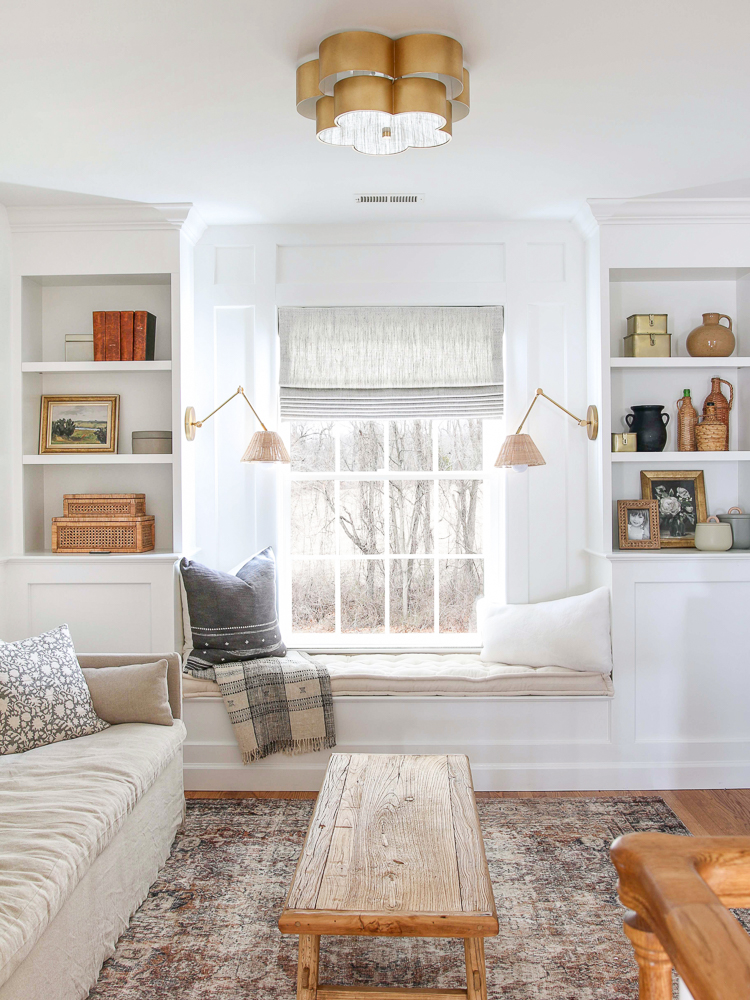
Ceiling light | Woven boxes | Reclaimed wood coffee table | Rug | Brass boxes
Prepare the surface
Sanding and prep are 90% of the paint job. I know you don’t like to hear that and that you are looking for a miracle, non-sanding solution. But if you start with a rough unsanded surface, no paint in the world will give you a smooth finish.
It is important to sand down the top layer of protective finish, if you are painting existing kitchen cabinets, or to use a degreaser. I use 120-grit sandpaper to level out any imperfections in my cabinets, then finish with 220 grit for a smooth surface. Vacuum and wipe down any debris with a tack cloth.
Do you need to prime?
In my experience with painting unfinished plywood cabinetry, primer was not necessary. The SW Emerald paint is thick and has amazing coverage. I haven’t had any stain or grain bleeding issues with it. However, if you will be using this paint on any other surface than raw or sanded wood, you might have to prime it.
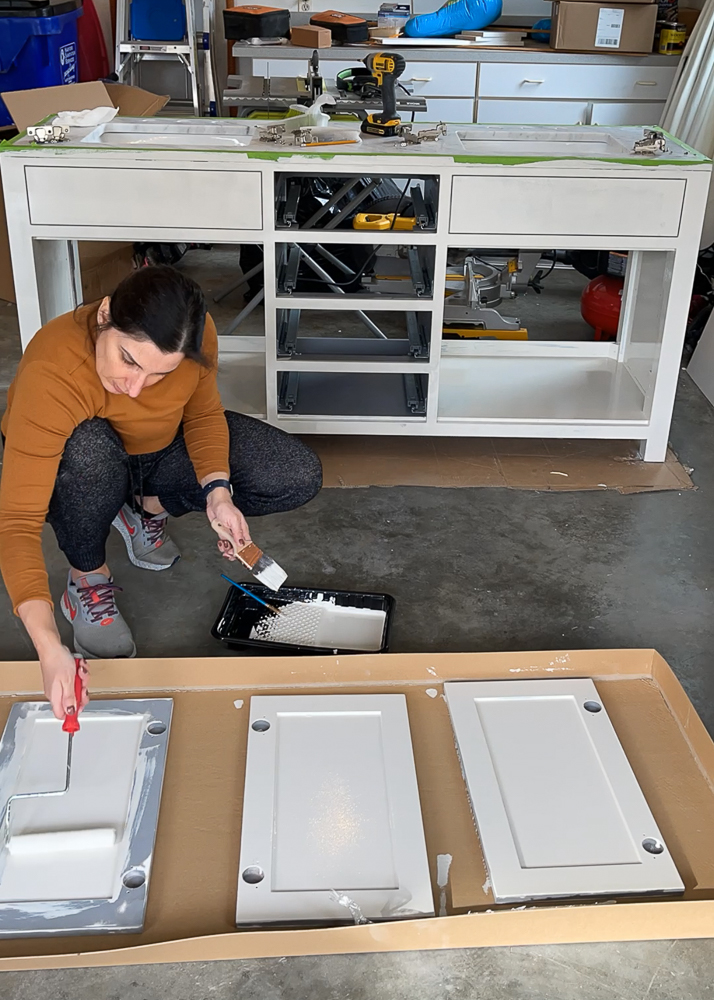
When I painted my bathroom vanity, I only sanded off the top protective coat of the original paint. It wasn’t necessary to completely remove all of the paint. I painted using SW Emerald Urethane Enamel paint and didn’t have to prime.
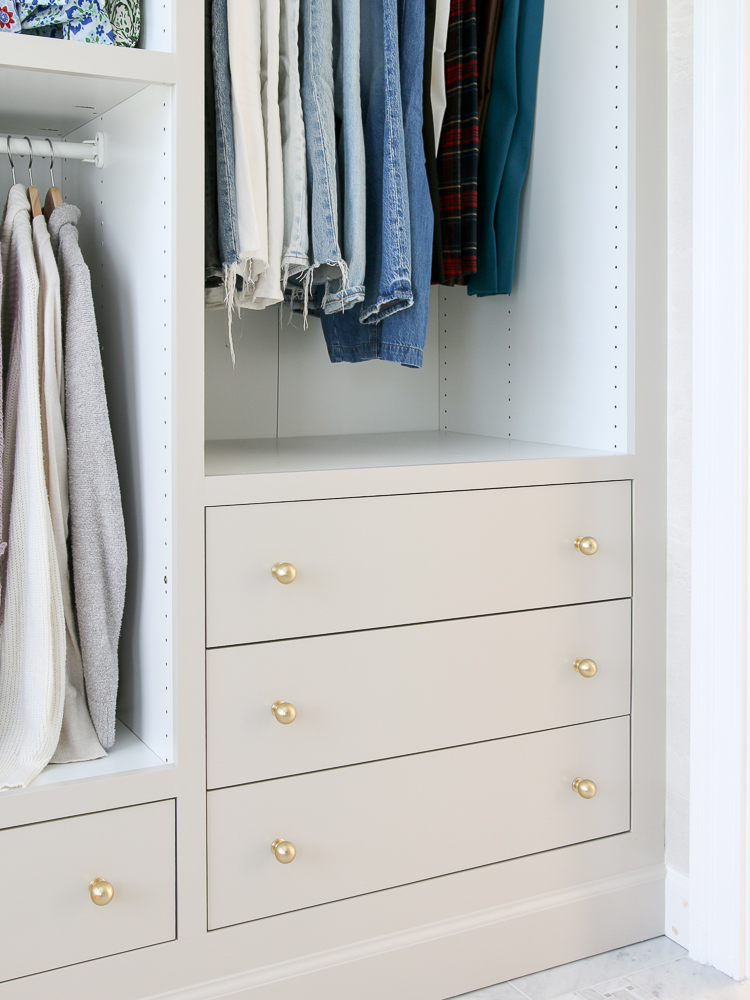
One example is painting IKEA laminate furniture. You can’t use the Emerald paint or any other paint on laminate or other smooth glossy finish without priming (or sanding) first. The paint will end up peeling right off. I wanted to use this paint in Accessible Beige for my IKEA Pax DIY custom closet, but the surfaces I painted were all pre-primed pine boards. I didn’t paint the Ikea surface interiors and left them as is.
The best primer for IKEA laminate surfaces is Kilz. It has a strong odor and runny consistency which makes it difficult to work with. But it creates a textured surface that the paint can grip onto. You have to pick your poison – sanding the smooth surface or priming it.
Do you spray or roll for a smooth finish?
The good news is that you don’t need to buy an expensive spray gun or learn how to use one to get a factory-smooth finish on your cabinet paint job. I have done both spraying and rolling my cabinets and they each have their pros and cons.
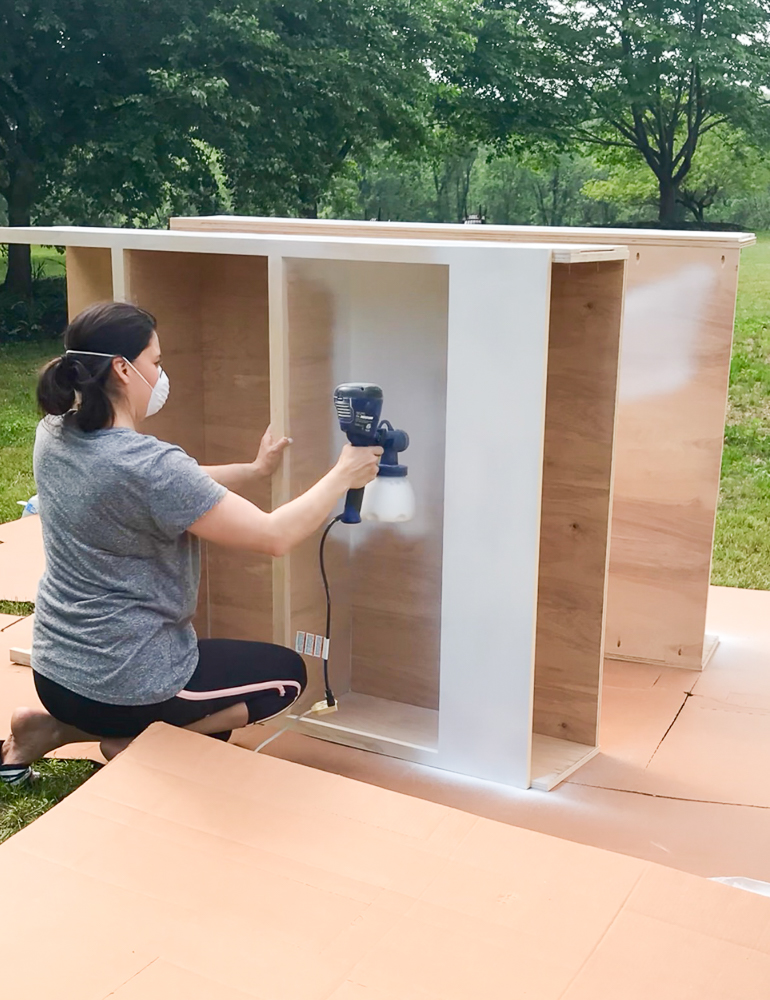
Spray painting is fast but it adds more time and effort in the preparation phase. If you are spraying on the inside of your home, you will have to tape and mask off any surface in the room that you wouldn’t want to get overspray on. You also have to wear a protective suit and mask.
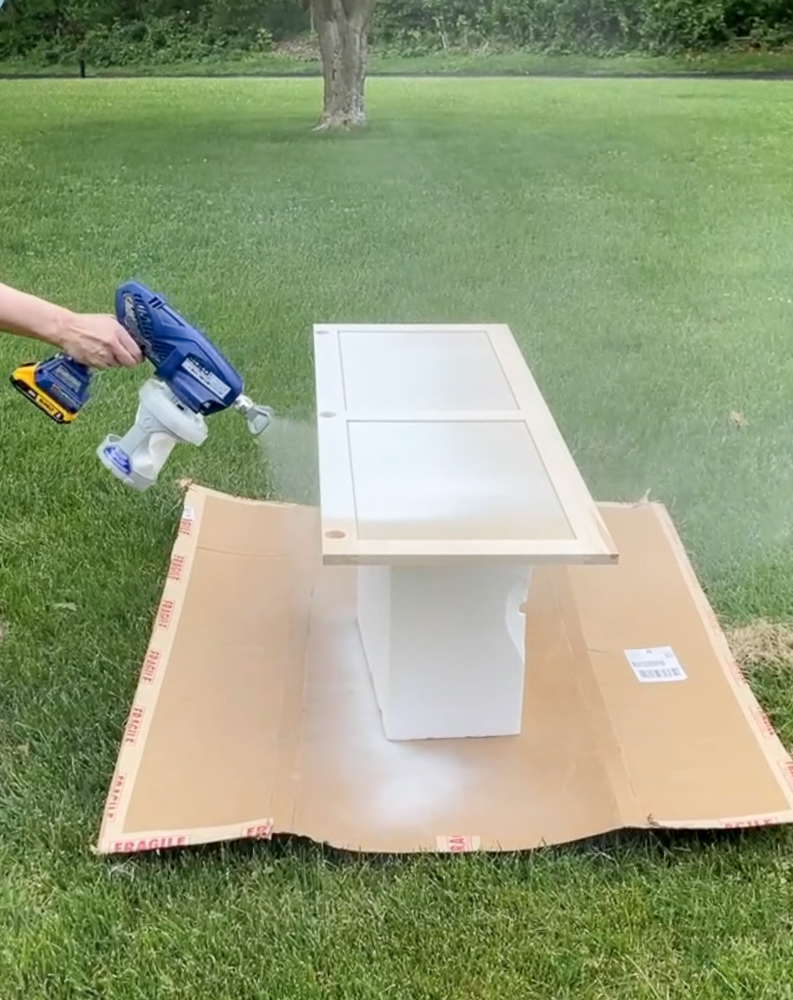
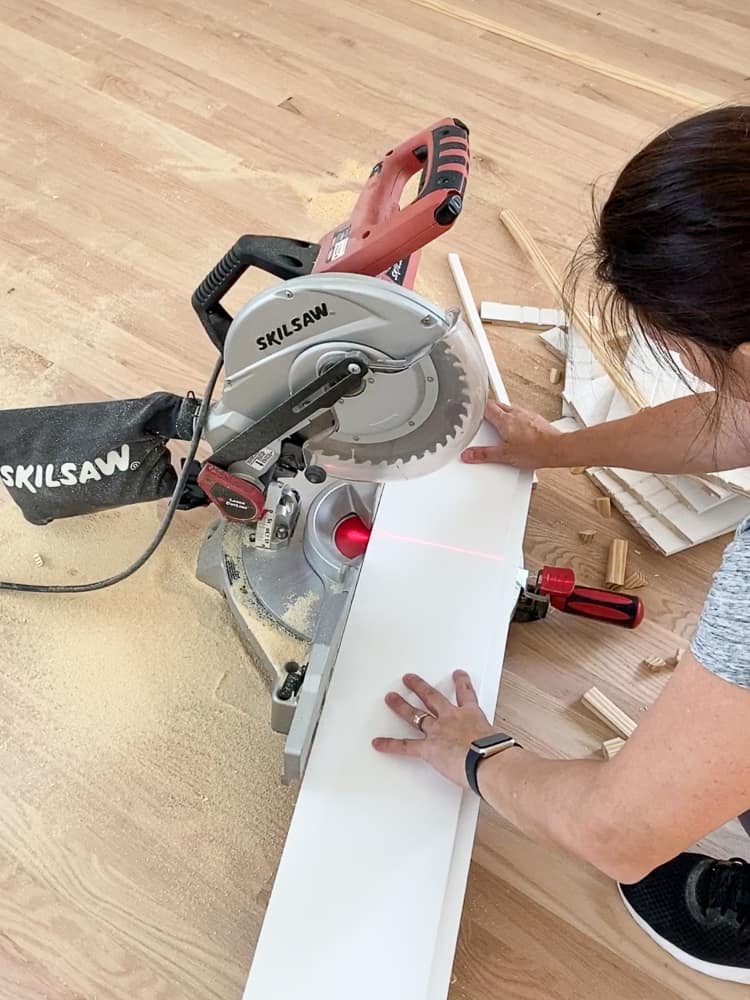
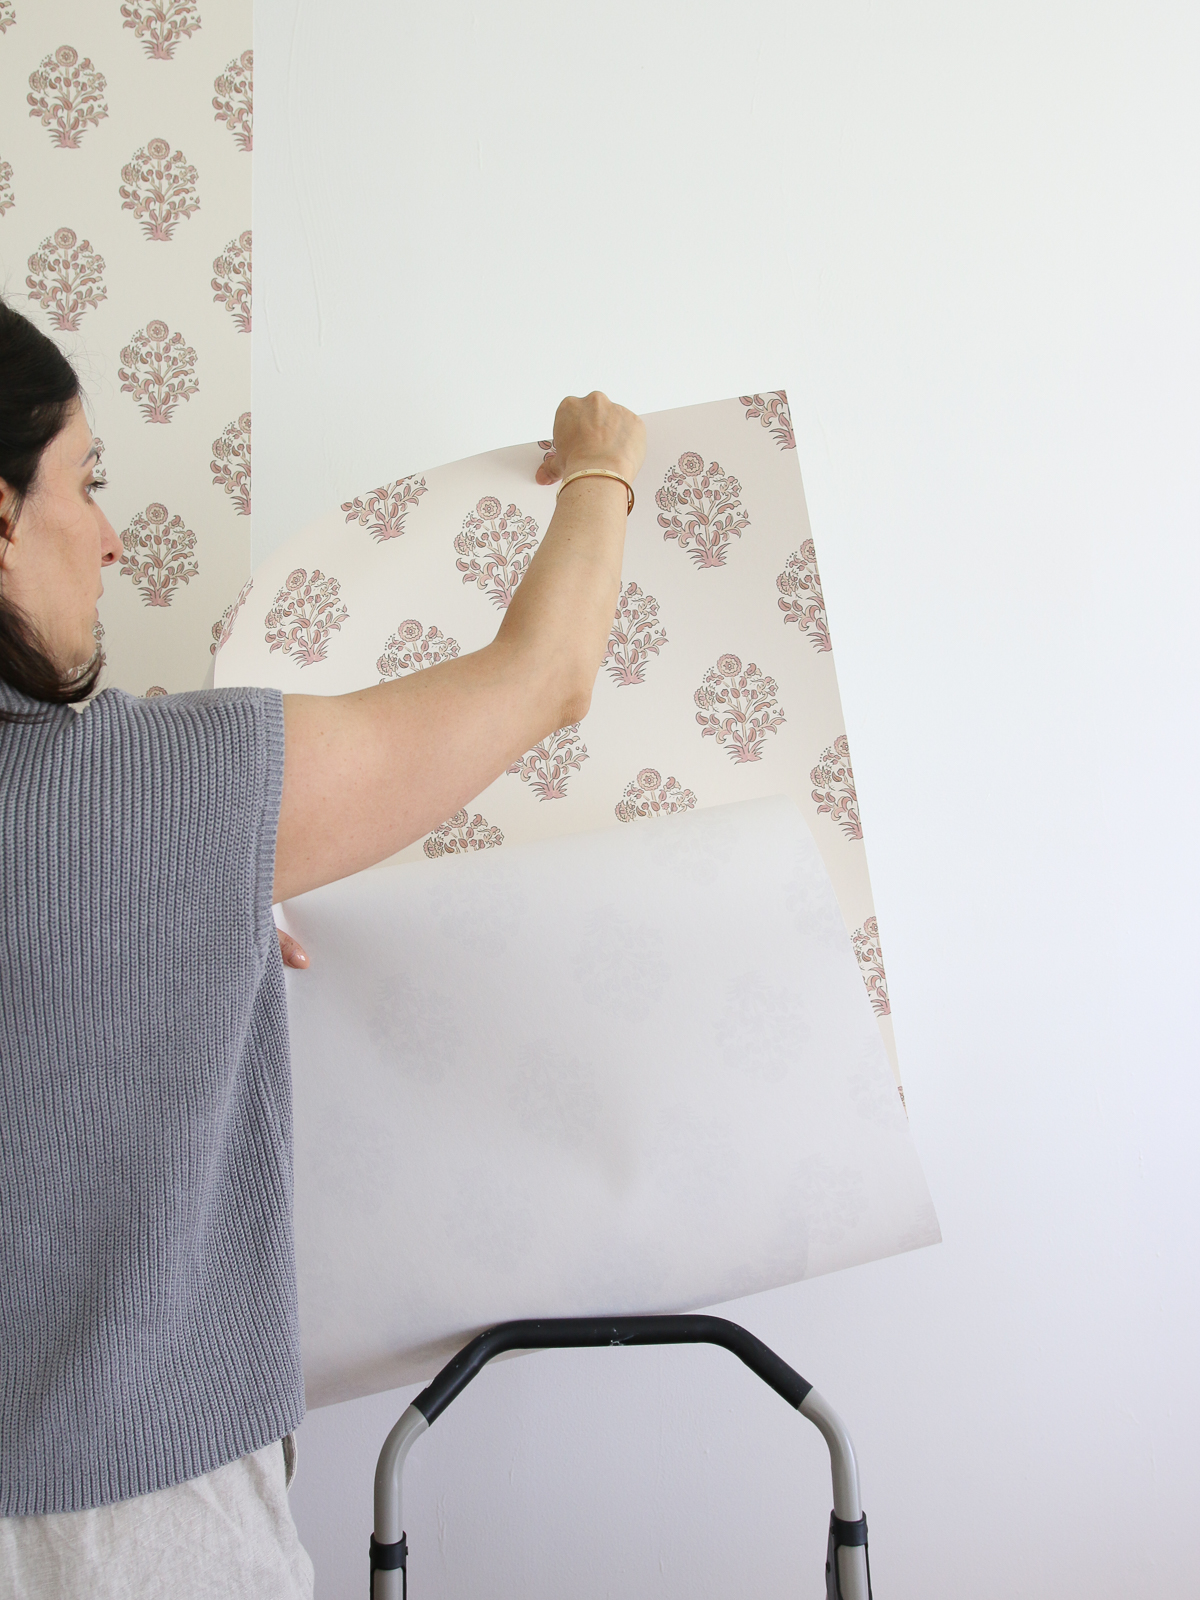
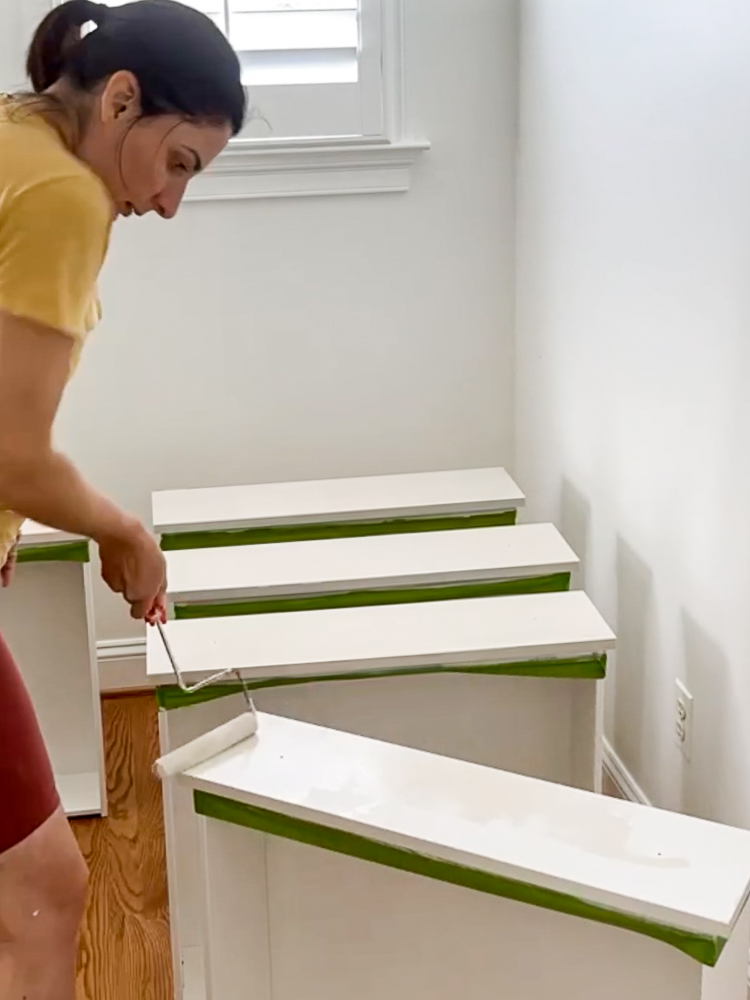
In the image above, I am using the best roller for painting cabinets for a smooth finish on my vanity doors. The next image is from when I took my closet doors outside to spray them. As you can see, the sprayer creates a cloud of particles so I still wear a protective mask outdoors.
SPRAY PAINTING
PROS
CONS
If the surface that needs painting isn’t large enough to justify the extra time in preparation, you will get a result just as good from using a roller and paintbrush. However, it is important to use high-quality tools regardless. Sometimes the best sprayer for painting cabinets is the one you already have, but if you are looking to invest in a good one.
A cheap paint sprayer can cause sputtering and uneven application, it may require you to thin the paint and is cumbersome to handle. A high-quality roller and paintbrush will give you an excellent result without the hassle of spraying. My recommendation for the best roller for painting cabinets is a short nap mini roller but never a foam roller. Foam is hard and leaves behind a texture on the surface.
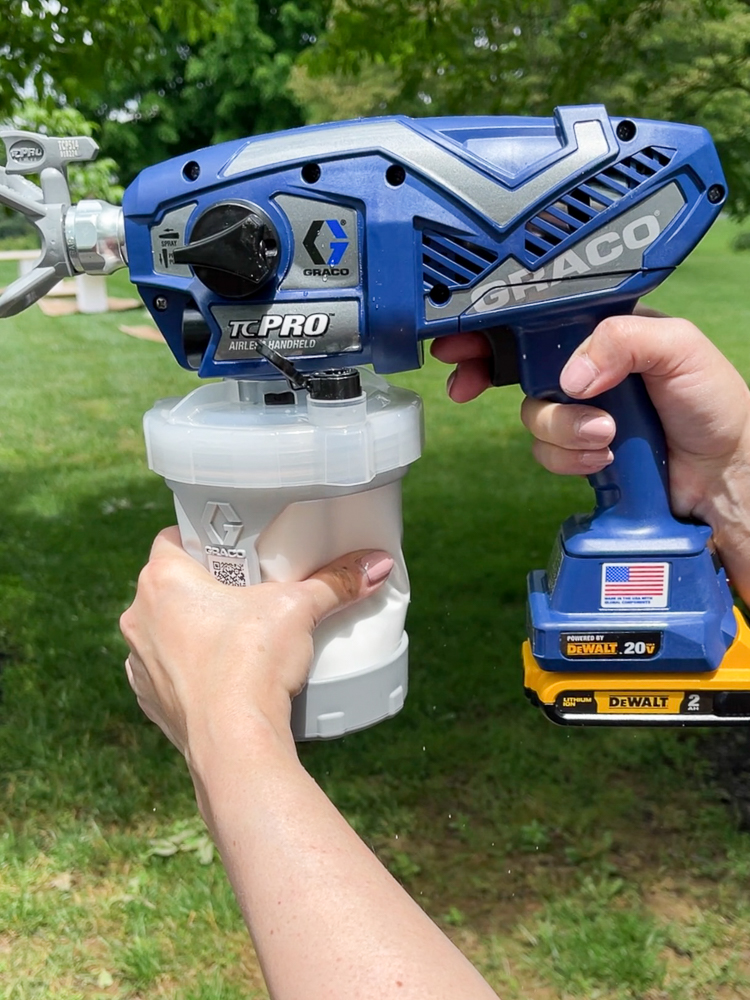
The best paint sprayer for cabinets I have used is the Graco battery-powered spray gun. It is portable – no cord to drag behind – and you don’t need to thin the paint. However, the battery pack makes it quite heavy and the paint container needs to be refilled fairly often.
You have to sand between coats
This step is as important as the previous three! The initial coat of paint or primer causes the wood grain to rise, creating a rough surface to the touch. You don’t want to skip sanding between coats or you will not get a professional smooth result in the end. I promise it’s not hard and it doesn’t take much time.
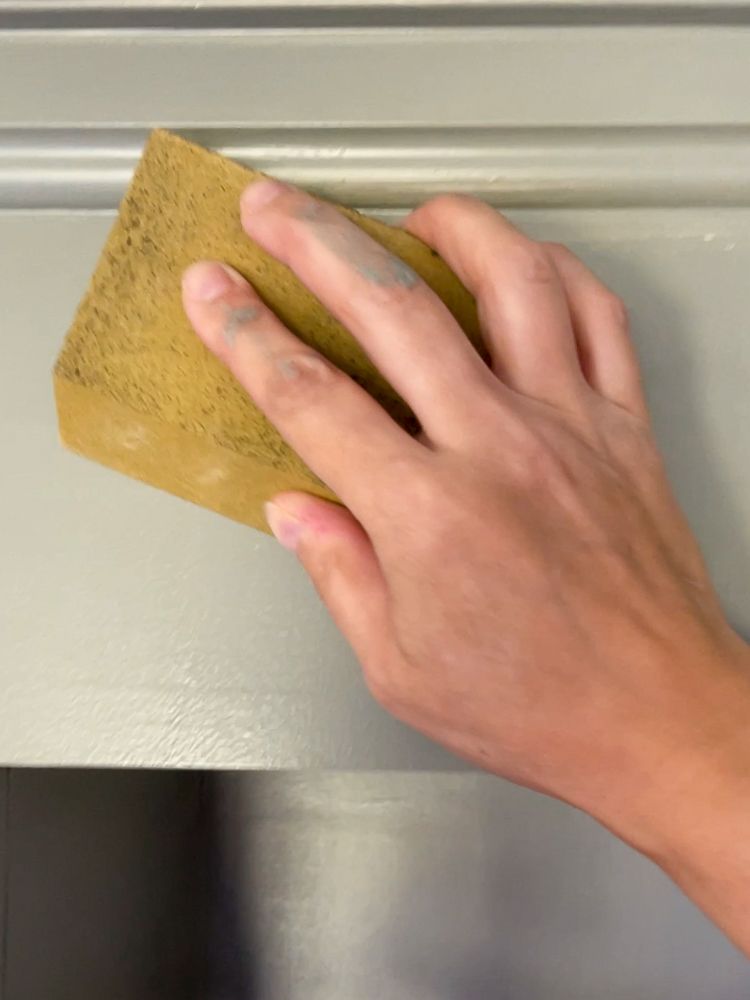

Just grab a sanding block and buff out the surface by hand. You can try using an orbital sander with 220 or finer grit but you run the risk of taking off some of the paint. Don’t forget to wipe down the surface to remove any dust. Most of my projects only require two coats. You don’t sand after the final coat.
Check out my comprehensive list of essential DIY tools I use for all my projects!
Evaluate and correct any imperfections
Things rarely go off without a hitch. You might miss areas (if you sprayed) or end up with drip marks. Examine the project and make corrections as needed. If you have brush marks or drips, wait until the paint is dry and sand those areas again. Apply your final coat lightly.
Do you need a topcoat?
This type of paint doesn’t require any protective finish or topcoat. After it cures the surface is very durable and holds up better than regular paint.
Favorite kitchen cabinet paint colors in 2023
A classic white kitchen will never go out of style, but all the top designers are making a statement with bold and luxurious earthy colors for cabinetry. Here are a few of my favorites – from light beige to mid-tone brown and deep sage green.

Read more about white paint colors in my home and my review of SW Pure White.