Easy DIY Brass Gallery Rail and Floating Shelf
Disclosure: This post may contain affiliate links. As an Amazon Associate, I earn from qualifying purchases at no additional cost to you.
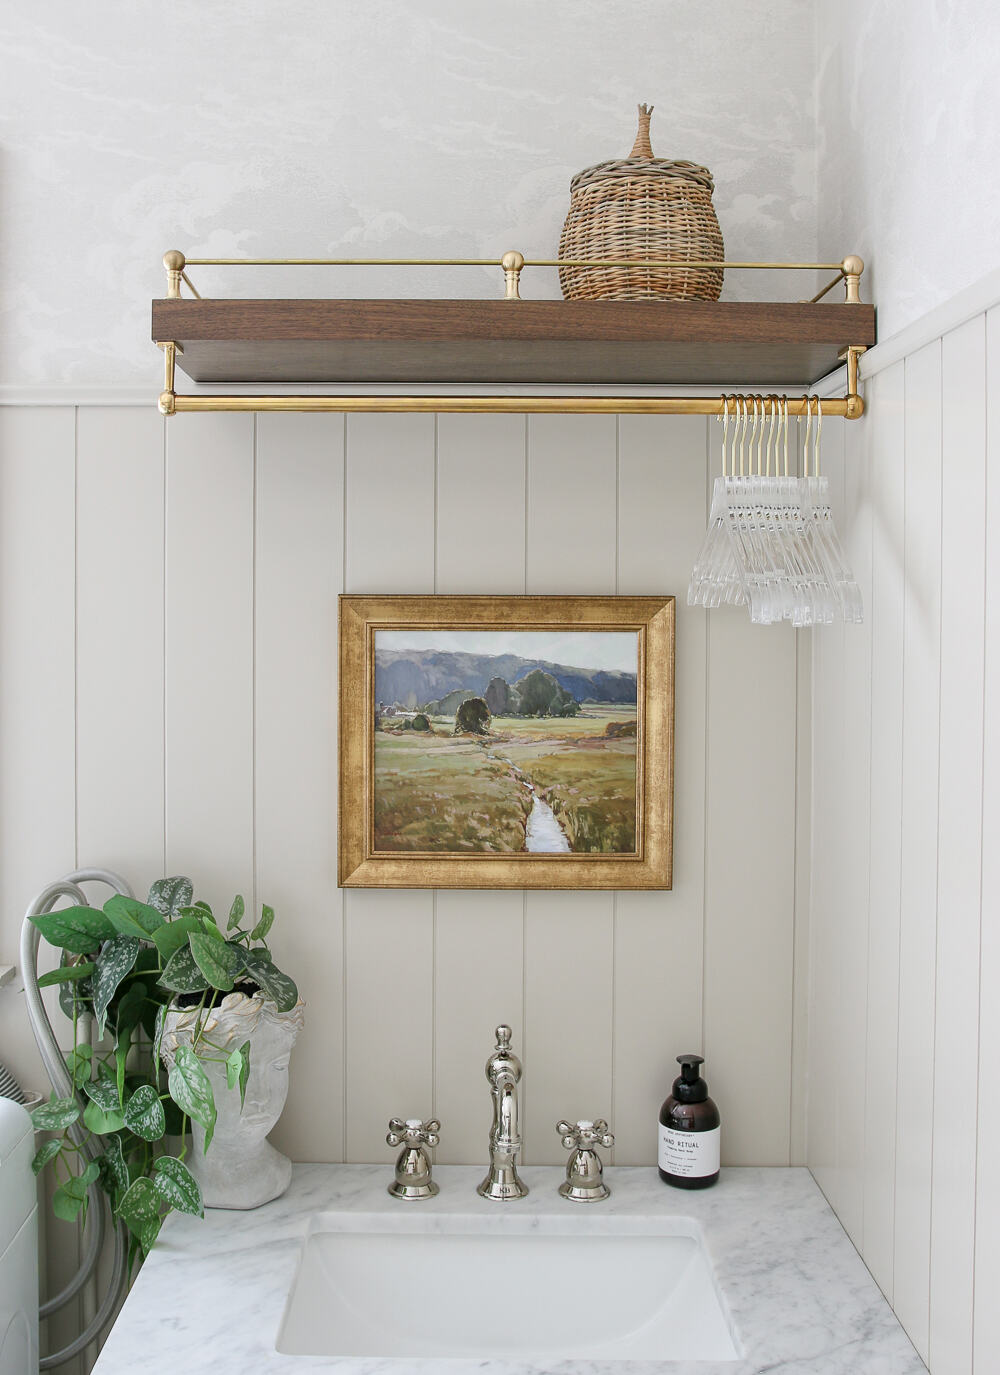
Looking for an inexpensive DIY project that makes a big impact? My laundry room was recently renovated but I still needed a place to hang clothes and store things. Instead of taking up wall space with a drying rack, I added a floating shelf with a brass gallery rail. Keep reading for all the details on how you can do it too!

Sources: Walnut floating shelf | Basket | Polished nickel faucet | Soap dispenser | Grecian bust pot | Vanity | Brass hanging pot rail | Acrylic hangers | Hand towel | Drawer pull | Cabinet latch
What is a gallery rail?
A gallery rail is a decorative accent usually found on the top edge of a shelf. Most often you’ll see it in a brass finish. It consists of rods that are connected to small finials(posts) and besides looking pretty, its only other purpose is to help keep objects from sliding off the edge.
I’ve spoken numerous times about what distinguishes high-end-looking home design and decor, and it’s all in the details. Whether it’s the type of fabric something is made of or the finishes of the hardware, these aspects of your home contribute to the overall feel and style of each space.
Simple Materials Guide
Get this FREE GUIDE to different types of trim and molding materials for your every DIY need – from wall molding to cabinetry!
Open shelving is the perfect place to show off your decorating skills, but sometimes the shelf itself needs a little decorative accent too! Vintage design elements are very trendy right now but will never go out of style. You know I love brass hardware so this was the perfect project for me.
Tools needed for this project
This is another one of those projects that requires tools that every DIYer probably already has on hand. If not, here is a list of what you’ll need to hang the floating shelf and install the brass gallery rail:
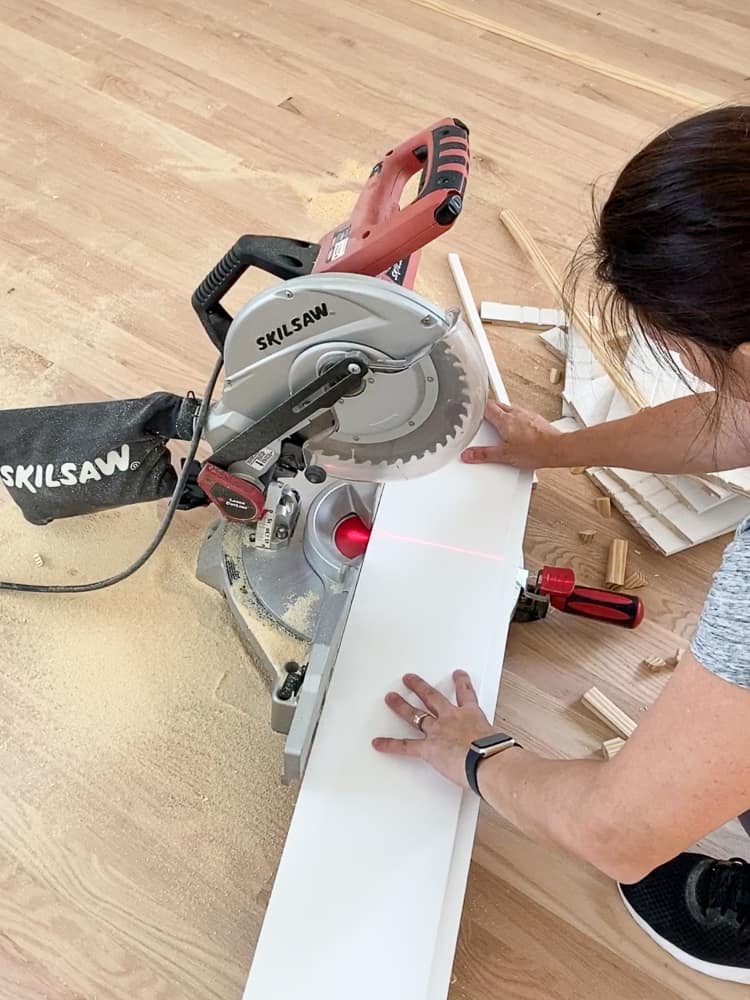
- Pipe cutter, miter saw, or hacksaw – any metal cutting tool
- Drill
- Tape measure
- Painters tape
- Stud Finder
- Utility knife
Check out my comprehensive list of essential DIY tools I use for all my projects.
Installing the floating shelf
I used floating shelves from Ultra Shelf in the wet bar and media room during our basement project. What I love about their products is the way the bracket is set up, you are pretty much guaranteed to hit two studs.
1-Find the studs

2-Pre-drill holes

3-Attach bracket
4-Install shelf

Since the shelf was going over the sink and I planned to hang clothing from it, I had to install it above the vertical shiplap where my favorite wallpaper is. Check out my guide to hanging and removing wallpaper for everything you need to know about that process.
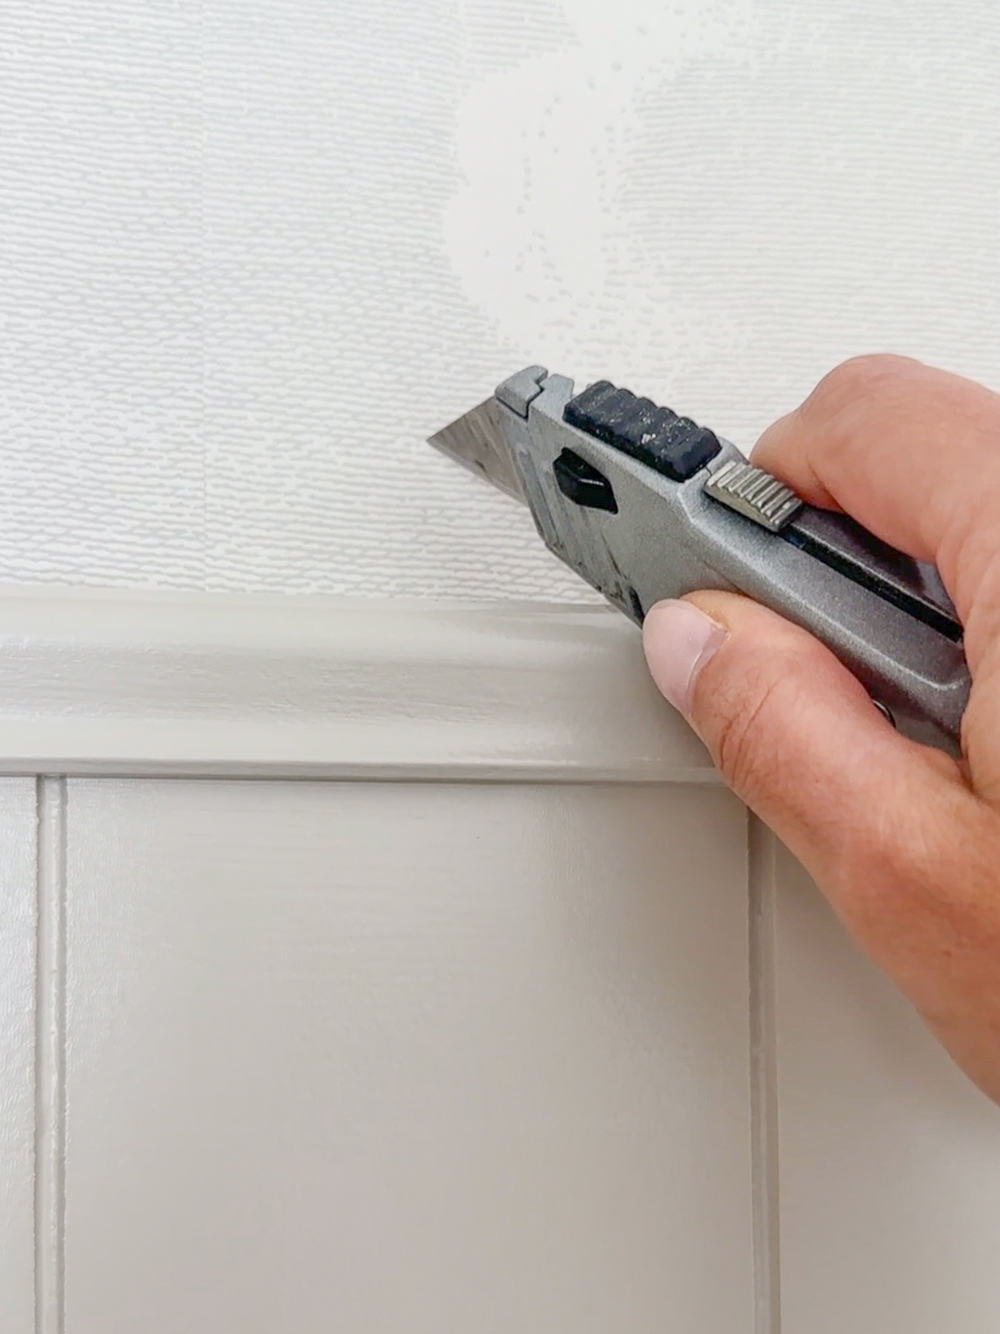
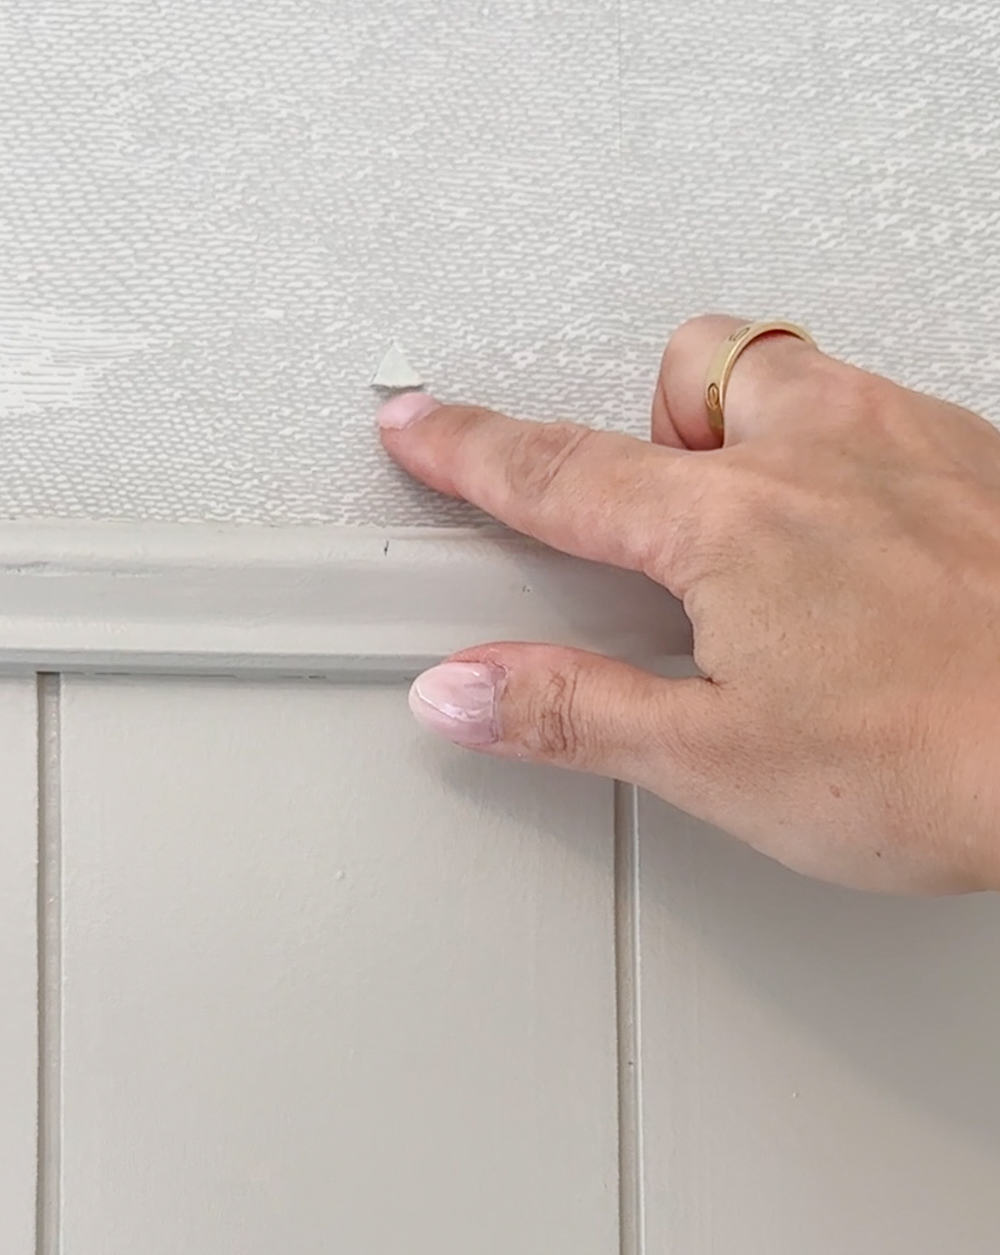
PRO TIP
If you want to hang art or shelves on a wall with wallpaper, cut a little flap with a utility knife then fold the wallpaper back and make the hole directly in the wall. This way, if you change your mind down the road you can simply remove it and re-glue the flap. No one will ever know!
Once the shelf was in place, I measured the shelf where I wanted the brass gallery rail to go to determine what materials I needed.
Where to get brass gallery rail supplies
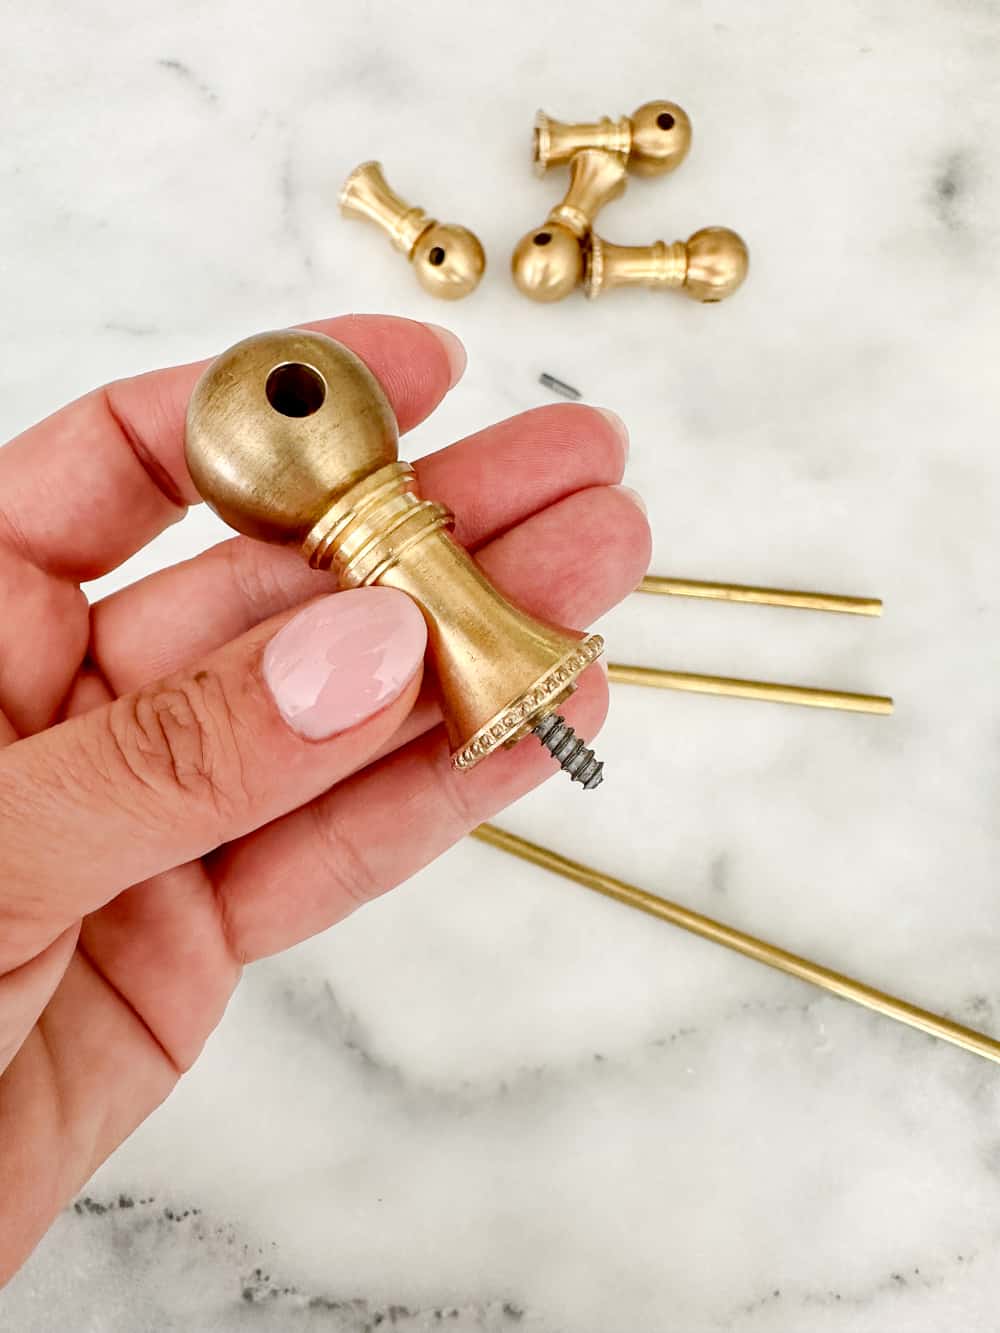
Once you have your design figured out, you can order the hardware. The rods are pretty straightforward, but there are different types of posts. Be sure you get the correct ones!
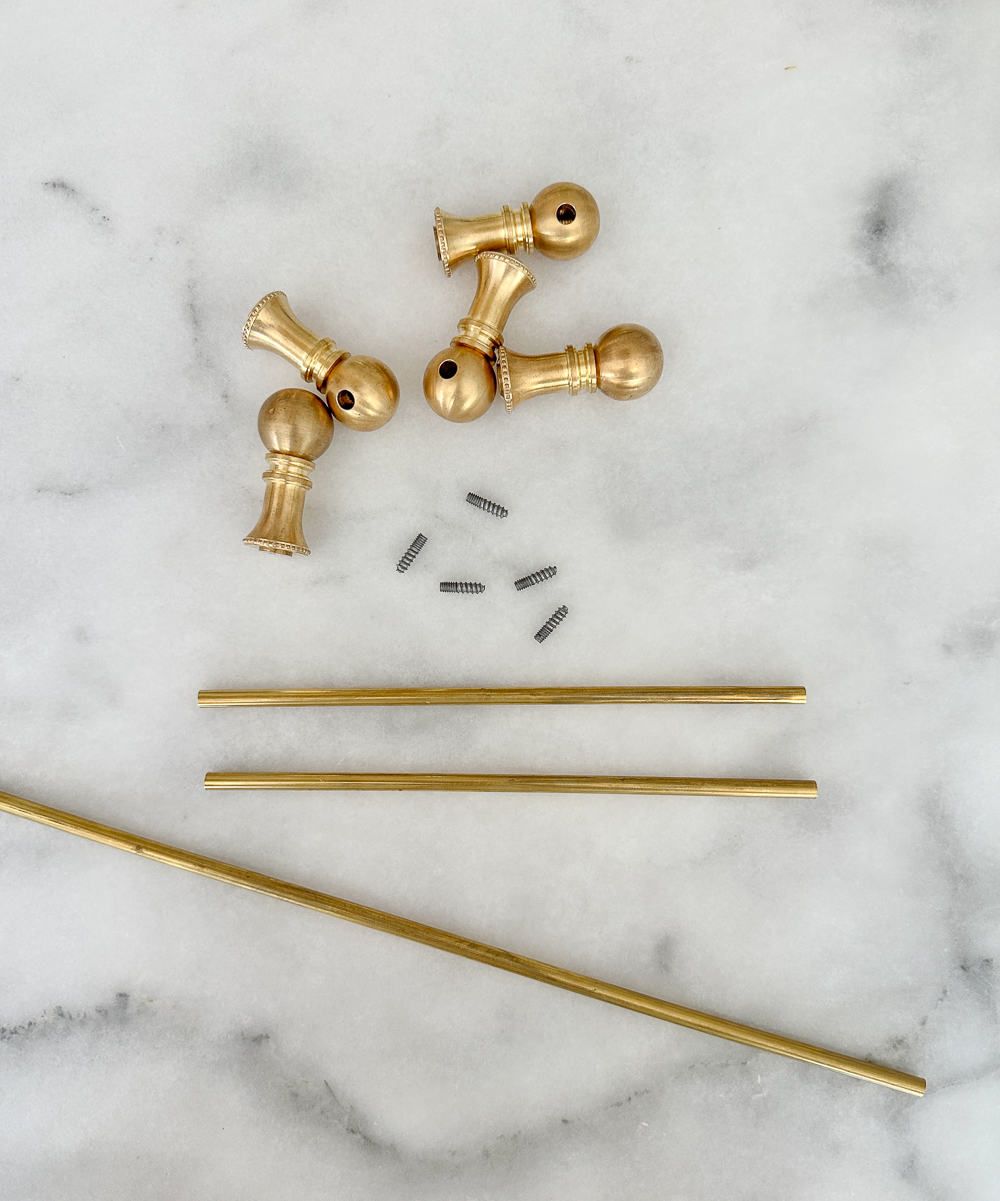
A corner post will have two holes to accommodate rods from the front and side of the shelf. A center post will have one hole that allows the rod to pass all the way through. End posts also have a single hole, but it doesn’t go all the way through.
When shopping for hardware for floating shelf, I came across the website for Paxton Hardware that had just what I was looking for. Low and behold…they are local to me! If you are looking for any vintage hardware – door handles, hinges, etc. – you won’t be disappointed.
One of my favorite places to hunt for things like this is Etsy. If you want to go down that rabbit hole, check out a few of my top picks for gallery rail hardware. Tap the images below to shop:


Another online source for hardware is Van Dyke’s Restorers. Lots of unique options there as well.
Do a quick google search for vintage hardware shops in your area and you might get lucky like me!
Two methods for installing a gallery rail
Traditional screws
The easiest way to do it is similar to the way hardware is installed on a drawer or kitchen cabinet. Drill a hole through the shelf, insert a traditional screw underneath and up through to the post.
PRO – You can connect the rods and posts before you tighten the post screws.
CON – If the bottom off the shelf is visible then screws will be visible too.
PRO TIP
Place painters tape on the shelf surface before you drill. This will help to prevent splintering of the wood.
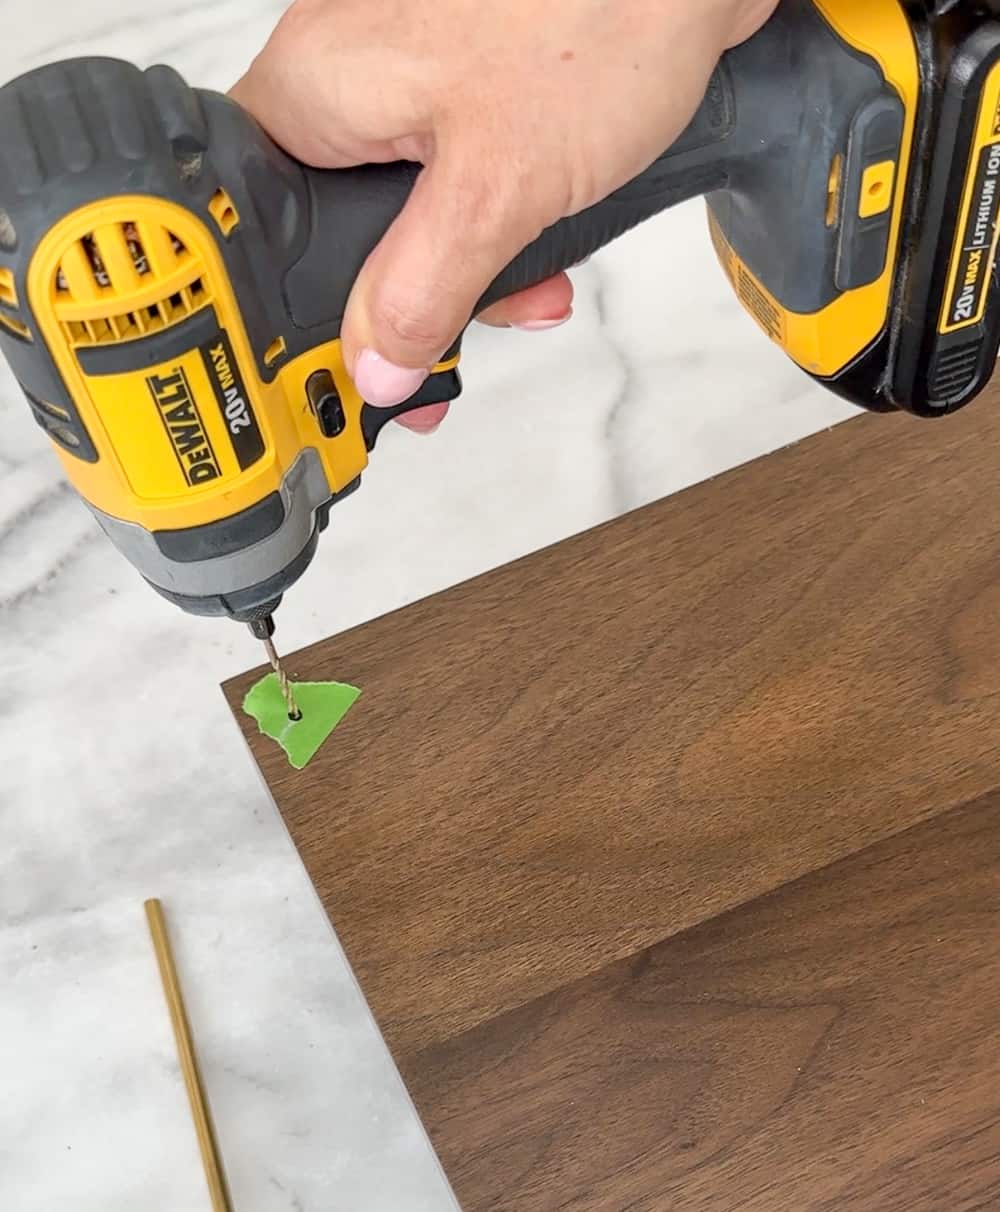
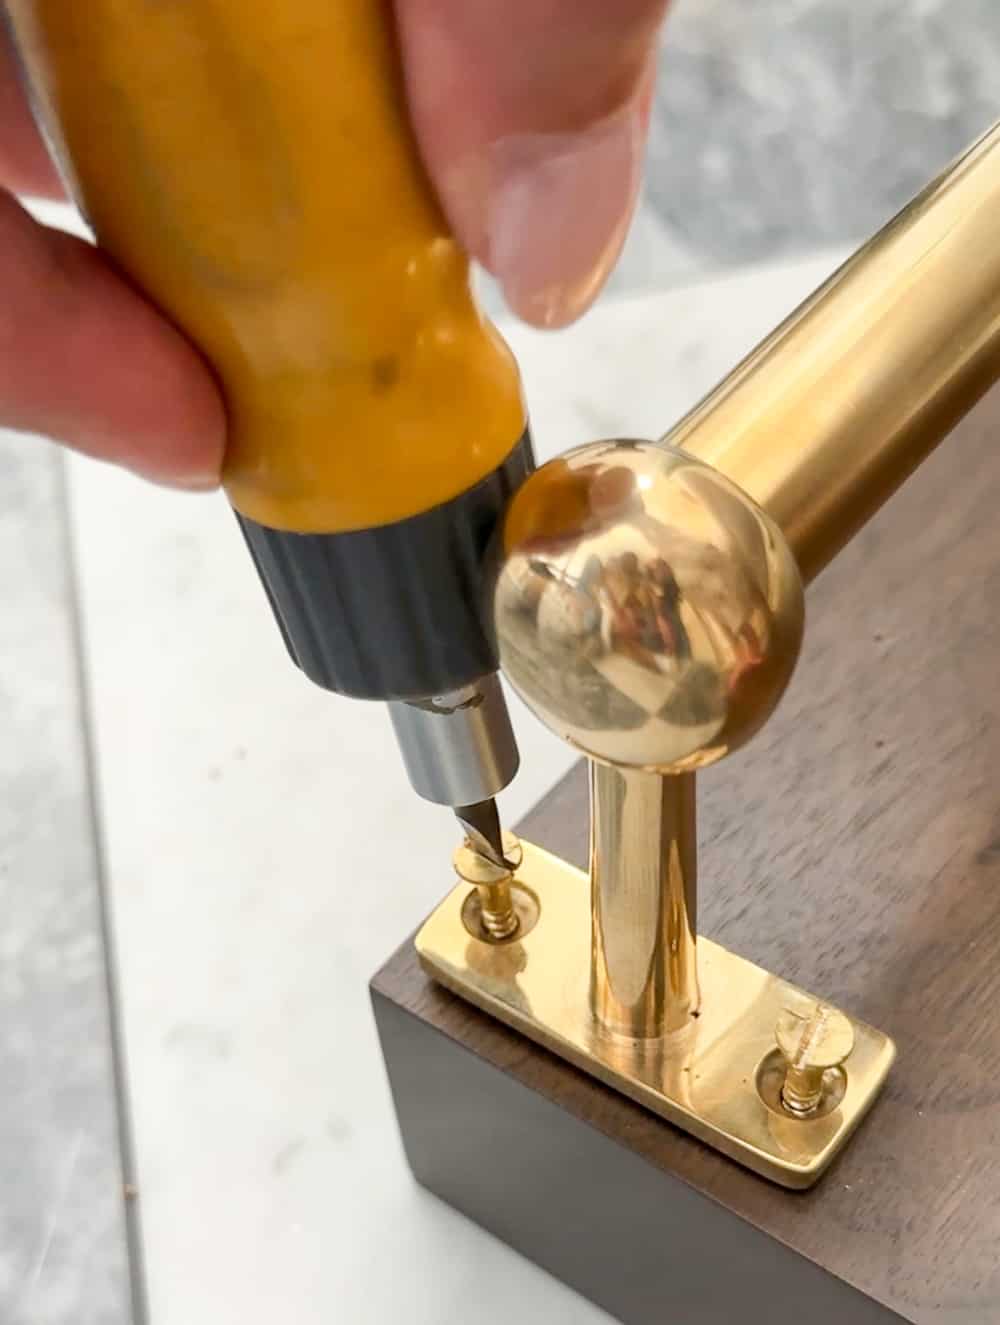
Dual head screws
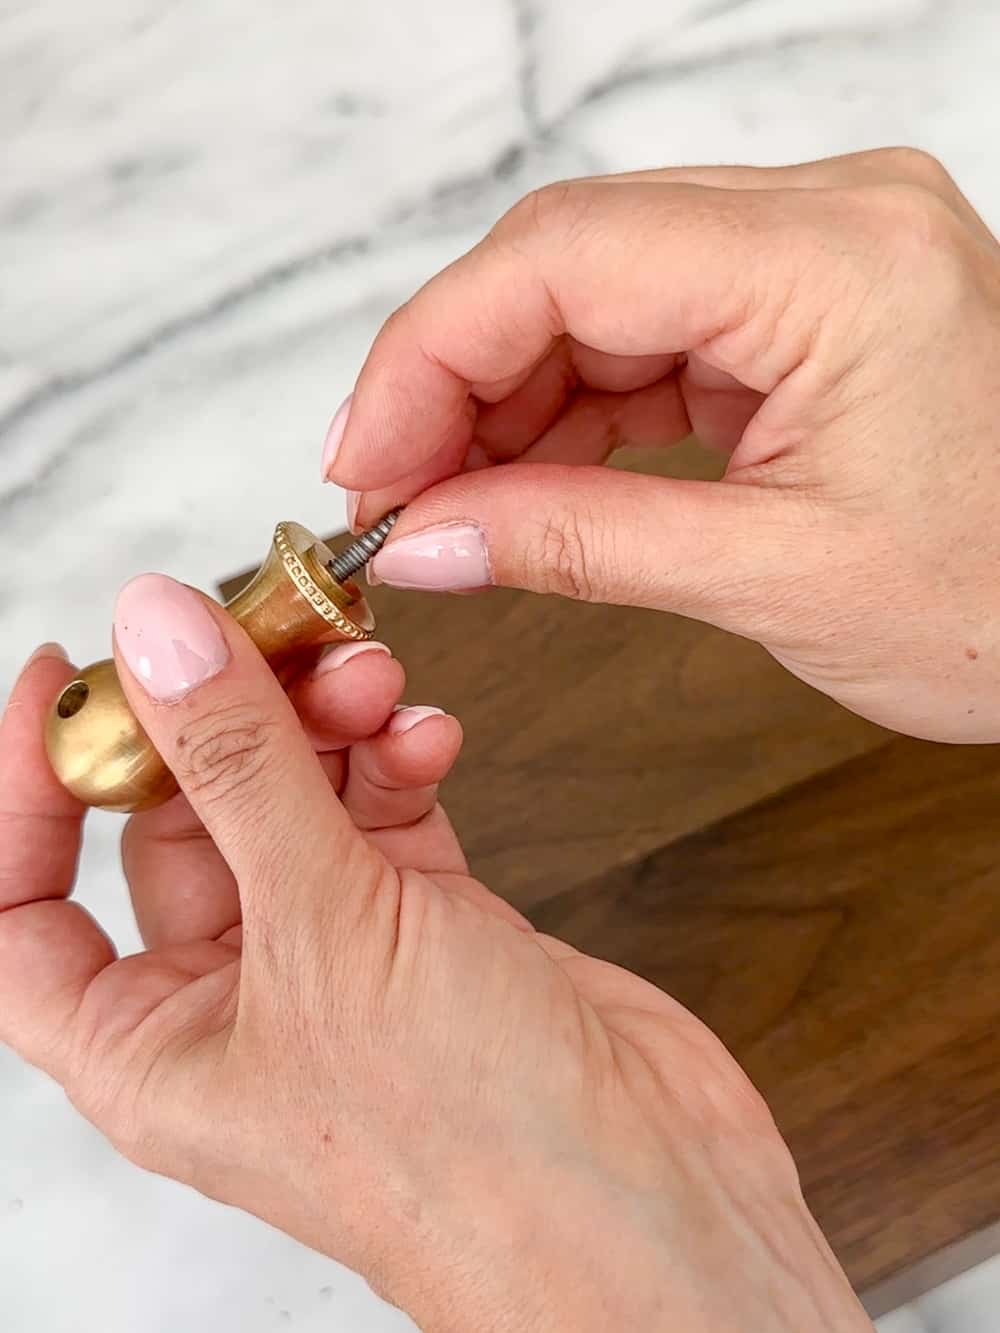
Since my shelf is pretty high, I used this method. Instead of drilling all the way through the shelf, I pre-drilled small holes on top to accommodate dual head wood screws. The flat end with smaller threads goes into the bottom of the post. Then the end with the larger threads gets screwed into the wood.

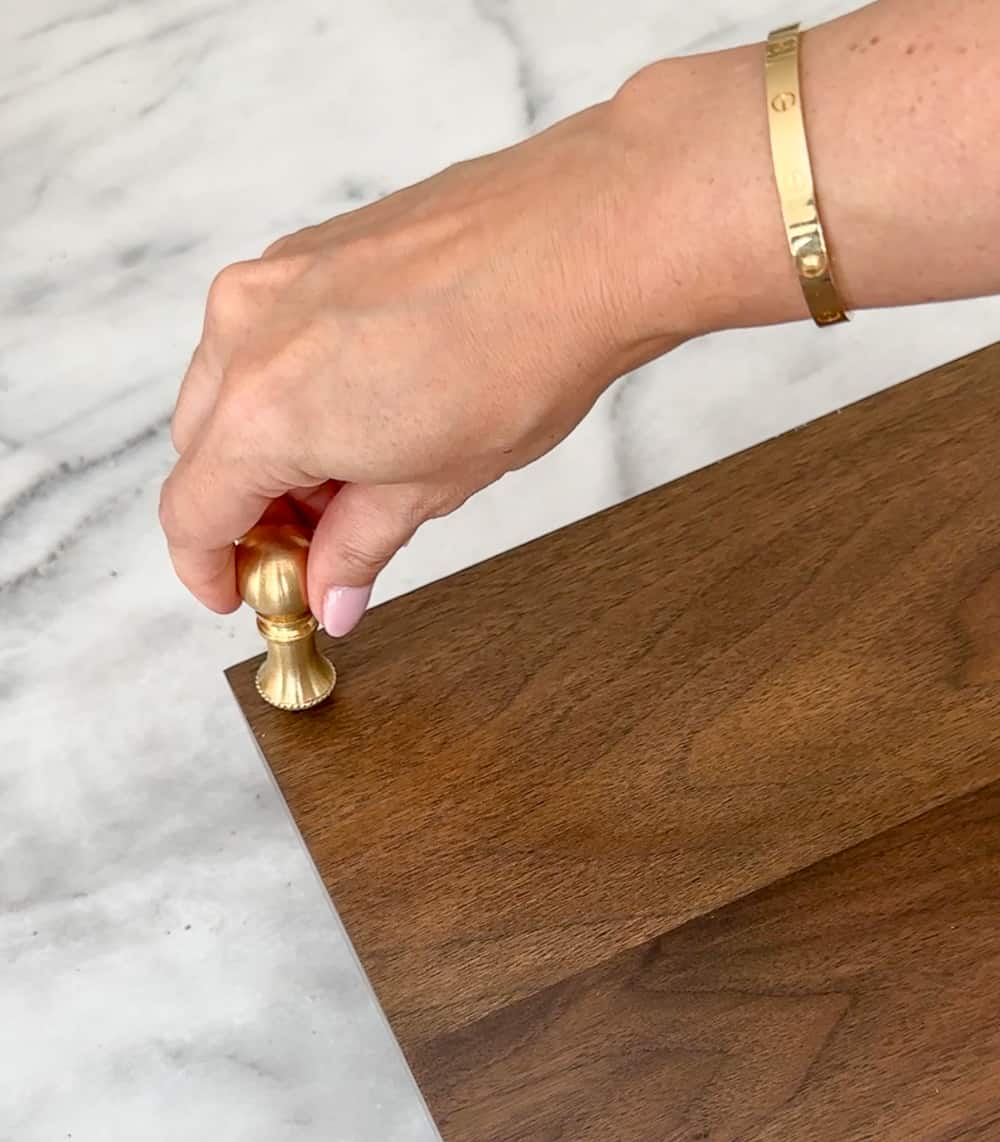
Now for the tricky part: since I had to twist the posts into the wood first, I wasn’t able to put the rods in until the posts were installed.
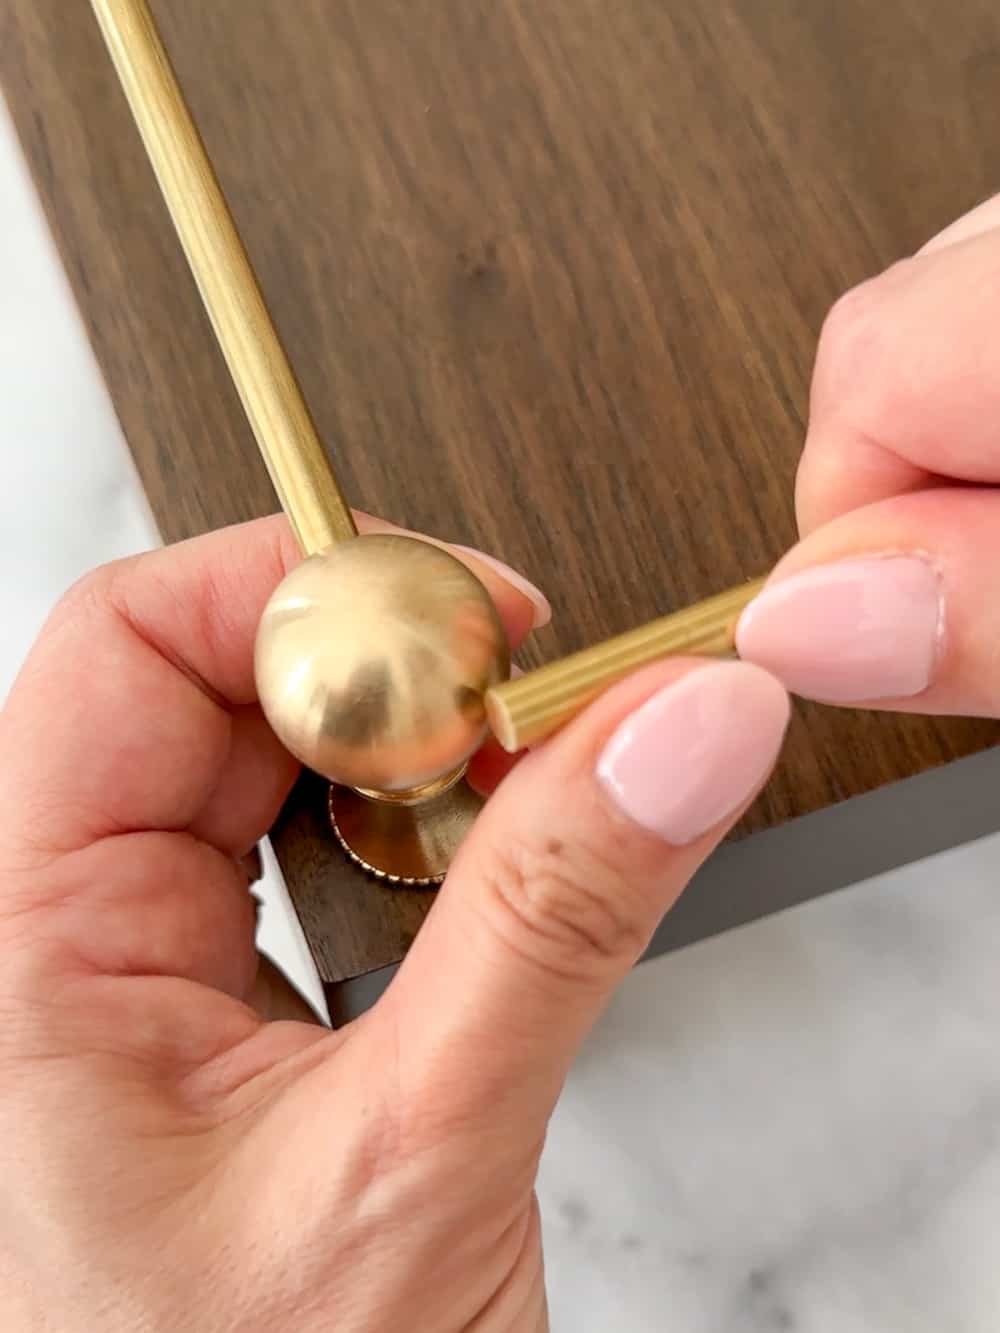
Once the posts are in place, precisely measure the distance between post holes. Then add a just a little extra to that distance to get the length of rod you need. Cut the rod to size and insert one end into a post hole. For the other end, you may need to do some finagling.
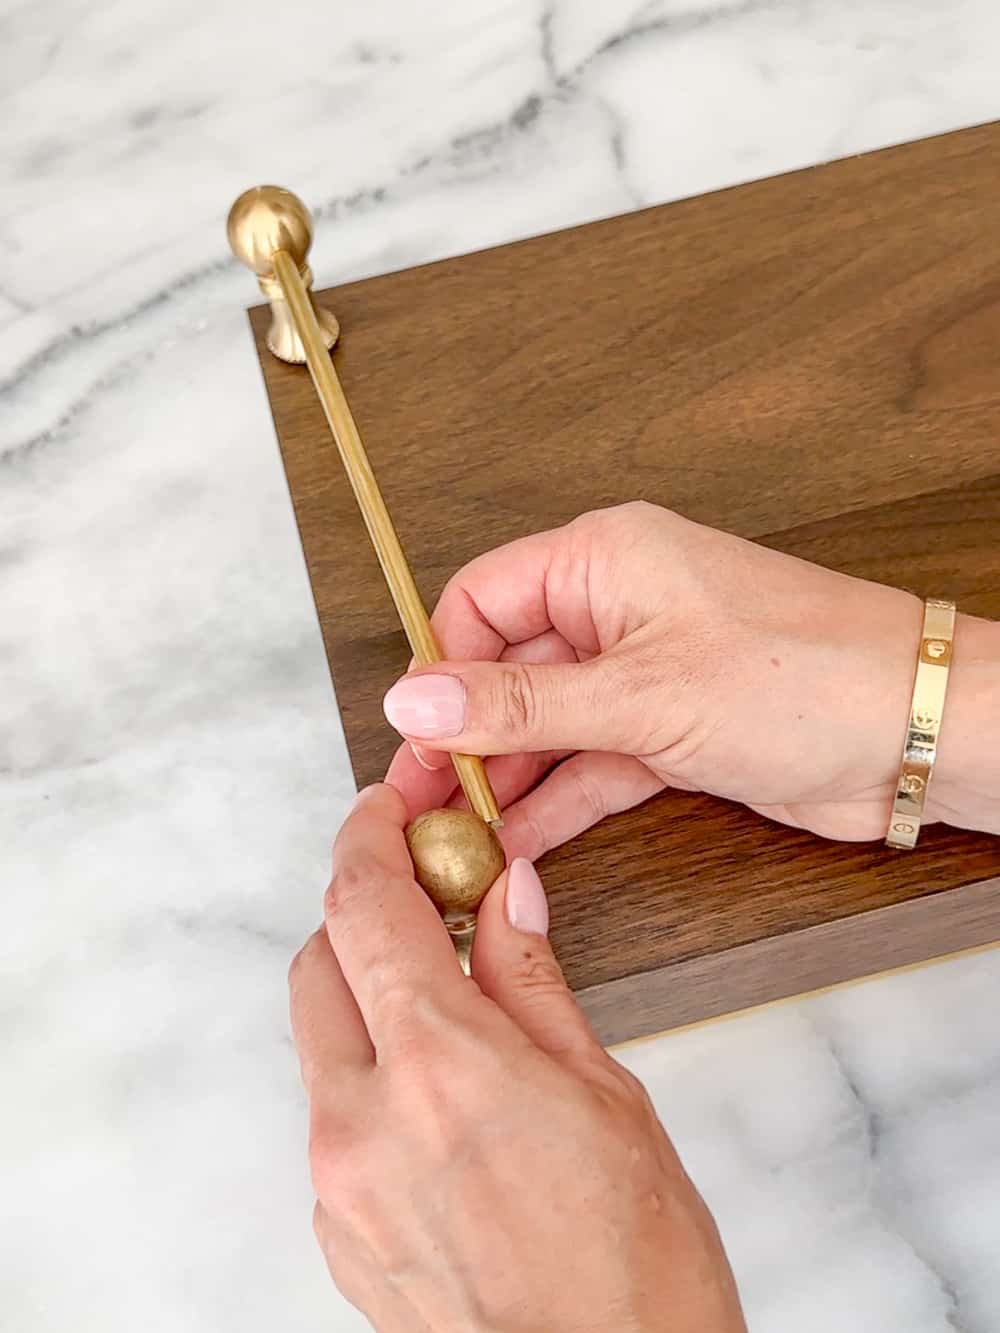
Use gentle pressure to bend the post until the rod snaps in. If you are running into trouble, you may need to shave off a little more of the rod.

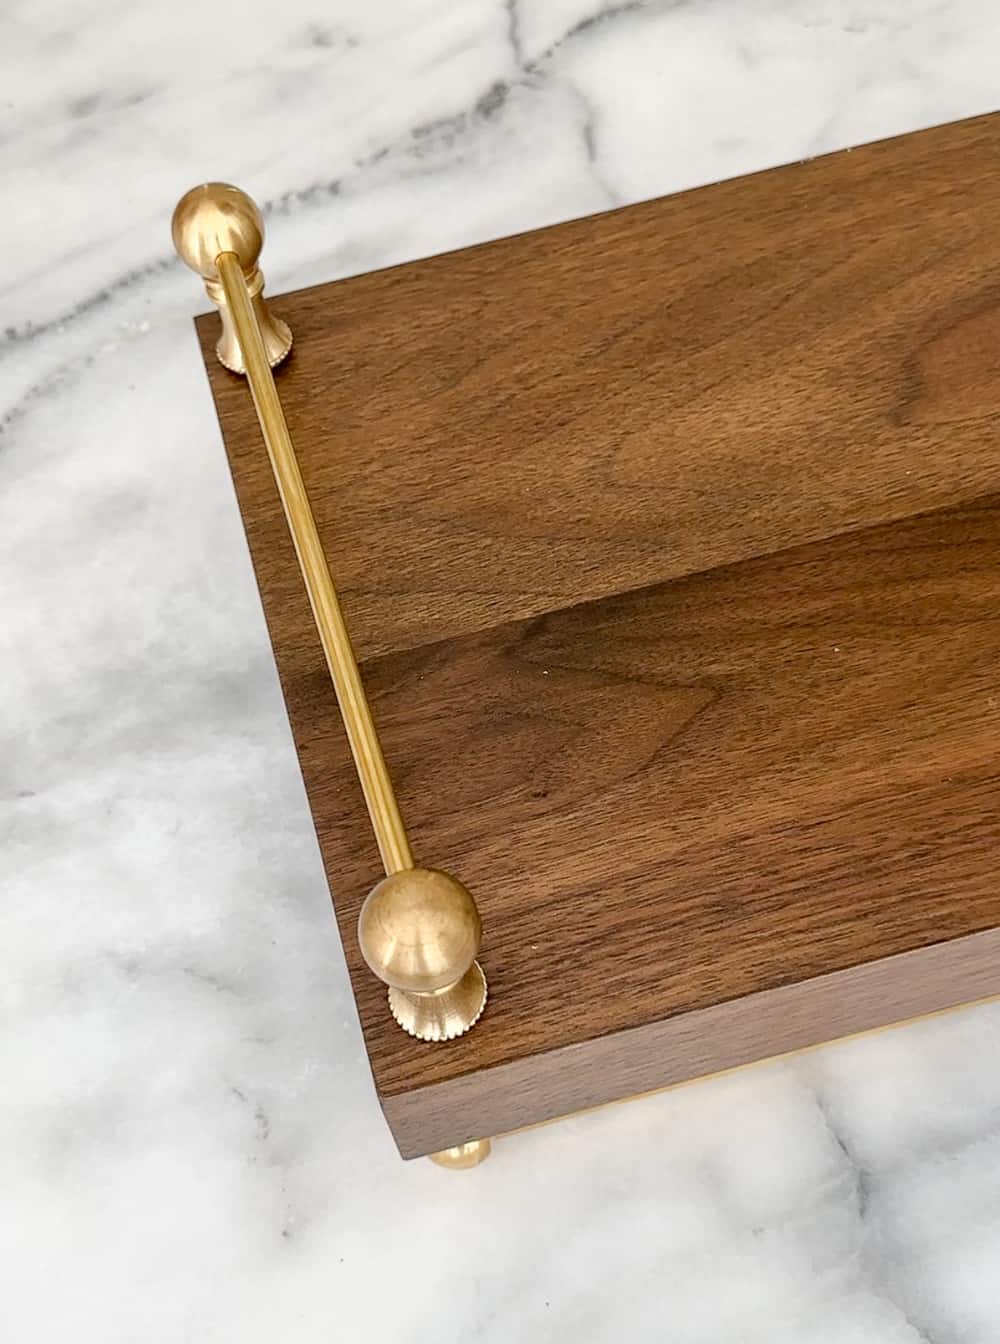
Sources: Walnut floating shelf | Gallery rail from Paxton Hardware
PRO – Screws are not visible
CON – Requires a little more effort
Other uses for decorative gallery rails
This vintage little detail can be added to any open wood shelving – like a kitchen, wet bar, or even for a photo gallery shelf. But did you know that there are other places you can use it?
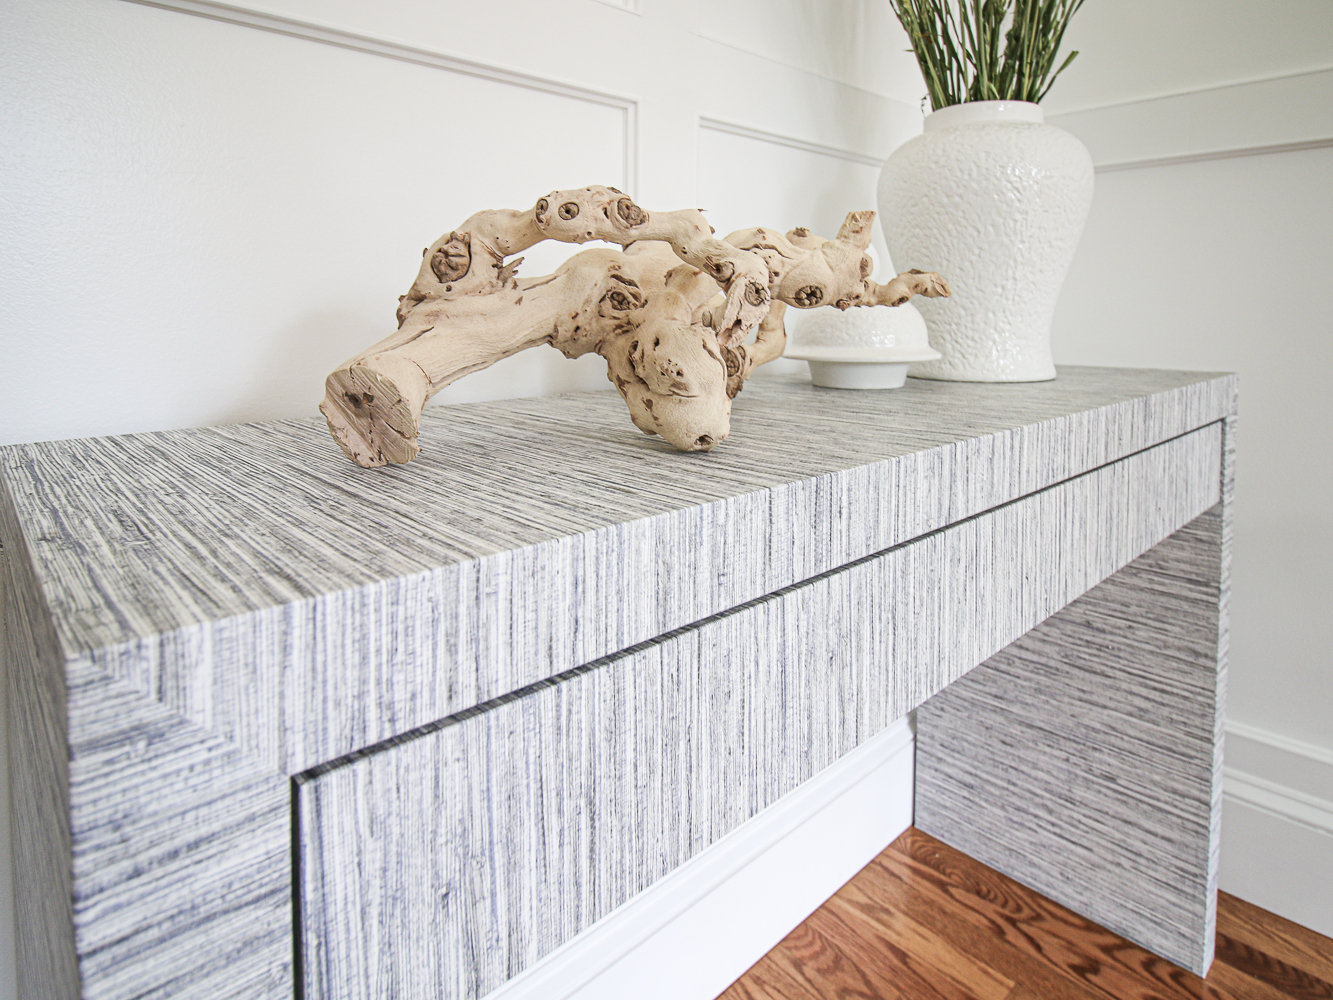
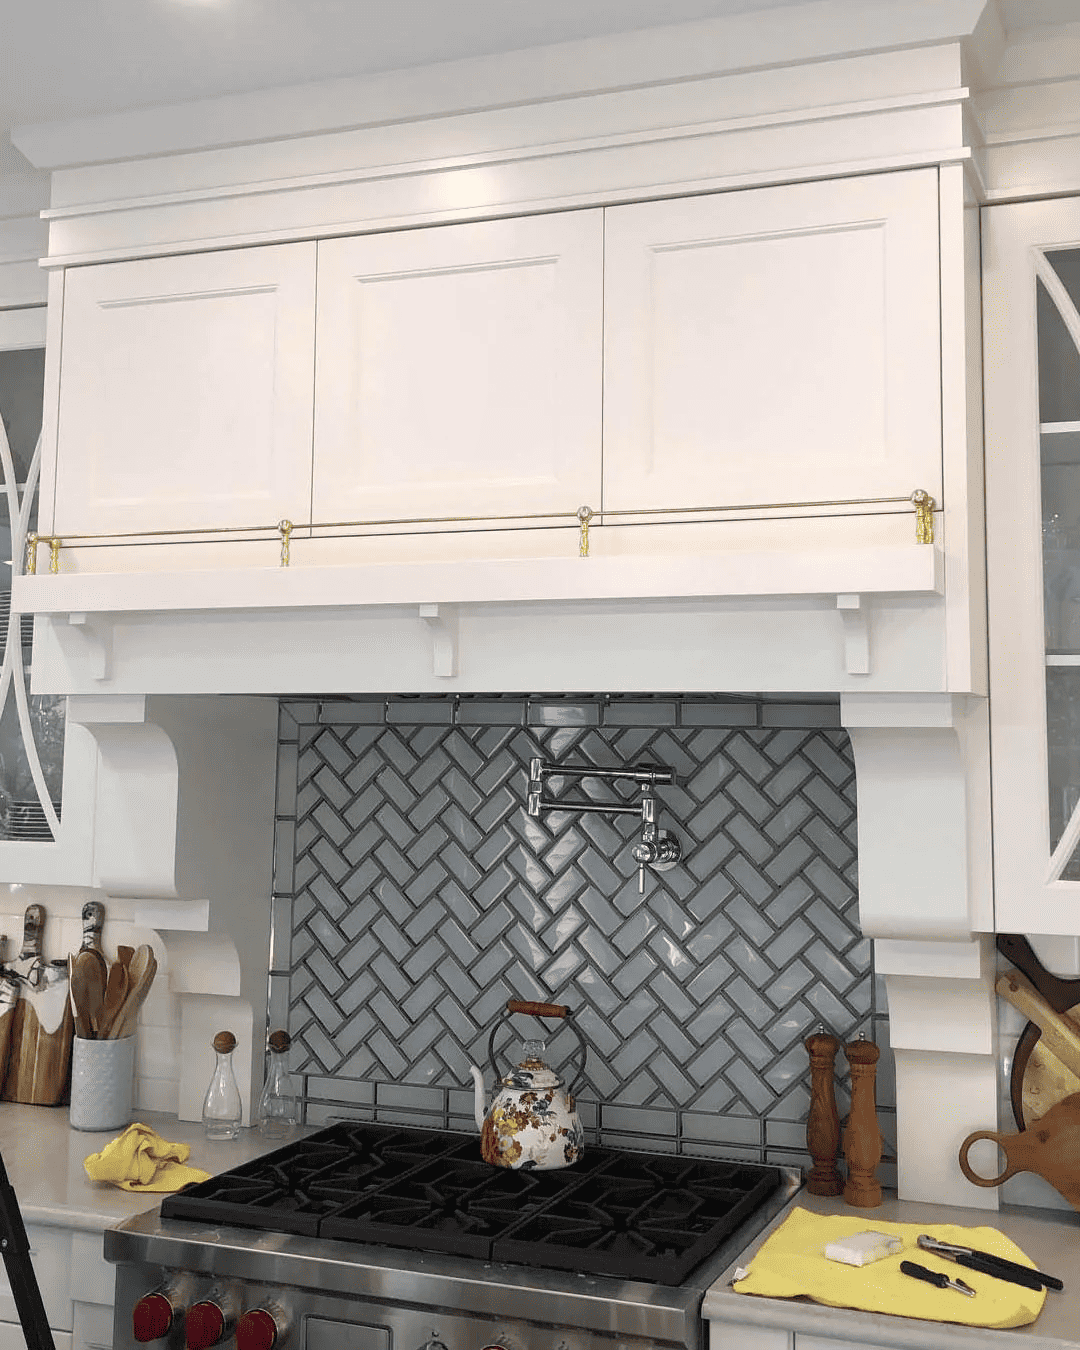
If you want to be a little more creative, add it to a kitchen vent hood or on the surface of a console table. Take a look around your home. I guarantee you’ll find a spot that could benefit from a brass shelf rail.
VIA: Paxton Hardware
Hanging brass pot rail systems
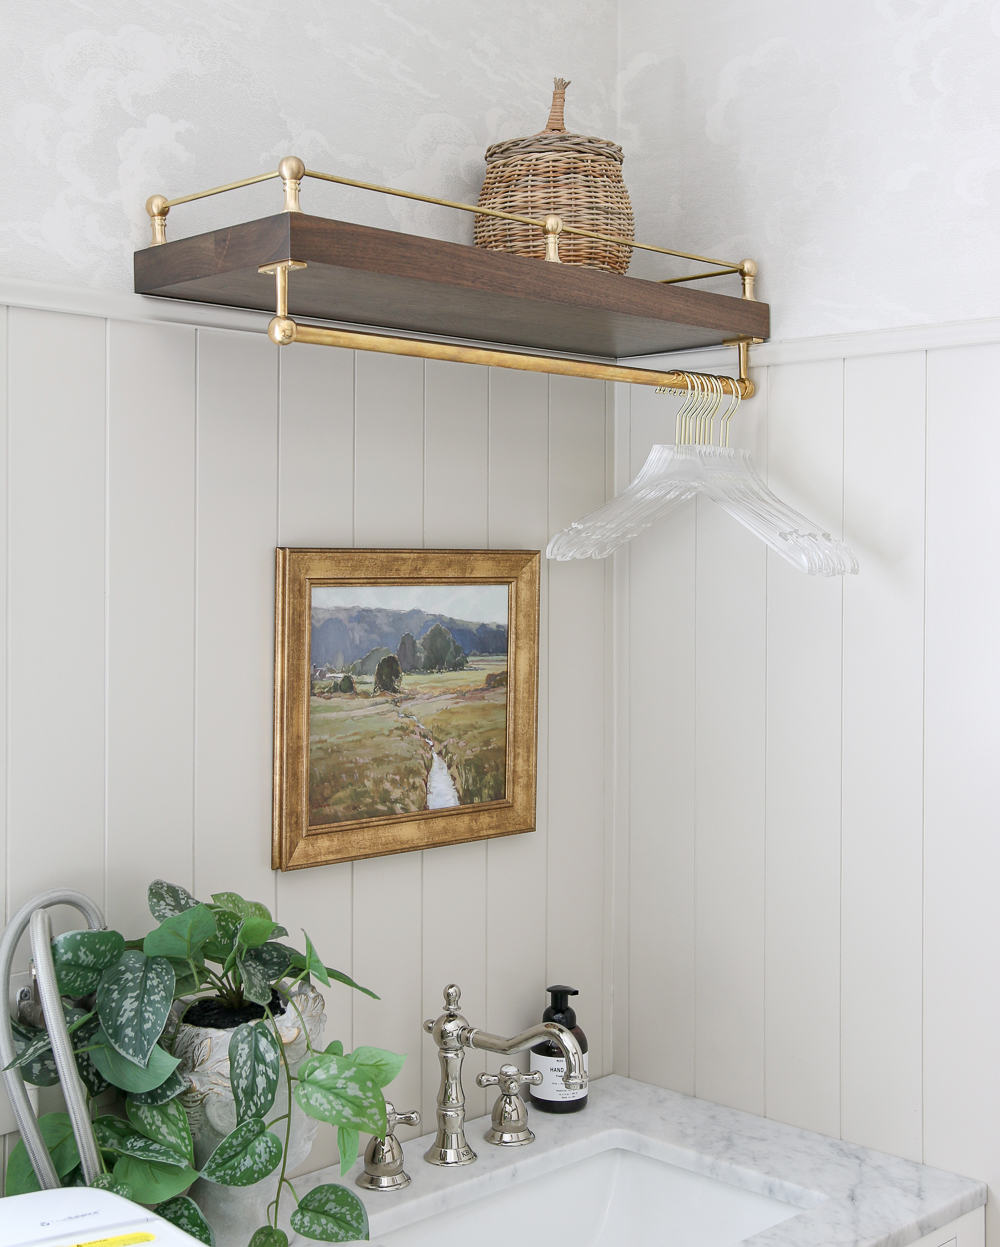
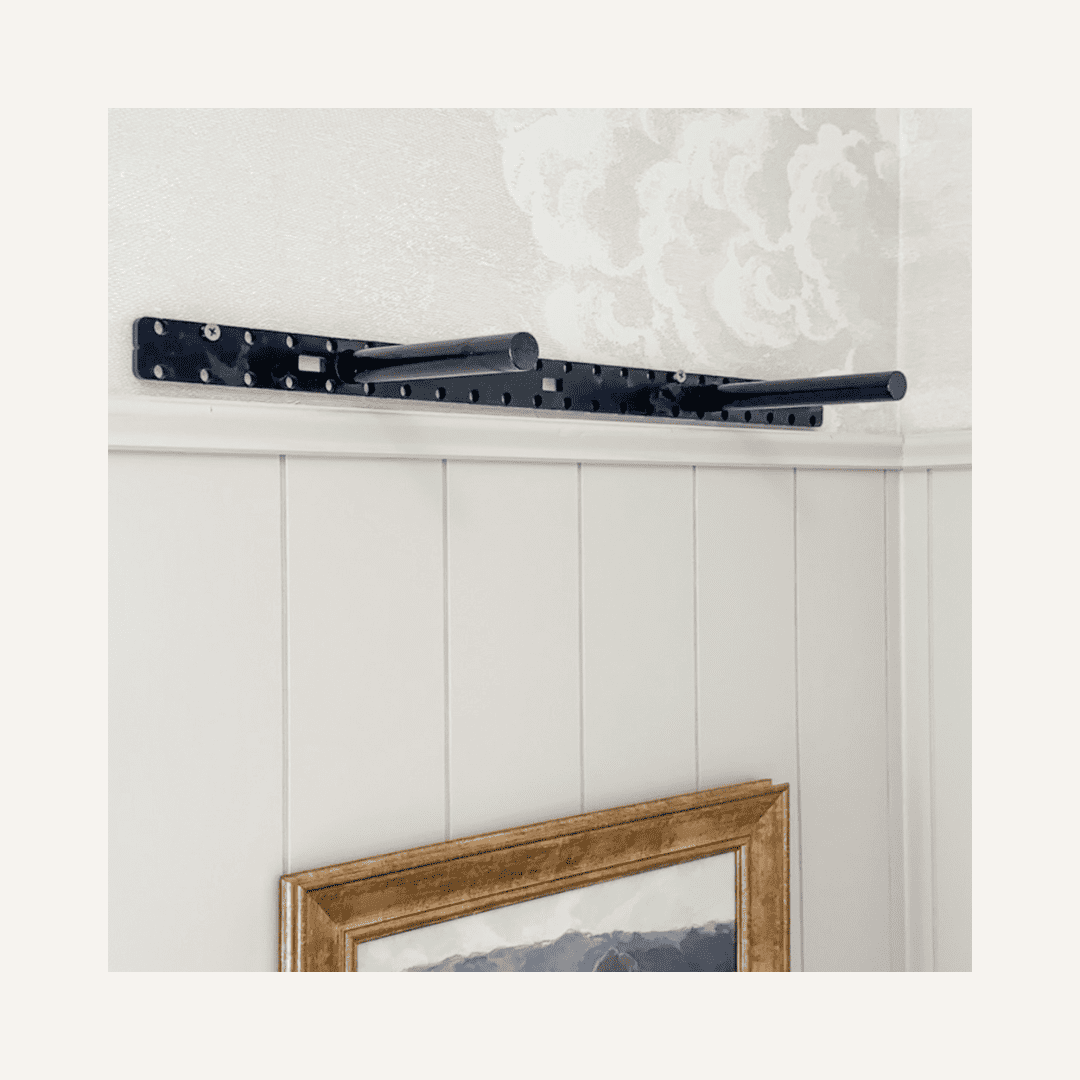
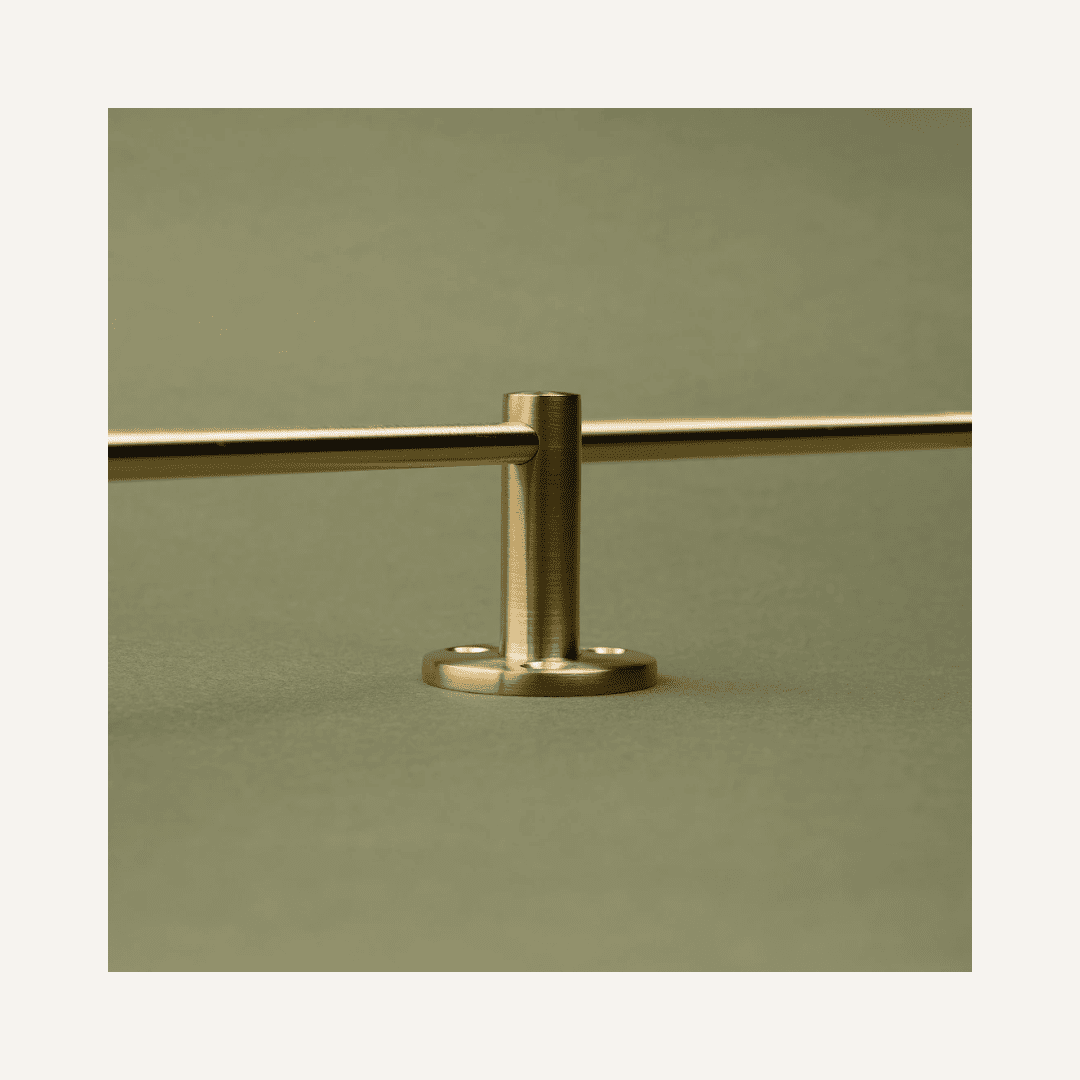
You may have noticed that I also installed a brass rail on the underside of my laundry room shelf.

The decorative rail system on the top isn’t strong enough to support the weight of clothes, so I used a brass pot rail system that is traditionally used in the kitchen to hang…you guessed it, pots!
This type of hardware has posts that are installed directly onto the shelf. The screws blend right in with the posts and are not an eyesore.

You can measure and cut the rod to size prior to attaching the posts, making this an easy yet impactful addition.