How to Install Vertical Shiplap: Panels vs. Boards
Disclosure: This post may contain affiliate links. As an Amazon Associate, I earn from qualifying purchases at no additional cost to you.
Learn how to install vertical shiplap in your home. Step-by-step instructions to help you DIY shiplap walls and the difference between panels and boards.
Why install shiplap vertically?
A long-time staple of farmhouse decor, horizontal shiplap walls have been a popular design choice for those going for a rustic look. But what if you are growing tired of that trend and want something a little more updated? Go for vertical shiplap instead!
One of the benefits of adding a vertical wall treatment – besides being so beautiful – is that it makes a space more visually interesting. It draws the eye upward making a space look bigger.
Simple Materials Guide
Get this FREE GUIDE to different types of trim and molding materials for your every DIY need – from wall molding to cabinetry!

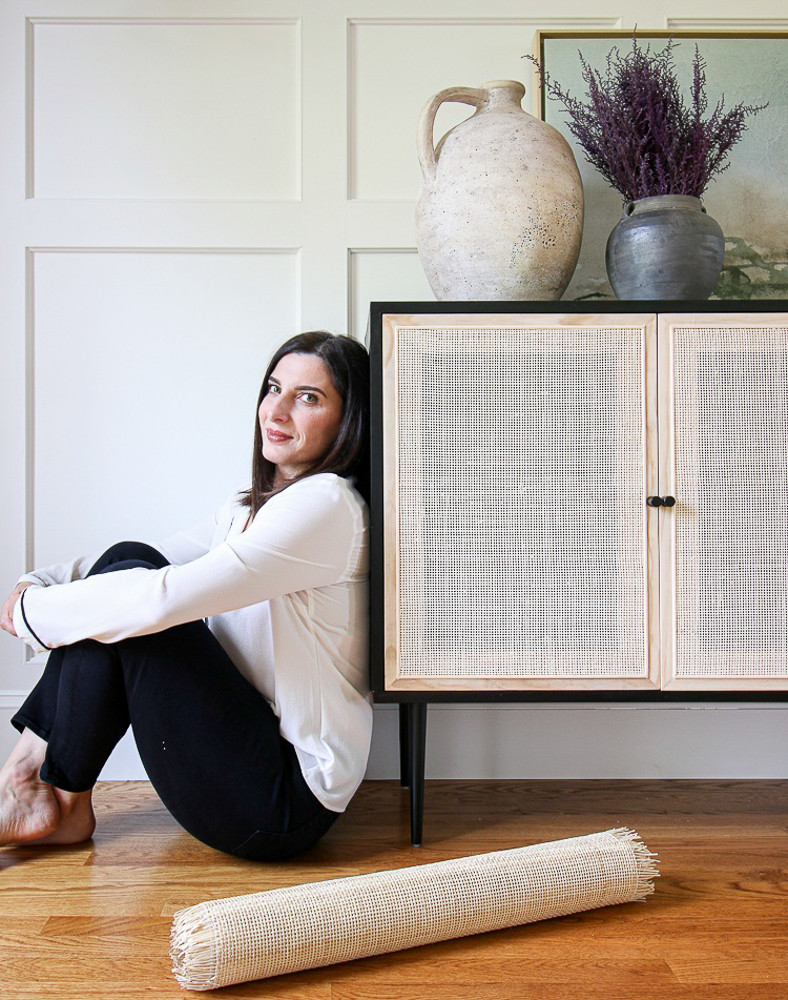
Sources: Cane cabinet | Wall art (similar)
This contemporary version of shiplap was once only used for partial wall treatments, but now it is being applied floor to ceiling and even on the ceiling!
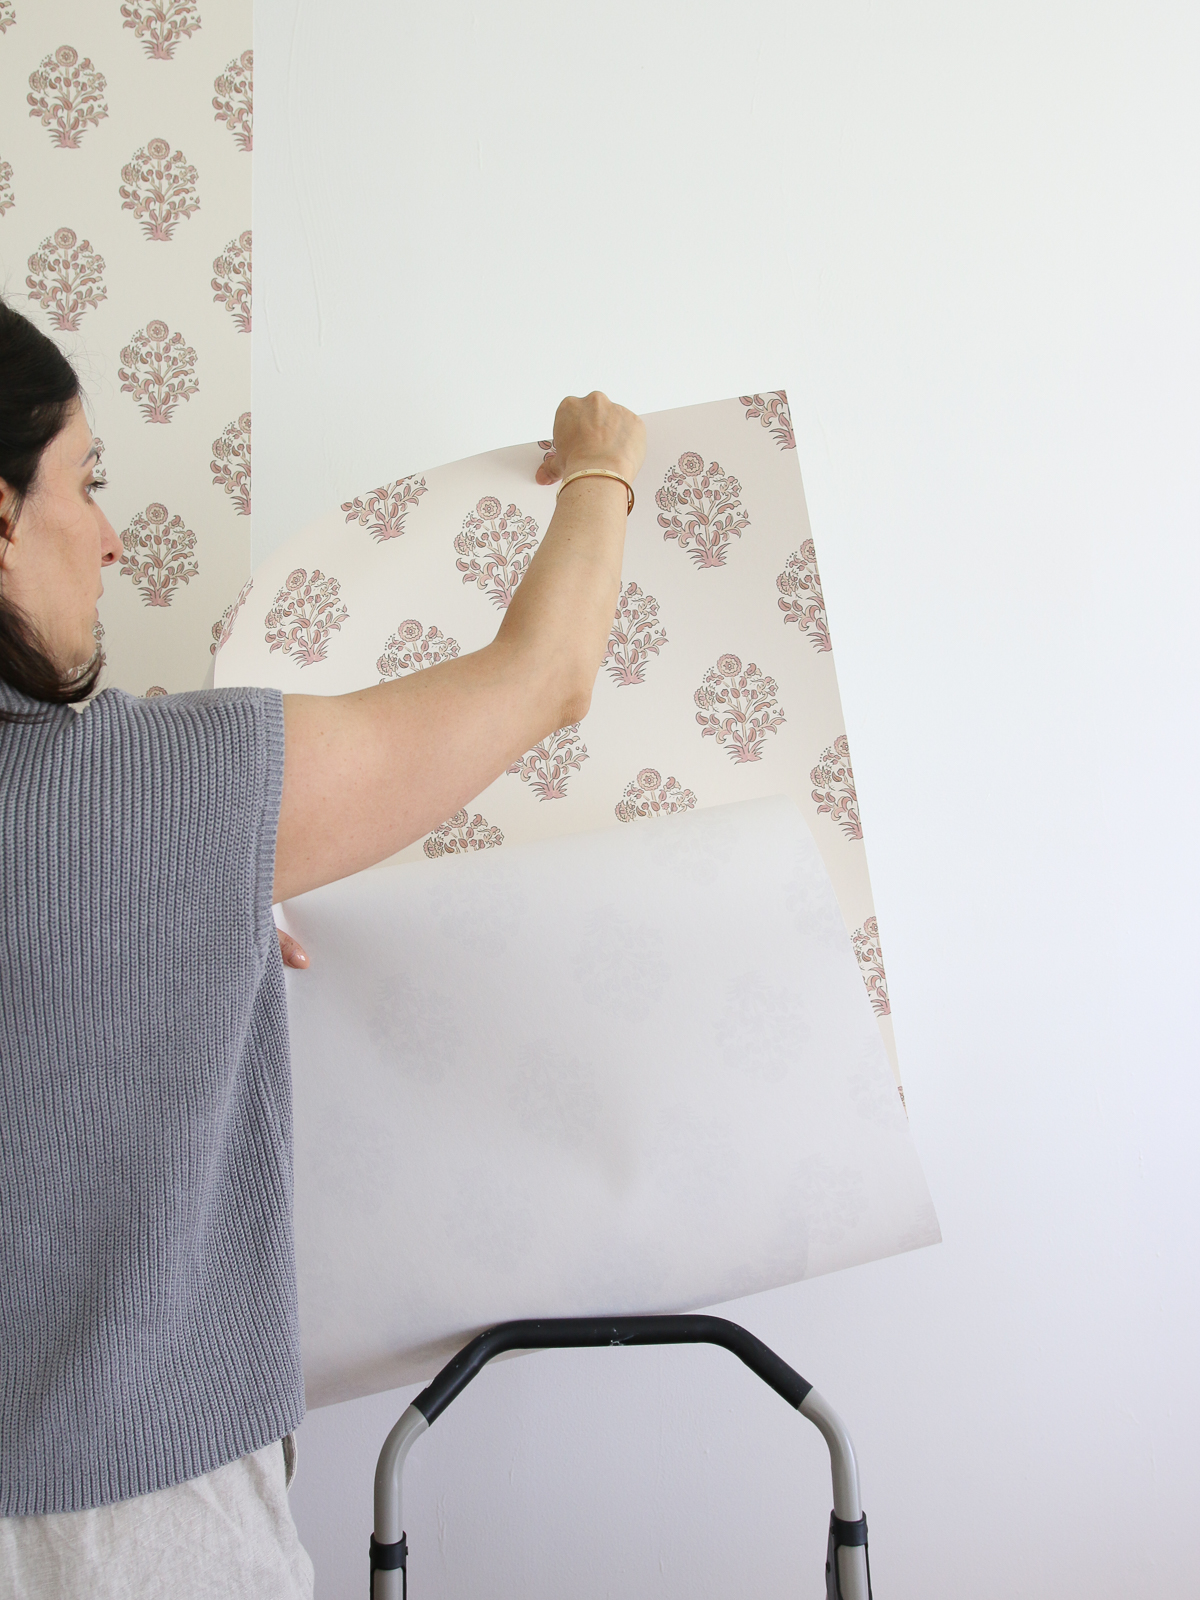
Installing wallpaper or shiplap is a great way to hide imperfections or cover previous wall damage.
Should you use boards or panels?
You’ve made the design decision to DIY vertical shiplap in your home. Now it’s time to decide which method you will use to achieve this look. As I mentioned above, you can use individual boards or shiplap paneling sheets. Let’s go over the pros and cons of using panels:
PROS of shiplap panels
- Thin and easy to cut with any saw
- Fast and easy to install over large surfaces compared to boards
- Fewer nails are required which means fewer nail holes to fill
- Cheaper than traditional individual shiplap boards
- Shallow grooves are easier to paint
CONS of shiplap panels
- Made from MDF which crumbles and makes a nasty mess (wear a mask and don’t breathe in the dust)
- Large 4×8 sheets are harder to transport and maneuver compared to single boards
- Will need inside cuts with a jig saw and long cuts with a circular saw (only a miter saw is needed for regular shiplap boards because they’re narrow)
- Requires adhesive to prevent warping and it will cause destruction of the drywall
- Outside corners may require a cap since the sheet is too thin to bevel. Or you can butt the two sheets together, fill the seam with wood filler and sand – more work!
As you can see there are benefits to choosing paneling over individual boards. It’s cheaper and a little less labor-intensive. Boards require more nails and take longer to install one board at a time. Also, the deeper grooves are more difficult to paint.
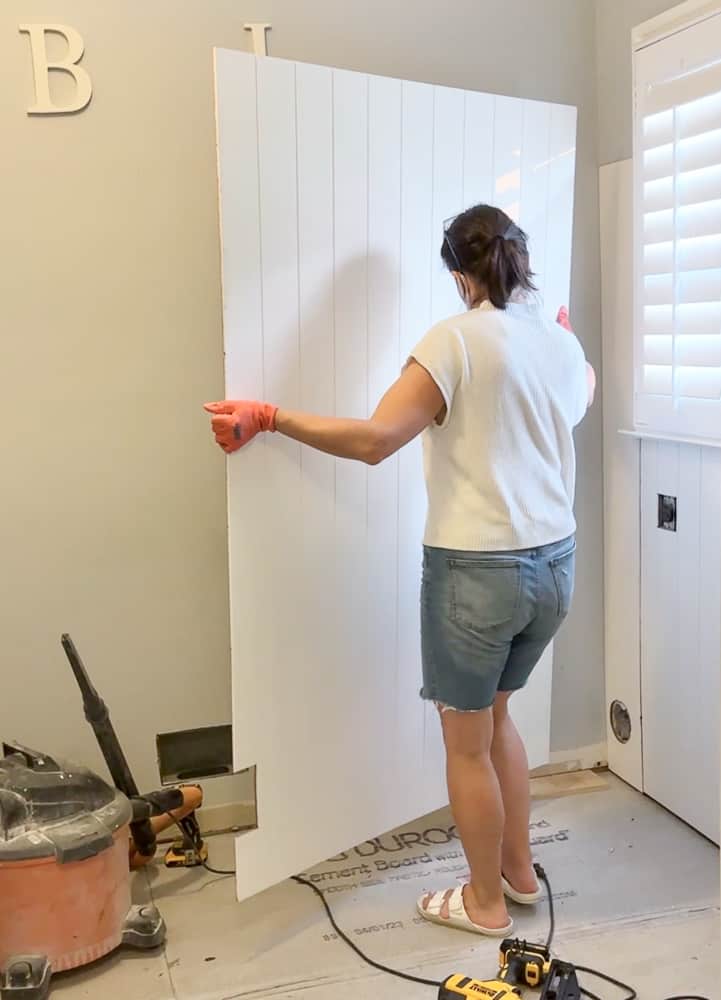
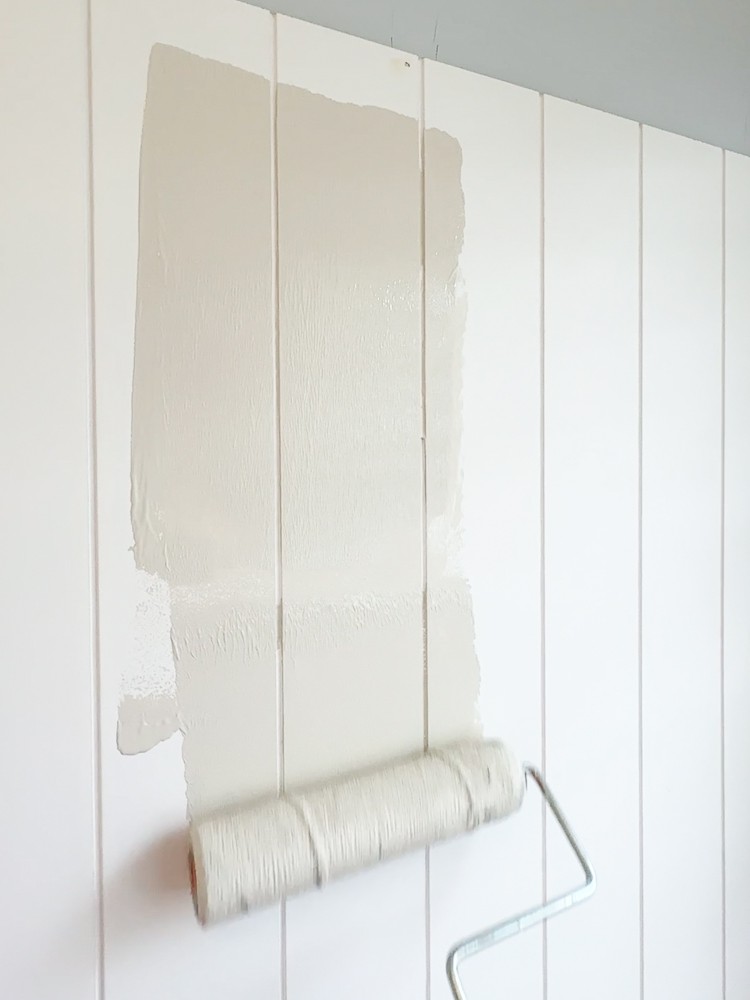
However, panels can be tricky to work with too. If transporting the 4×8 sheets is not an option, you can always have the store cut them down for you. In the image above, you can see how big the sheet is even after I cut it.
Make sure this look is something you want to keep around for a while. If you change your mind, the adhesive does a number on the drywall beneath and will make it tricky to deal with later.
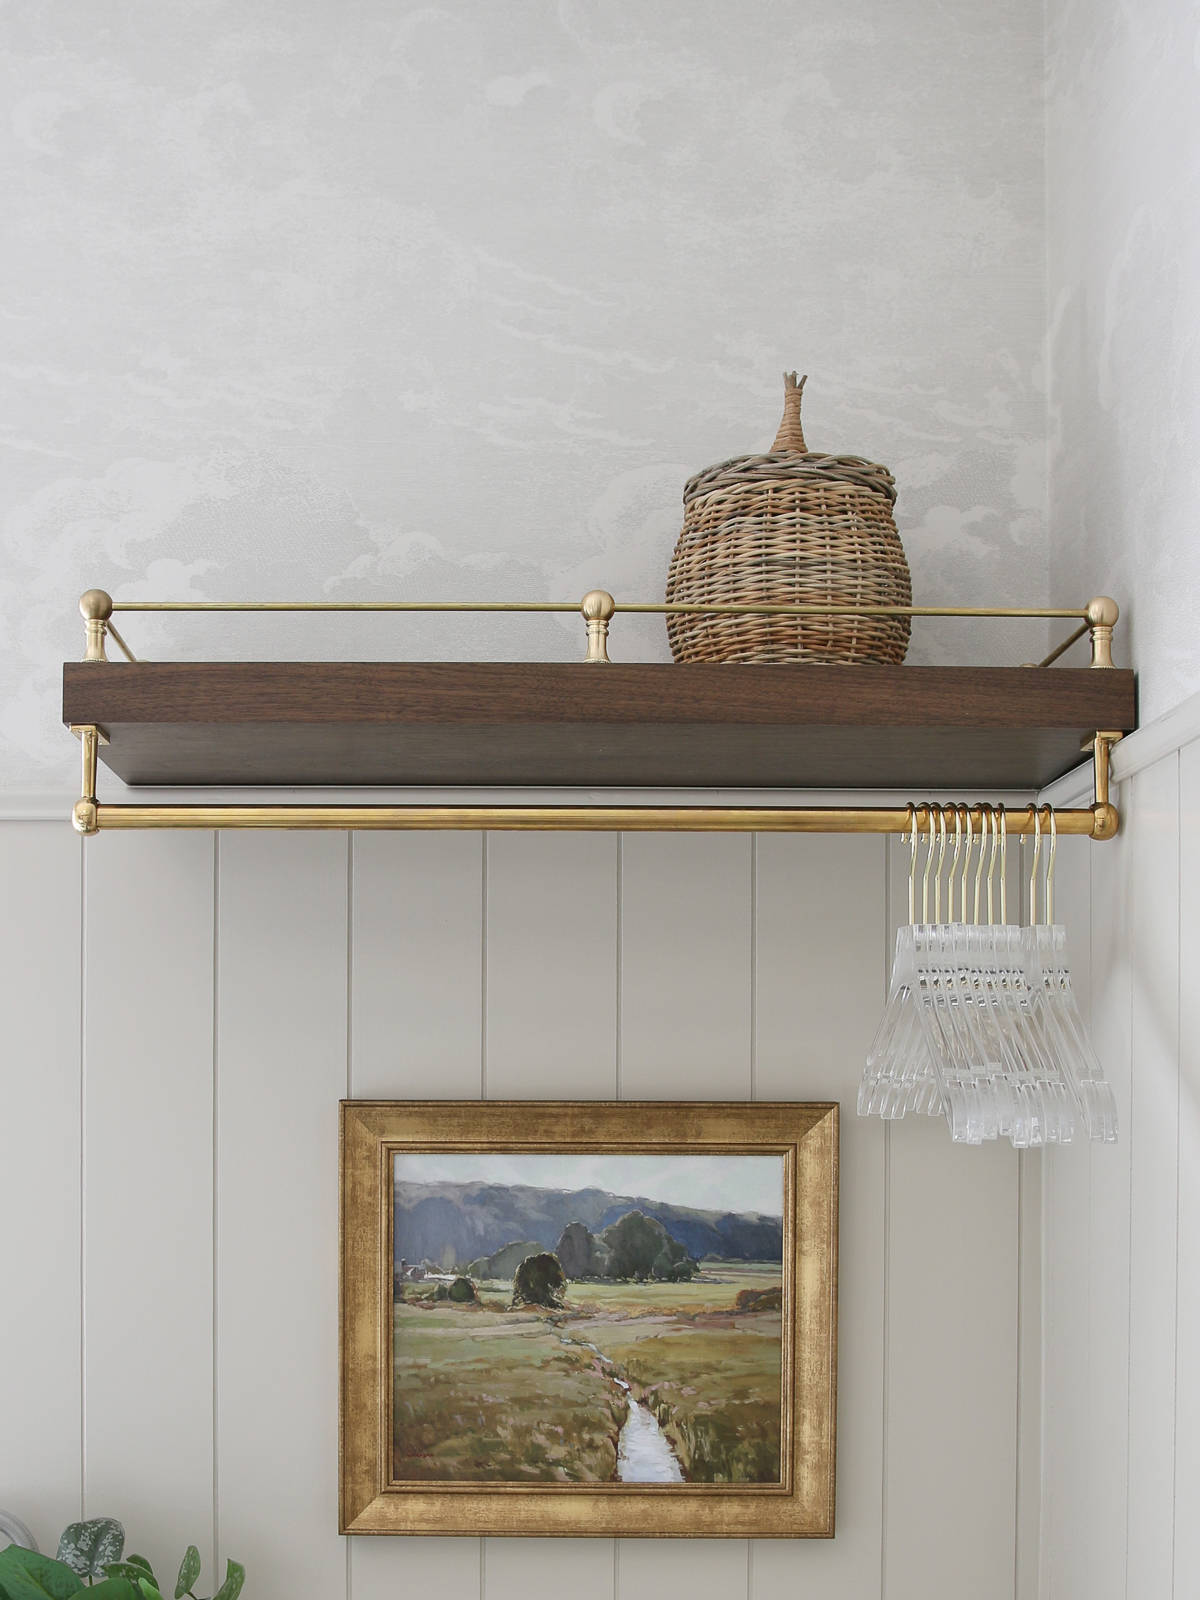
Check out my brass gallery rail tutorial to add pretty details as you see in the image below!
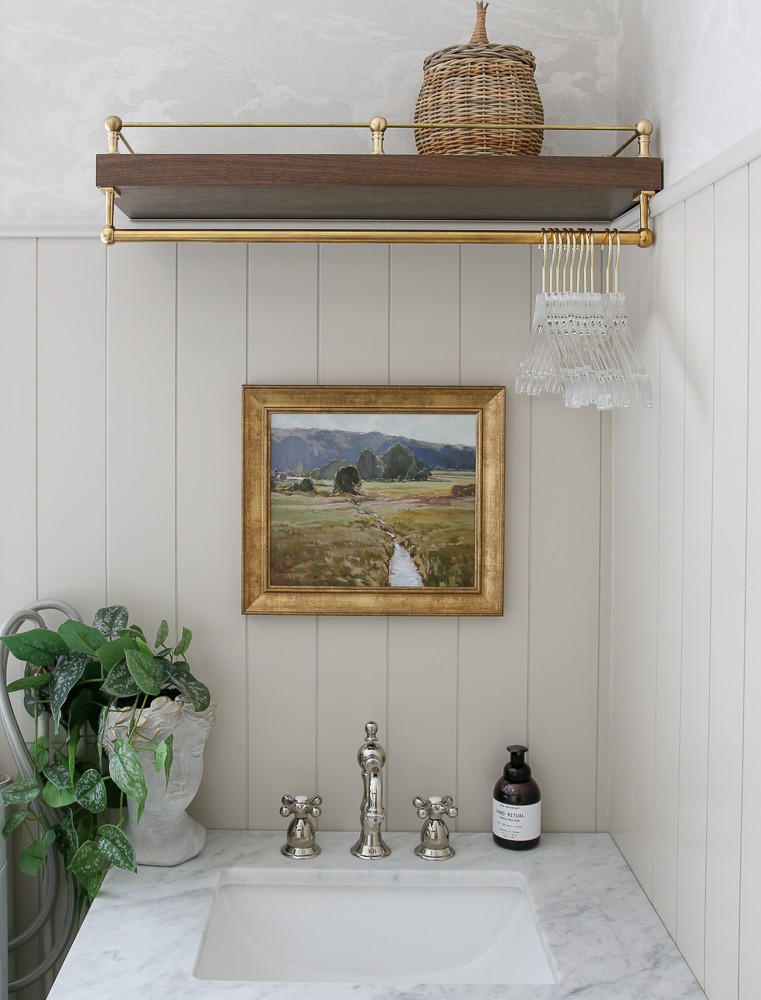
Sources: Faucet | Soap dispenser | Shelf | Brass rail hardware | Wallpaper | Basket
Tools needed for shiplap panels
- Circular saw
- Jig saw
- Caulking gun
- Nail gun
- Laser level
- Miter saw (for shiplap boards)
- Stud finder
Materials needed for shiplap panels
- Shiplap 4×8 sheets
- Construction adhesive
- Nails
- Baseboard
- Chair rail cap
- Wood filler
- Paintable caulk
- Sanding sponge
- Painting supplies
Check out my comprehensive list of essential DIY tools I use for all my projects!
How to install shiplap wainscoting
Here are the steps you need to follow when installing vertical shiplap. Keep in mind that your project may require additional steps depending on the design you choose.
Remove your existing baseboards
Please don’t butt your panels up to existing baseboards! Take the time to remove them and do a proper professional installation of the baseboard on top of the panels. The difference between a professional job and a DIY project is all in the details.
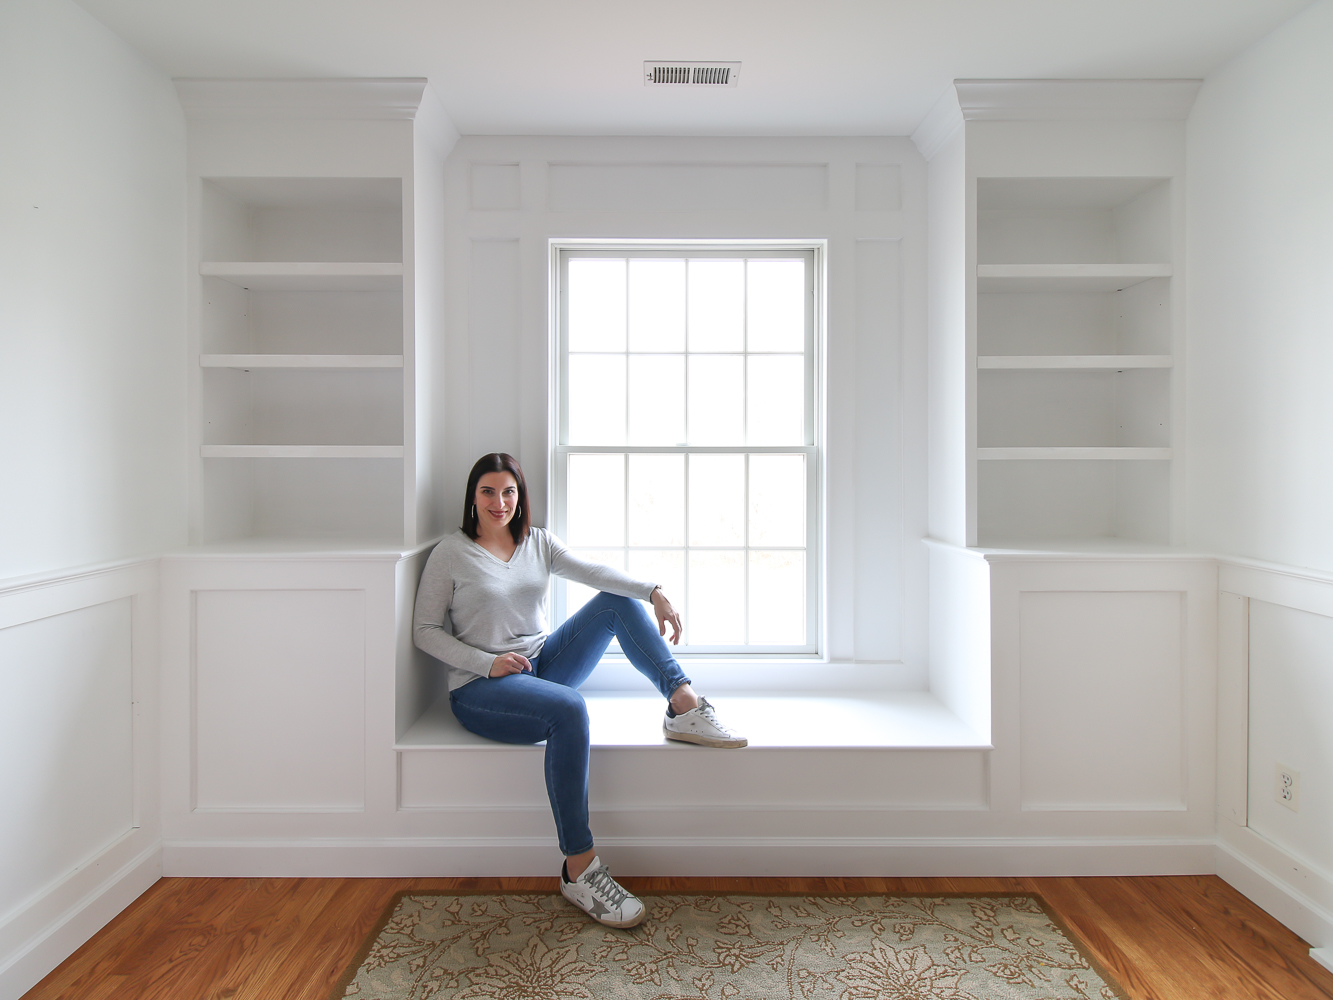
Decide on height
I mentioned above that you can add vertical shiplap all the way up the wall or just part way. If you choose to install a partial shiplap wall, follow the golden rule of thirds and either stop at 1/3 or 2/3rds of the height of the wall from floor to ceiling.
My ceilings are 9ft, therefore I cut the shiplap to stop at 6ft – which is 2/3rds of the wall.

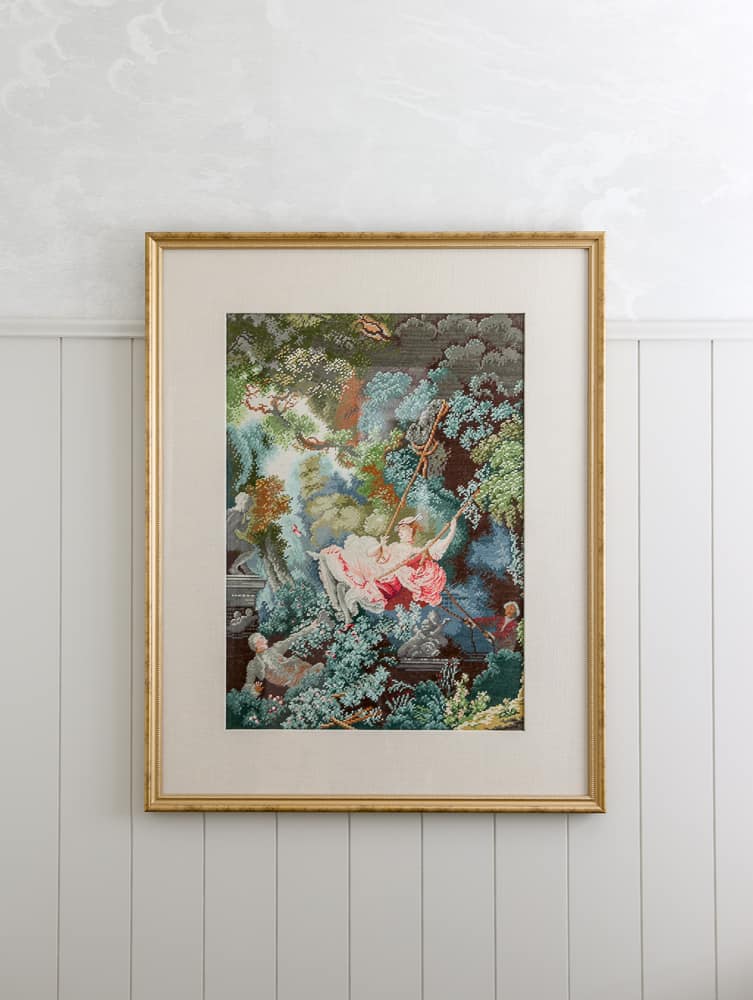
Sources: Baskets (similar) | Wall art | Wallpaper
Use a laser level (or a regular level) and draw a line on the wall to mark the height of your panels. Once it’s up, use a laser level or check each sheet with a manual level to make sure it is plumb.
Now is a great time to get that stud finder out and mark on this line where the studs are.
Cut the panels to size
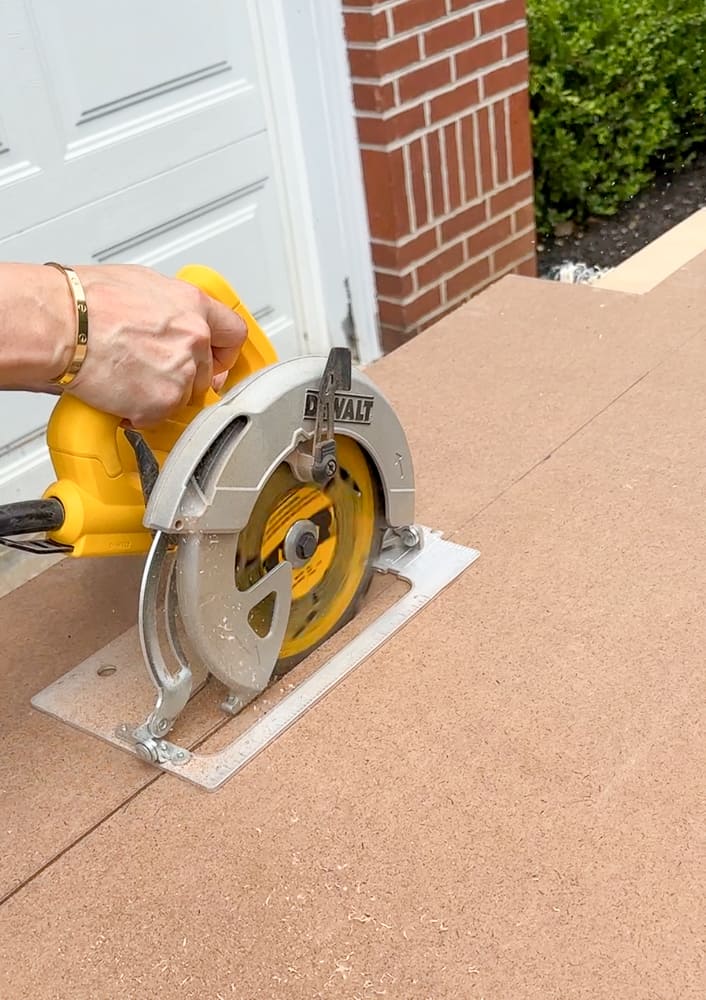
Now that you’ve decided on a height, you must cut the shiplap paneling sheets to size. Use the circular saw to cut along the length of the panels.
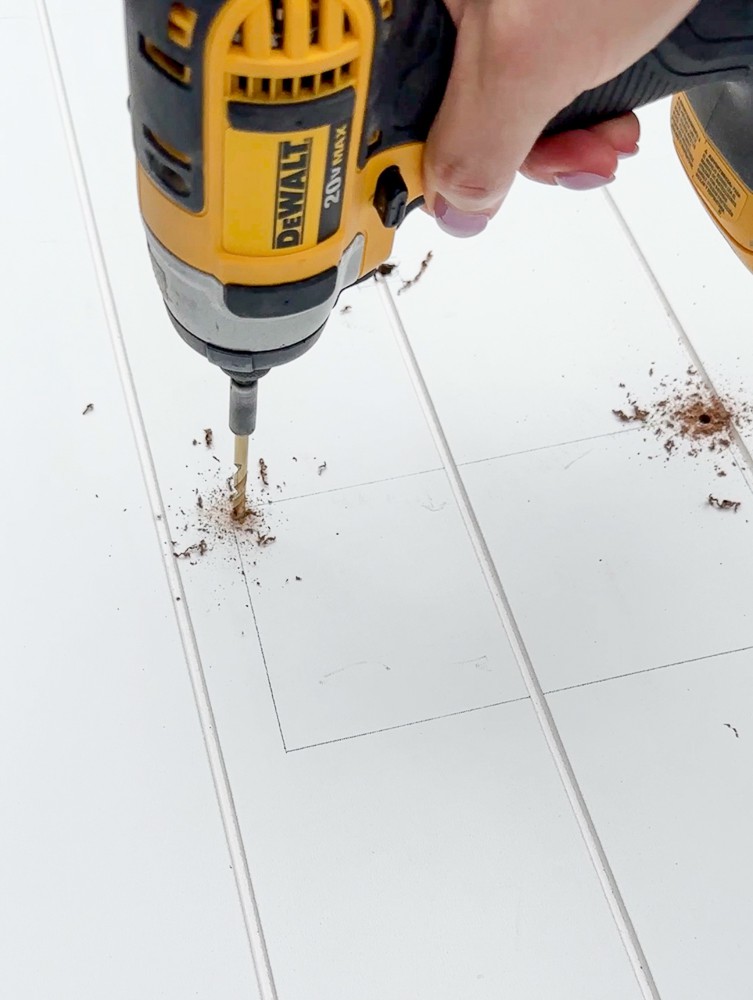
If you need to make inside cuts for an electrical outlet or air vent, you will need a Jig saw. I score the corners with a drill then use the saw to make the cuts.

PRO TIP
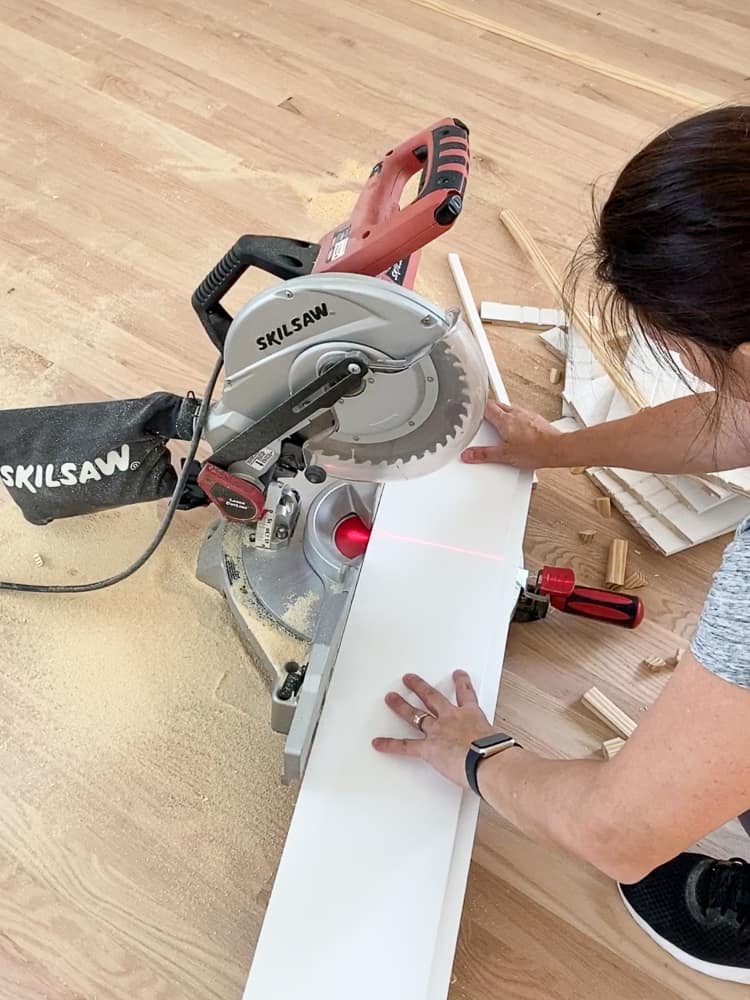
When cutting with a miter or table saw, the material’s finished (primed) side should be facing up. When cutting with a circular saw or a jig saw, flip the material so the finished side is facing down. This will prevent tear-through on the finished side and result in a clean-cut edge.
In the image below, I’m using a miter saw to cut the individual shiplap boards for the bedroom project.
Attach the boards to the wall
Add a generous amount of construction adhesive dabs to the back of the panels. Next, you will attach each panel up to the top level line and it should reach all the way down to the floor.

Once the boards are glued, use nails to secure the boards to the studs. Since you are using construction adhesive and the shiplap panels are solid pieces, you don’t have to use as many nails. Therefore you won’t have as many holes to fill.
Depending on the amount of wall space you have to cover, it is likely that you’ll have to connect two panels together at the groove. Just caulk over the seam for a seamless look. Still, using faux shiplap panels is a faster process than individual boards.
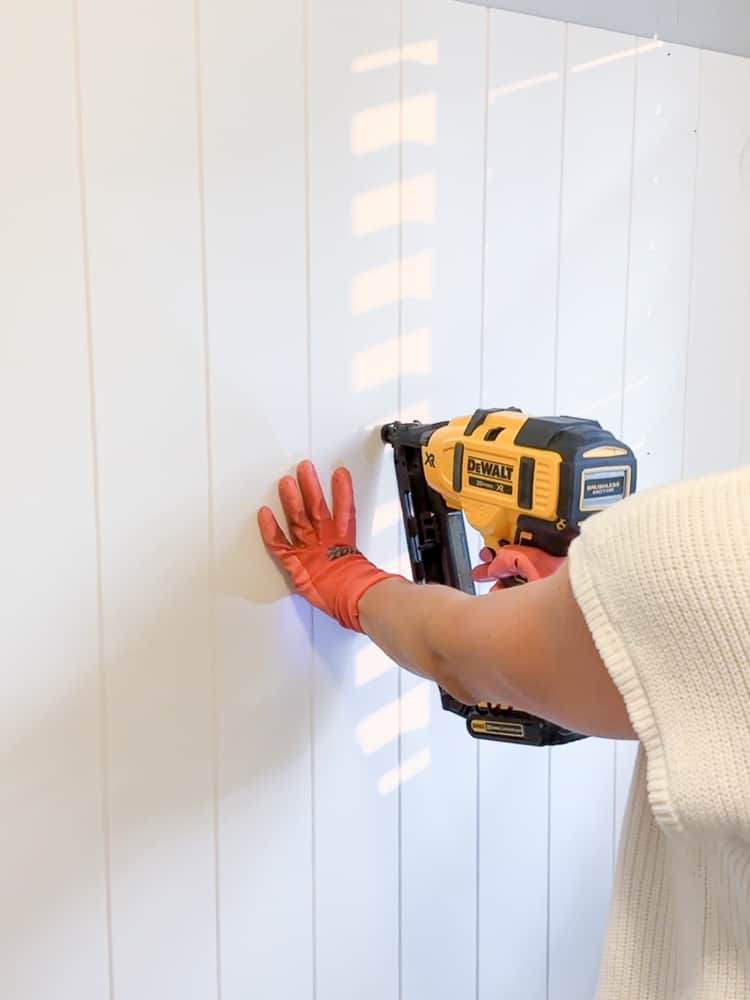
Spacing individual boards

Nailing individual boards
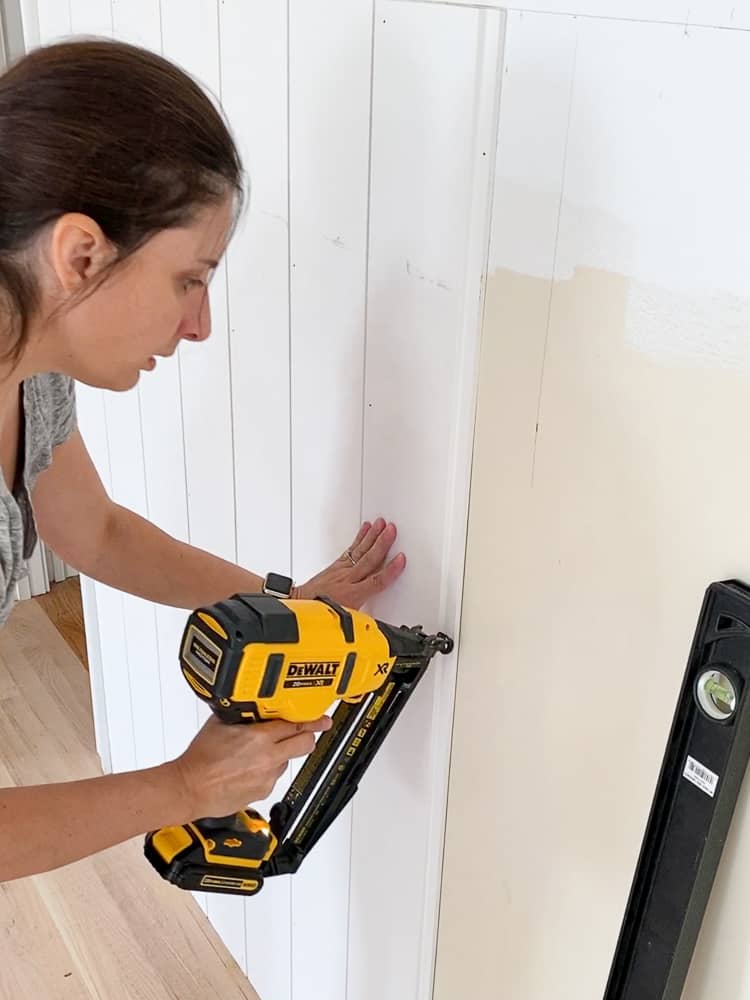
Continue this process for the entire wall

Finishing work
Since you removed the original baseboards like a good DIYer, you’ll need to re-attach them (if you were careful) or replace them with new ones. Either way, they will be attached ON TOP of the paneling for a professional result.
For the top edge, you’ll need to add some type of cap. I used a traditional small profile chair rail cap for my project, but use whatever piece of trim you like or that fits your style. For instance, you may want more of a ledge. In this case, you’ll need different materials to build out a larger cap.

Sources: Vanity | Brass hardware | Faucet | Hand towel | Soap dispenser | Planter | Wallpaper
This next part can be tedious if you use boards instead of panels. Before you paint, you’ll need to fill the nail holes with paintable wood filler and the visible seams of the baseboard and possibly caps with paintable caulk.
Lightly sand with a palm sander or sanding sponge using 220 grit. This will give you a smooth finish and prepare the surface for painting.
For tips on how to get a factory-smooth finish, please refer to my post on the best cabinet paint for all the info you need.
Where can you install vertical shiplap?
Just about anywhere! It depends on the style of your home and the look you are going for. In my entryway and dining room, the millwork is a little more formal. Click over to my wall molding tutorial if you are interested in that style. Otherwise, keep reading for inspiration on where you can use vertical shiplap for a casual yet elevated look.
Bedrooms
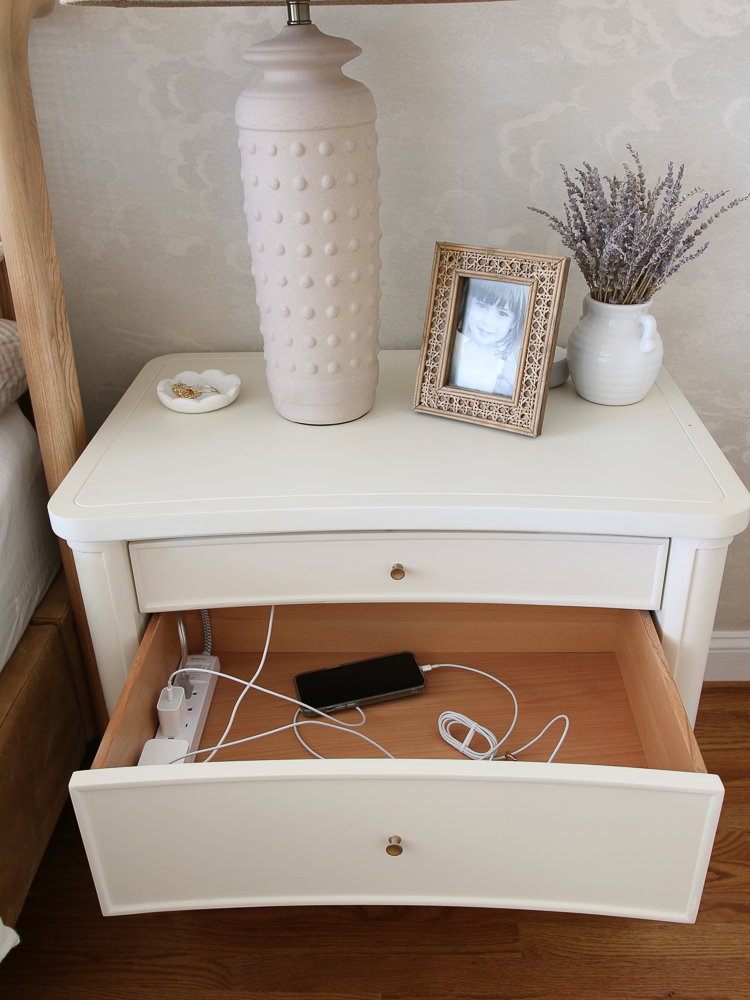
For this bedroom project, I installed shiplap using individual boards. The room is pretty wide so to balance out the view, I placed them vertically.
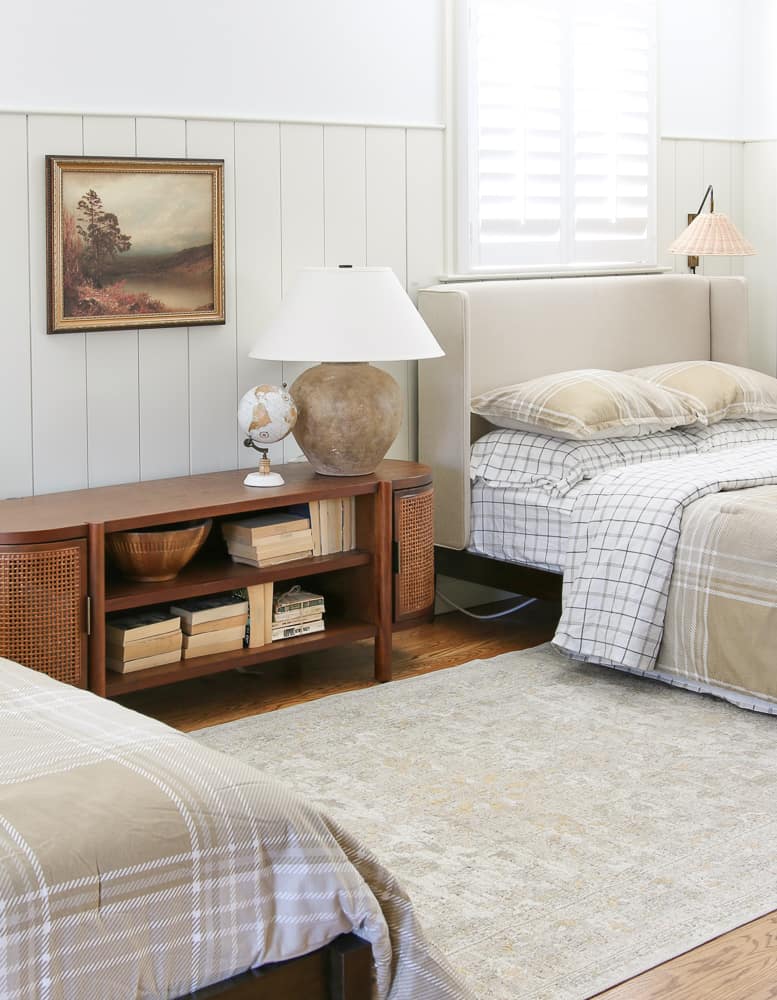
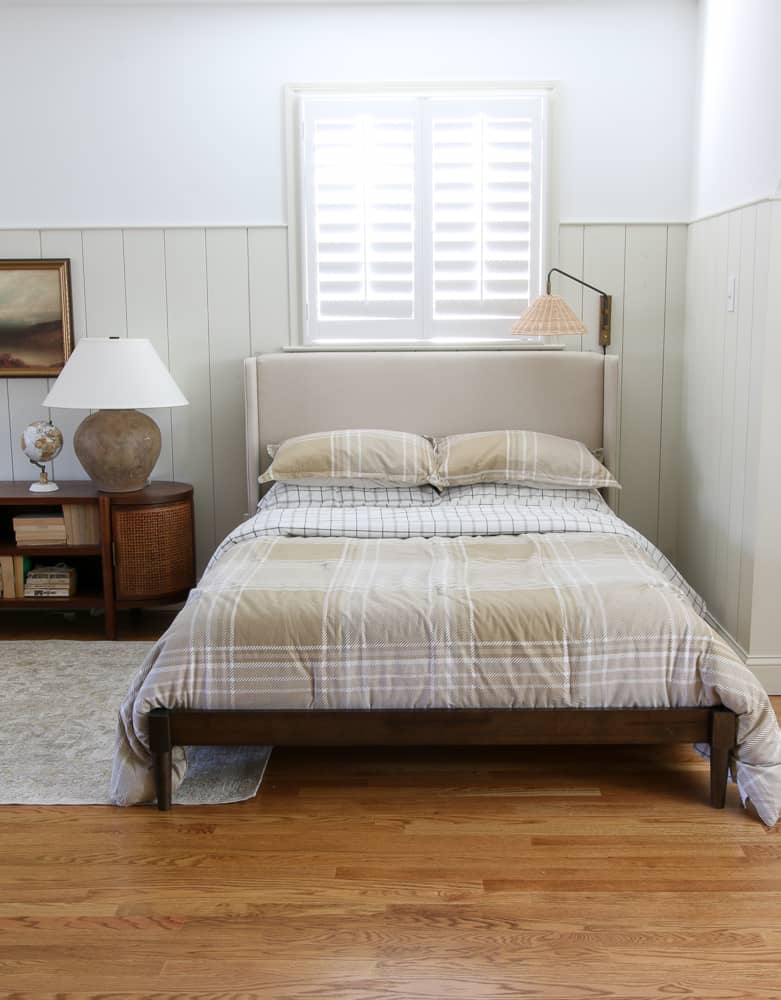
Sources: Cane cabinet | Lamp | Headboard | Comforter set | Sheets | Sconce
Utility spaces – mudroom or laundry room
My mudroom/laundry room was the latest area of my home to get an update. It was a 90s nightmare when we moved in and I had done some work to hold us hold us over until we could really focus on this space.
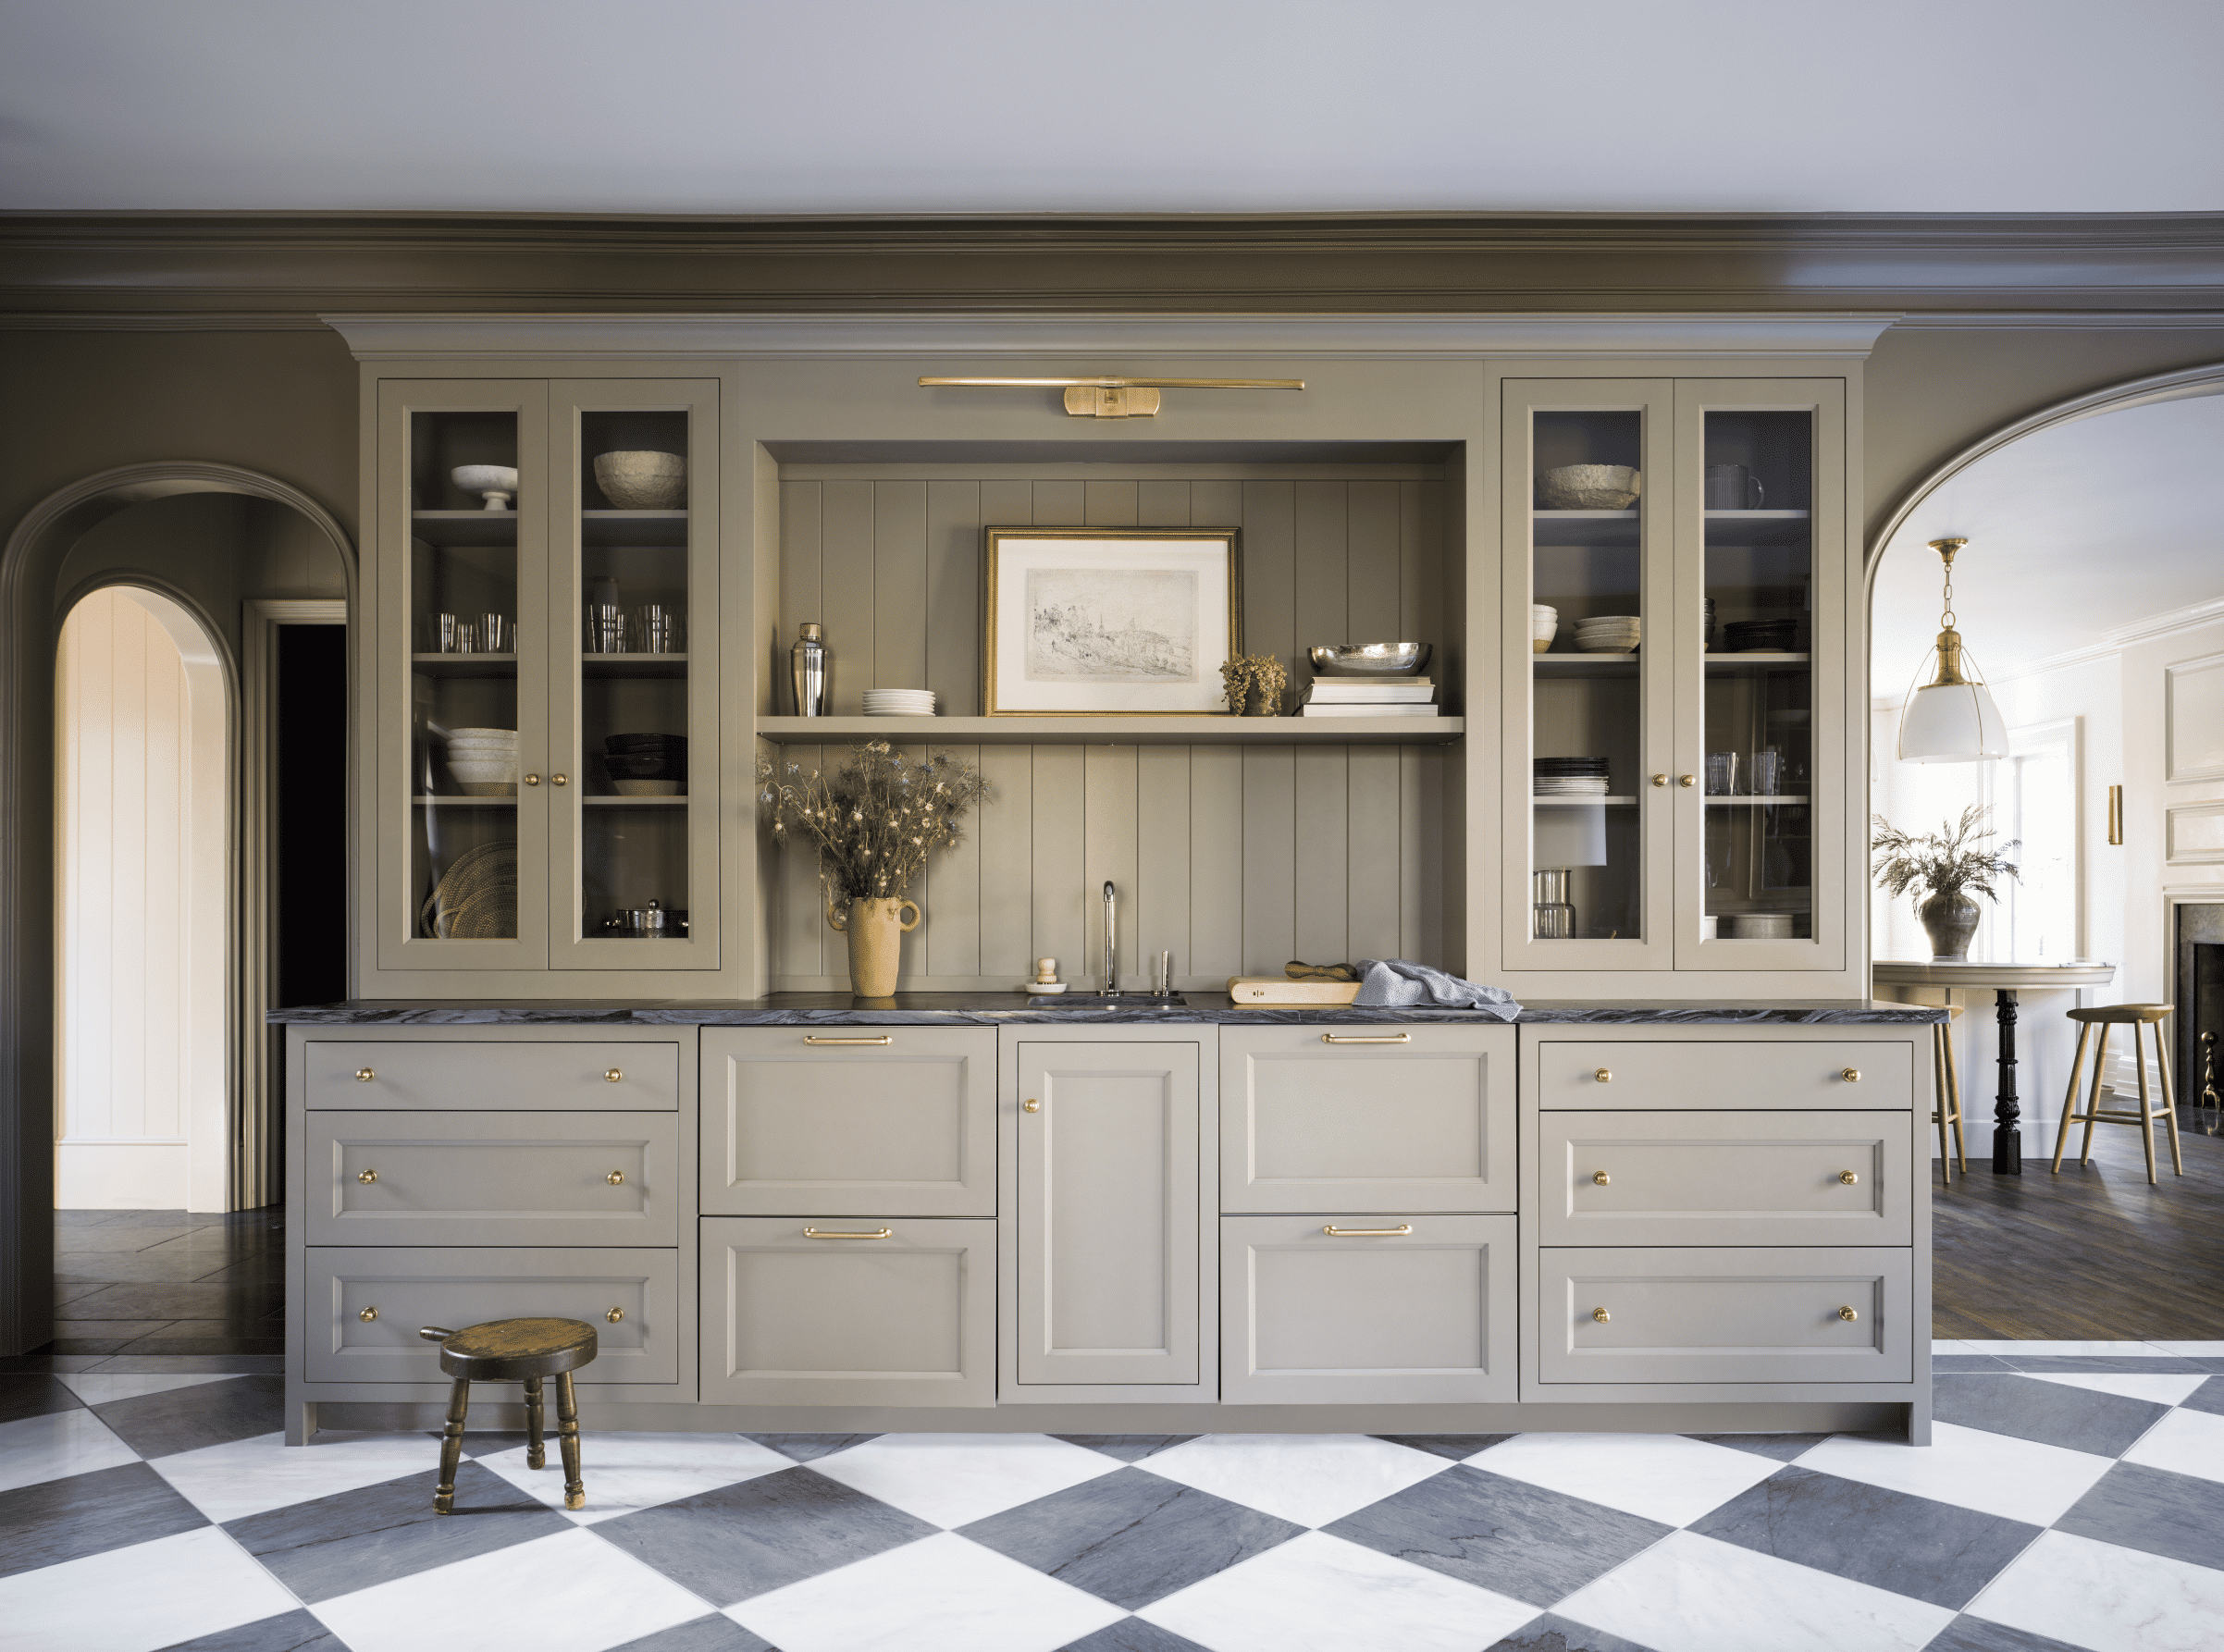
I hired out the marble checkerboard floors but did the wall treatments myself. This time I used shiplap wall panels to achieve this look. Then I painted it SW Accessible Beige – the perfect partner to the neutral cloud wallpaper above.

Sources: Wall art | Laundry cart | Cabinet door pull | Wallpaper | Gray marble tiles | White marble tiles
Bathrooms
This is a great place to DIY vertical shiplap, especially if you want to take on a smaller space as your first project. Maybe try a half bath on your main level and impress your guests!
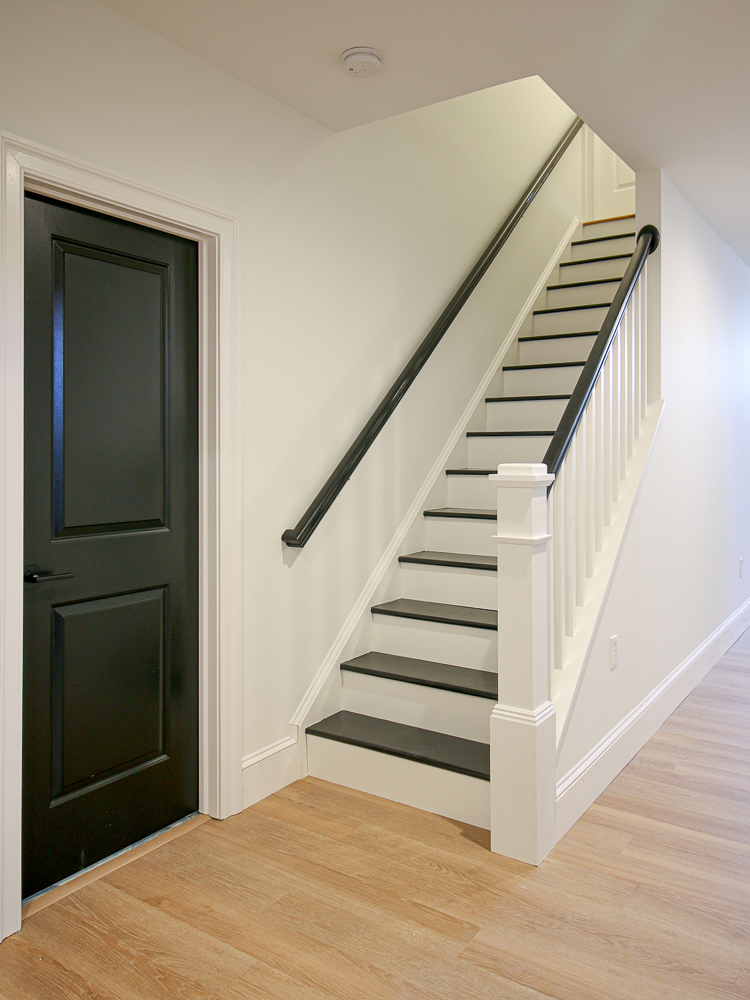
The bathroom pictured below was part of the mudroom and laundry room renovation and I love how it turned out. I painted the door the same color as the shiplap and trim.
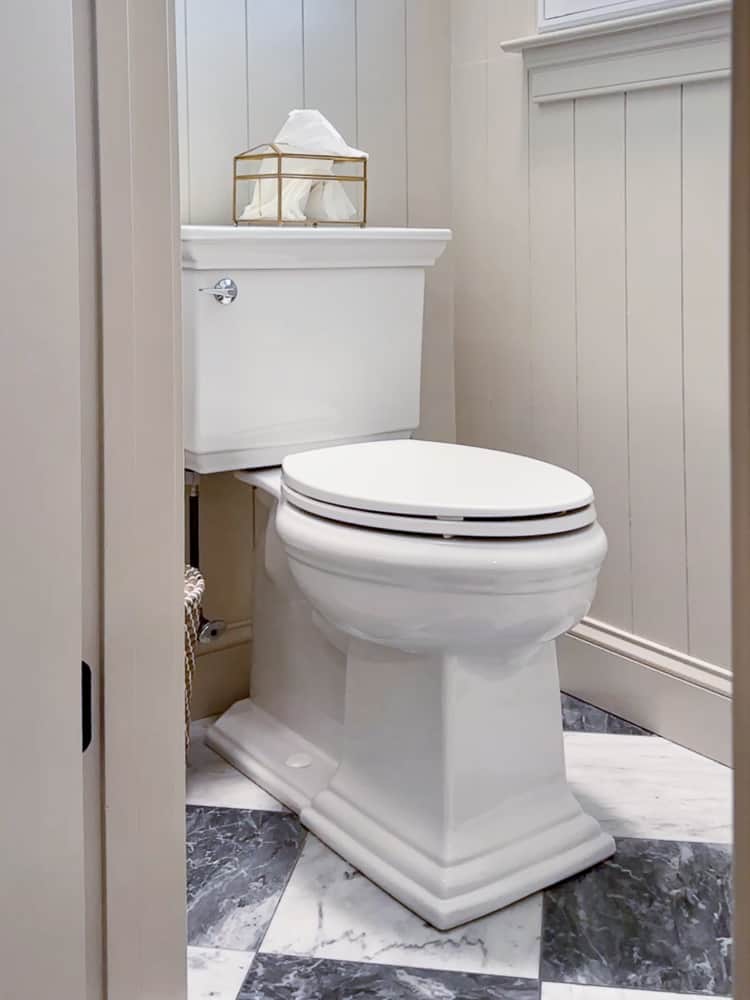
Sources: Gray marble tiles | White marble tiles | Toilet | Tissue box
Kitchens
Depending on the layout and how your wall space is configured, vertical shiplap may be just the little something your kitchen needs. It can be installed as a backsplash but make sure you use the proper paint and primer that can handle being close to a cooking surface.