How I Updated My 90s Home Room by Room
Disclosure: This post may contain affiliate links. As an Amazon Associate, I earn from qualifying purchases at no additional cost to you.
From the day we moved into our home, l started dreaming about the ways I was going to make it my own. The property was amazing and the home had everything we were looking for – except the 90s home decor and design elements. It didn’t happen overnight but every project was worth the blood, sweat, and tears. Follow along to see how I transformed my home one room at a time. Before and after photos are included!


Home Trends Popular in the 90s
This was a questionable decade for both fashion and interior design trends. Acid-wash jeans and sponge-painted walls were all the rage! Here is a list of 90s home trends you might be living with:
- Oak or cherry cabinets
- Speckled granite countertops
- Walls painted tacky shades of yellow, green, or red
- Unused corner soaking tub
- Chrome or brushed nickel fixtures and hardware
- Outdated window treatments – valances or ill-fitting drapes
- Wall-to-wall carpet
- Basic floor tiles
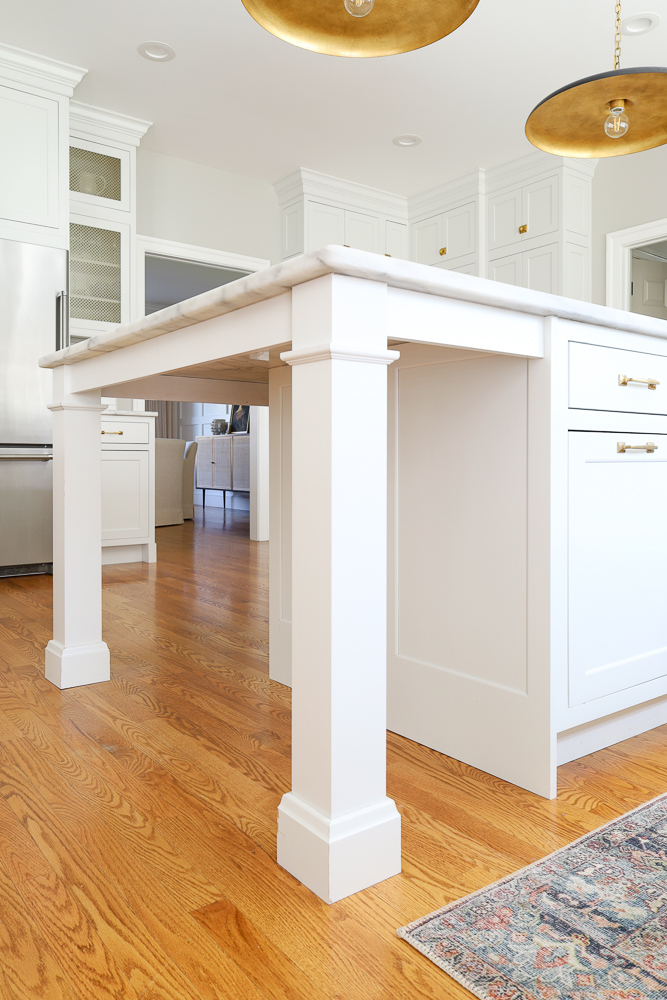
My 90s Kitchen Renovation
This was the first space I wanted to tackle when we bought the house. It’s the heart of the home and even though it would be a big project, a kitchen remodel would have the biggest overall impact and would affect the design decisions in the adjoining rooms. Here are the updates that brought my kitchen up to date.
Simple Materials Guide
Get this FREE GUIDE to different types of trim and molding materials for your every DIY need – from wall molding to cabinetry!

Replaced Cabinetry
The existing cabinets were better than builder-grade oak popular in the 90s but I always wanted a classic white kitchen. I decided to replace the cabinetry with semi-custom inset doors and used cabinets of varying depths to create a visually interesting design.

If you have good quality cabinetry and don’t have the budget to replace them, painting them is a great option to give them a makeover. If you don’t want to hire a professional, check out my post about painting cabinets for tips on getting a factory-smooth finish.
Updated Countertops
The next best way to update your kitchen is to replace the countertops. Granite was a very popular design choice during that time, but the traditional speckled variety that most homes had is now considered outdated. It is known for durability and if you want to stick with that stone, opt for something contemporary that resembles a more desirable option like soapstone.
Despite the best efforts of others trying to convince me otherwise, I chose Carrara marble countertops. If you are considering marble, read in detail about how they’ve held up to our family of five for the past few years.
I kept the white subway tile style, but went with a lighter color grout instead. The larger gray grout with the white tile gave it a casual farmhouse look.

Added Modern Fixtures and Decor
The word art trend didn’t escape me but once I learned more about decor and design I quickly changed the way I decorated my home! In an effort to escape the 90’s shiny painted gold hardware, builders put brushed nickel fixtures on the map. The easy-to-clean surfaces and modern look- became the gold standard of the decade that followed the 90s.
While brushed nickel is still a popular choice for the masses, it is not used by designers or even serious decor enthusiasts. Instead, the way to bring your kitchen up to date is to use classic and timeless fixtures in metals like brass or polished nickel.

Plumbing fixtures, cabinet hardware, and light fixtures don’t have to match! Just about anything goes when mixing finishes in a space, but read my post about complementary metal finishes to get the most intentional look. Replacing cabinet hardware is the least expensive way to make changes in your kitchen!
Adjoining Murdoom Makeover
Our mudroom is right off the kitchen. After the renovation, it looked completely different and the 90s mudroom stood out like a sore thumb.


We added built-in storage, upgraded to marble checkerboard floors, and dressed up the walls by installing vertical shiplap and hanging wallpaper.


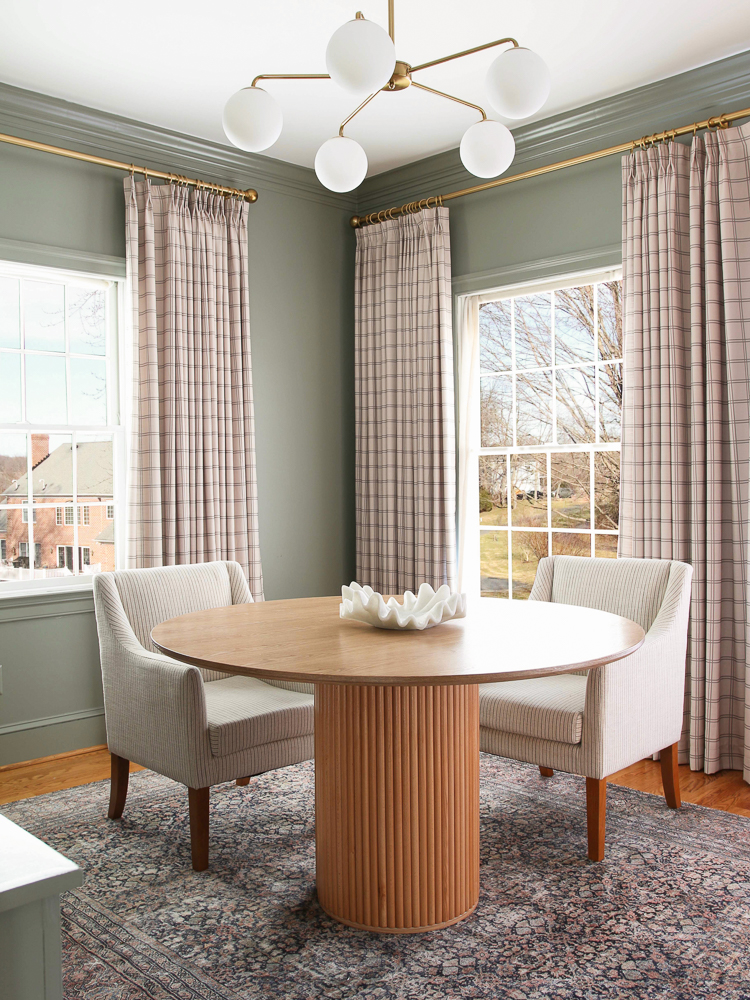
Outdated Dining Room
The previous owners had a very traditional decorating style which was common in the 90s. The dining room had dark window valances and chair rail trim as well as furniture and lighting typically found in a formal dining room. These are the major changes I made in my dining room:

Added Wall Treatments
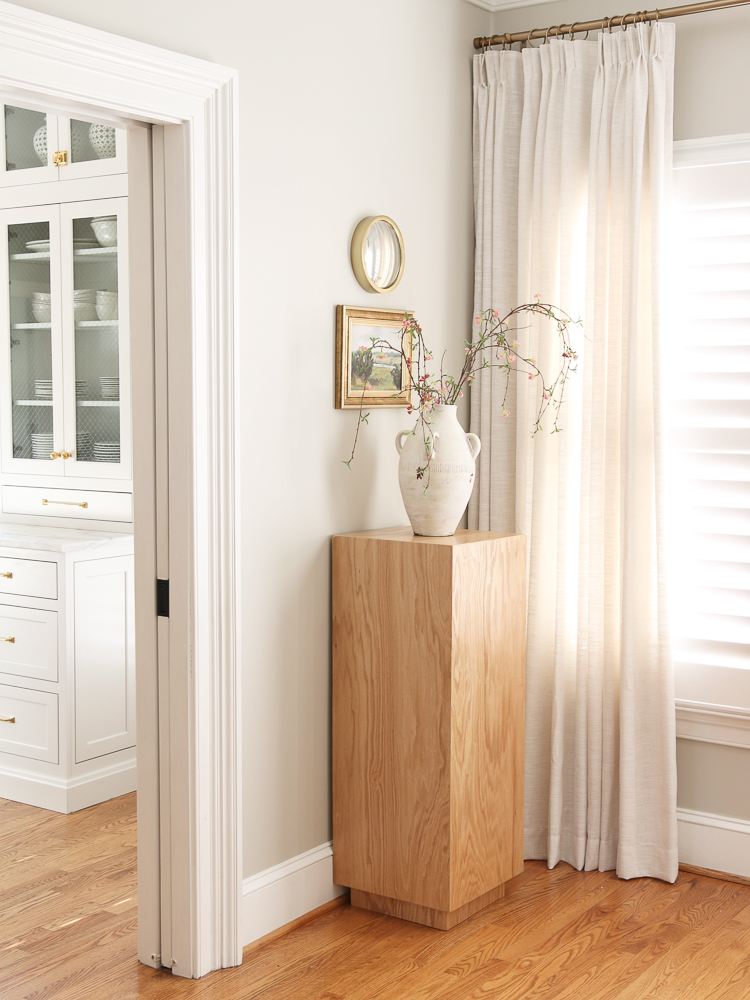
To keep things complementary to the adjoining kitchen, I added plank wall molding and painted the walls bright white. These details set the tone for me to fill the room with furniture and decor that reflected my tastes. The linen drapes – hung high and to the floor – were the finishing touch this room needed.
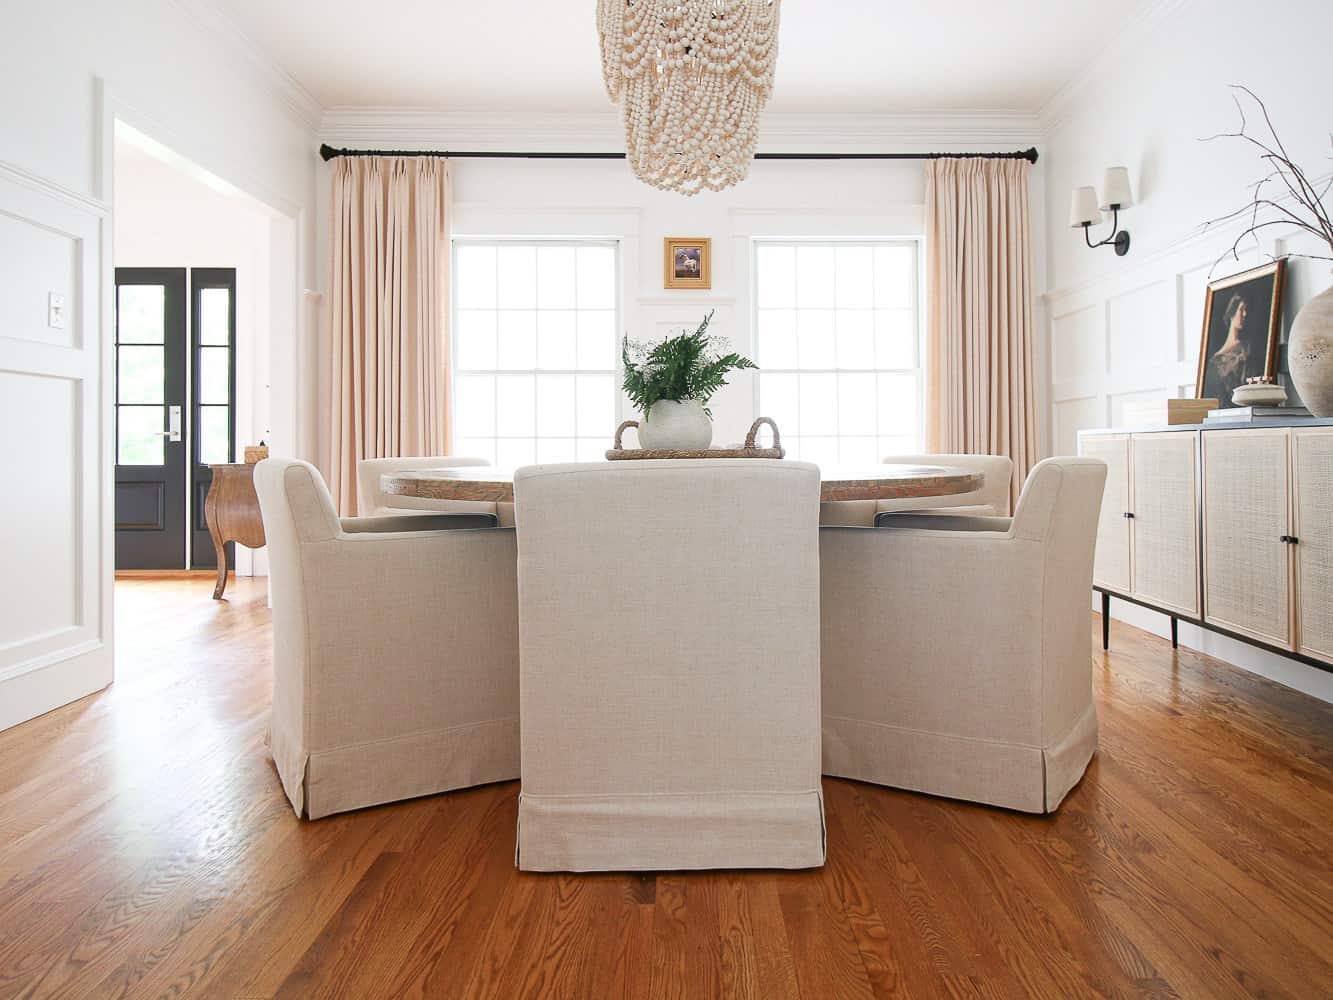
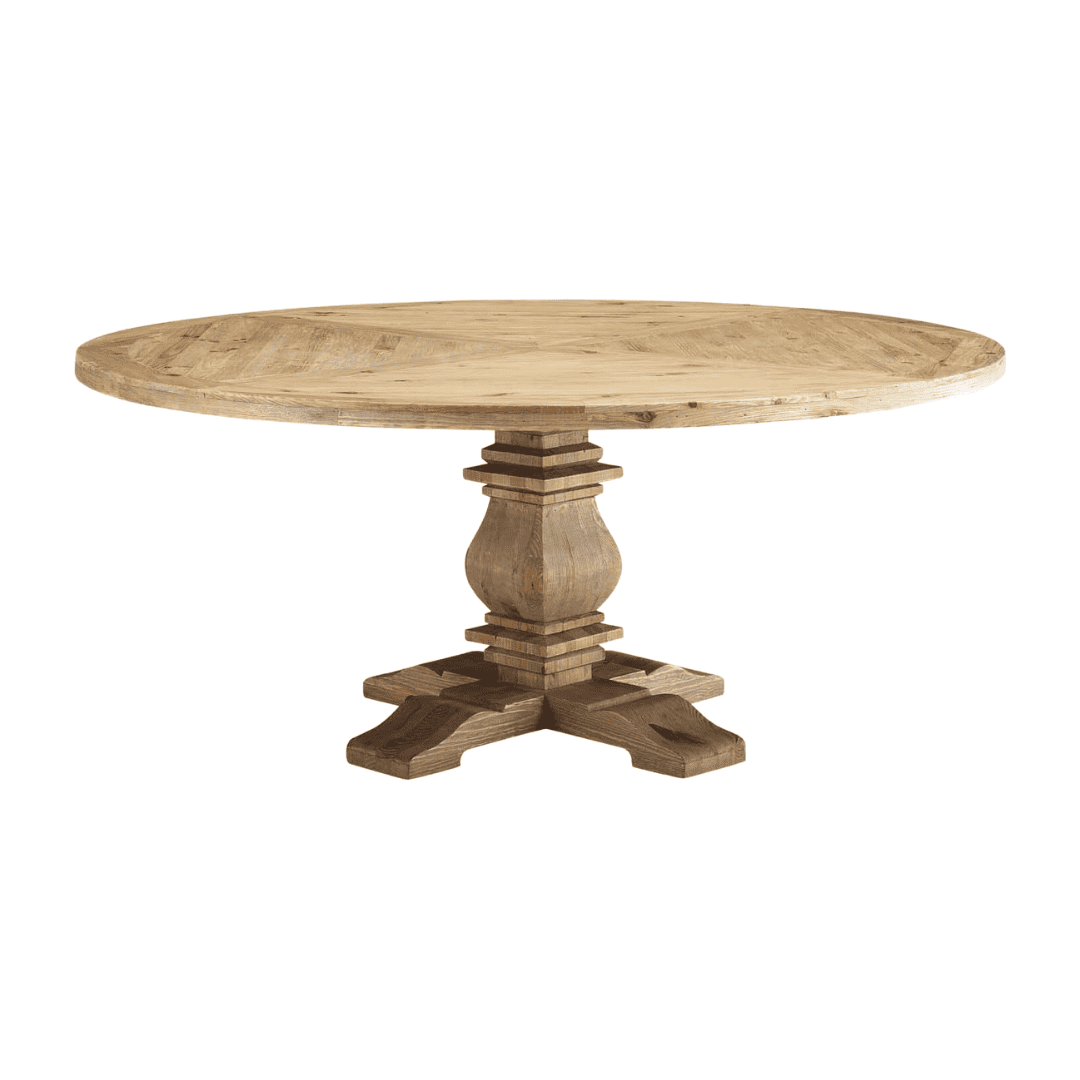
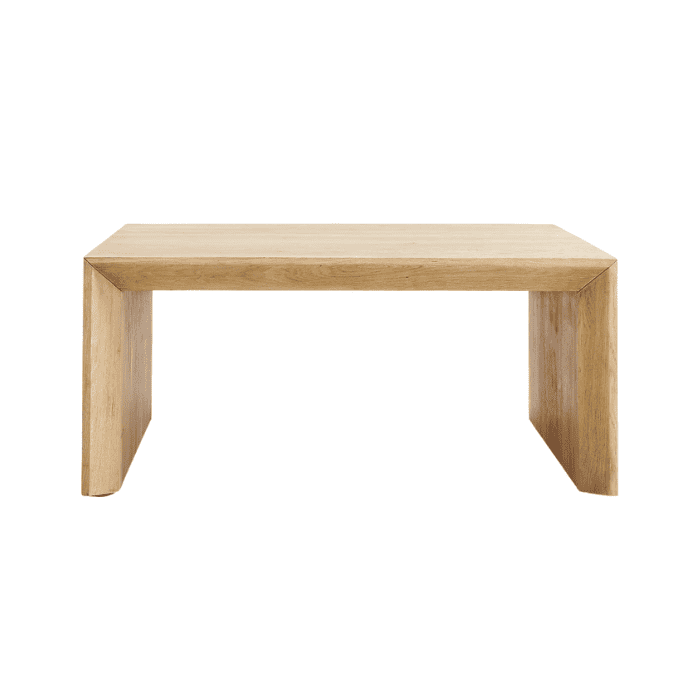
Mixed Furniture Styles
Matching furniture is such a 90s home decor trend! I chose my dining room chairs for the low profile and light linen fabric and for the fact that they would look amazing with the large round table.
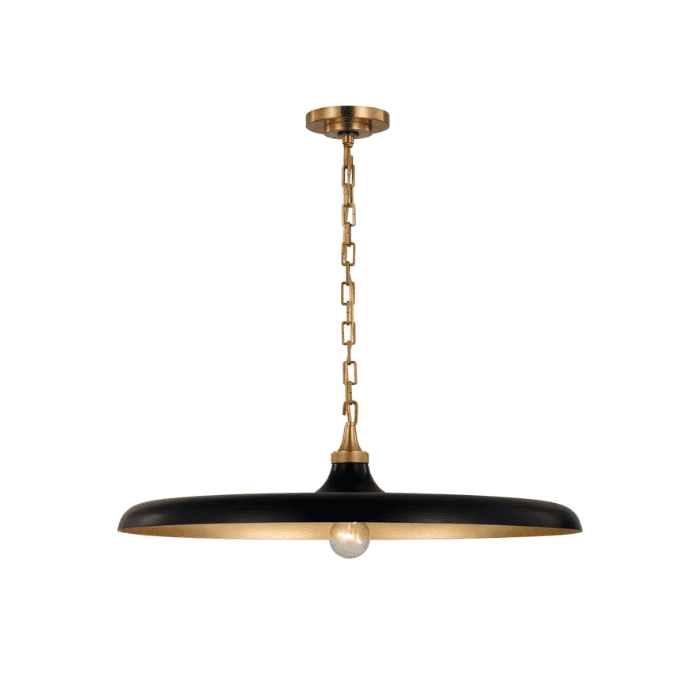
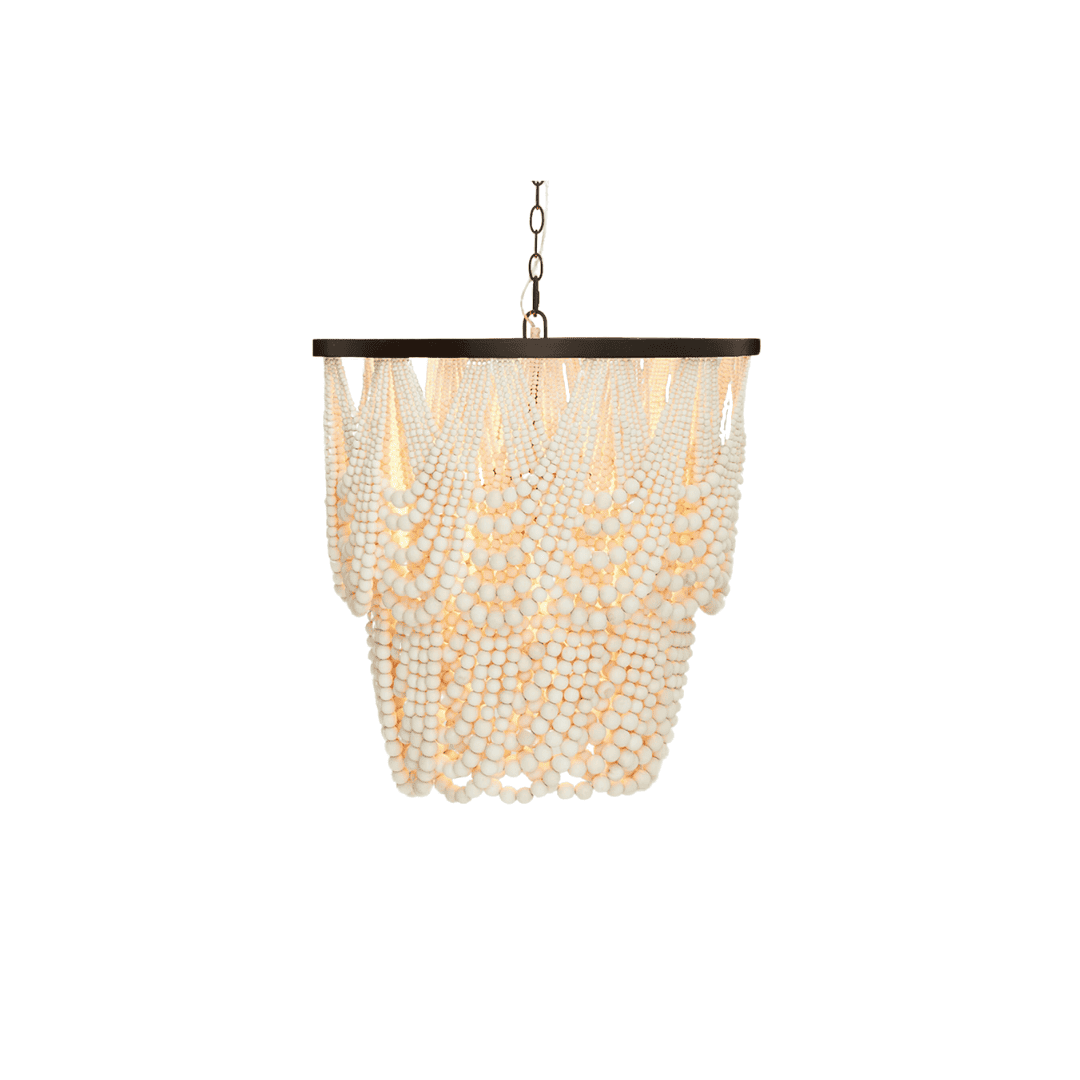
Installed a Statement Chandelier

Swapping out your old dated brass chandelier is the easiest way to bring your dining room out of the 90s. Lighting isn’t cheap so instead of choosing something ultra-modern or trendy, I went with a beaded chandelier that I know I would love for years to come.


Adding Character to my ’90s Living Room
Even though this space had a brick fireplace, nothing was exciting about the layout of the living room. It had lots of windows to let in the afternoon sun, but it didn’t have character. Here are the ways I put my personal touch on this space:
Fireplace Wall Makeover
The fireplace wall was pretty but basic. It had a simple white mantel with a red brick surround that we lived with for a while before I decided to make changes. I installed marble tiles over the brick and built my first DIY shelves and cabinets that I could use for storage and decor. This wall faces the kitchen and now the view from room to room was exactly what I had in mind.

I did a similar project in the loft space at the top of our stairs too. I built shelves and a window bench to create a cozy little space.

Painted the Walls
Homes in the 90’s were filled with warm dark colors often changing from one room to the next. The key to making an open floor plan feel cohesive is having design elements that carry on and complement each other. Adjoining rooms don’t have to be the same color, but skip the 90s home decor trend of using too many dark colors.
Contemporary colors like Agreeable Gray, Accessible Beige, and Pure White by Sherwin-Williams are light and neutral and will bring your outdated home back to life.
Want to make some modern updates? Paint your interior doors black!
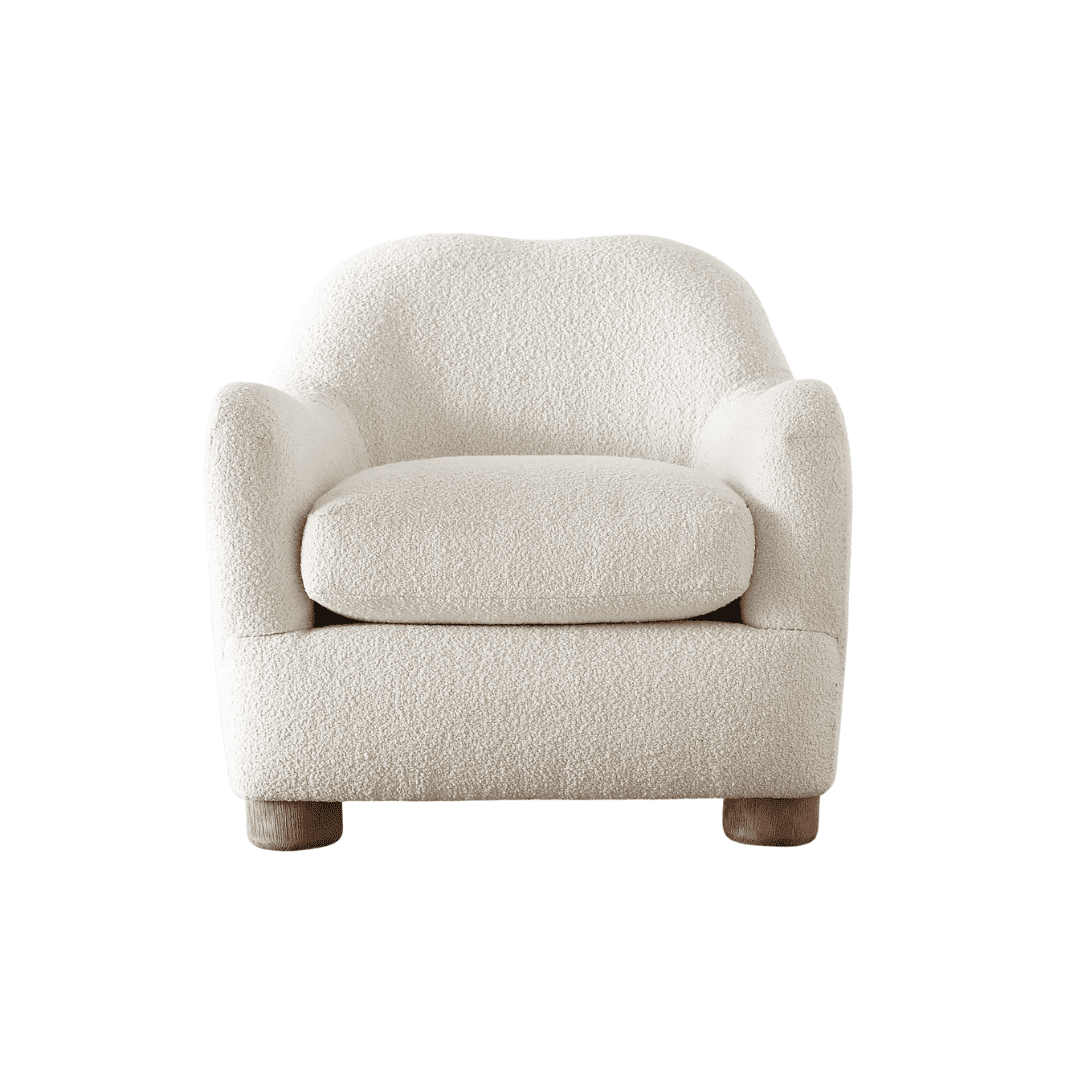
Mixed Solid Color Furniture Pieces
Granny chic and grand millennial are certainly some looks, but unless you are fully committed to that trend, skip the floral patterned furniture and go for solid colors instead. You can achieve that Nancy Meyers movie style with soft surfaces in a neutral color.

Mixing living room furniture is the key to a good design. Pair a sofa with chairs in a coordinating color and fabric or place two of the same sofas in different colors and place them opposite one another as I did. Whatever combination looks best in your home is the way to go!


Every ’90s Bathroom Needs a Makeover
From the boring builder-grade vanities to the large rectangular mirror glued to the wall, every 90’s bathroom had the same boring look. We gutted our bathroom and adjoining closet and while a full bathroom renovation might be out of reach, there are ways to bring your bathroom up to date. Here are the changes we made in the primary bathroom and closet:
Vanity Makeover
Just like with kitchen cabinets, if you are not able to replace your old vanity, painting it is an affordable way to give it a makeover. Swap the hardware too for a modern look! I found a new vanity but I didn’t love the color so I painted it.


Removed the Corner Soaking Tub
The other big 90s home trend was a big soaking or jetted tub in the bathroom. It was a huge selling point and buyers loved it. Not sure about you, but I don’t know anyone who used that big tub. One of the biggest changes contractors are being asked to make these days is to remove them altogether.


That is exactly what I did. We got rid of the corner tub and moved the shower to that spot and wen
Expanded the Closet
Moving the tub created the opportunity to expand our adjoining closet. Many homes built in the 90s had small closets and while ours was a walk-in, it was awkward and could use some improvement.

We had our contractor move the wall between the bathroom and closet and carry the bathroom floors into both spaces. Once the bathroom was complete, I started work on the closest. Using the Ikea Pax system, I designed and built a custom closet that was not only beautiful but more functional too!


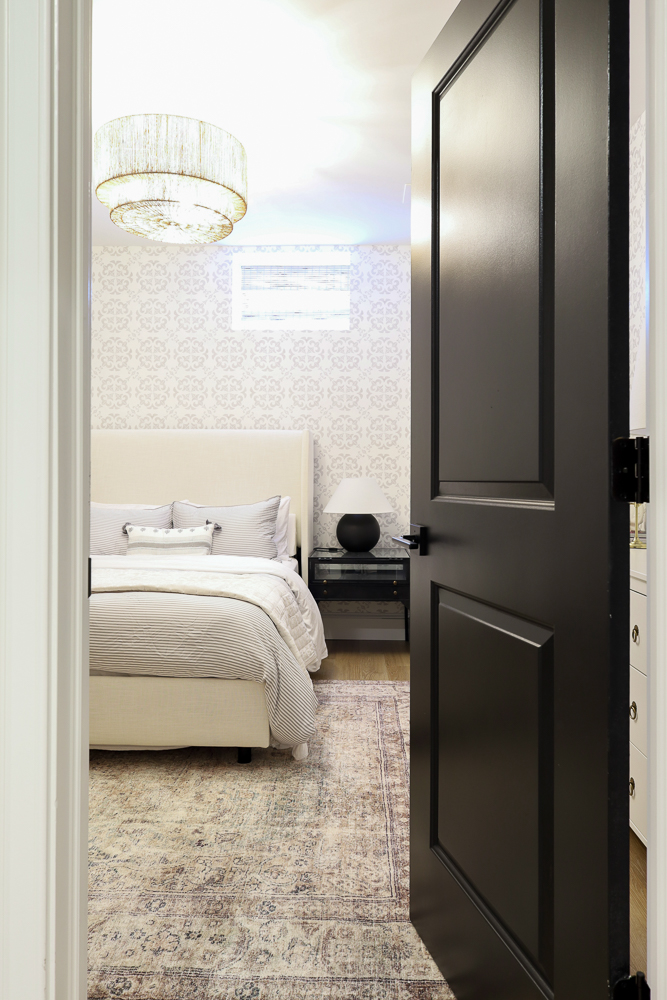
90s Bedroom Updates
While we eventually made structural changes in my boy’s shared bedroom, most of the bedroom changes were decorative. Here is what we did:

Removed Carpeting
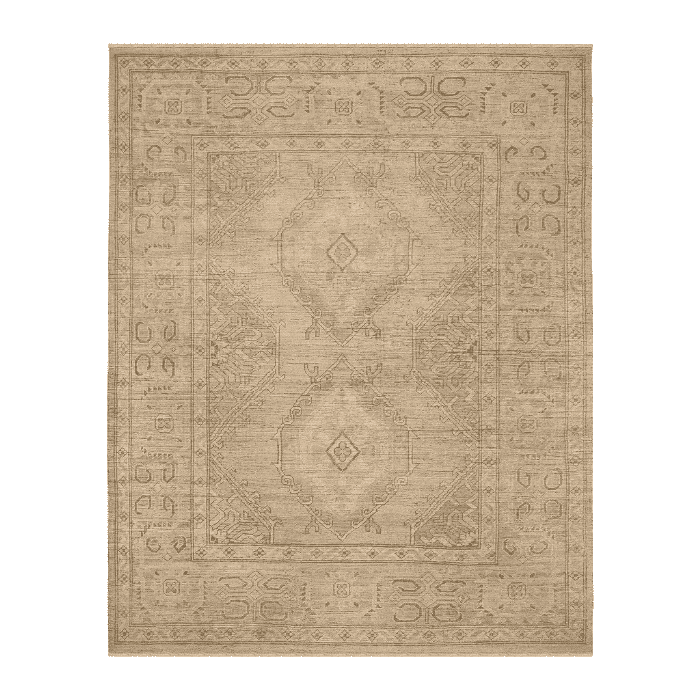
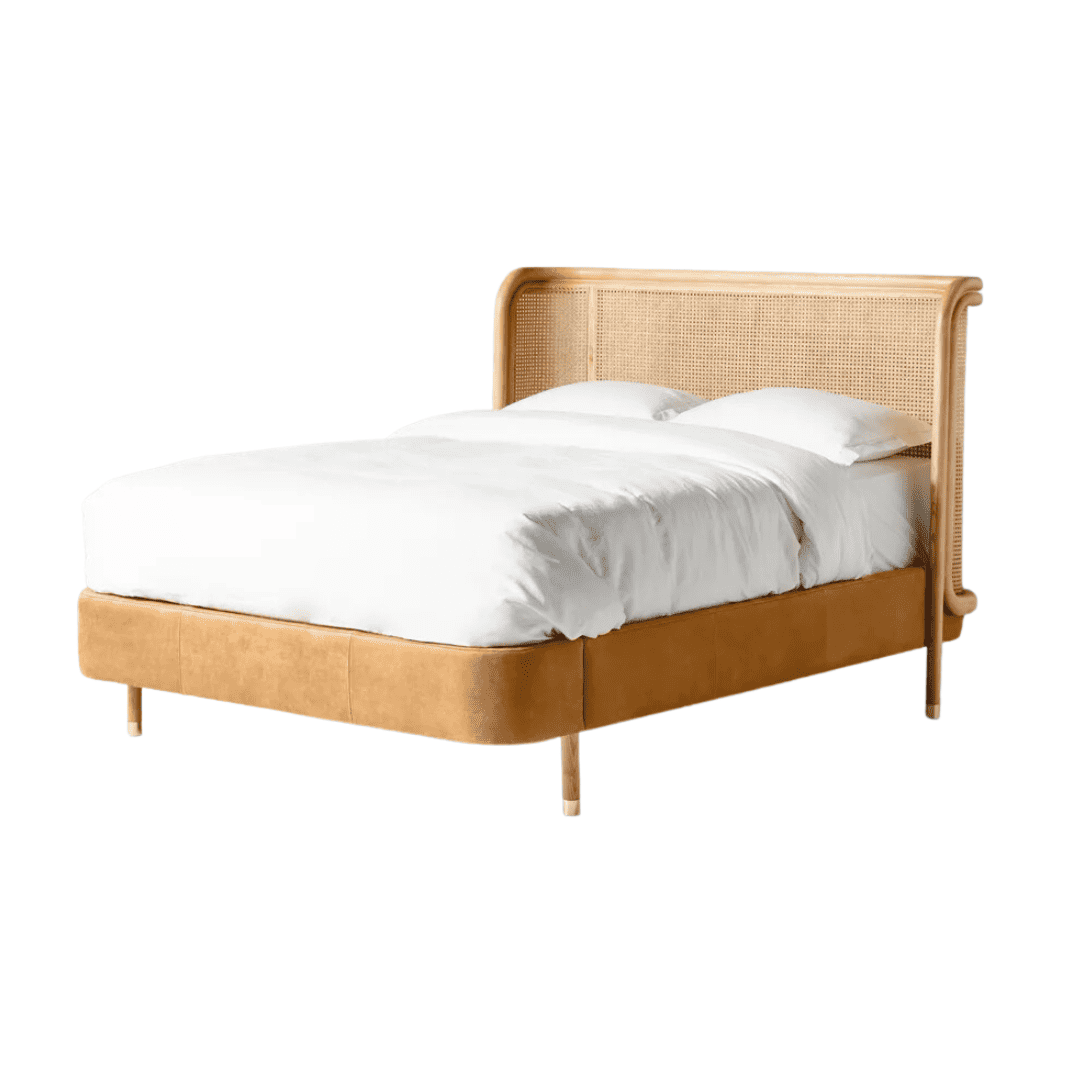
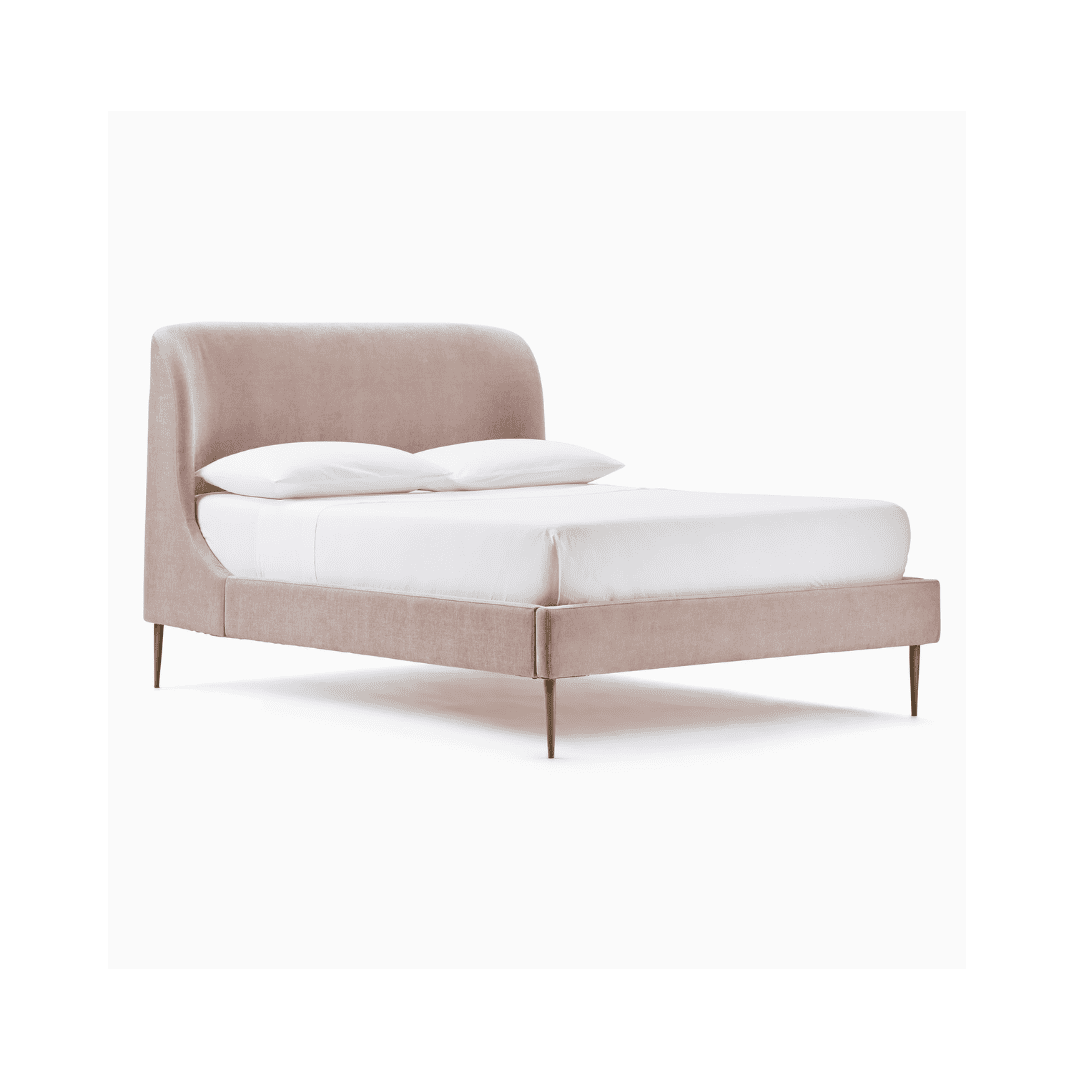
Most of my home already had red oak floors but the bedrooms had carpet – typical of the 90s. I am a lover of hardwood floors and prefer to use rugs under the beds as opposed to wall-to-wall carpet. Therefore, we had all the carpet removed installed solid red oak floors and had them stained to match the rest of the home.


Updated Window Treatments
Another change we made in the bedrooms was on the windows. Again, the valences had to go. We had interior window shutters installed for privacy then added my favorite affordable drapes from Amazon.


The trick to getting a contemporary look with your drapes is to hang them properly. It’s amazing how drapes can change the look of a room. Read my post for tips on hanging them like a pro!


Home Office Makeover
This room has had a few different looks, but the most recent update is by far my favorite. There was already crown molding installed but the walls needed a little something extra. Being a home office, I also needed some storage space for supplies and a place to hide my printer. Here are the major changes I made in the office:
DIY’d a Desk and Cabinets
This was my third go around with building shelves and cabinets and I wanted to change things up a little. Instead of using solid doors to hide the contents of the cabinets, I used a metal mesh insert instead. It’s really simple to do and paired with the cremone bolts, it gave this room a bit of a vintage vibe.


Painted Walls and Trim
After using SW Accessible Beige in other areas of my home, I knew it was the right color for this room. I painted the trim the same color as the walls and cabinets, but at 75% strength to get the right shade to complement the natural light this room gets throughout the day.
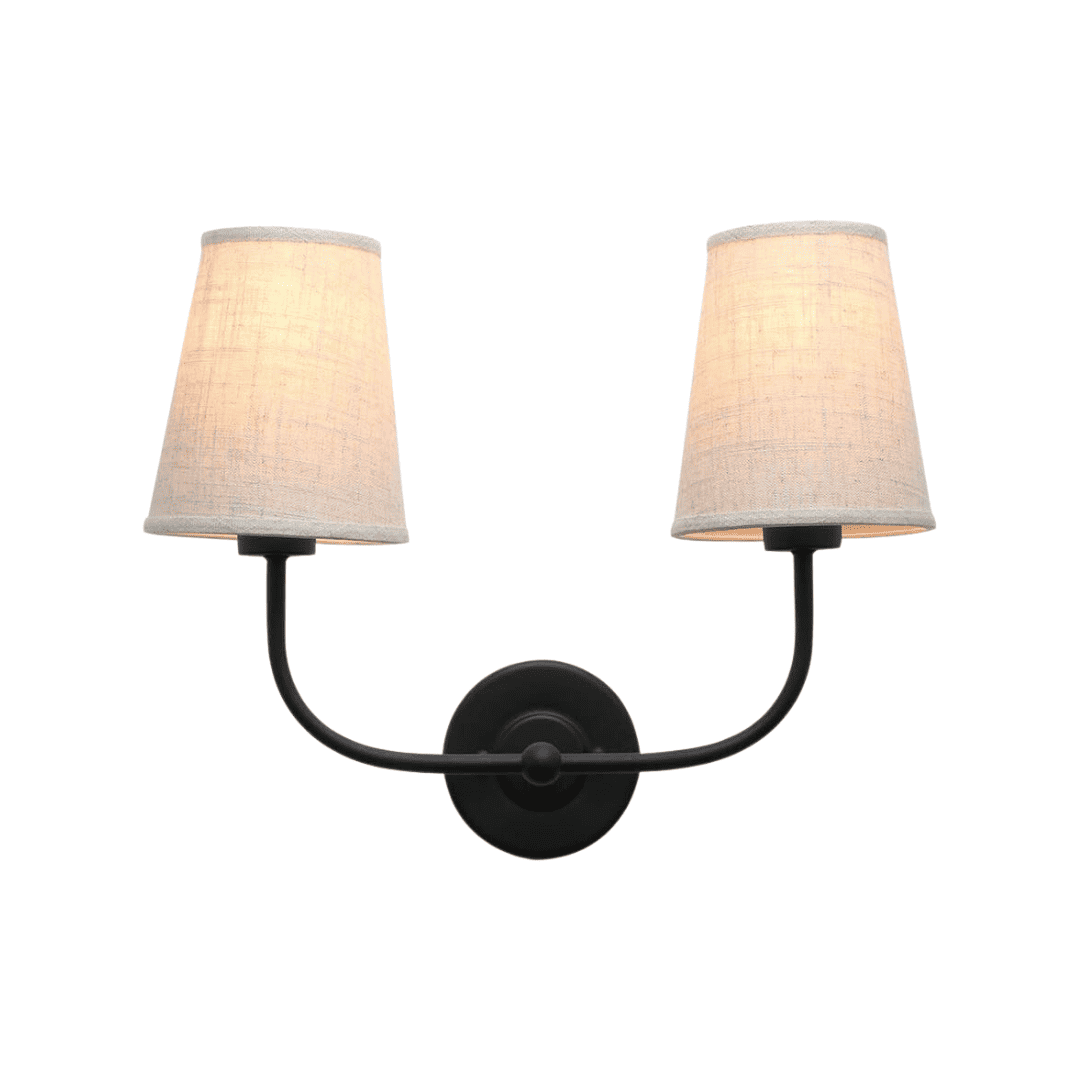
Swapped Out Light Fixture and Window Treatments
The glass bubble beauty had to be mine. What a statement light fixture! It was certainly a splurge, but there are some really good affordable options available that I’ll share below.
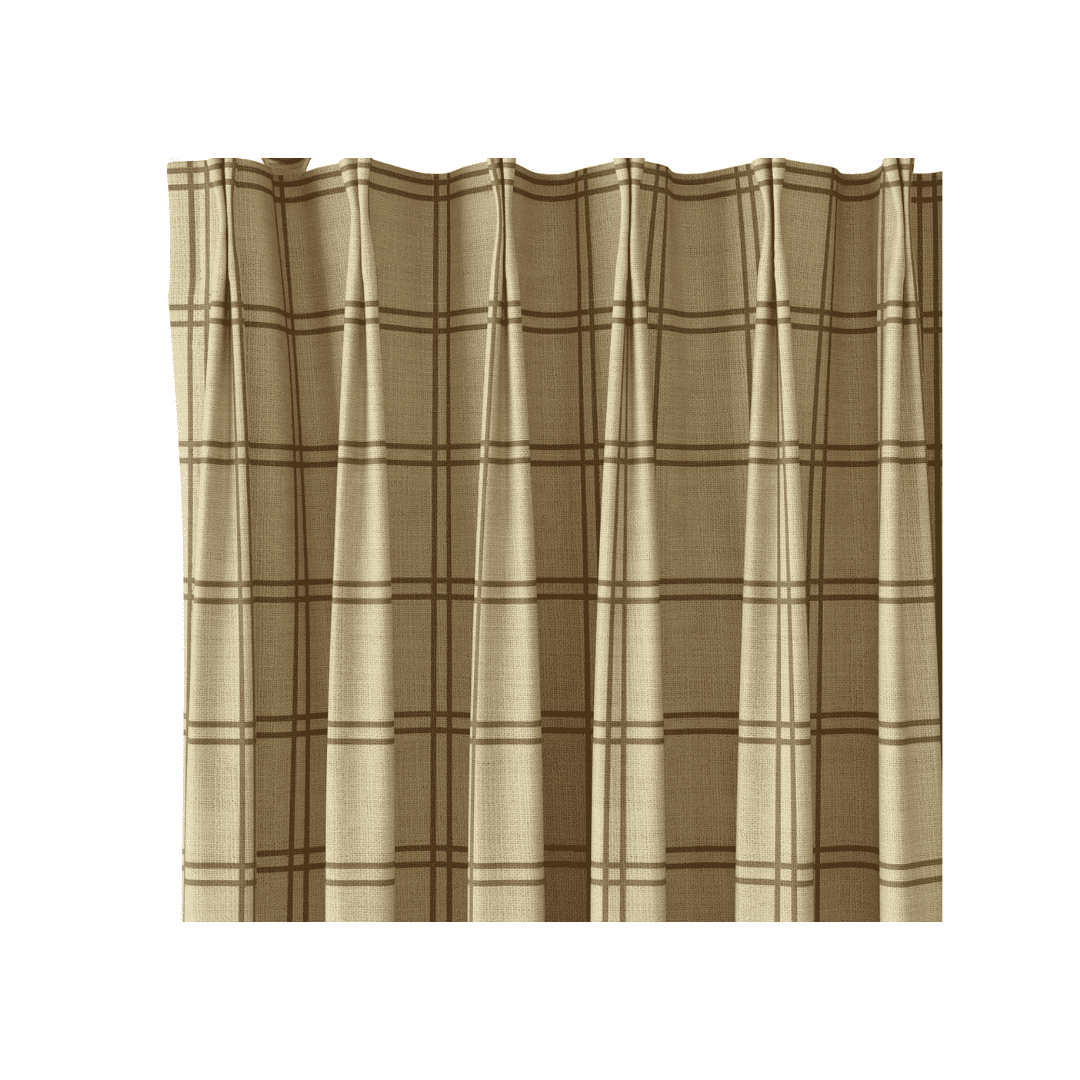
The drapes are from Amazon and are part of a collection of printed drapes I designed for Two Pages. The windowpane pattern is my favorite so I used them in my office and paired them with woven Roman shades from the same company.


Upstairs Loft Transformation
Before we gave it a makeover, the loft was a pretty basic space with a single window and yellowish-beige walls. It was a place where the kids could hang out and play video games or watch TV. Here is how I transformed this space from a typical 90s room into a beautiful and cozy corner:
Window Bench and Built-in Bookshelves
This was my second DIY built-in project and it was a little less complicated than my living room project. I didn’t have existing crown molding to work around and felt more comfortable working with the tools and materials needed to get the job done.


90s Home Updates Before and After Pictures
Here are the before and after photos all in the same place so you can get a better idea of the scope of the transformation. Some spaces are a bit more dramatic than others, but the key to all of my projects is in the details.


Beautiful ! I love the window seat. You did an amazing job. It’s lovely.
Thank you!