How to Design and Install the Perfect Checkerboard Floor
Disclosure: This post may contain affiliate links. As an Amazon Associate, I earn from qualifying purchases at no additional cost to you.
What is a checkerboard flooring design?
This flooring design style is created by alternating square floor tiles with different colors. It has been around for centuries and continues to be a pattern that continues to rule the design world. No matter the layout, a checkerboard floor pattern is sure to be the star of any home.
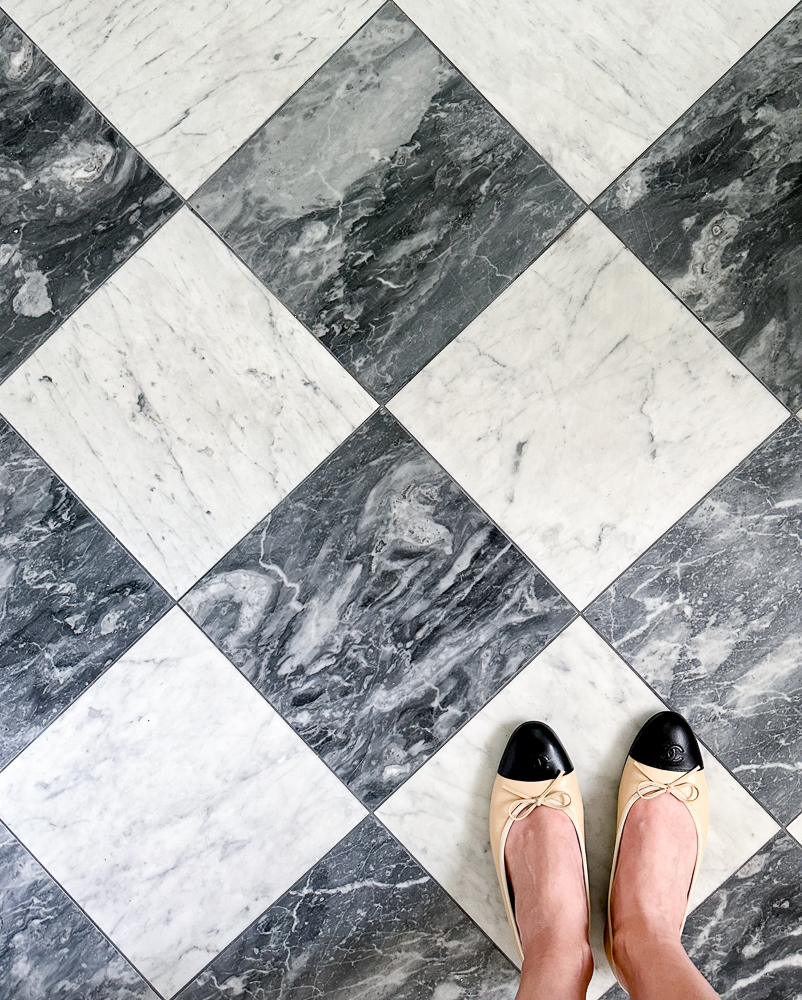
White Carrara marble tile | Gray Bardiglio marble tile
Are checkerboard floors in style?
Always! This is another example of something in the interior design world that never goes out of style! Trends come and go. Most of us can’t afford to replace flooring in our homes every time the pendulum swings. This is why I recommend making timeless decisions for big-budget items.
For example, it’s much less expensive to swap out throw pillows when the next hot style comes along. You’re not going to remodel your kitchen when the trends change every few years. This is something I always have in mind when designing spaces in my home. I love the way checkerboard floors complement other classics–like a white kitchen, marble surfaces, wall molding, and hardwood floors.
Colors and layouts
The most common color combinations for alternating square tiles on the floor are black and white or gray and white. Black tiles create a bit more contrast compared to gray tiles but both look stunning paired with white. If you want to add a patterned floor with a subtle look, beige and white is an elegant combination. The overall look you are going for when designing a room will help determine which will look best.
When it comes to layout, you’ve probably noticed a couple of patterns that dominate. Oftentimes, both are referred to as checkerboard or checkered floors. But those terms usually refer to a grid pattern of alternating square tiles.
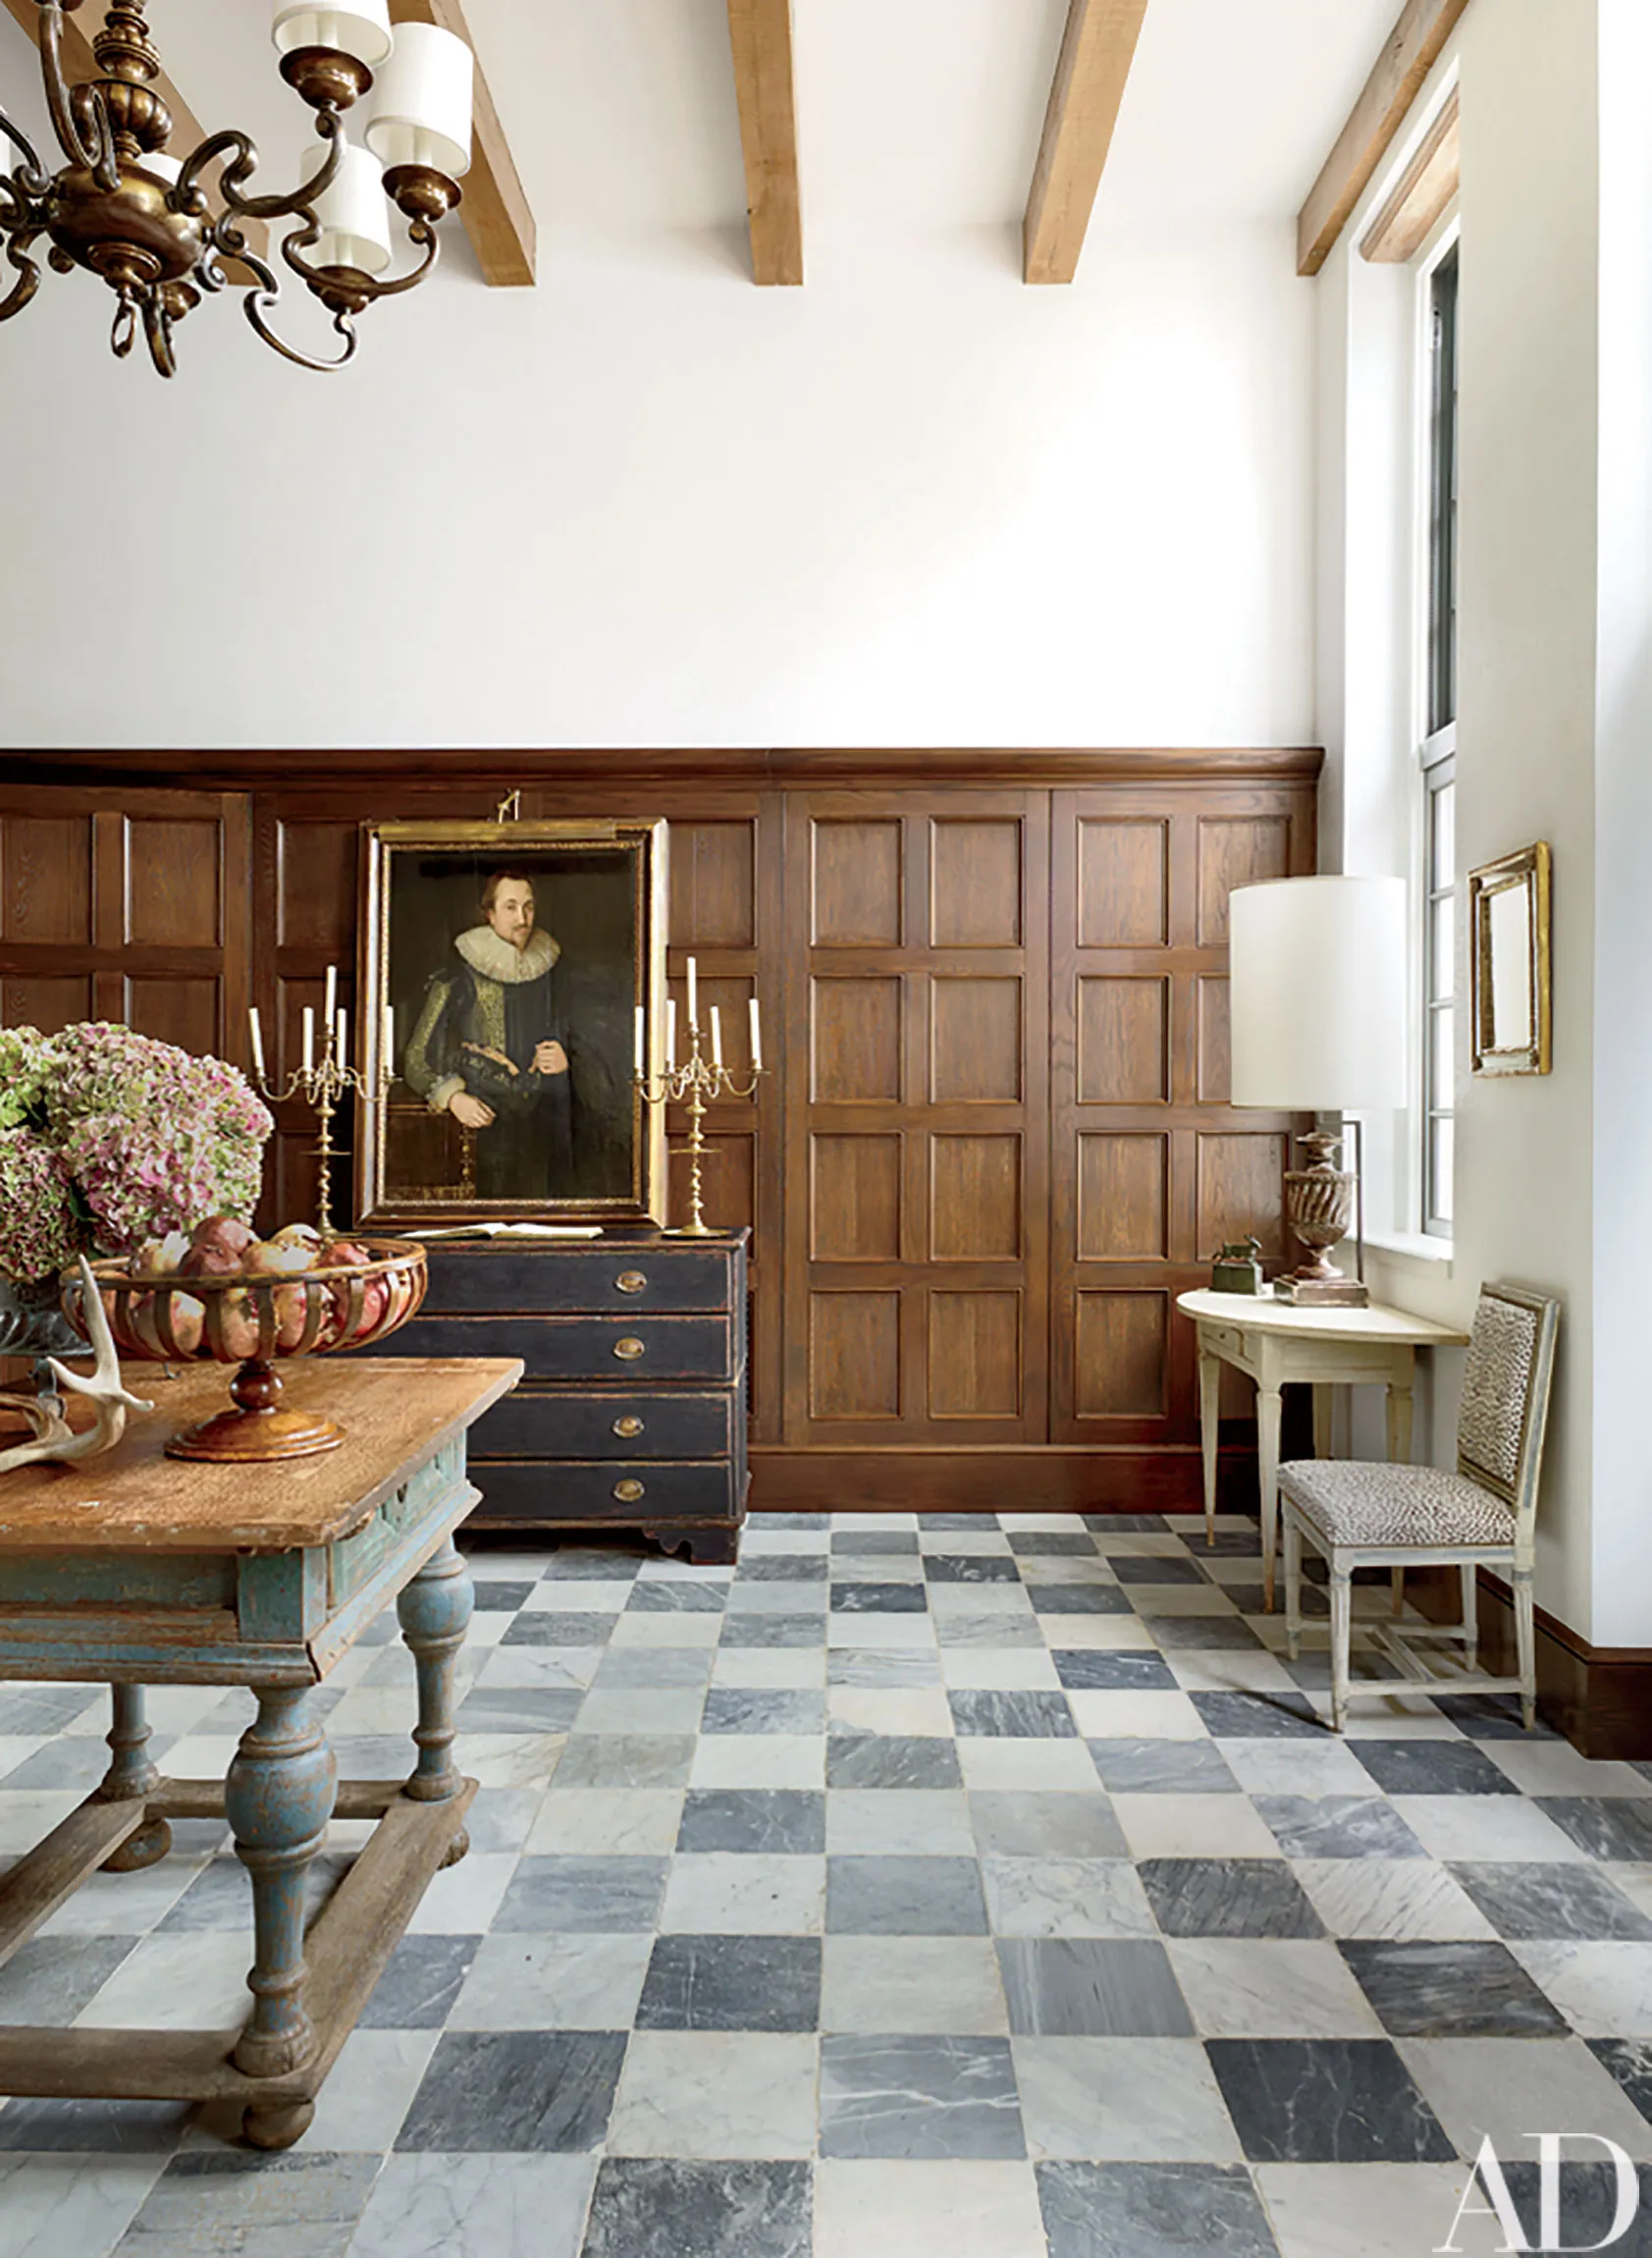
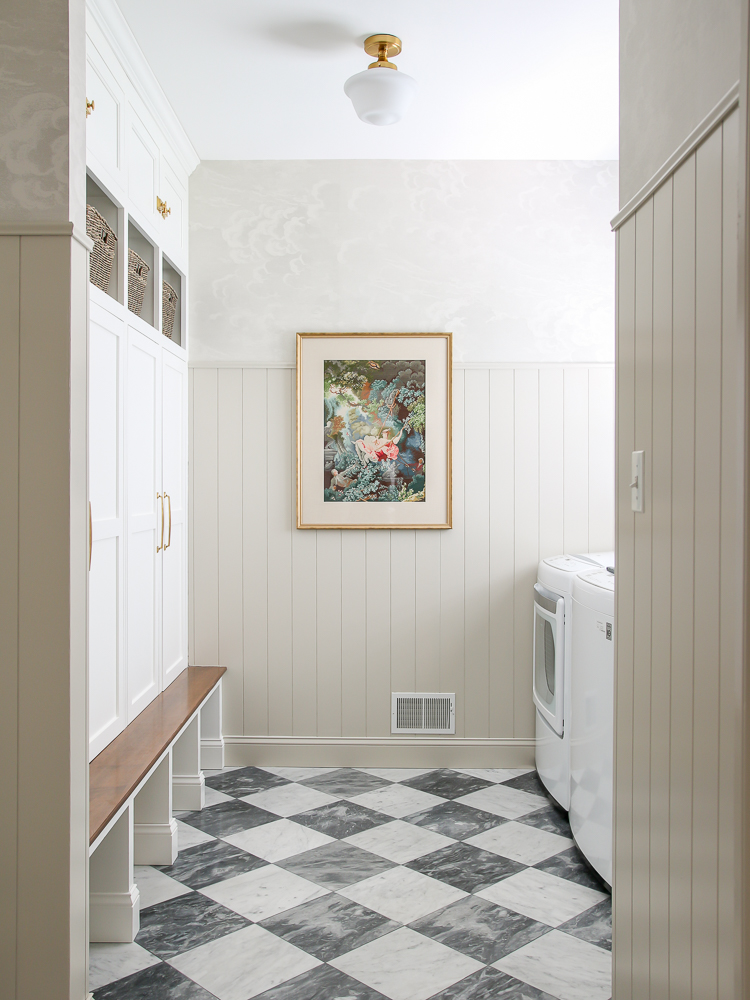
The other way to lay them is in a diamond pattern. I chose this style layout for my mudroom/laundry room and I couldn’t be happier! The grid pattern looked great too, but the diamond pattern looks more visually interesting from the adjoining kitchen. We spend more time looking at the mudroom from this point of view.
Here are examples of a diamond pattern from top designers:


How to choose the best tiles for your home
There is no shortage of inspiring designs when looking for a checkerboard floor. When you are scrolling through Pinterest, trying to get some ideas on what color and layout you should choose, take note of a few things when you see a design that catches your eye:
- Style – Is the room a formal space with other upscale decor elements or does it have a more casual feel? Try to compare images that are on the same end of the spectrum you are working with.
- Size – Tiles come in many different sizes. A checkered pattern floor with small tiles will have a different perspective than one with large tiles. The most important thing to consider here is the size of your room. Smaller tiles tend to be used in smaller spaces, but using larger tiles in a smaller space can create a dramatic look. The rule of thumb is that you should have at least three whole tiles fit in each direction of your space. It’s all about balance!
- Color – How do the colors in the image compare to your home? Does it have rich, bold colors or neutral tones? Think about the colors you plan to use in your space to help you determine what color flooring to install.
HANDY TIP: GET SOME SAMPLES!
Head on down to your local home improvement store or tile shop and grab a few samples to bring home. Play around with different sizes and layouts to see which one makes you happy!
My marble checkerboard floors
Mudroom/laundry room
During my laundry room renovation, I added vertical shiplap panels to the walls, painted them the perfect greige color, and added neutral wallpaper. A black and white checkered floor would have been beautiful in this design scheme, but when you look at the space as a whole–including the open kitchen and living room–the gray was the better option. Here is the before and after!
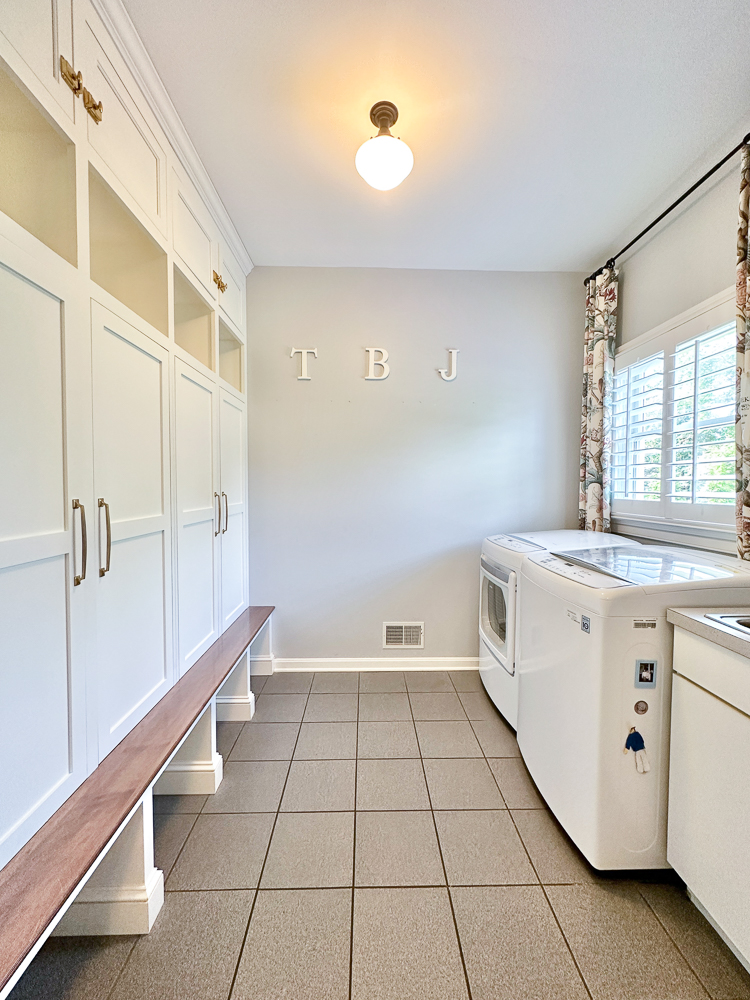

Cabinet door pulls | Door latches | Wall art (similar) | White tiles | Gray tiles | Wallpaper
I chose gray and white for my marble checkerboard floor not only for aesthetic reasons, but we all know that black shows more debris. The mudroom in my home is a high-traffic area and also serves as our laundry room.
It sits between the garage and kitchen and is the most frequently used entry point for our family. Even though we remove our shoes and frequently clean the dryer vent, I would have to sweep the floor more often if I went with black tiles.
Basement bathroom
A few years ago we finished our basement and added a bedroom and bathroom for our guests. Even though the bathroom space was on the smaller side, I was able to design it in a way that made it feel spacious and inviting. If you want to read more about how to make the best of a small space, read my post on how to design a bathroom on a budget.
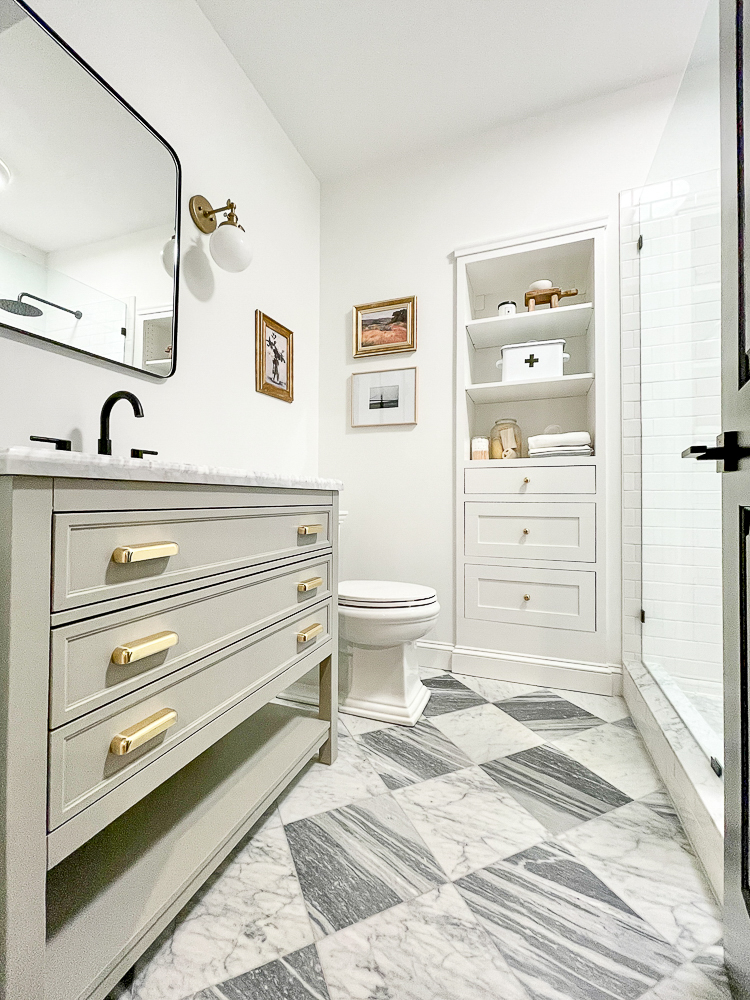
Vanity | Mirror | Sconce | Drawer pulls | Faucet | White marble tile | Gray marble tile
One of my favorite elements of the design is the checkerboard floor. Despite the smaller space, I went for a bolder look by using 12×12 tiles, also in gray and white marble. Again, you can see how this classic pattern looks great in just about any space and complements the other tiles in the shower.
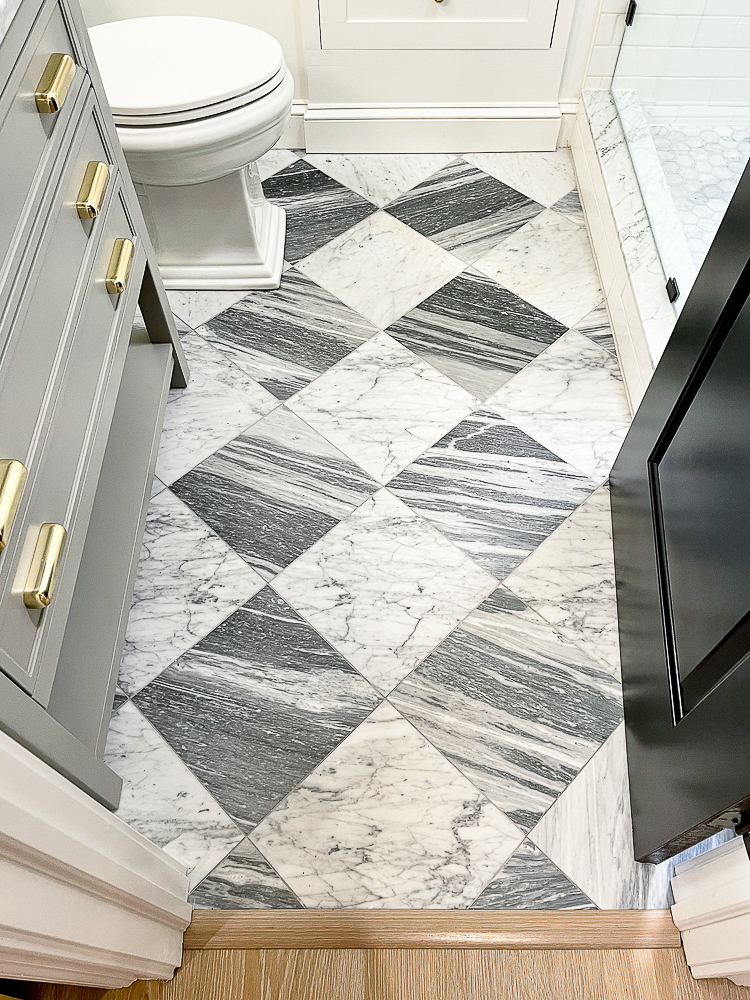
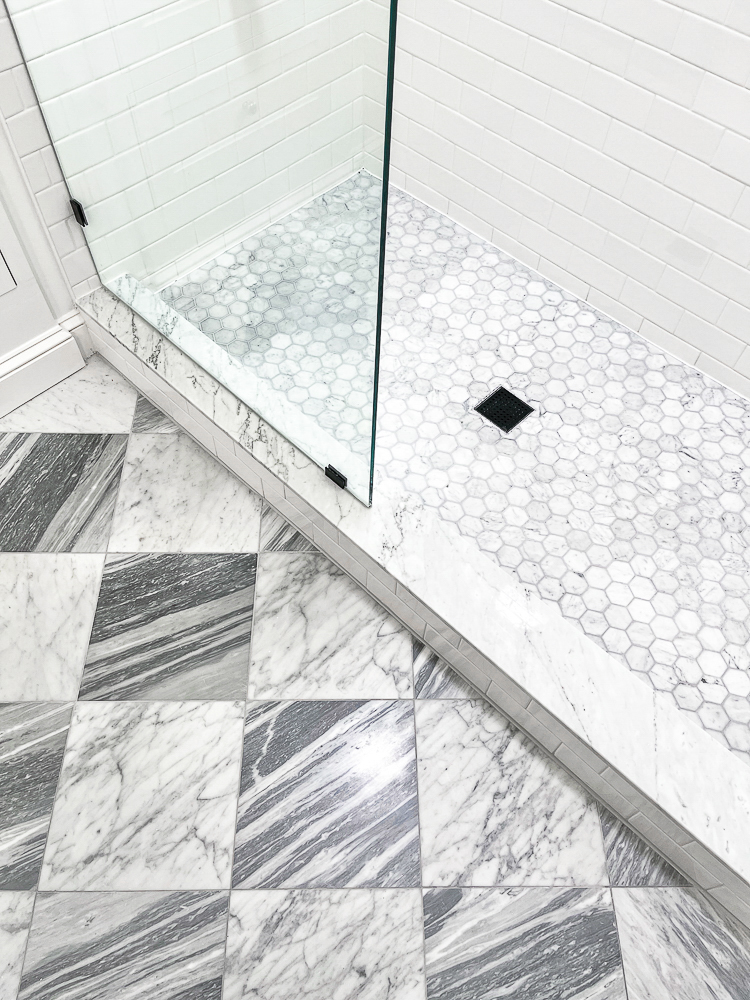
Shower – Hexagon floor tiles | White subway wall tiles
The white tile is Carrara marble and the gray tile is Bardiglio marble, both 12″ x 12″.
Budget-friendly options for checkered floors
I love natural materials and use them whenever I can. There may come a day when I go for something different, but I can’t imagine anything coming between me and my passion for marble. However, I completely understand that not everyone shares the love or has room in the budget for marble.
There are some really great alternatives available for every budget! Not only can you find options at a variety of price points, but you can find something based on durability, maintenance, and even materials that are a breeze to DIY! Here are a few different options from Home Depot.
Tap the image to check them out!

Porcelain isn’t cheap, but it usually costs a little less than marble. It is also more resistant to scratches which makes it a better option if imperfections and patina will bother you.

Luxury vinyl tile is the perfect solution for those who want something that looks nice and can handle kids and pets. It’s moisture resistant and installation is a DIY project that you can feel confident about taking on!

Ceramic tiles are another popular option. This material is easy to maintain but tends to be prone to cracks. It’s a big job to replace floor tiles so keep this in mind when selecting a material for your checkerboard floor.
The installation process
Subflooring is installed during the construction of a home. However, if you are doing a renovation as I did, you’ll have to do some demolition first.
Subfloor
Existing tiles are removed and the subfloor will be evaluated to determine if it’s usable. If it’s not smooth enough after the demo it will need to be removed and replaced with new cement boards.

Placement
Once the cement board is installed, the next step is to figure out tile placement. If you have a perfectly symmetrical space you can start with a tile in the center of a room and work the pattern out from there.
That isn’t always necessary, but keeping the checkerboard floor tiles straight is very important. A laser level or chalk lines drawn on the cement board will act as a guide, preventing your layout from getting skewed as you work. In the next images below, you can see the lines drawn by the installer.
Mortar
At the starting point, you’ll need to apply mortar to the cement board. You’ll also need to back-butter the tiles. This means that mortar will be spread on the underside of the tile–just like you are buttering a piece of toast.

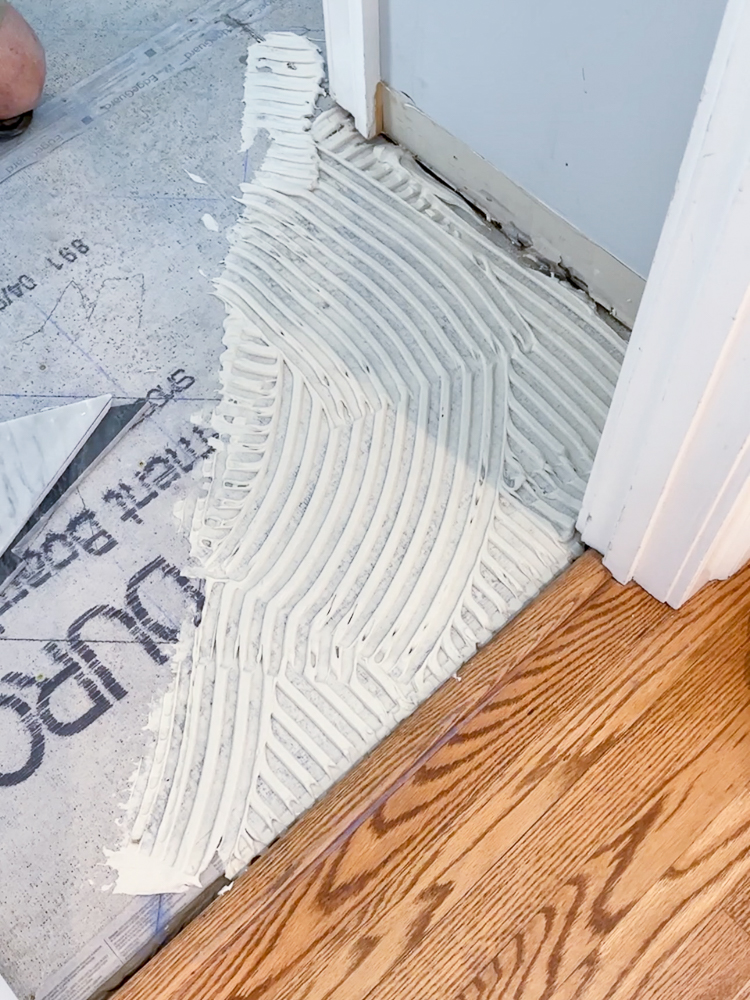
The tool used to spread mortar is called a trowel. It has “teeth” that create trenches and allows you to apply the correct amount of adhesive for the size of the tile you have chosen. Larger tiles require a trowel with larger teeth and a wider gap.
Spacing
Level spacers are placed at every corner to ensure the gap stays consistent between each tile and one is level with the next. The most common size for larger tiles is 1/8″ in thickness, but since I wanted to make the grout lines as small as possible, my installer used the smallest ones he had which were 1/16″.
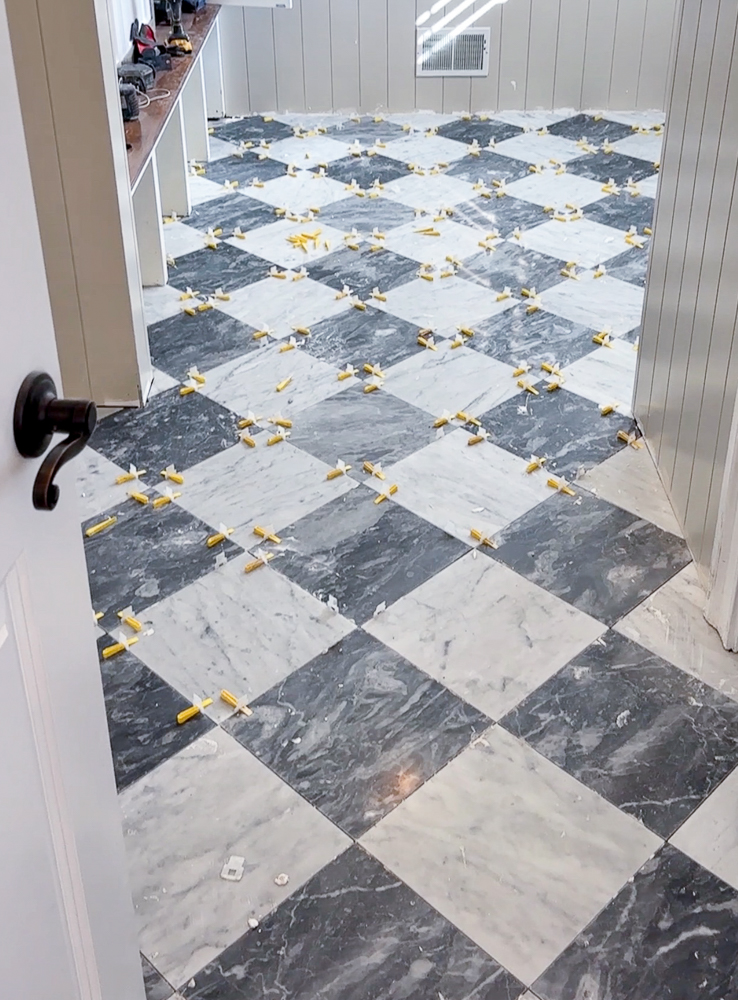
White Carrara marble tile | Gray Bardiglio marble tile
What type of grout is used for checkered marble tile?
Speaking of grout, choosing a color for a checkerboard floor goes one of two ways. Typically, the grout will be matched with one of the tile colors. This means you will either have white grout to match the white tiles or darker grout to match the darker tiles.
Since my mudroom is a high-traffic area I chose a dark gray grout. White grout is fine for lower-traffic areas of the home because even white grout turns gray when it gets dirty.
For floor tile projects, the recommendation is sanded grout but since I was using marble tiles in this design, the installer used unsanded grout. Marble is a natural stone and can be scratched if sanded grout is used.
I was once against using marble tiles in a high-traffic area, but the heart wants what the heart wants. Check out this post for all the information you need to care for marble floors.
GROUT USED IN MY MUDROOM
The Mapei grout I usually use didn’t come in the exact color I was looking for so we used a different brand–Ardex Unsanded Grout in Cast Iron–from a local tile shop.
As far as sealing marble, I use 511 Impregnator Sealer on the floor tiles and grout as well as my honed marble countertops. It’s a surface coating that won’t affect the appearance of the stone and acts as a barrier to moisture and stains. This only needs to be done once or twice a year so don’t let the extra maintenance deter you from enjoying the beauty of marble!
Where can I install checkered floors in my home?
The possibilities are endless, but you don’t want to overdo it and have the same pattern in every room. On that note, here are a few places you can make a statement in your home:
- entryway – wow your guests as you welcome them into your home
- kitchen – always a classic look whether formal or casual
- living room – elevate your fireplace surround and make this focal point stand out
- bathroom – a perfect place to add that wow factor to your home
- laundry room – make laundry day tolerable with a beautiful space
