A Simple Guide to Hanging Wallpaper and Removing It
Disclosure: This post may contain affiliate links. As an Amazon Associate, I earn from qualifying purchases at no additional cost to you.
You are finally considering hanging wallpaper after seeing numerous inspiration photos of beautiful neutral wallpaper. But you’re wondering if you need to hire a pro to install it or if it putting up wallpaper is something you can DIY. And what if you ever change your mind!? How difficult is it to remove wallpaper yourself?
Not to worry, I have you covered because I have personally gone through the same cycle. I decided to put up wallpaper and only did it as an accent wall. Then a few years later, I set my mind on a different design style for the room. So I had to remove the old wallpaper to make room for the new one. I will walk you through the step-by-step process of removing wallpaper – not difficult at all – and then how to put up wallpaper yourself.
This tutorial is for traditional wallpaper that requires wallpaper paste. I have used peel and stick wallpaper in a table wrapping project in the past and I do not recommend it for walls. Removable wallpaper might sound like a good idea to the commitment-challenged homeowner but it is actually harder to work with. You can’t slide it to align the pattern and have to lift the entire strip to readjust. Removing peel and stick isn’t guaranteed to be damage-free. My choice for wallpaper has therefore always been the traditional kind.
Simple Materials Guide
Get this FREE GUIDE to different types of trim and molding materials for your every DIY need – from wall molding to cabinetry!
How to remove old wallpaper
Maybe you have heard horror stories of removing old wallpaper or have experienced the process yourself. It is true that if you have to remove wallpaper from the 90s, 80s, or beyond, you might be up against a difficult task.

If your existing wallpaper is decades old, you may come across these obstacles:
- An old type of wallpaper adhesive that is obstinate and/or not water soluble
- The previous wallpaper was installed on fresh drywall without primer
- There are multiple layers of wallpaper which makes penetrating those layers more difficult
- Painted over wallpaper
If the wallpaper you’re removing was installed more recently, you should have no trouble following the steps below and removing it without a problem. If you’re dealing with any of the aforementioned difficulties, it might mean the process will be longer or you may cause drywall damage that can be repaired. Here are the steps for removing old wallpaper:
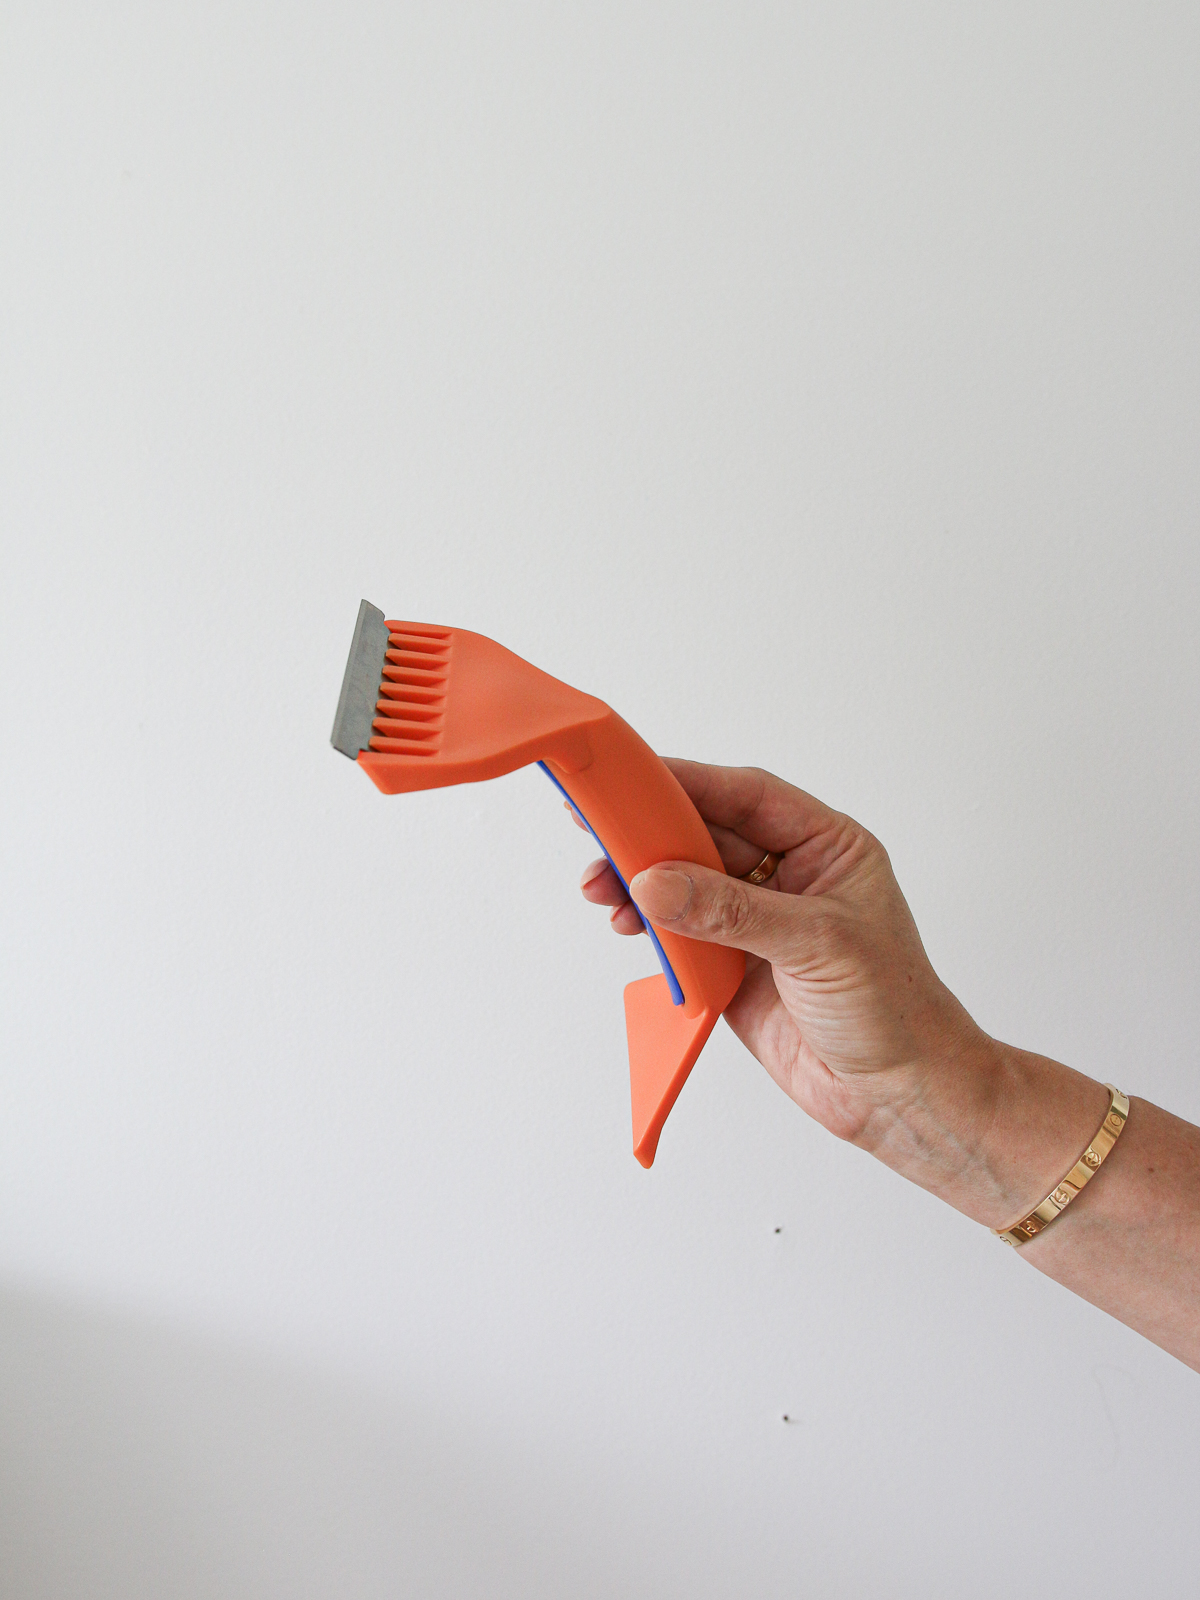
Score the wallpaper
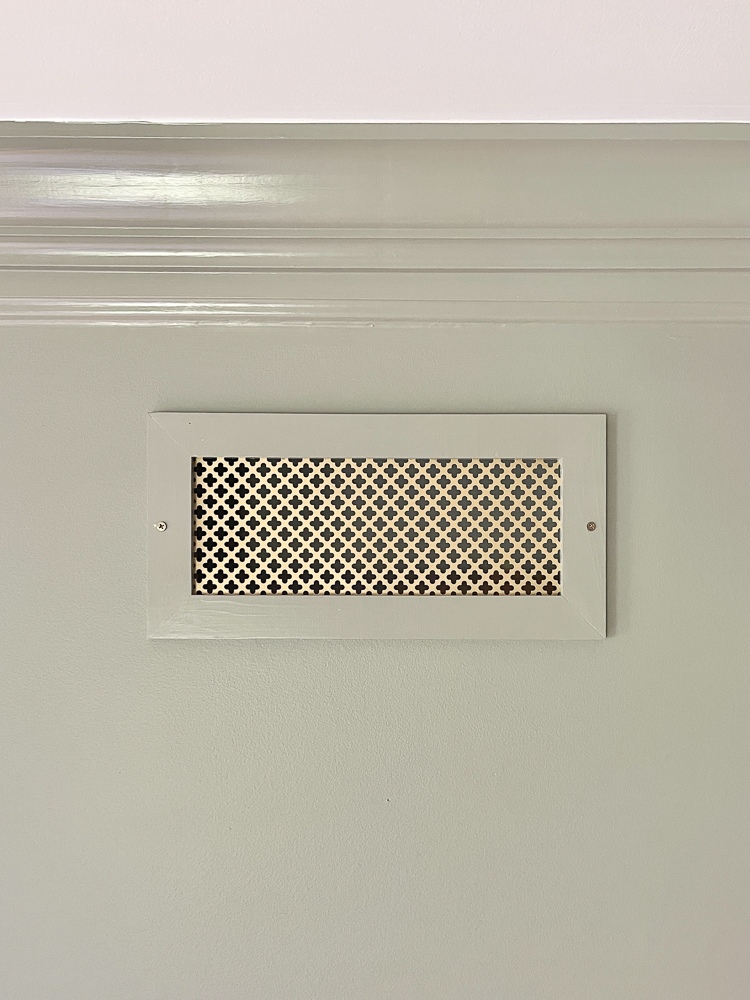
This step is necessary if your wallpaper has a protective top layer. Typically wallpaper intended for bathroom installation or wipeable wallpaper will have a hard-to-penetrate top layer. Or the wallpaper was painted over. You can use a tool to score the wallpaper which will allow your liquid solution to get to the glue on the bottom and dissolve it.
I didn’t use a scoring tool because my wallpaper didn’t have a protective coating and was easy to saturate through. Be careful not to damage your wall by pressing down too hard with the scraping tool.
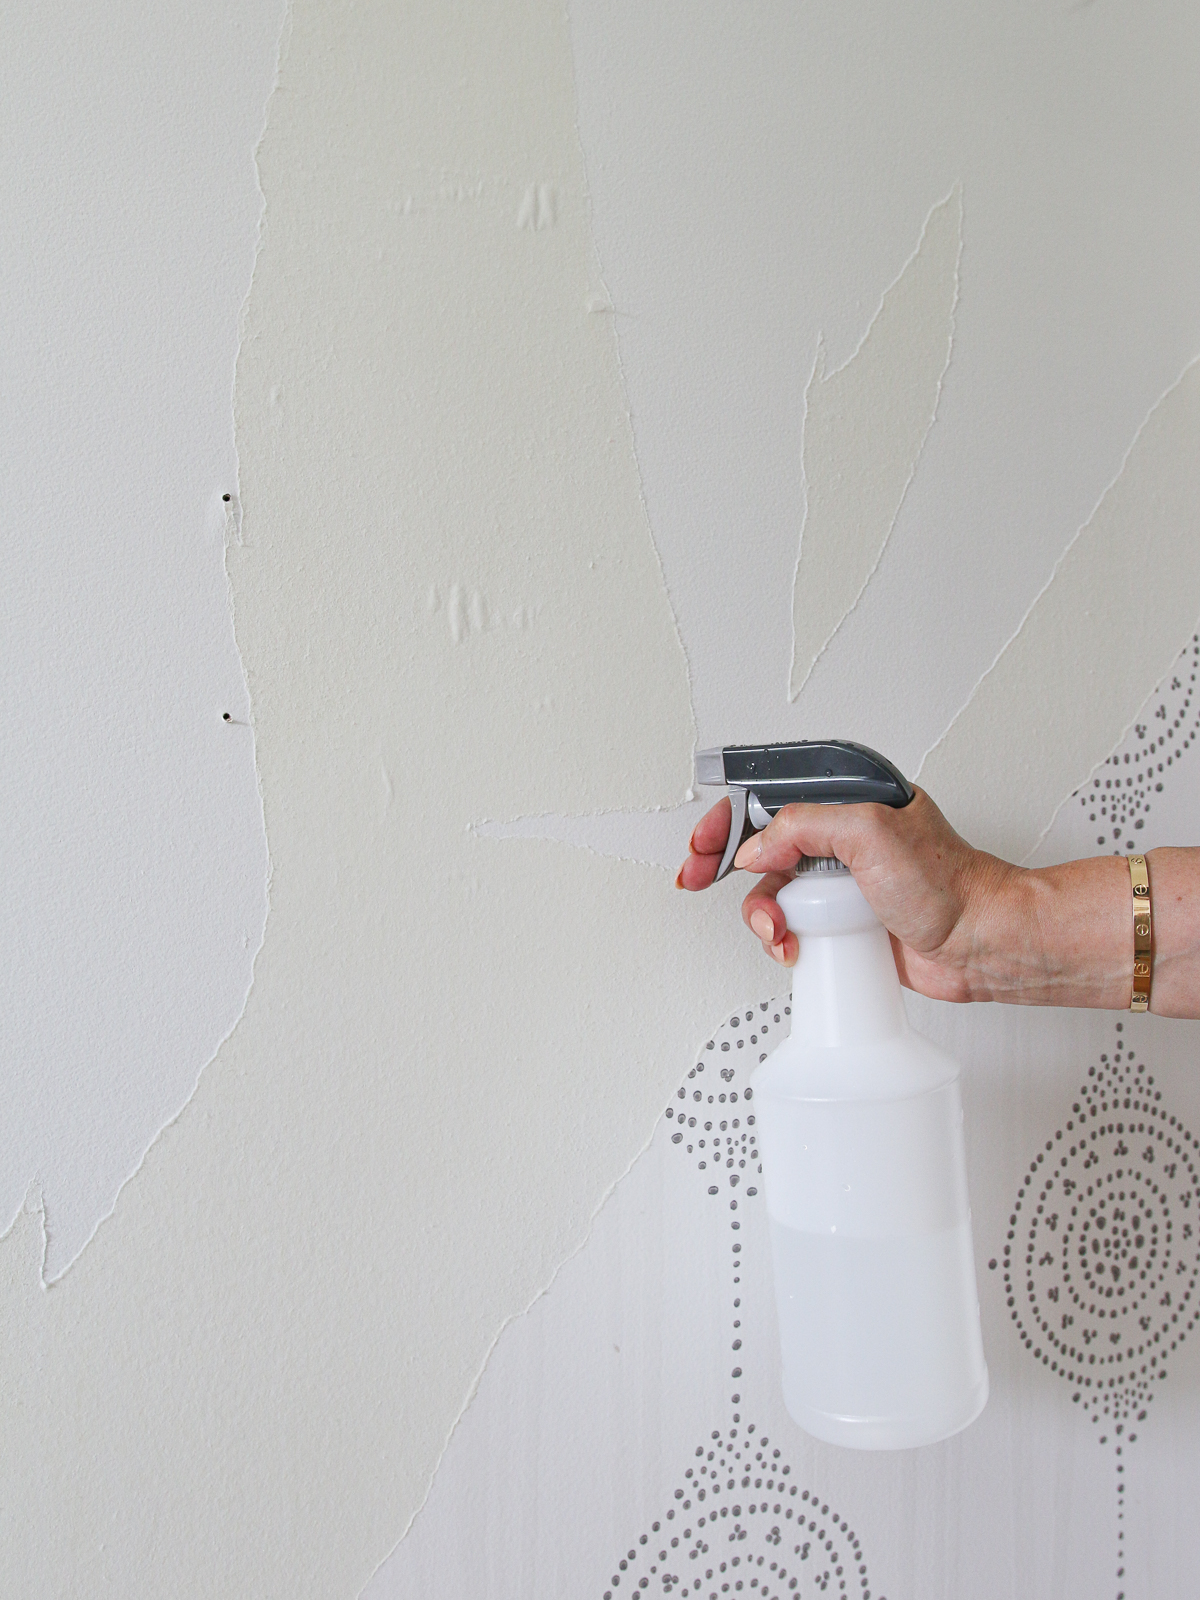
Wet the wall with water and vinegar solution
Depending on the type of adhesive used to apply the wallpaper, you will need a water-based solution to dissolve it. In most cases, plain water will do. You can add vinegar to the spray bottle to speed up the process. It doesn’t have to be an exact measurement – just pour a little bit into the bottle. For more stubborn glue, you may need to use a special wallpaper remover solution.

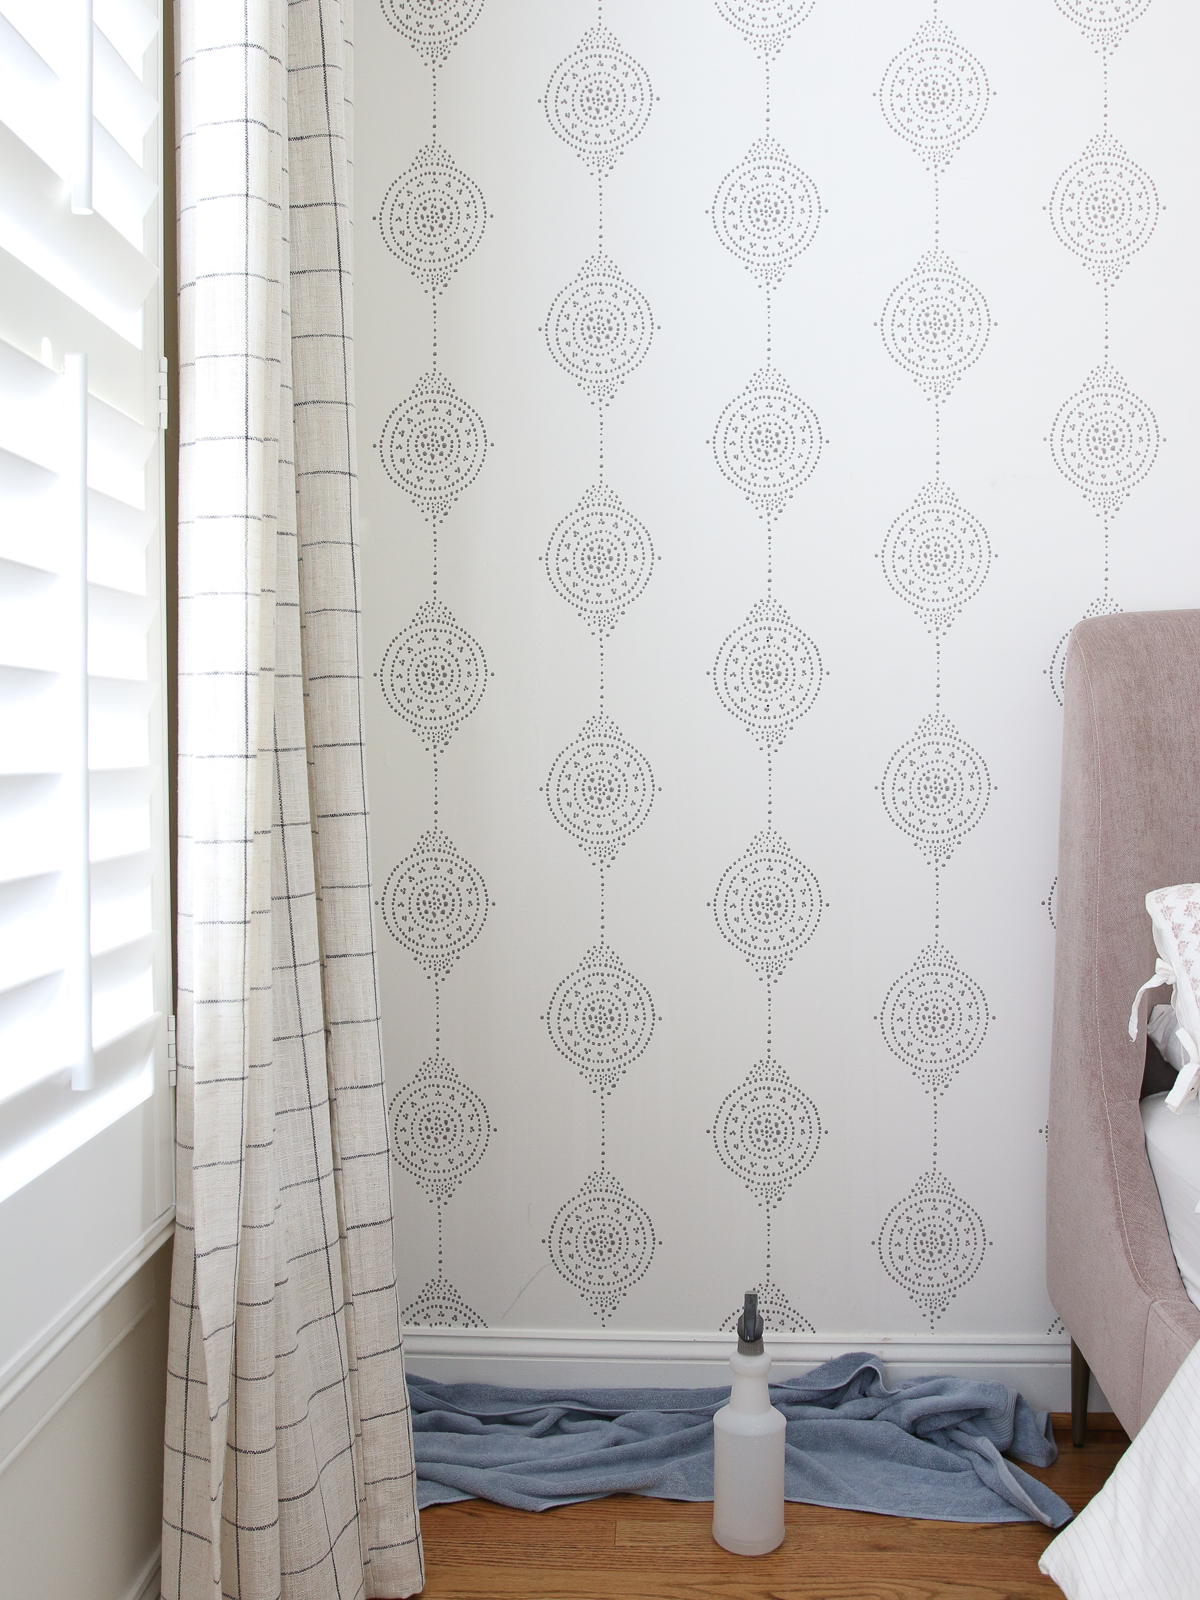
Start spraying generously so that the paper is saturated. Start at the top and work your way down. Gravity will help the drips from the top go down the wall. I recommend laying old towels to protect the floor below because water will drip down and pool at the bottom.
Peel back the layers of wallpaper
Once you have fully saturated the wallpaper with your water solution, you can start peeling it off the wall. I suggest waiting a couple of minutes for the water to fully penetrate to the glue. But don’t wait too long or the wallpaper and the glue will end up drying. Working one wallpaper strip at a time should be fine.

When you start peeling the wallpaper, it might come off in one big piece. Or likely only the top layer of wallpaper will peel off. Not to worry, grab your bottle and spray the bottom layer again. Then proceed to remove that bottom layer of wallpaper and glue.
Scrape off any glue or wallpaper residue
At this final step, you will need a tool to scrape off the bottom layer of wallpaper and glue. That layer is very thin and once saturated, you won’t be able to just lift it off. But it easily scrapes off with a scraping tool or a plastic spackle knife.
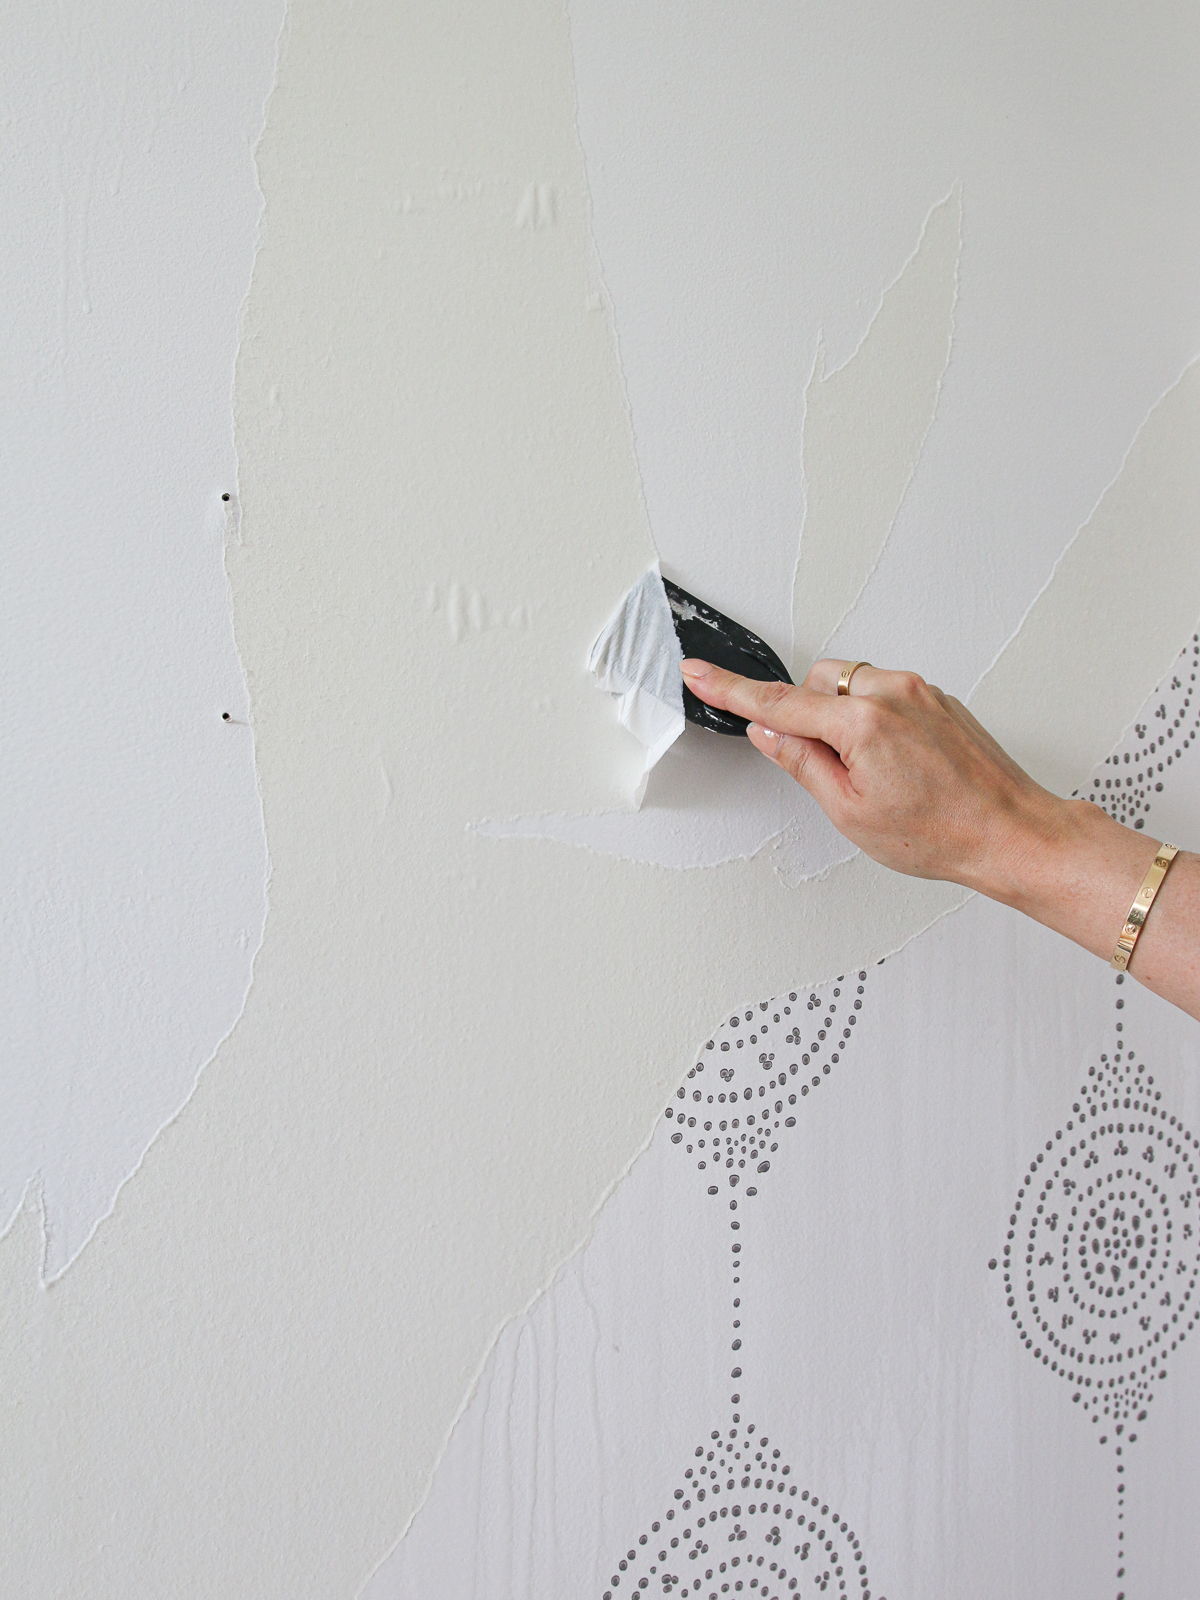
It took me about 10-15 minutes to remove each strip of wallpaper. My wall was left pristine and intact underneath. Now the wall is ready for the new wallpaper installation.
Tools you need for hanging wallpaper
The new wallpaper I chose is also a block print like the old one but has less of a coastal beach feel and more vintage style. I love mixing patterns in my girl’s room and do that with the bedding, textiles, and wallpaper I choose.
Before you start, gather all the tools and materials you will need:
- Laser level (or manual level and pencil)
- Wallpaper adhesive
- Paint roller (or large coarse brush)
- Wallpaper smoother
- Utility knife with a fresh blade

Check out my comprehensive list of essential DIY tools I use for all my projects!
Do you need wallpaper primer?
The purpose of wallpaper primer is to make the wall as smooth as possible by filling in and sealing any holes or fine texture. This allows for easy wallpaper installation. The strips will slide easily across to align the pattern. It will also make the glue adhere better to the wall surface. The more textured the wall, the harder for the wallpaper to stick and stay put.
You should definitely prime fresh drywall. That’s newly installed drywall without any paint. Hanging wallpaper on fresh drywall will make it impossible to remove without damage in the future. My walls were already very smooth and had multiple coats of paint that acts as a primer.
Unpasted vs pre-pasted wallpaper
Unpasted wallpaper (traditional wallpaper) requires wallpaper adhesive. Pre-pasted wallpaper comes with the adhesive already applied to the back of it. The pre-pasted wallpaper needs to be wetted to activate the flue. Your instructions might say that you need to soak the wallpaper in water but in my experience using a spray bottle with water is sufficient. Soaking the entire strip of wallpaper may lead to the glue becoming too runny and hard to work with. It can become a big mess during the wallpaper hanging process.
What does booking wallpaper mean?
Your wallpaper instructions might say that you need to book the strip once the glue is applied or activated. That means that you fold (but don’t crease) the ends of the strips onto themselves and let them sit for a couple of minutes. This helps spread out the glue on the surface and suction to the wall better. The recent wallpaper I put up didn’t require booking.
Read the Instructions!
You should always read the instructions that come with your particular type of wallpaper as they may vary from anything you have done in the past. Follow them closely!
Follow the hanging directions that come with your wallpaper! I have now wallpapered 5 times in the past 4 years and have noticed a change in the traditional wallpapering instructions. Manufacturers are improving the product and making it easier to install. You may be instructed to apply the paste to the wall instead of the back of the strip.
Where do you start when hanging wallpaper?
Where you start and hang the first piece of wallpaper depends on whether you’re doing the full room or an accent wall. If you are only wallpapering a single wall, start from the middle and put up the wallpaper from the middle point out. This ensures that your pattern will be symmetric on the wall.
If you are wallpapering an entire room, start from a hidden inconspicuous spot. Maybe a corner or a spot above a doorway or window. Once you have wrapped the wallpaper all the way around the room, you will end where you began. Because of the uneven walls and ceilings, the pattern is bound to shift. The last seam won’t have a perfectly aligned pattern and there’s nothing you can do to avoid that. That’s why you want that first strip and last seam to be hidden out of sight instead of in an obvious spot.
Measure and cut a strip of wallpaper
Wallpaper typically comes in rolls. This means that you have to cut each strip. Measure the length of the wall and cut a strip that’s longer by 1-2″ on each side. When you cut each consecutive strip, you will have to keep in mind the pattern alignment. Hold the rolled-out wallpaper roll up to the already installed one to determine which portion you will need and where to cut.
Don’t align the wallpaper to the ceiling!
Ceilings are never straight. If you align your wallpaper to the ceiling, you will end up with an uneven edge. Instead, leave an extra inch or two at the top and cut the extra with a utility knife.
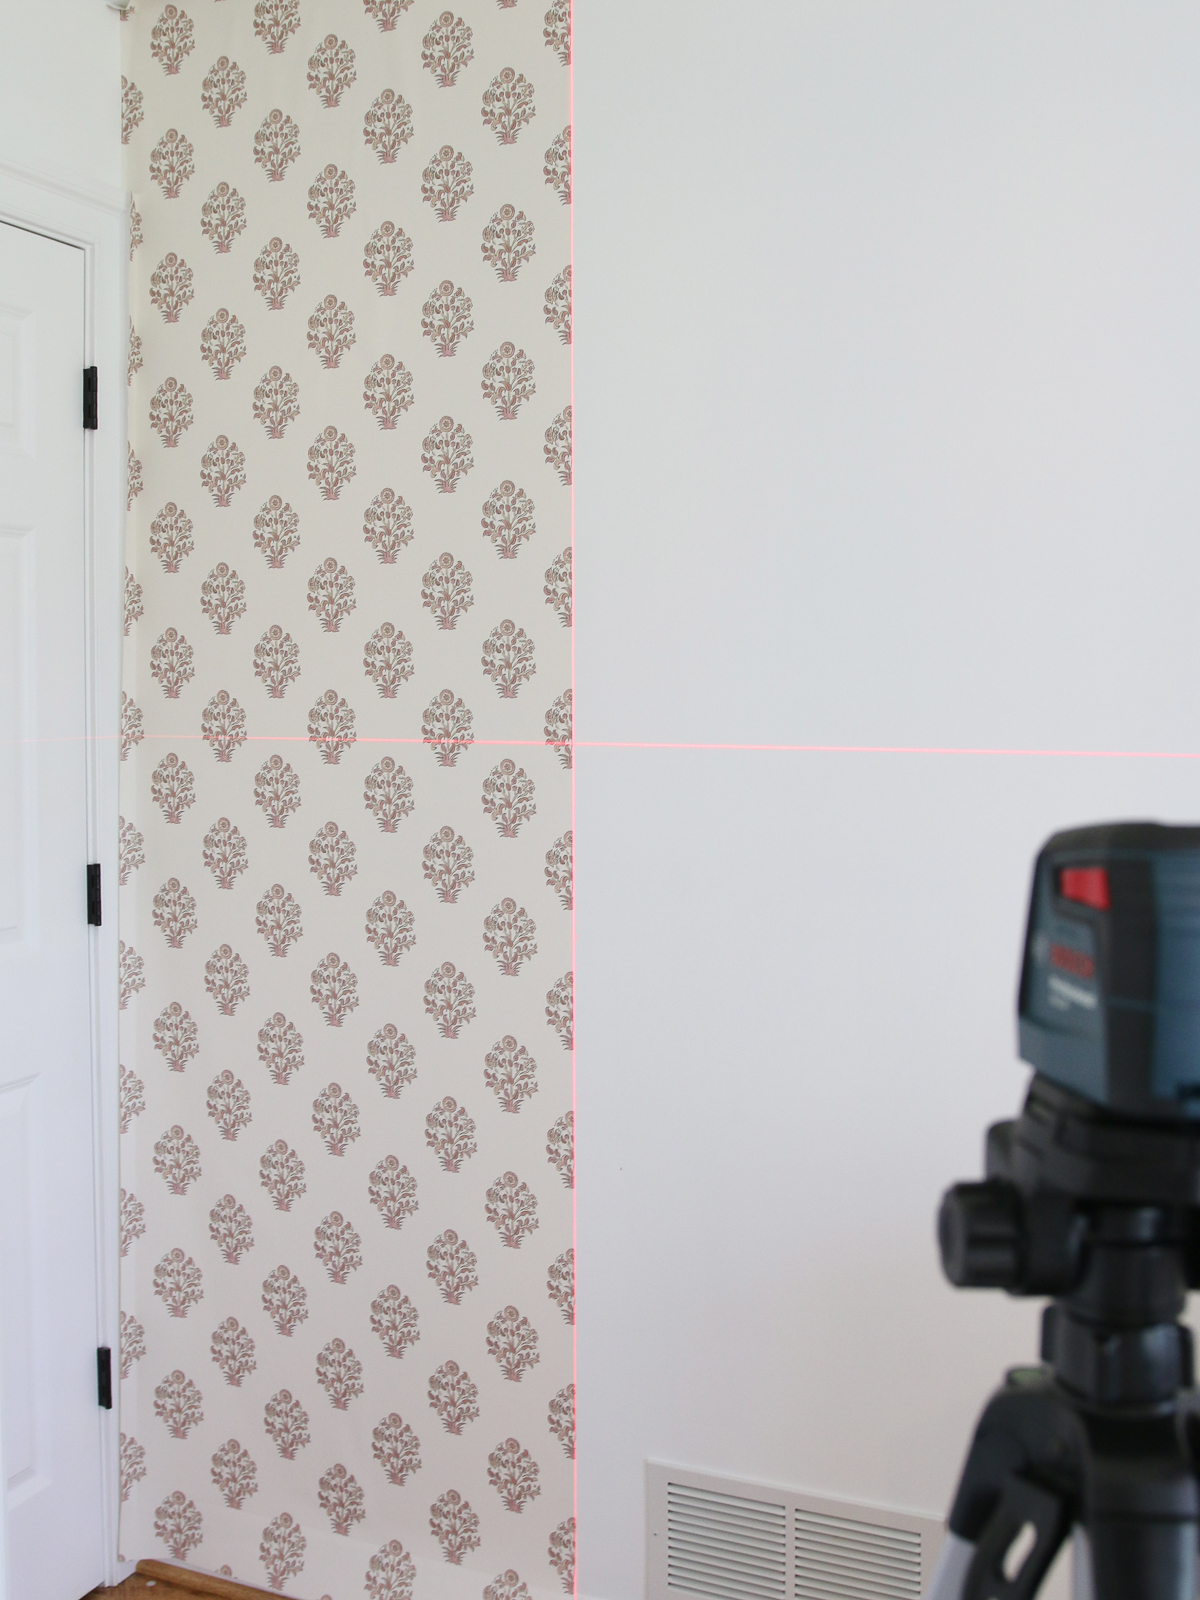
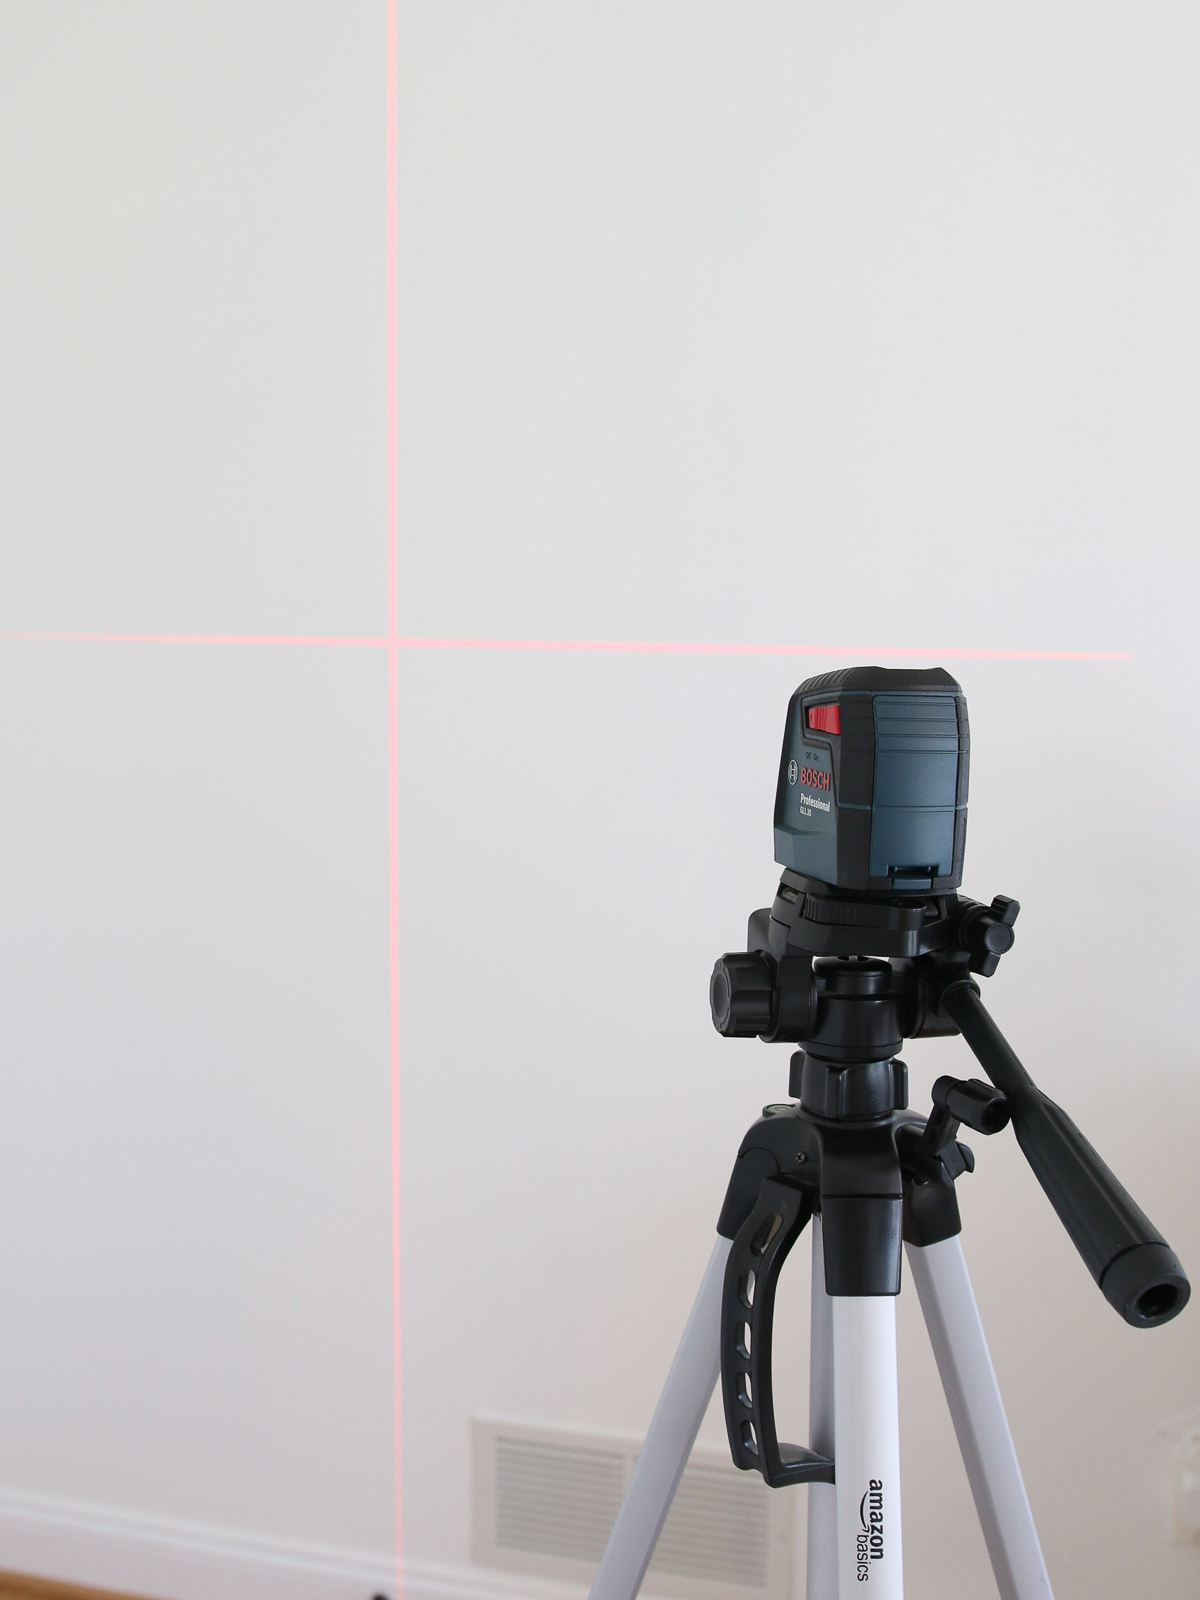
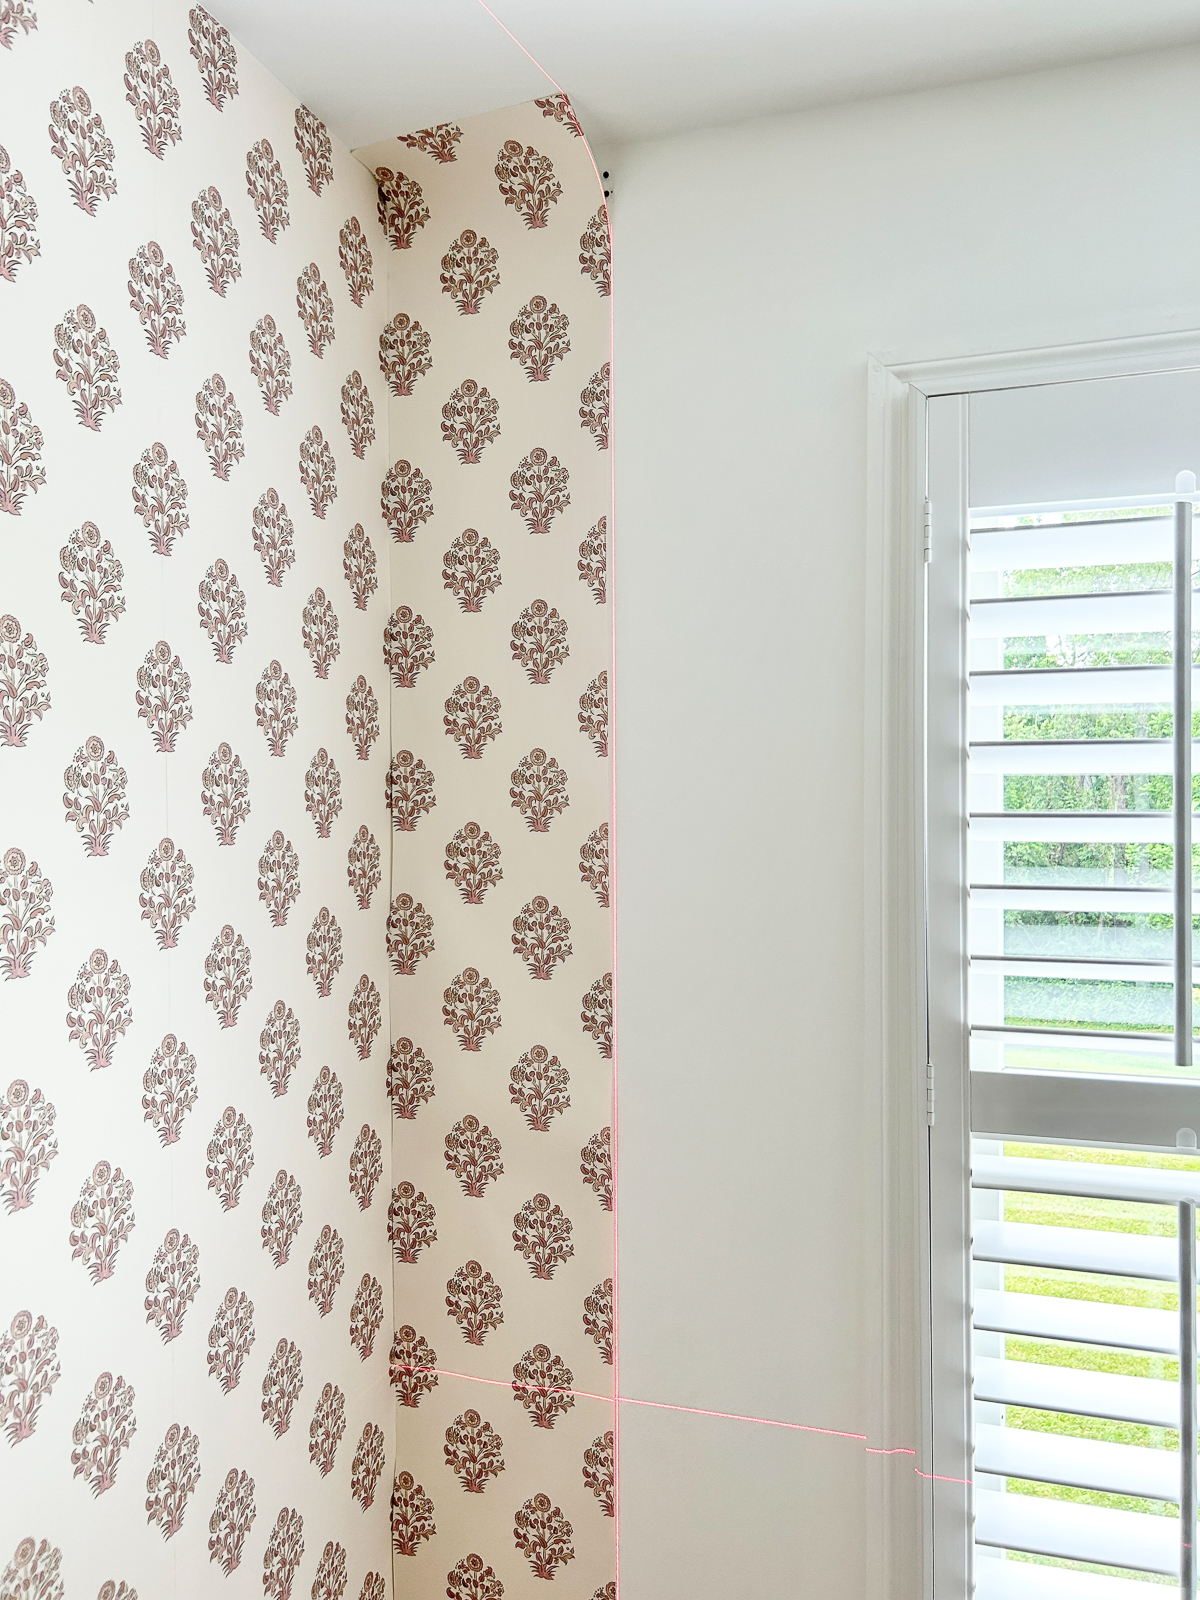
Start with a plumb line
You will need a plumb line when you start and every time you turn a corner. If you skip this step, you will end up with a crooked pattern. The best tool to use is a laser level but if you don’t have one, use a regular level and draw the straight line with a pencil. Don’t use a pen or make a very bold line because it will show in the seam or through the wallpaper.
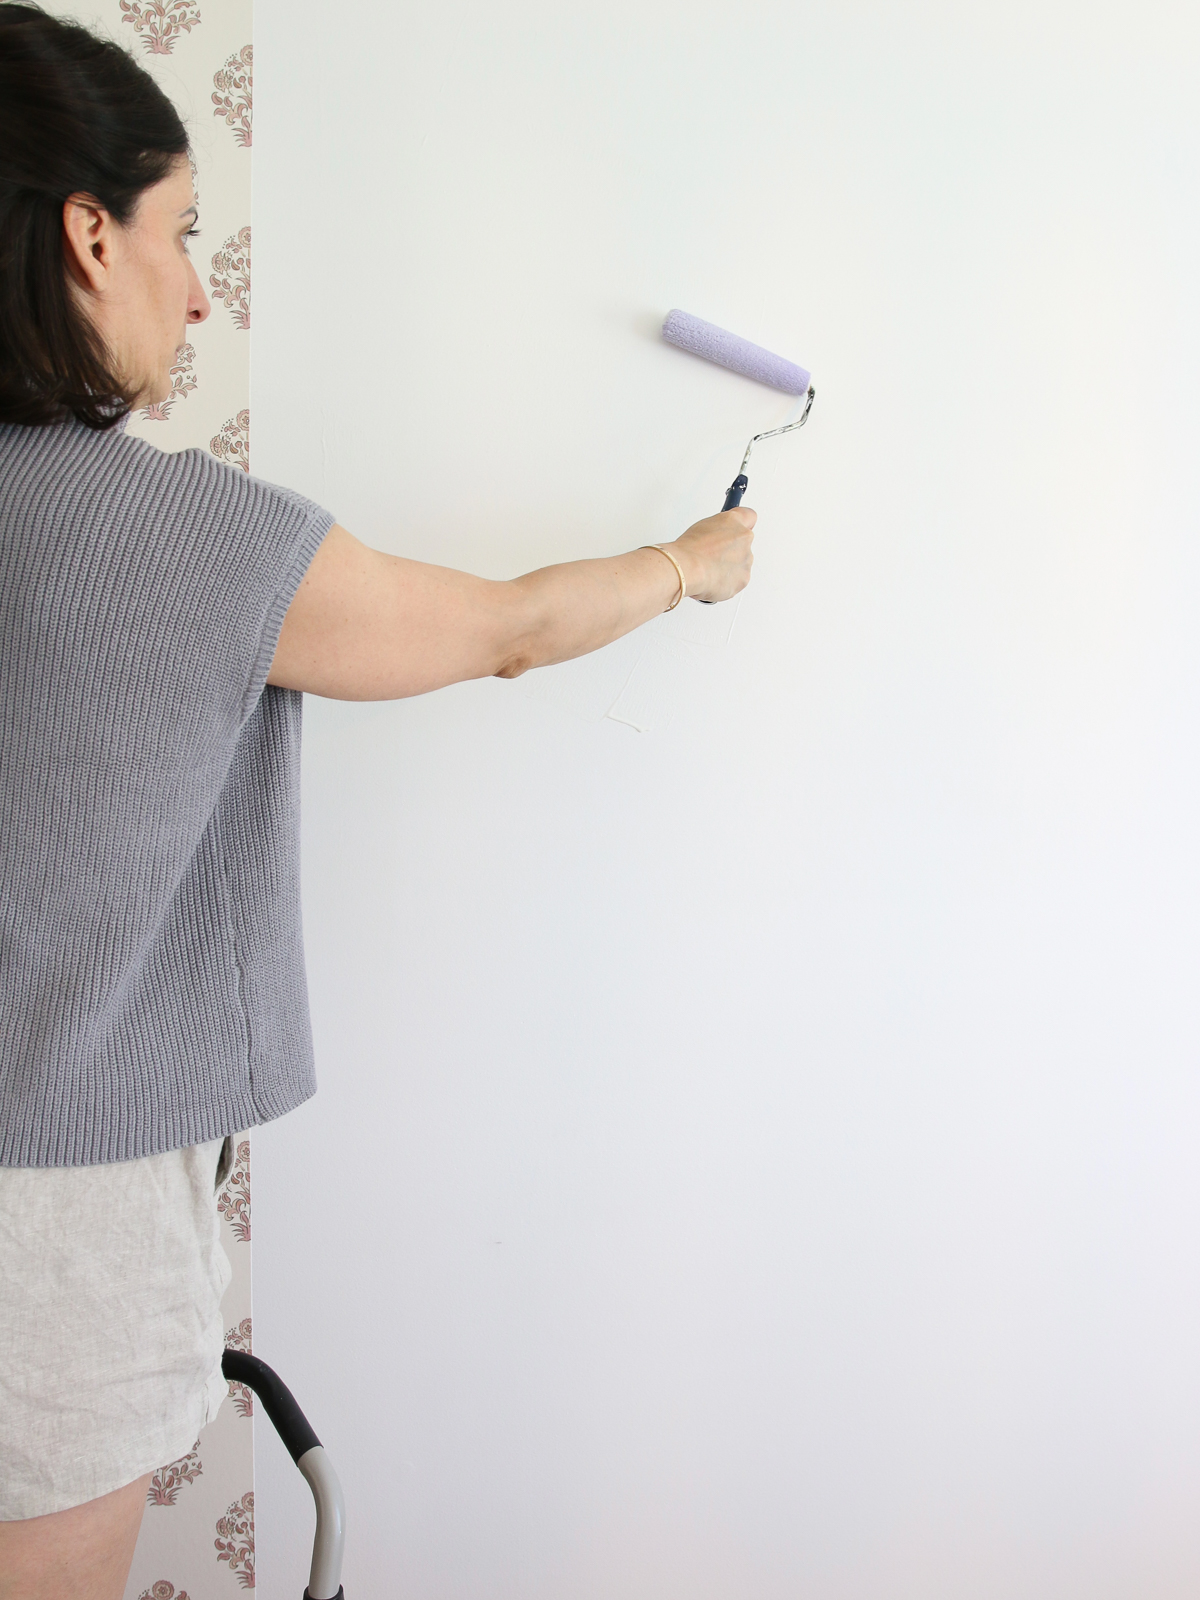
Apply paste
Traditionally, the adhesive is applied to the back of the wallpaper with a large coarse brush, the wallpaper is booked for a couple of minutes and then applied to the wall. The last few wallpapers I installed directed me to apply the paste directly to the wall with a paint roller instead. This is a much easier way to install wallpaper. You don’t need a large horizontal surface to lay down the strip to apply the glue, or to manage the glue mess that spills from the edges.
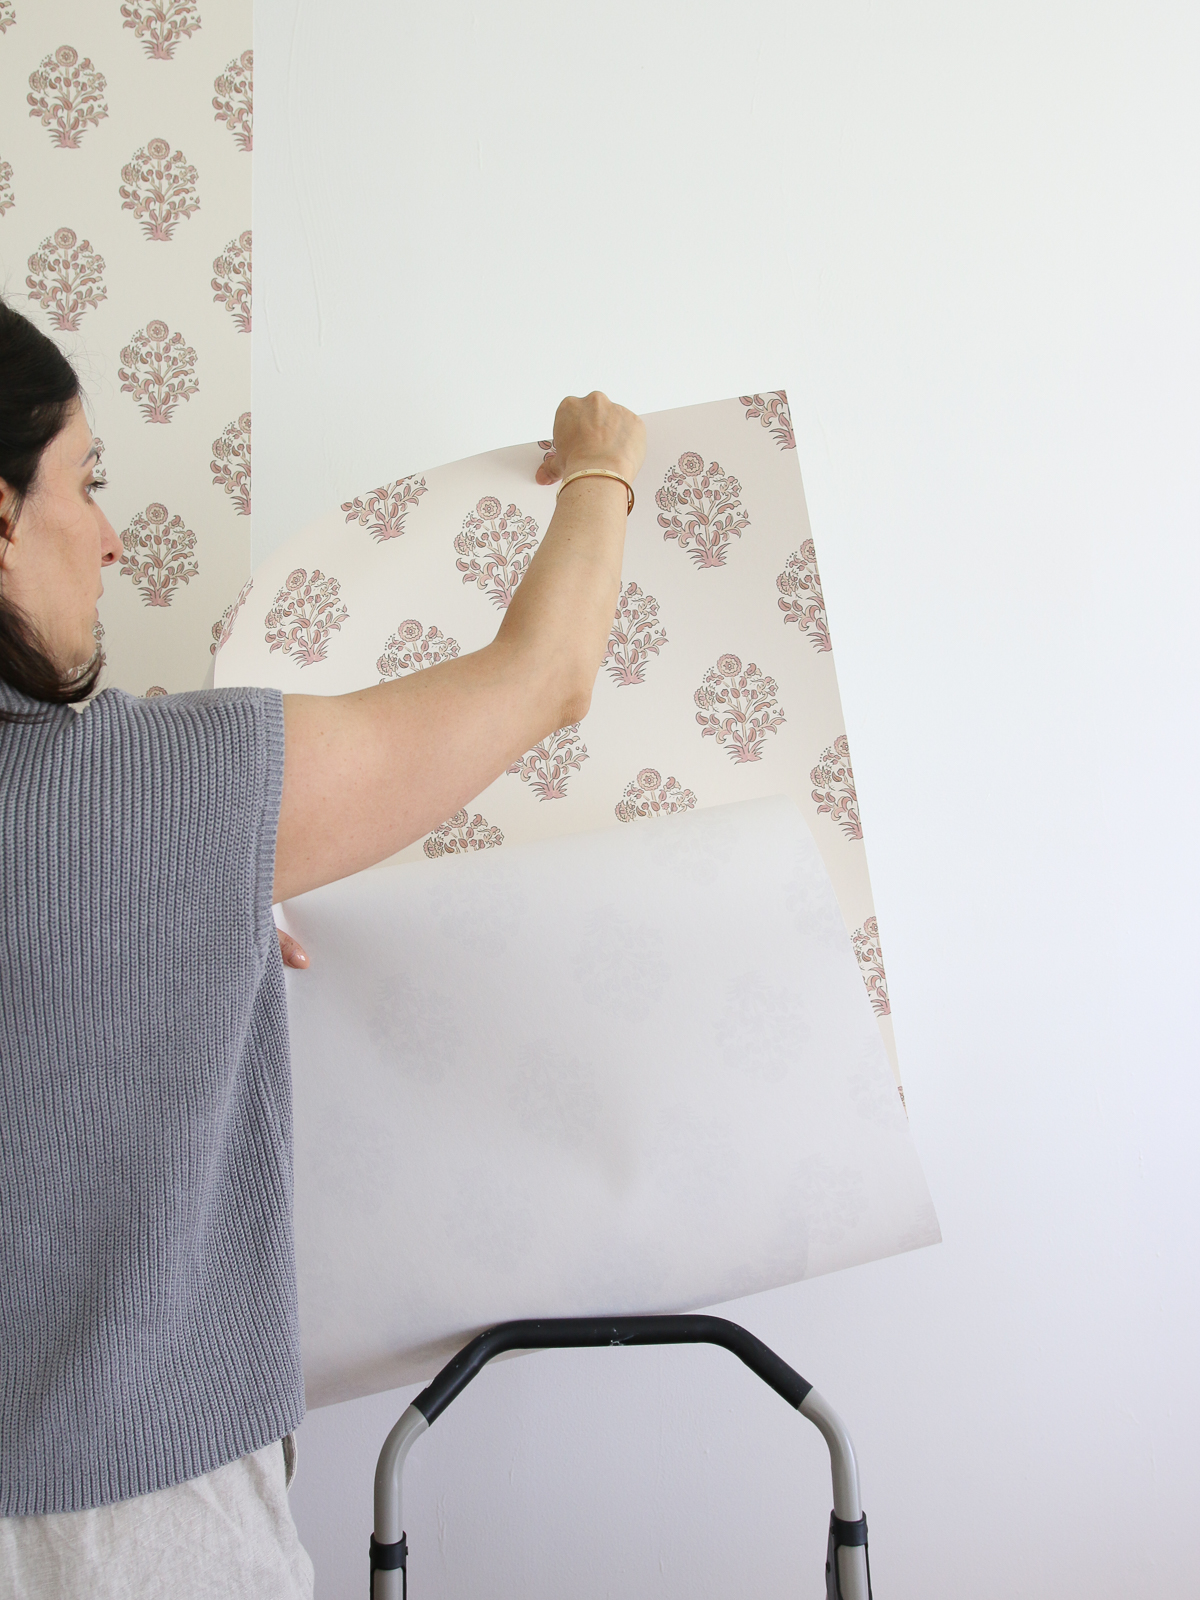
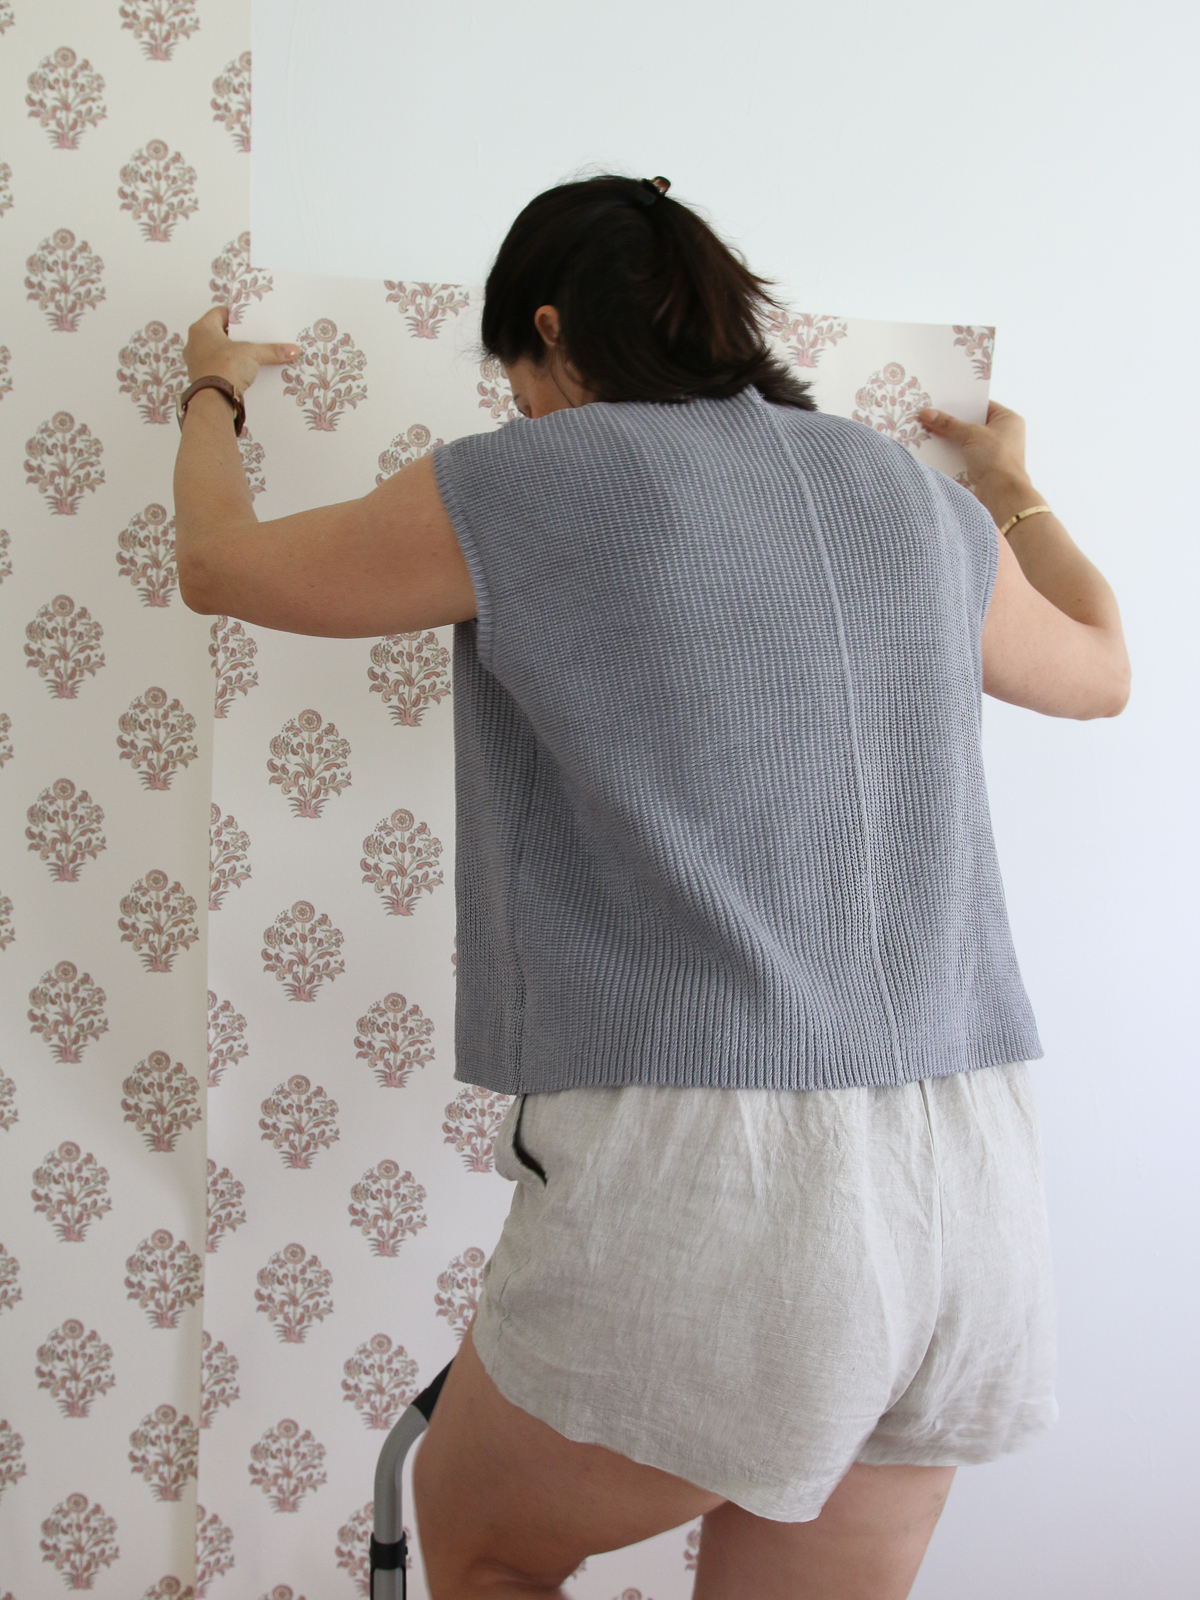
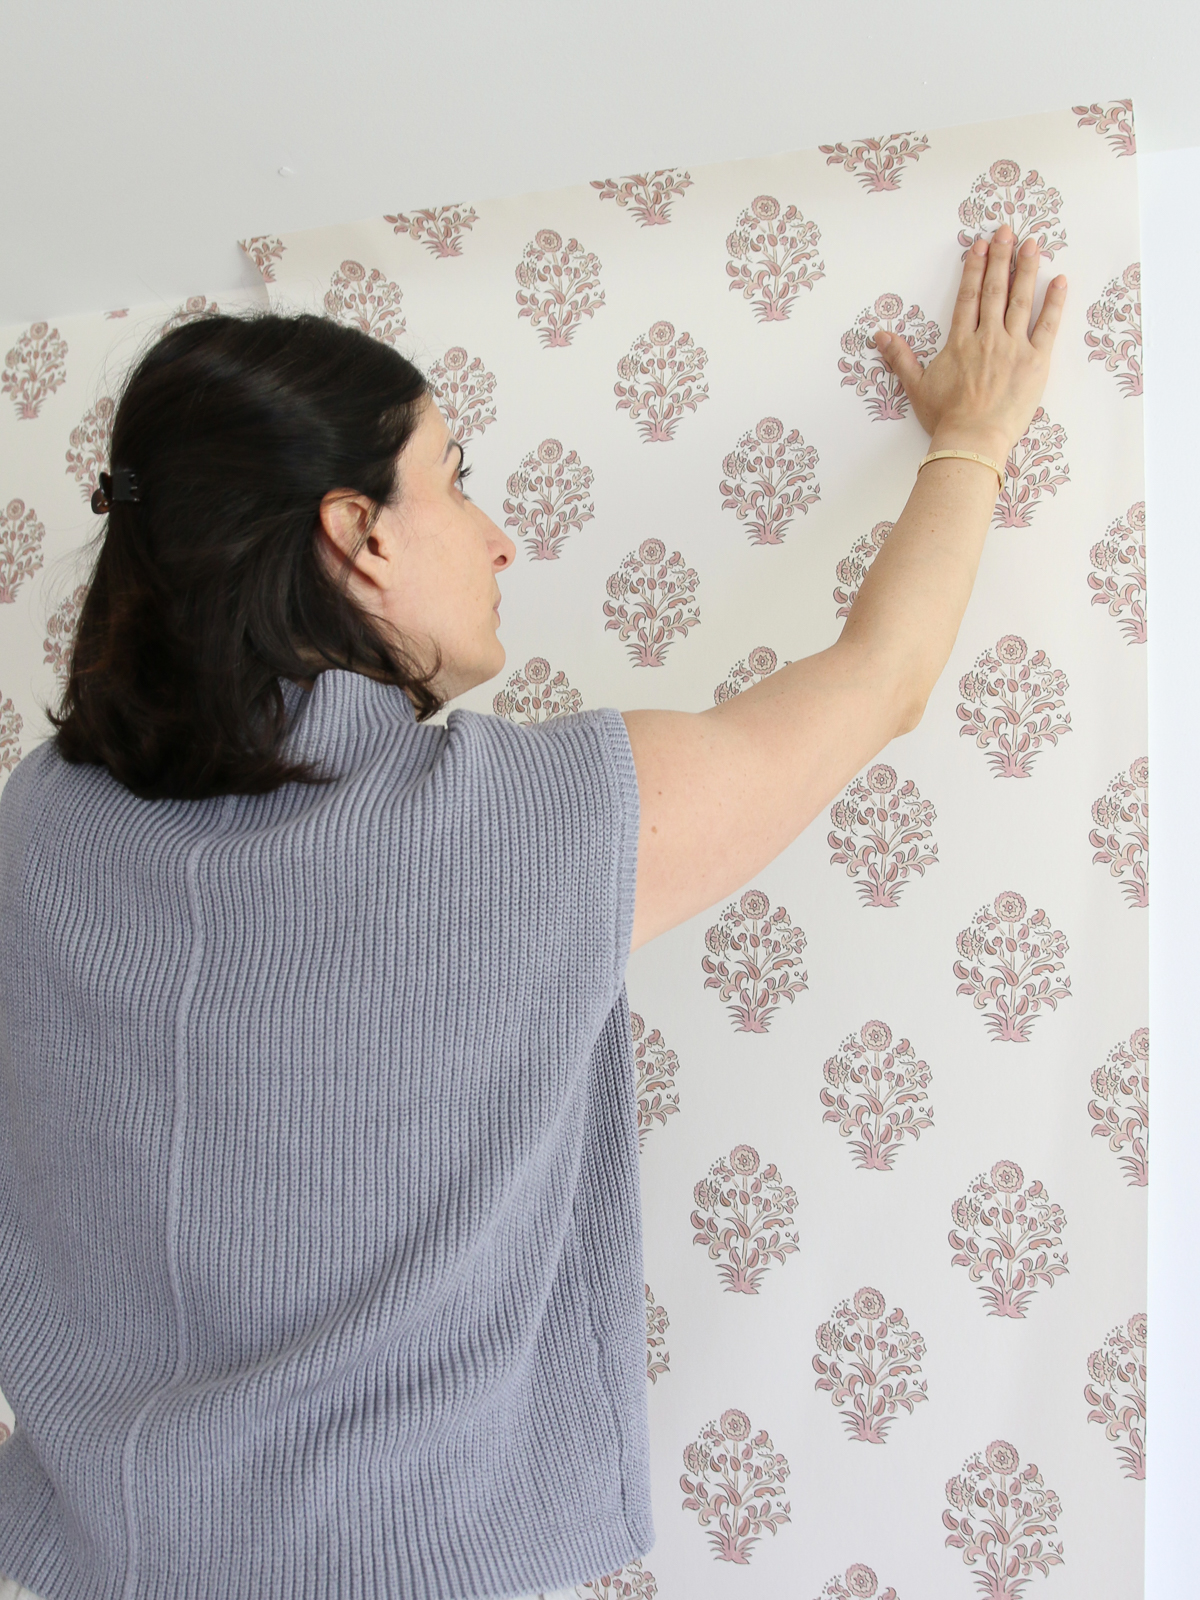
Hang the wallpaper strip on the wall
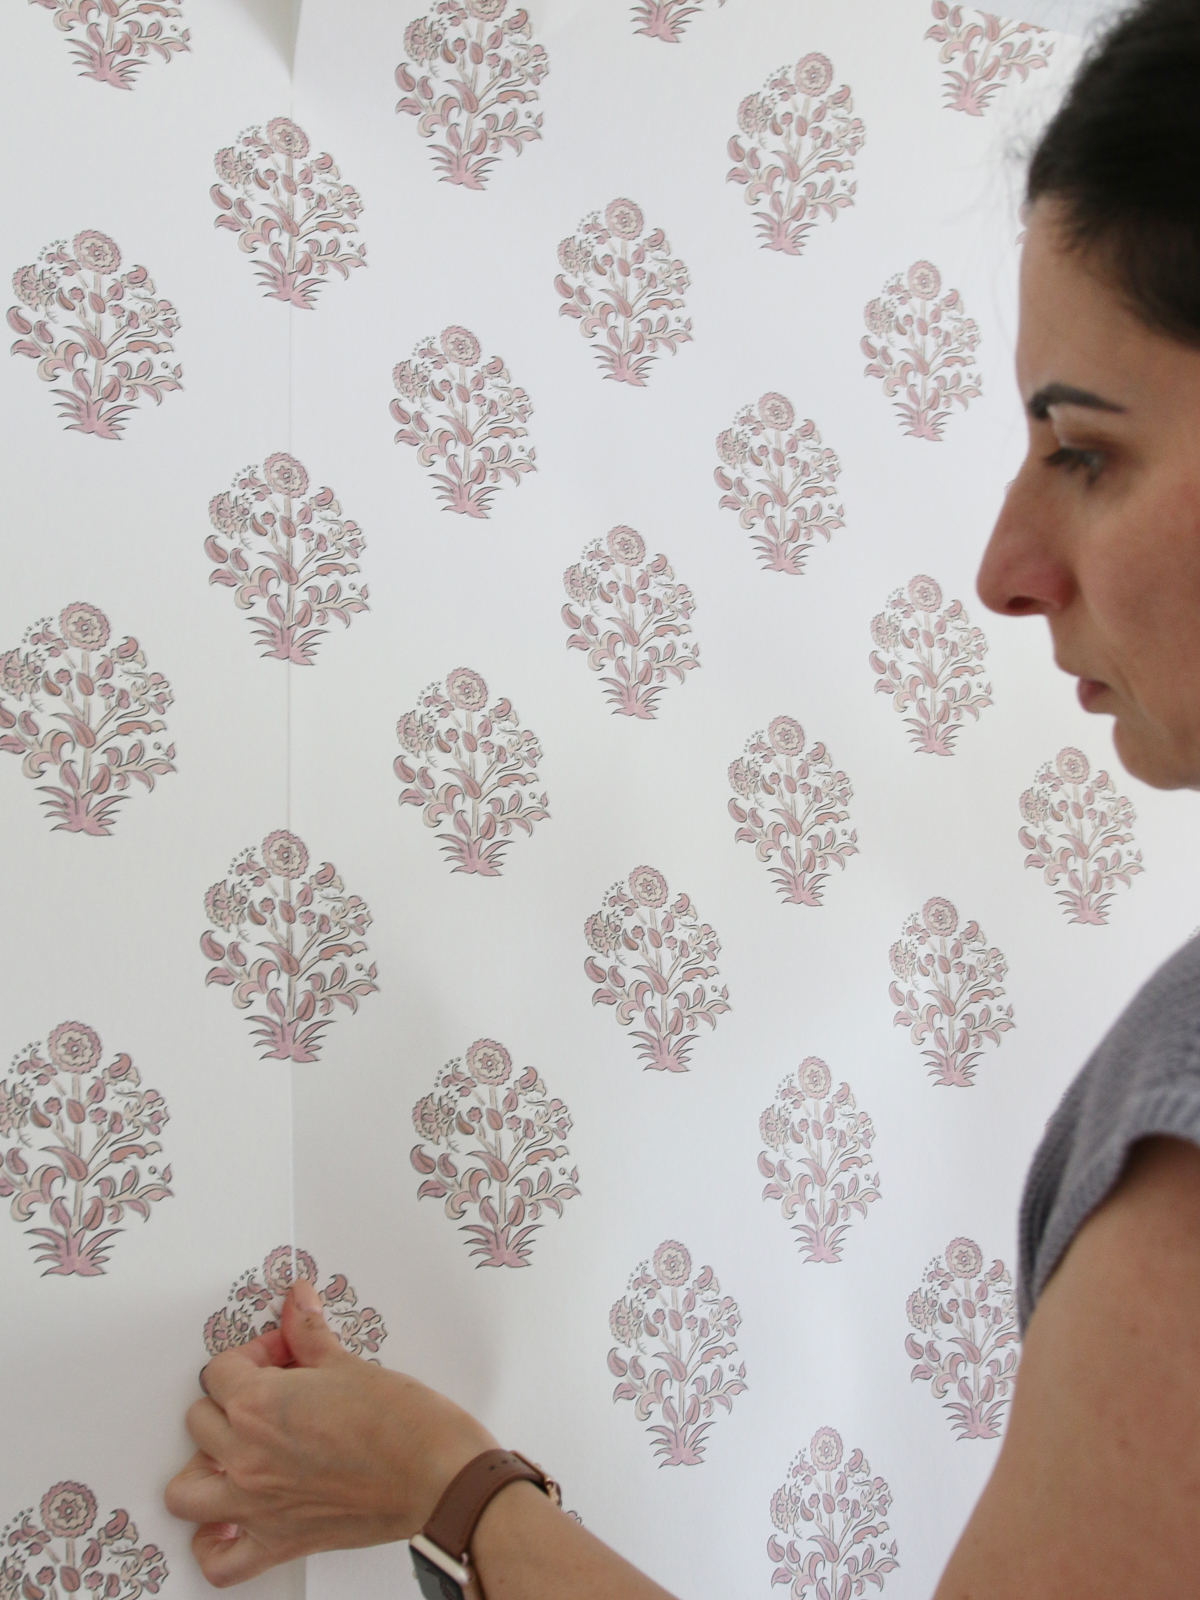
Hold up the wallpaper strip to the wall and press down from top to bottom. Align the edge to the laser plumb line or to the previous strip. The glue allows you to shift the strip up and down, side to side, as you need it to align the pattern perfectly. Don’t overlap the edges (unless the specific wallpaper requires it, most don’t.) Simply butt the edges together as close as possible without overlapping. Use your hands to press down across the whole strip.
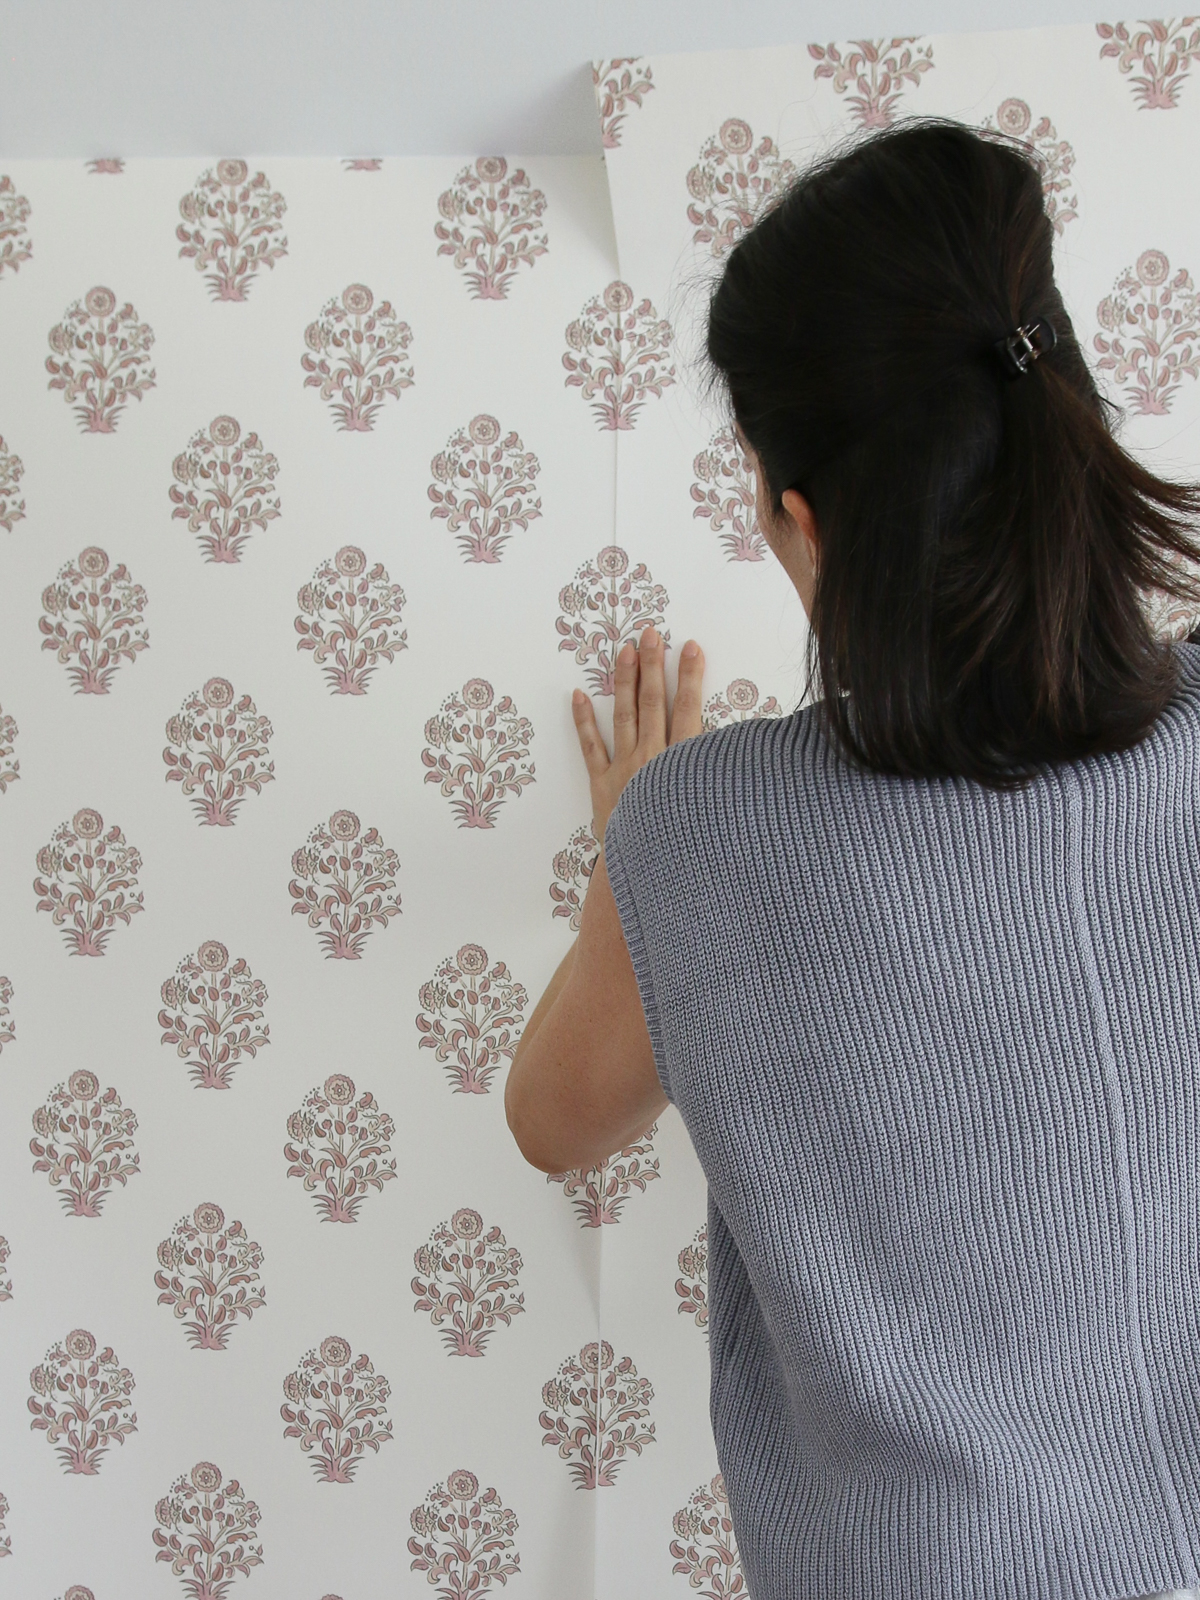
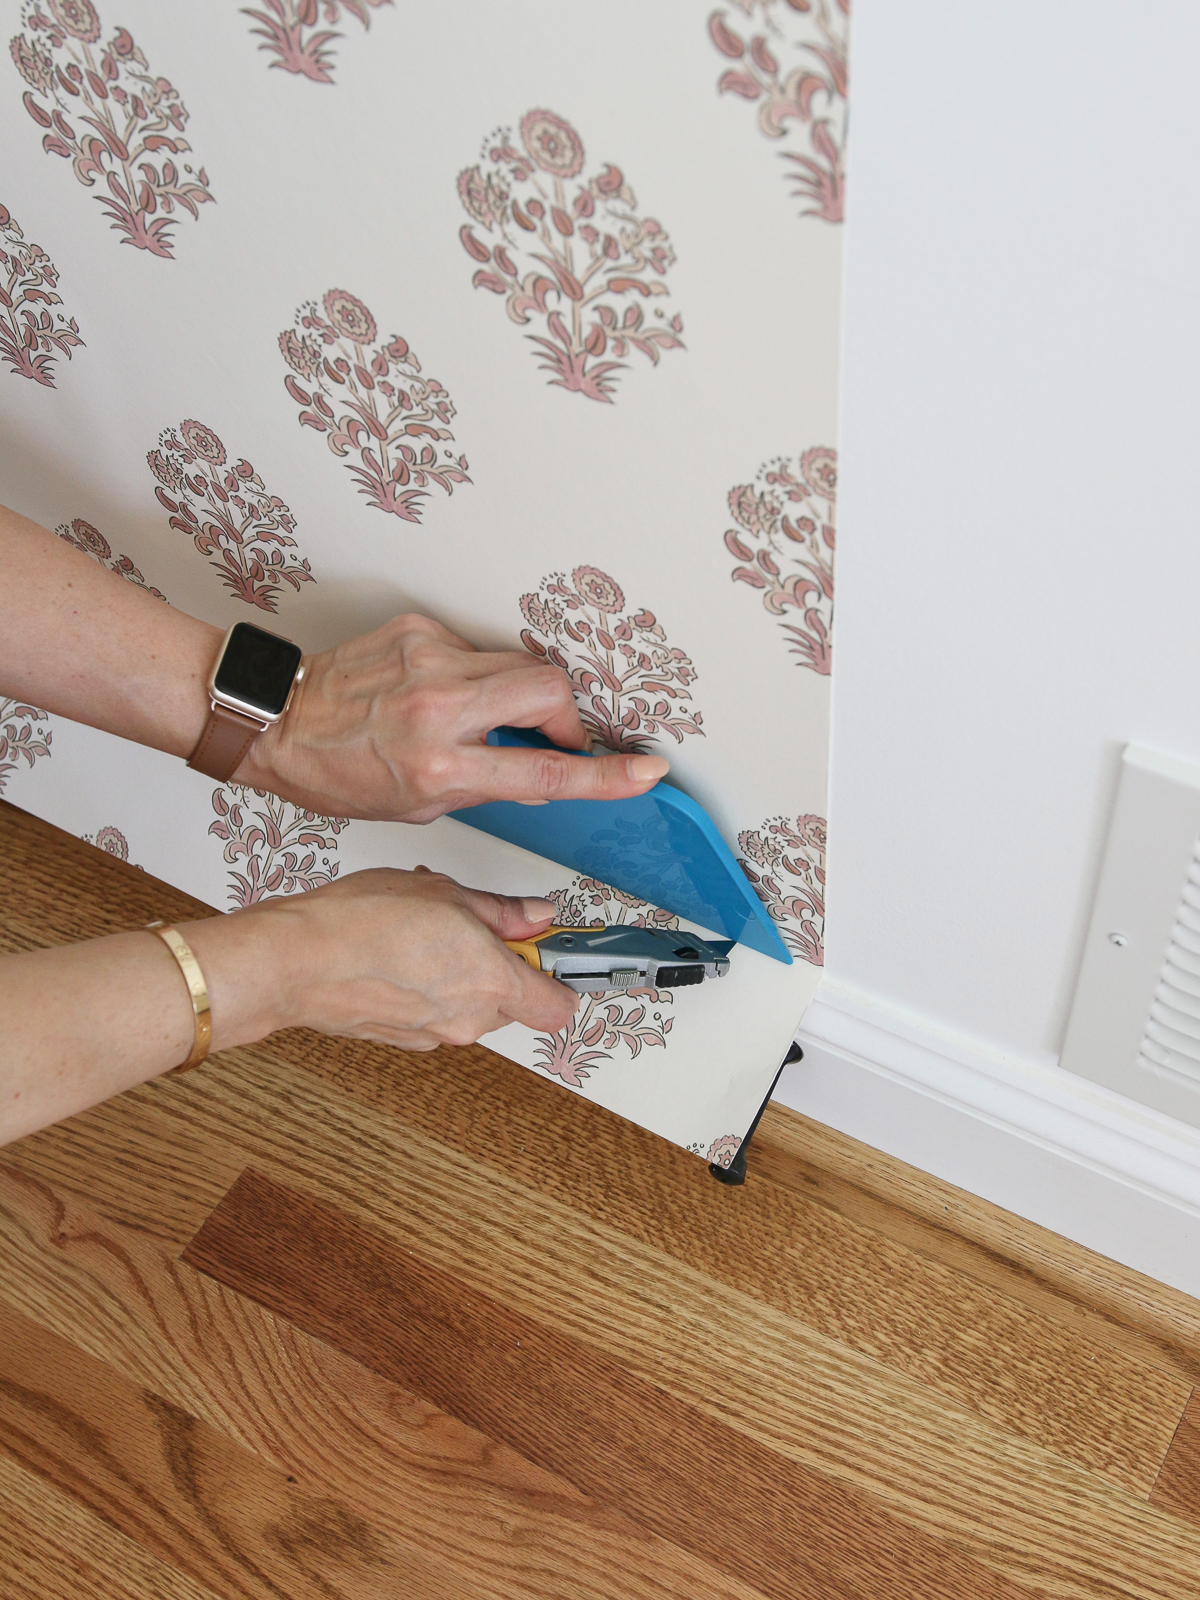
Use a smoothing tool
A smoothing tool is absolutely necessary to get the whole strip of wallpaper to adhere and to smooth out any bubbles. Run your hands up and down the strip to feel for any bubbles. Look at the strip from each side to locate the raised areas. Use the smoothing tool to gently press down those bubbles toward any edge. The smoothing tool is also great at pressing down into corners and creating a straight edge for cutting.

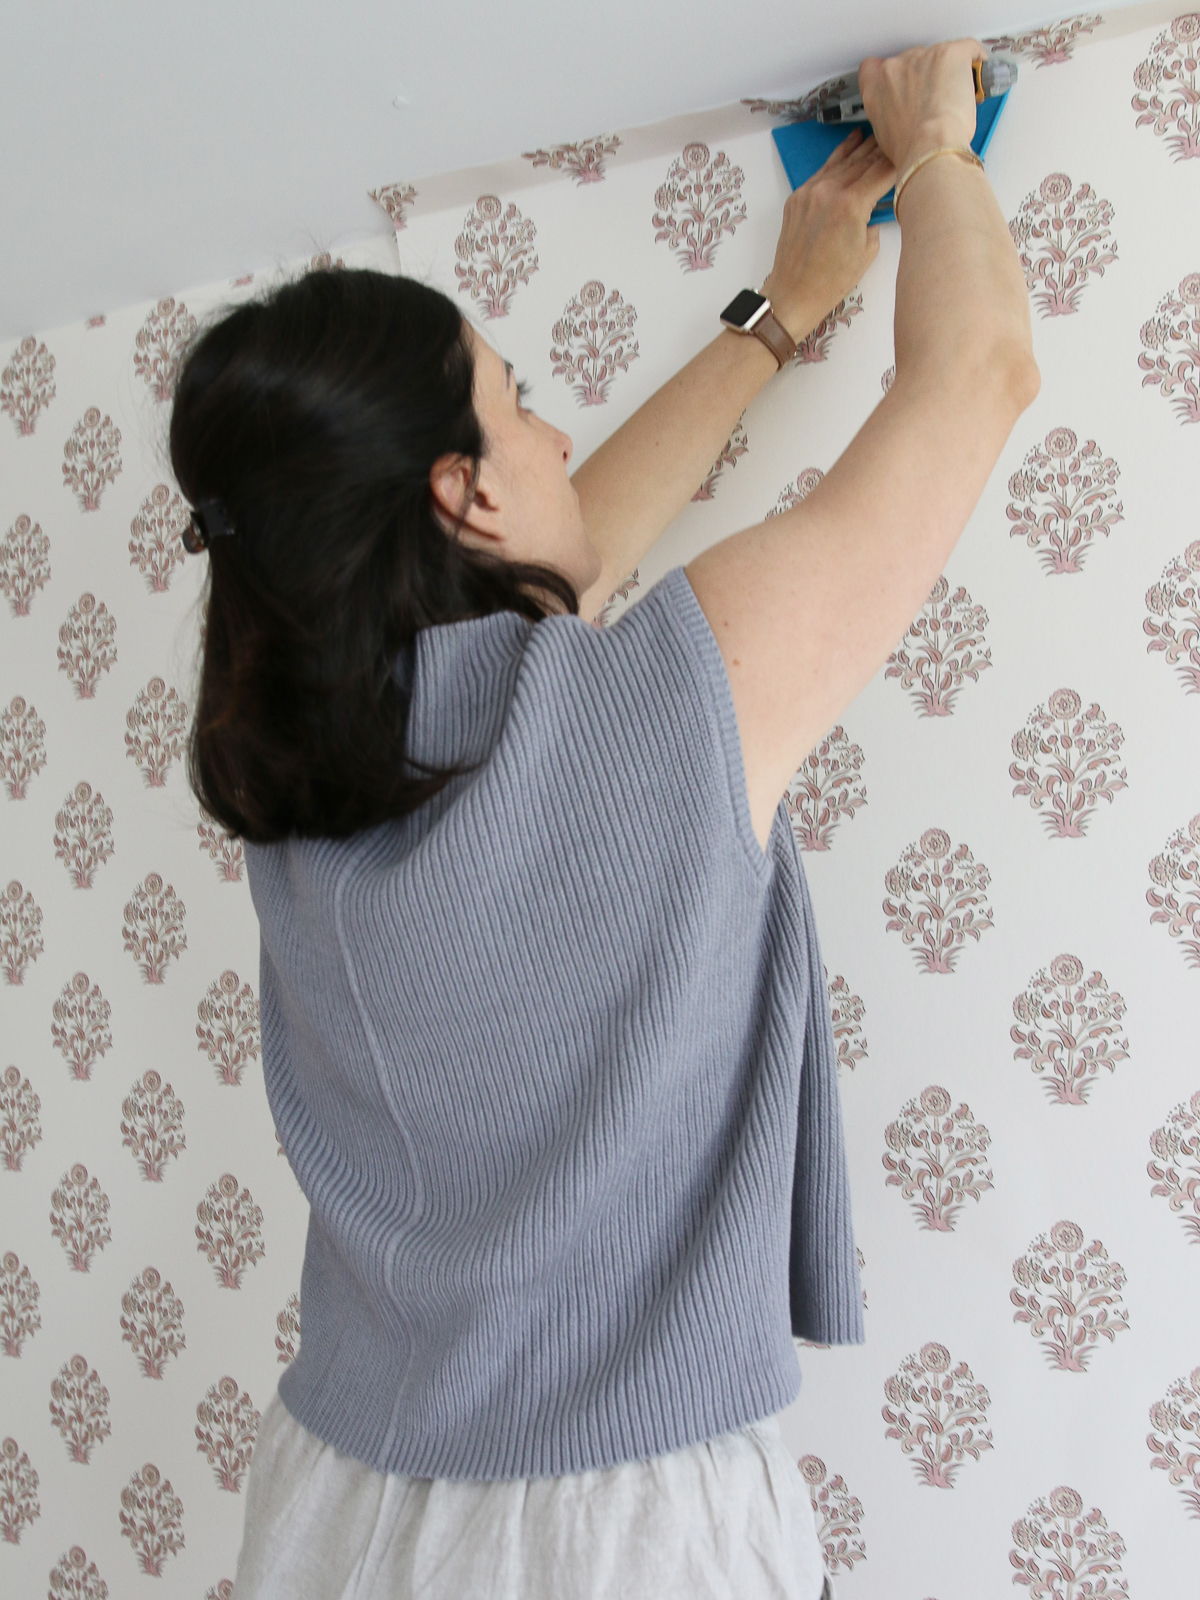
Cut out the excess edges
Use a utility knife with a new blade to cut the excess at the ceiling and floor after hanging the wallpaper. You might have to replace the blades multiple times throughout the installation. A dull blade will take multiple passes to cut the paper and can even bunch up and tear it.
Hanging wallpaper around corners
For outside corners, simply wrap the wallpaper around the corner. The corner is likely not perfectly straight. Don’t forget to start with a plumb line on the adjacent wall.
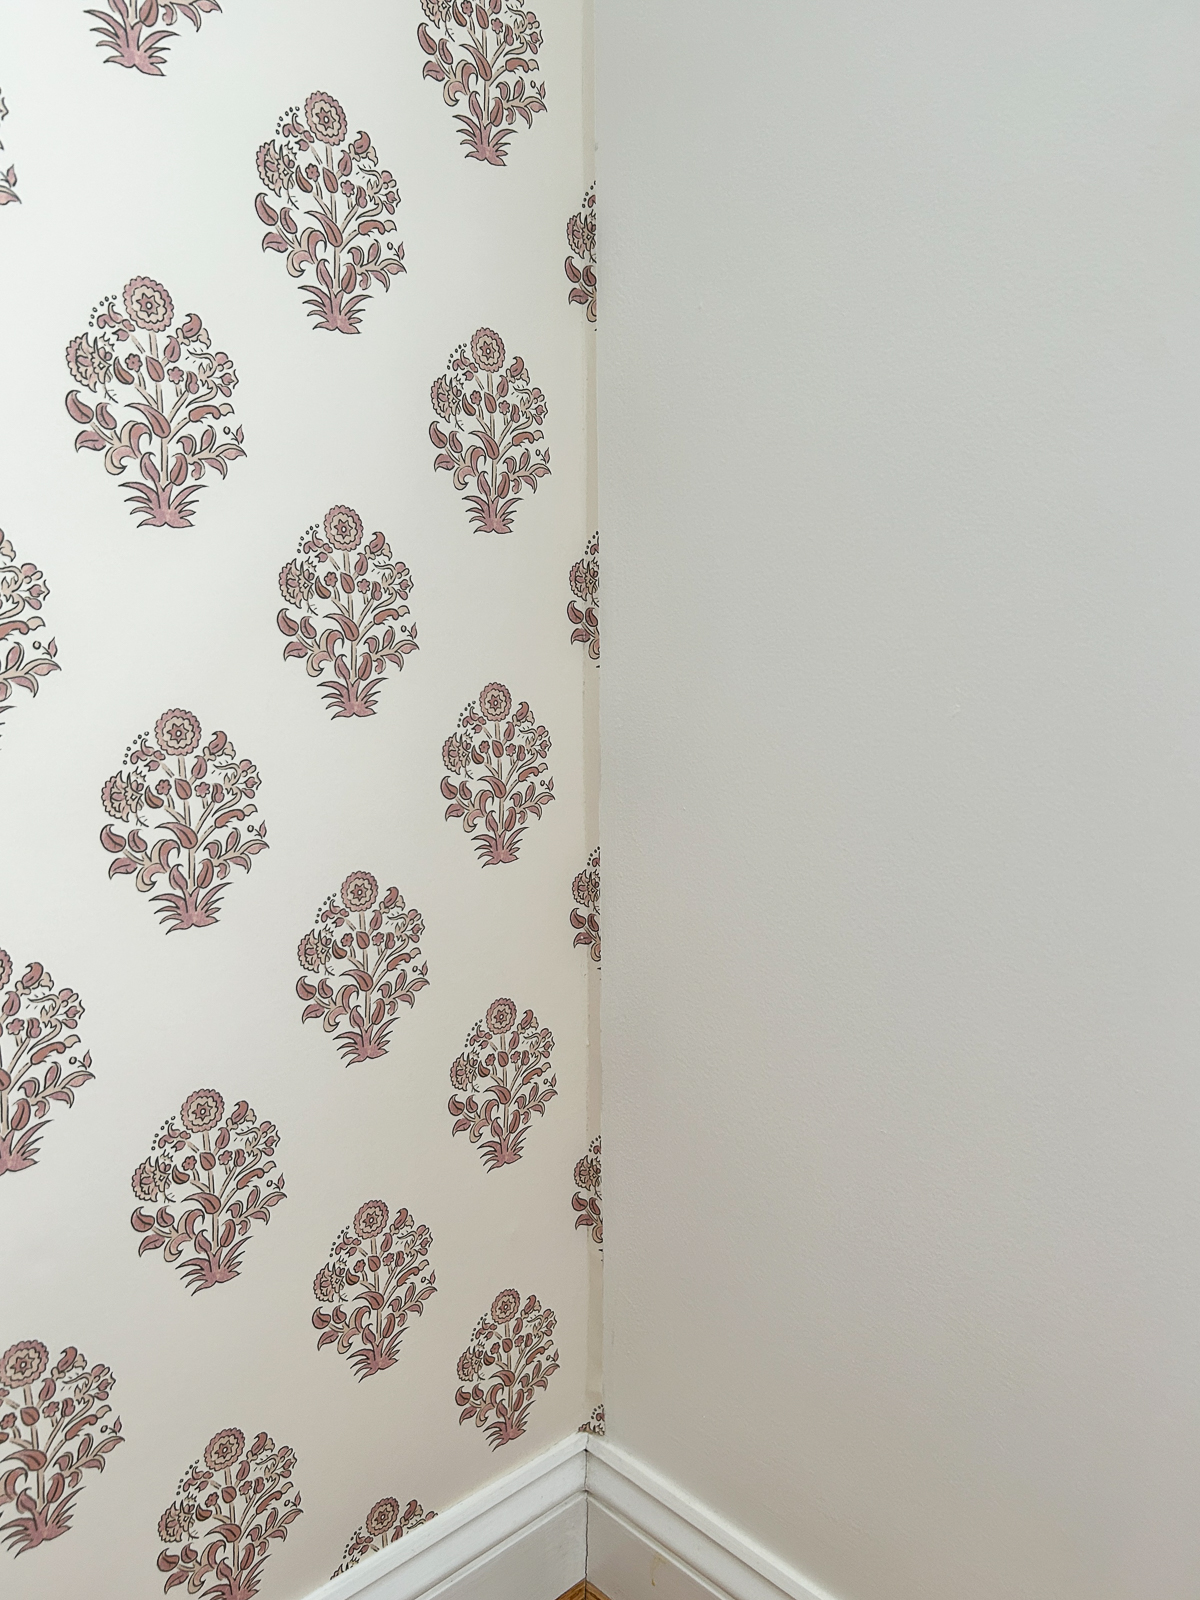
Inside corners are also never straight. I know you will be tempted to also wrap the wallpaper inside the corner but I guarantee you will regret that decision. You will struggle with folding the wallpaper in the corner while managing the excess on the top and bottom edges. You will also probably end up with a rounded inside edge. If you decide to cut that rounded edge to make it sharp, your seam will be visible.
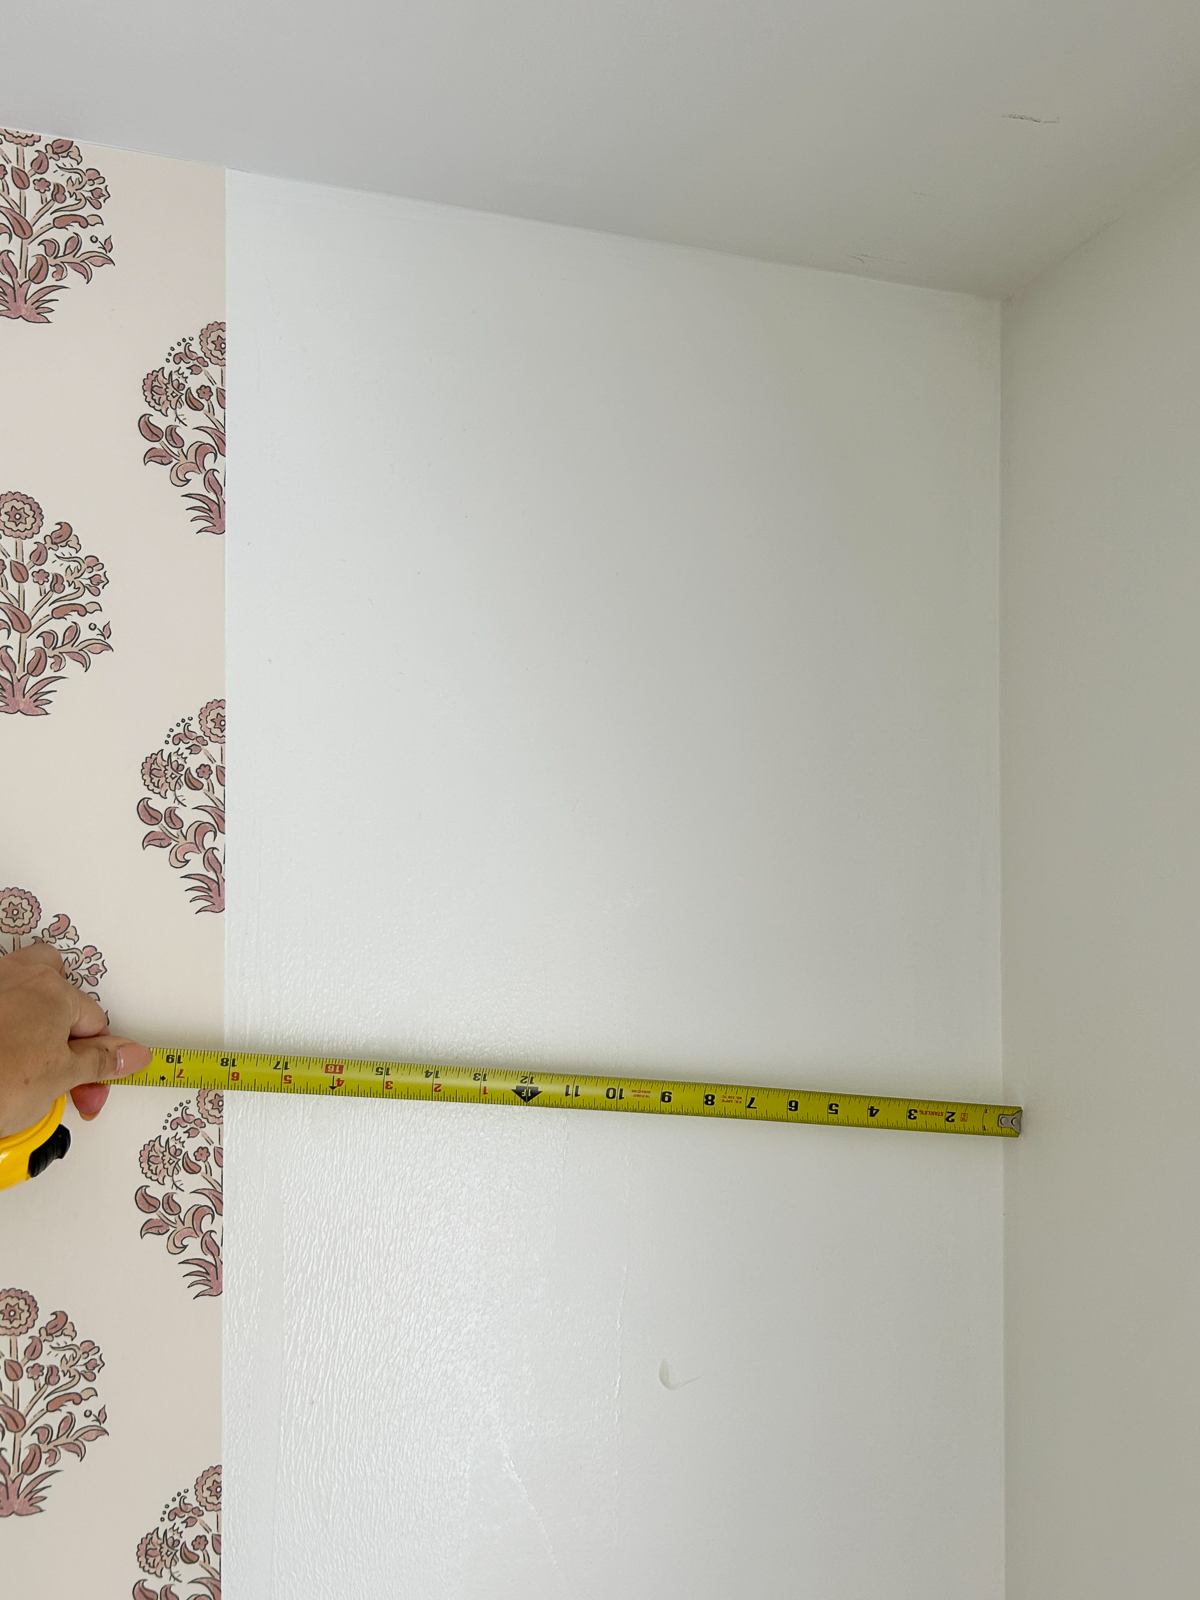

Instead, the recommendation is to measure from the edge of the last strip on the wall to the corner. Then cut that distance from your new strip and hang it to the corner. Apply the remaining strip to the adjacent wall – from the corner to the plumb line. You will have some overlap but that’s ok. If the overlap is too big, you can cut the excess with your utility knife.
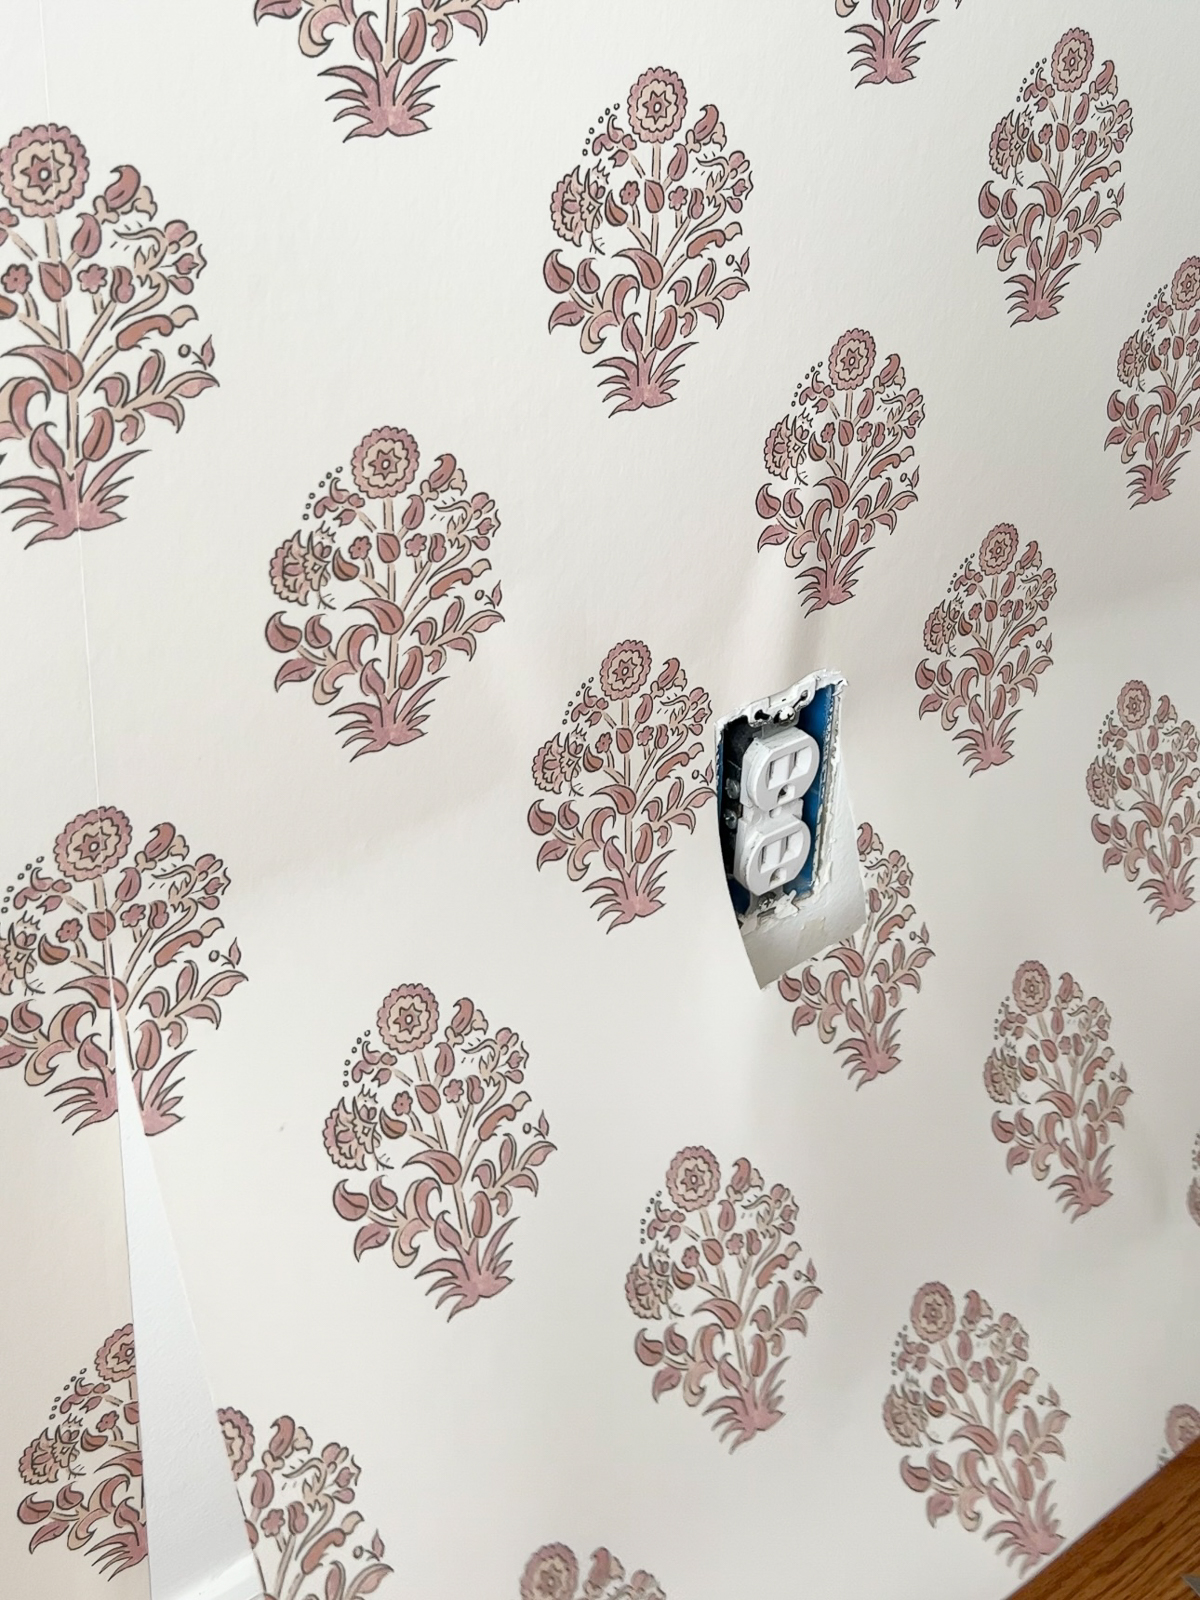
How to hang wallpaper around outlets and windows
Remove the cover plate from outlets and wall switches. Then hang the wallpaper as normal right over the opening. There will be some initial bubbling and pulling especially over light switches. Before fully smoothing the wallpaper, cut out the opening with your utility knife. Then lift the wallpaper and reposition again to align perfectly and smooth out the bubbles.

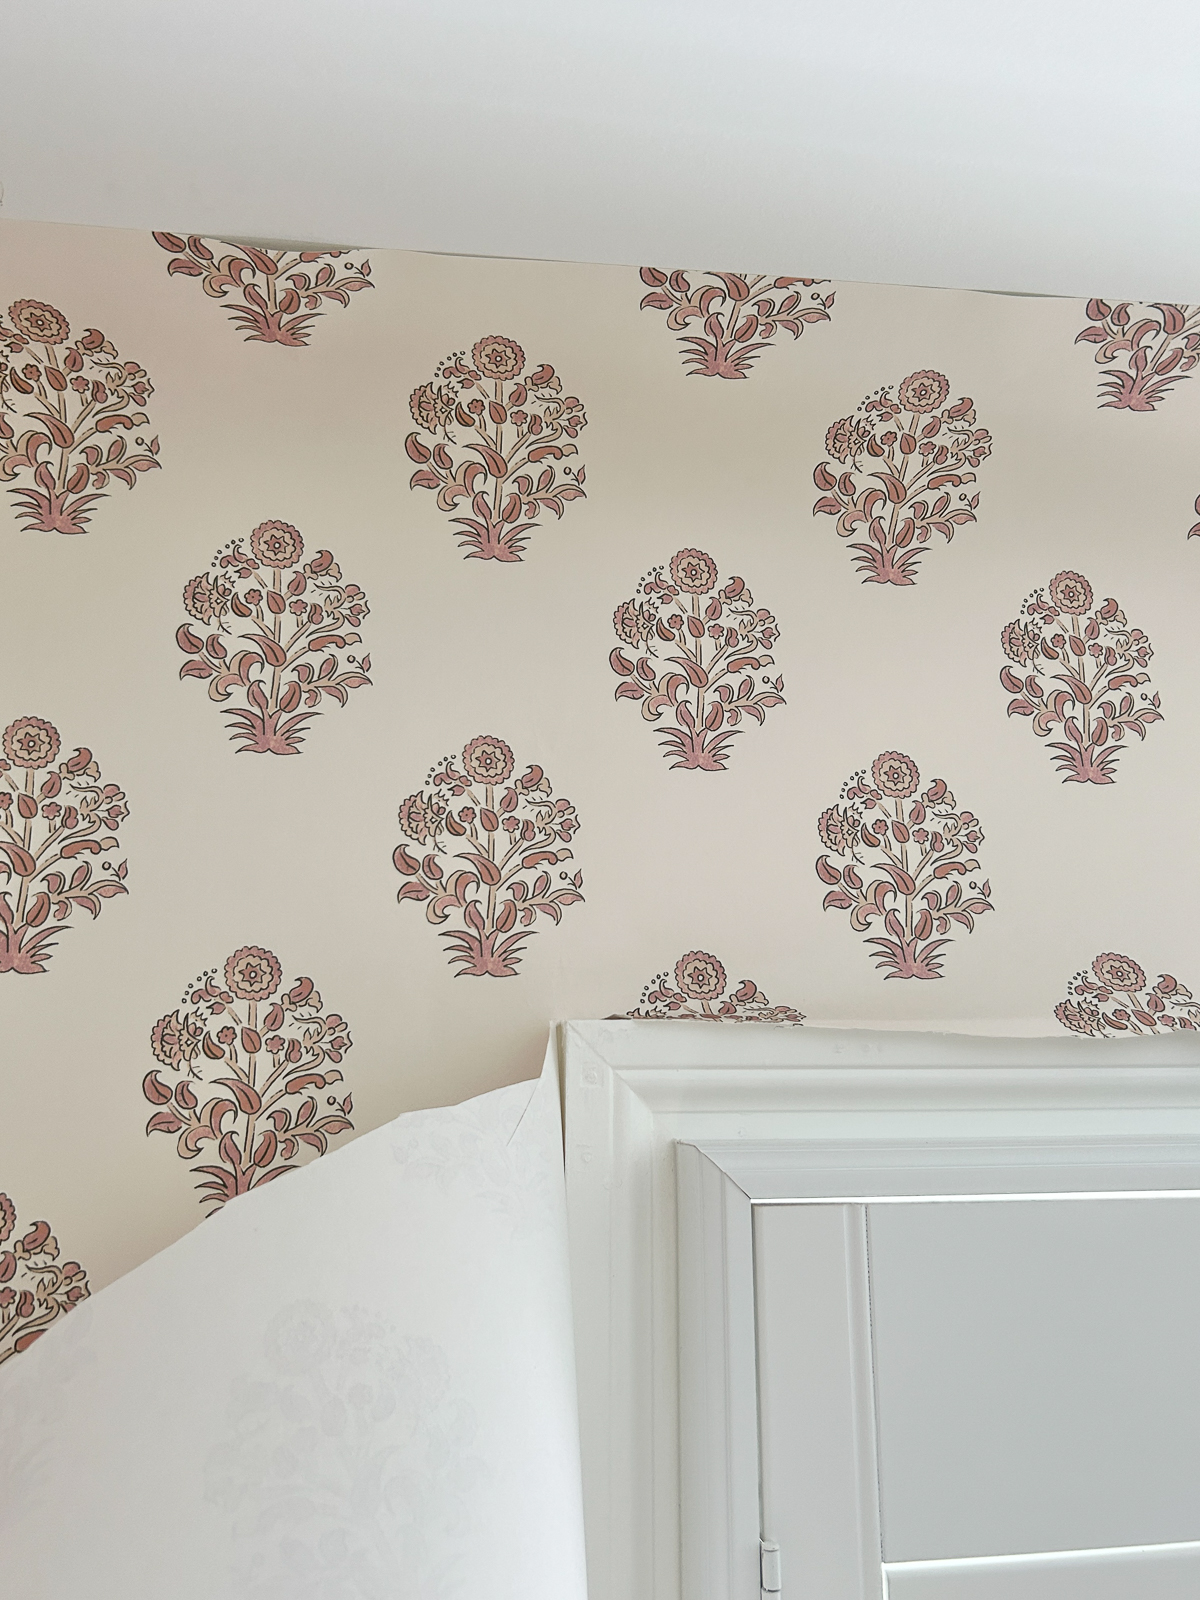
After hanging the wallpaper up to the window or door casing, fold in to the edge and use your utility knife to make cuts. Leave yourself enough room when cutting initially and then trim closely inside the corners around the casing.

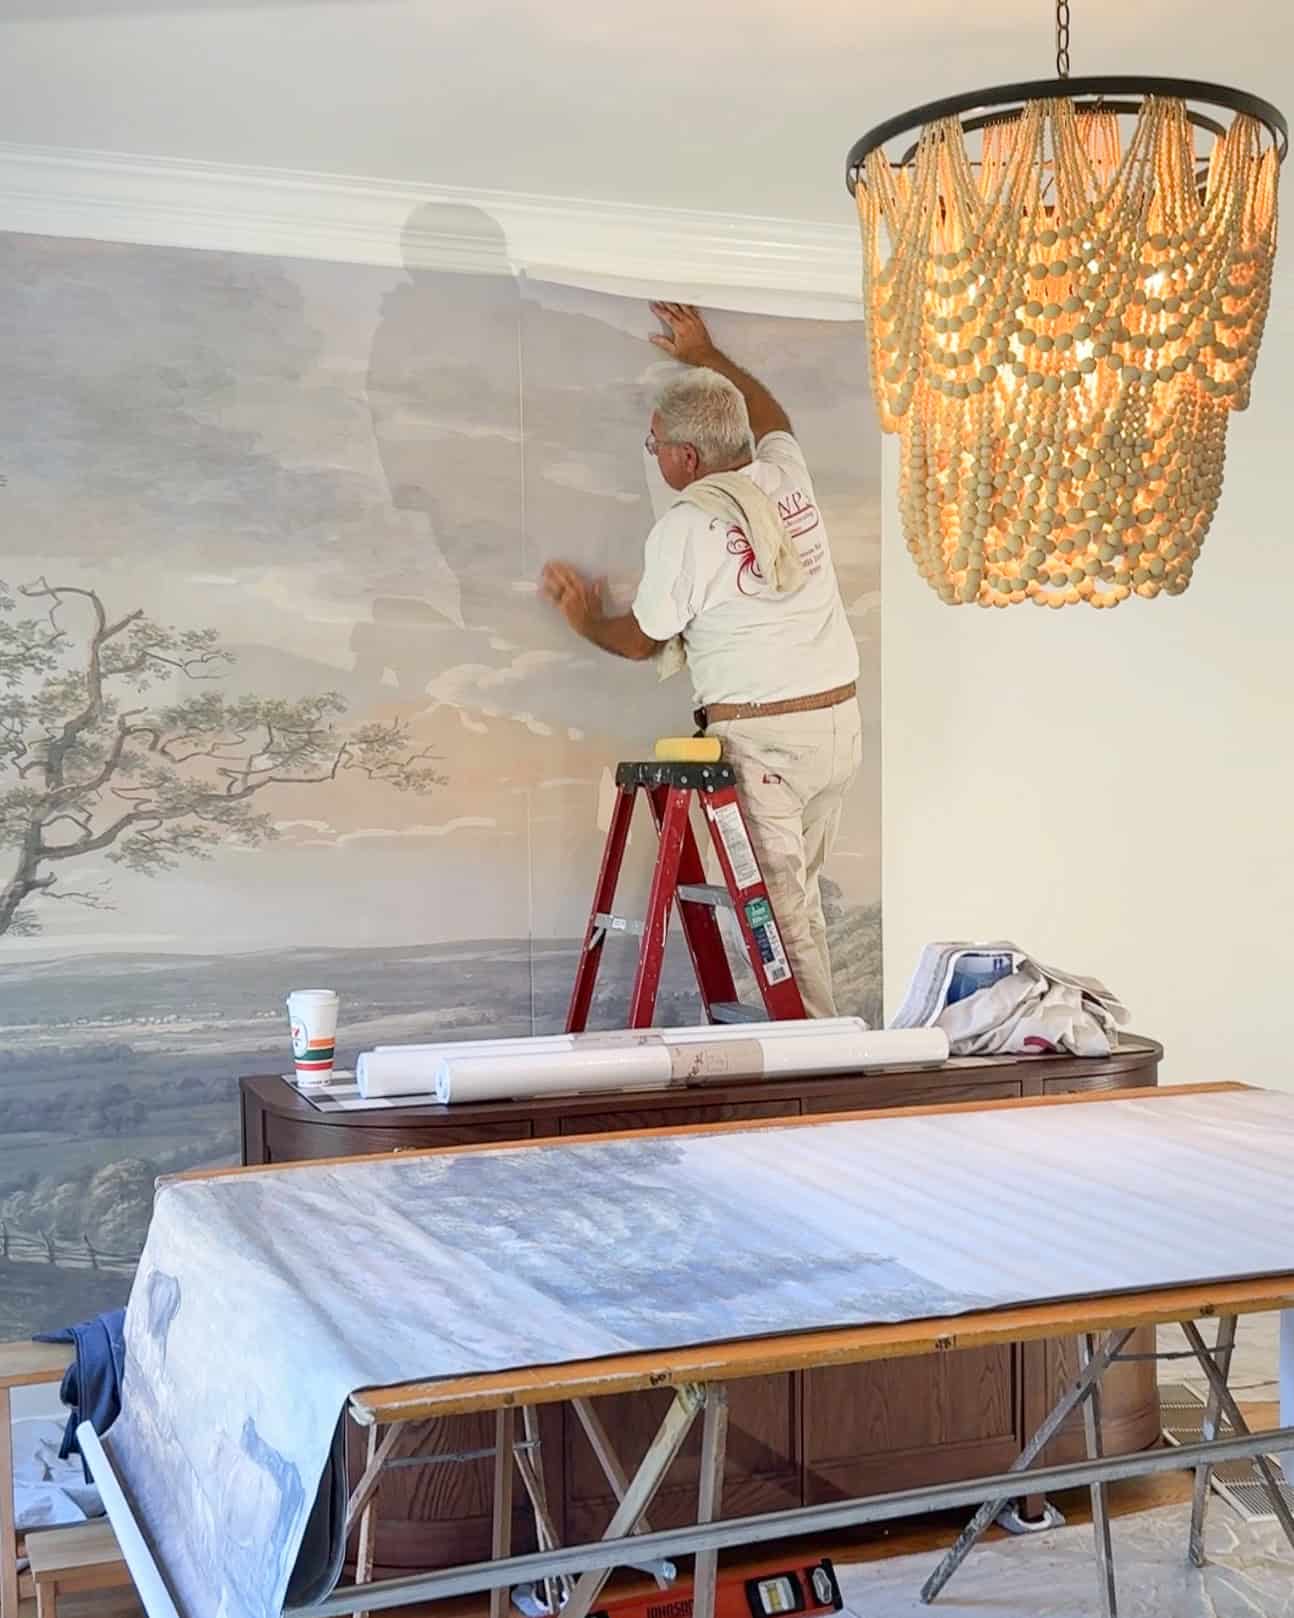
I’ve hung wallpaper in many rooms of my home, but I decided to hire a professional to install the mural wallpaper in my dining room. Could I have done it? Absolutely, but I was traveling a lot at the time and wanted to get it done as soon as possible.
I chose a mural wallpaper, and you can read all about it in my DINING ROOM MAKEOVER post!