How to Cane Furniture and Repair Chair Caning by Hand
Disclosure: This post may contain affiliate links. As an Amazon Associate, I earn from qualifying purchases at no additional cost to you.
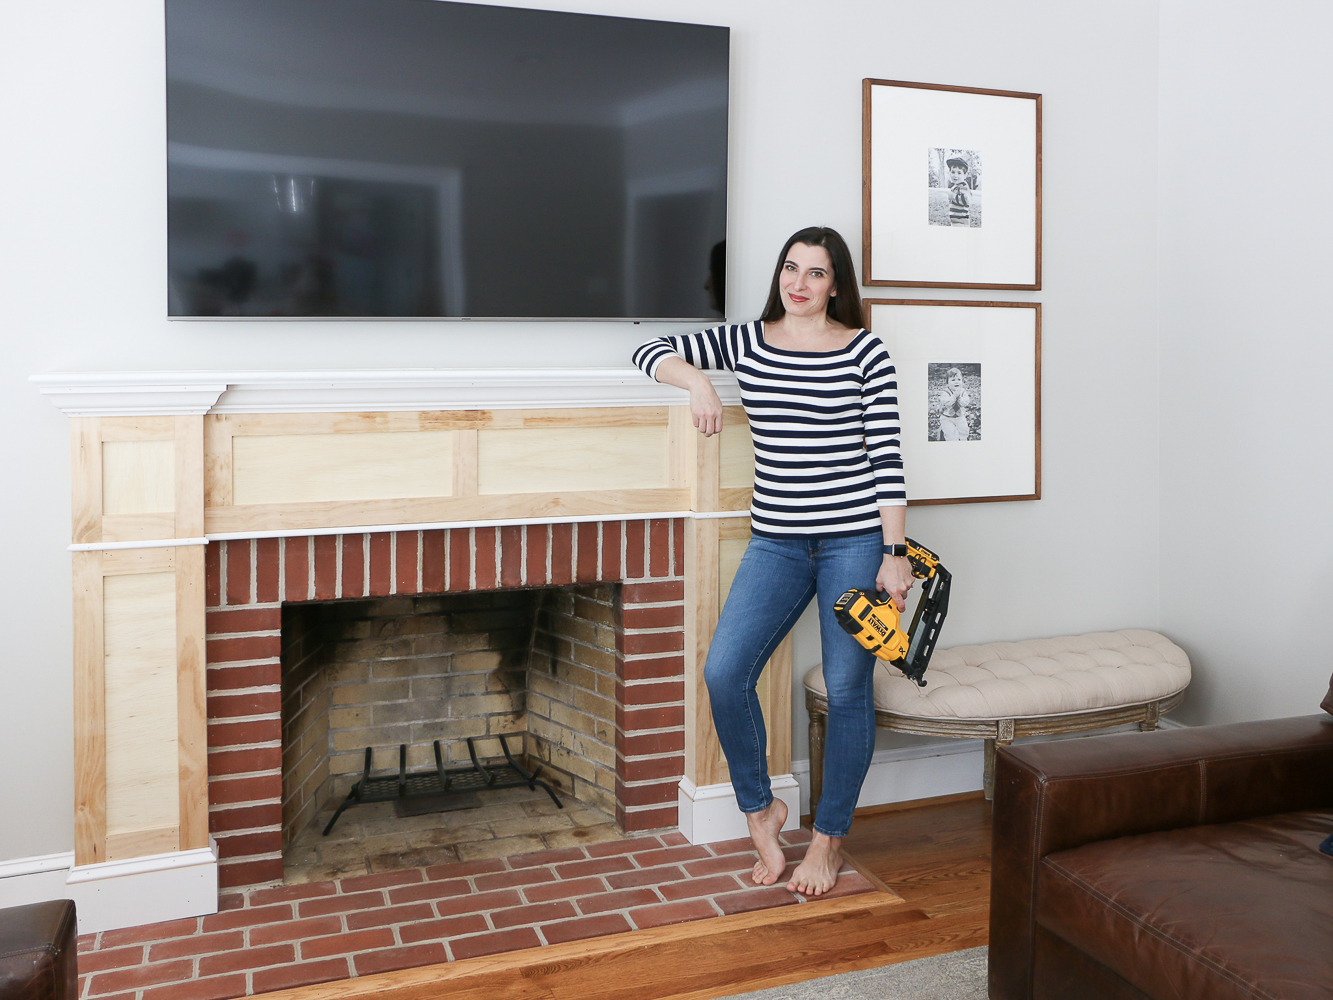
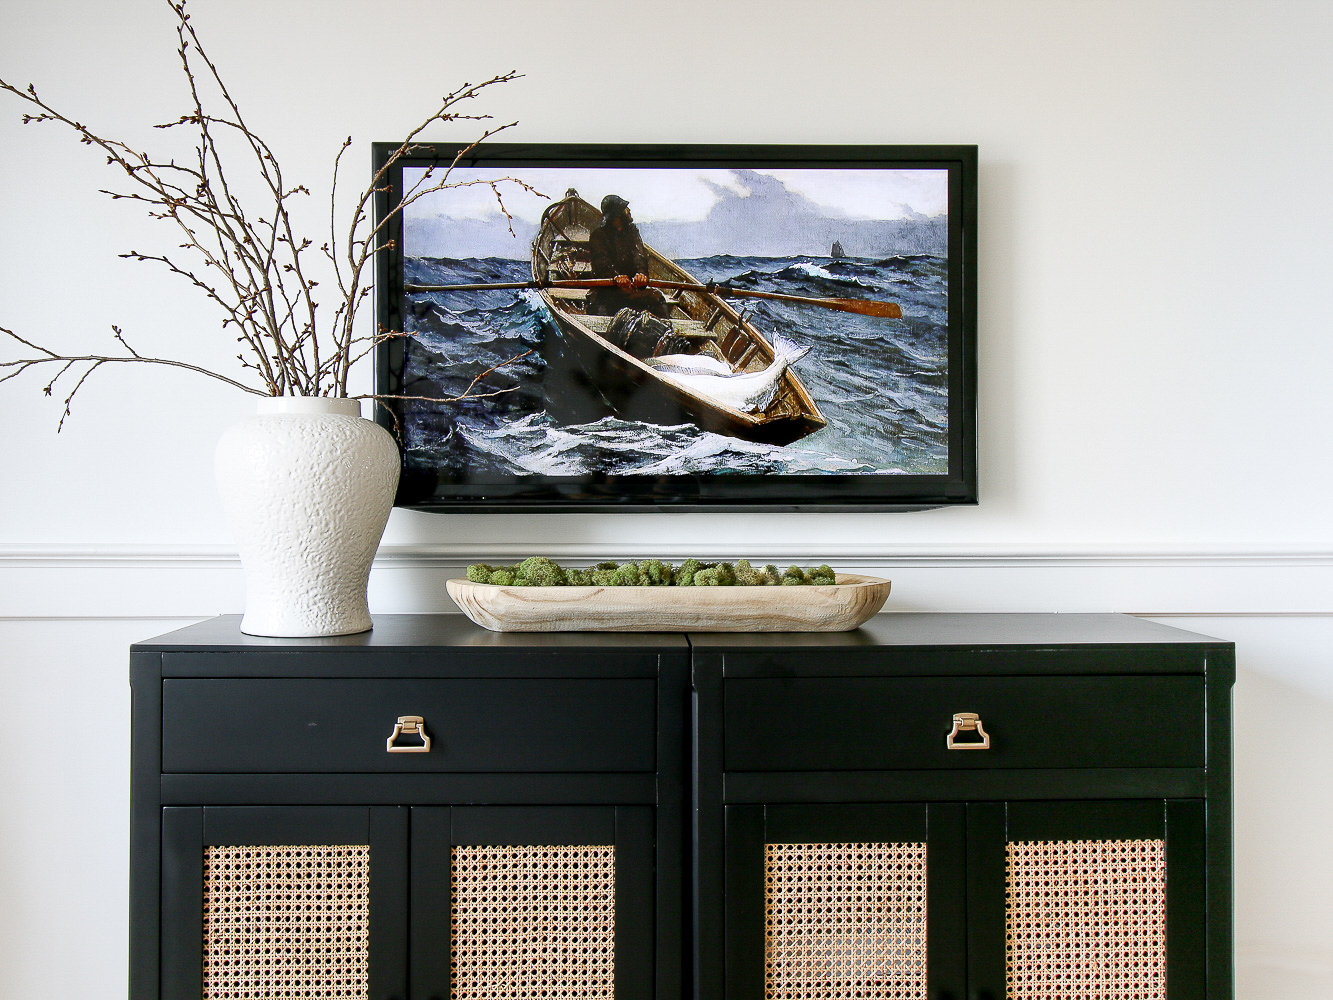
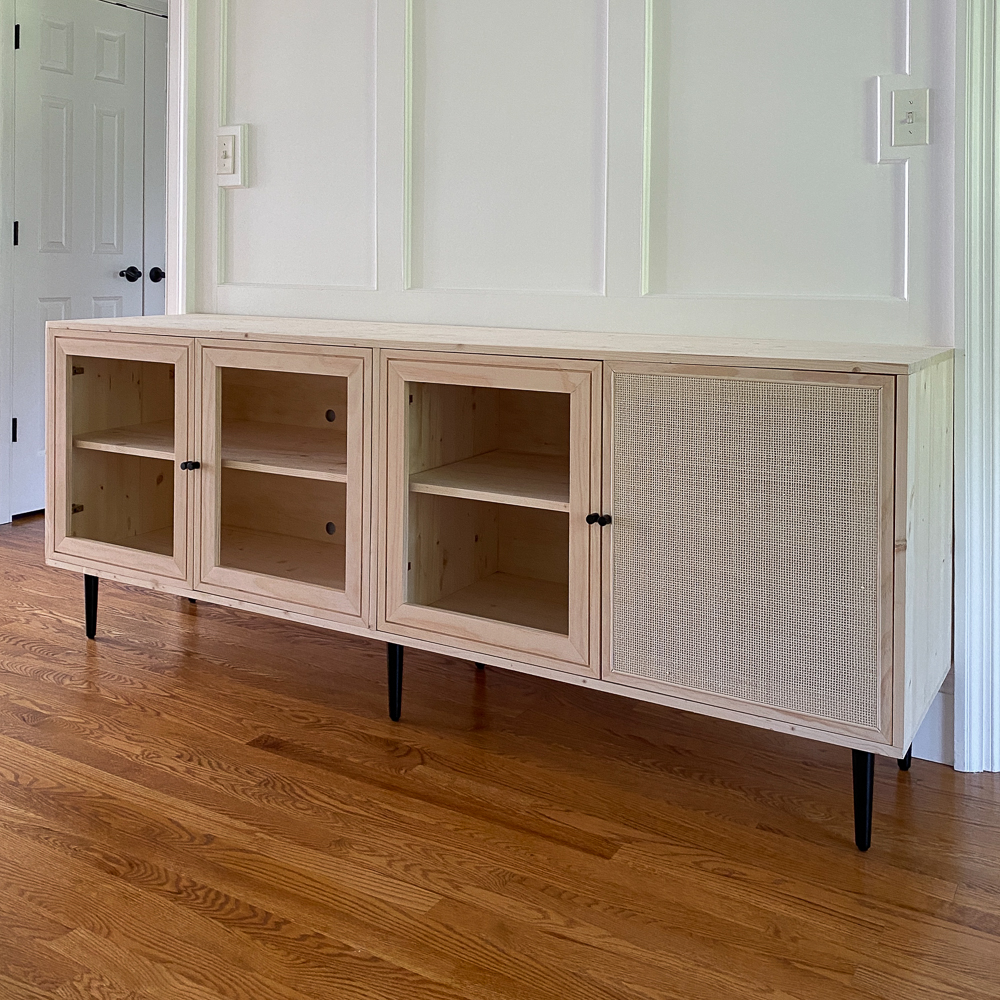
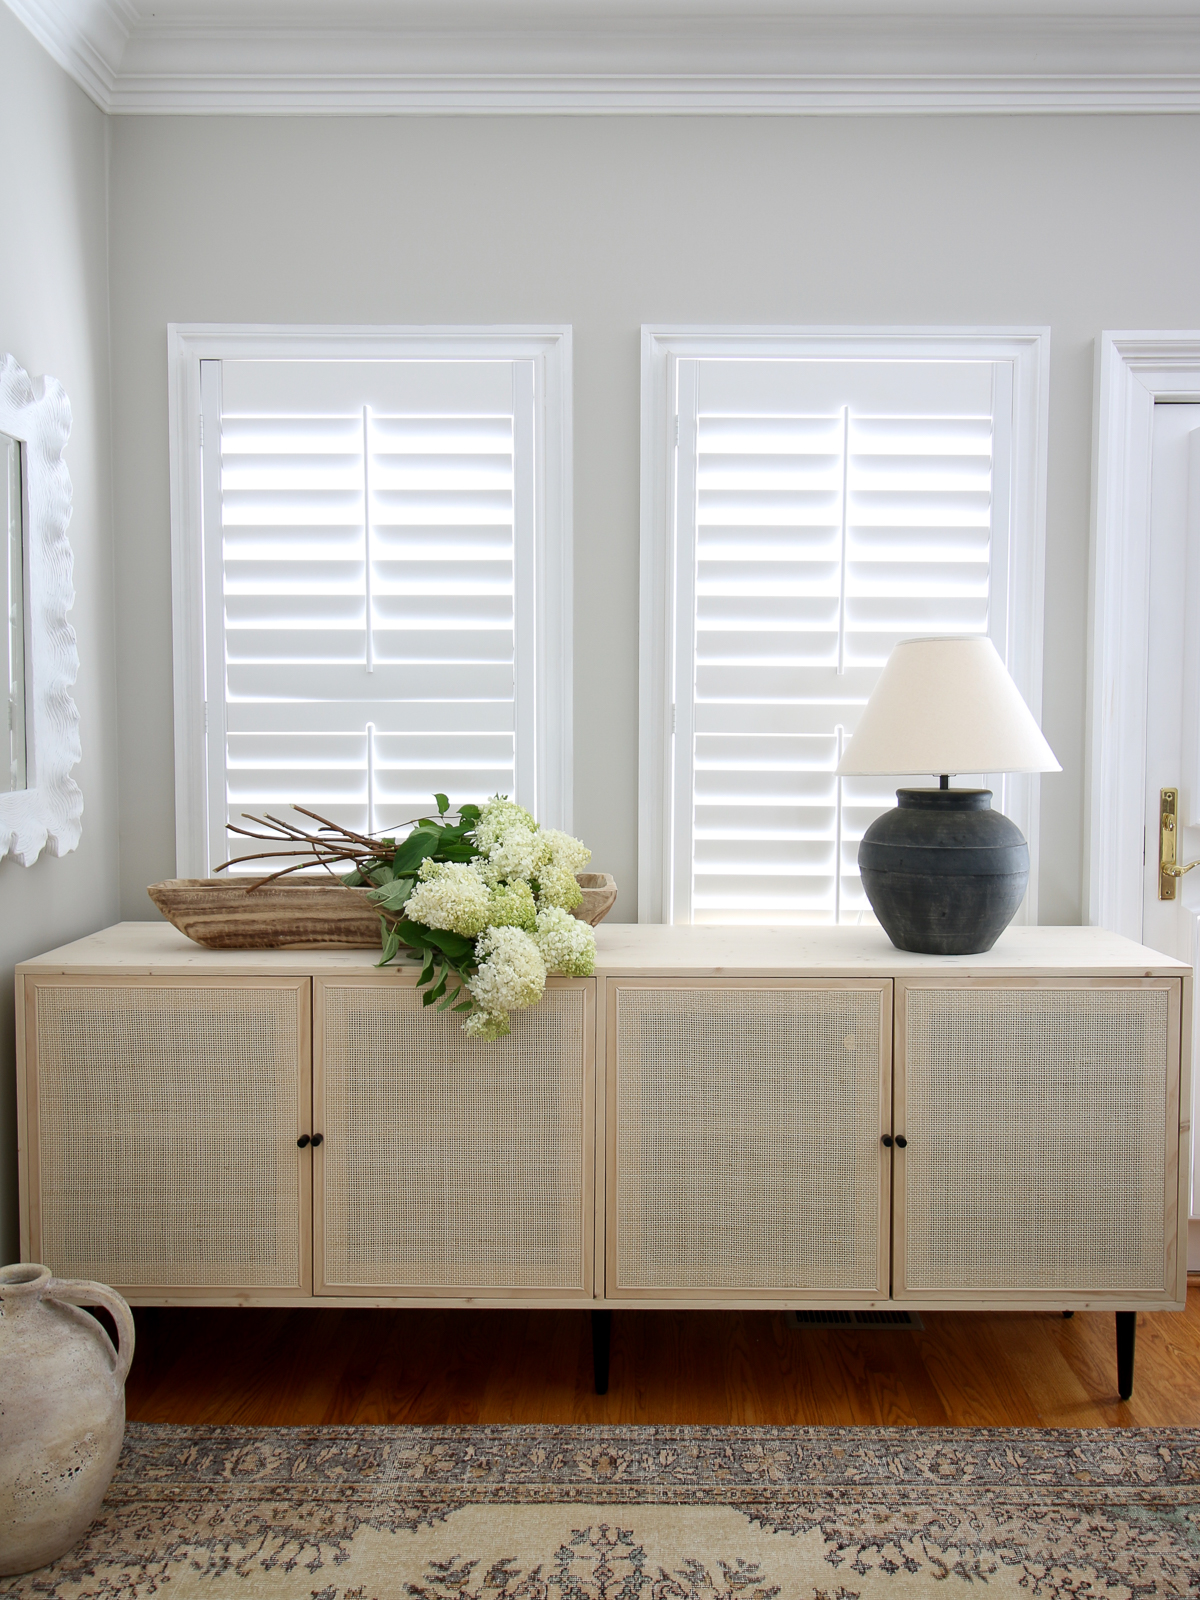
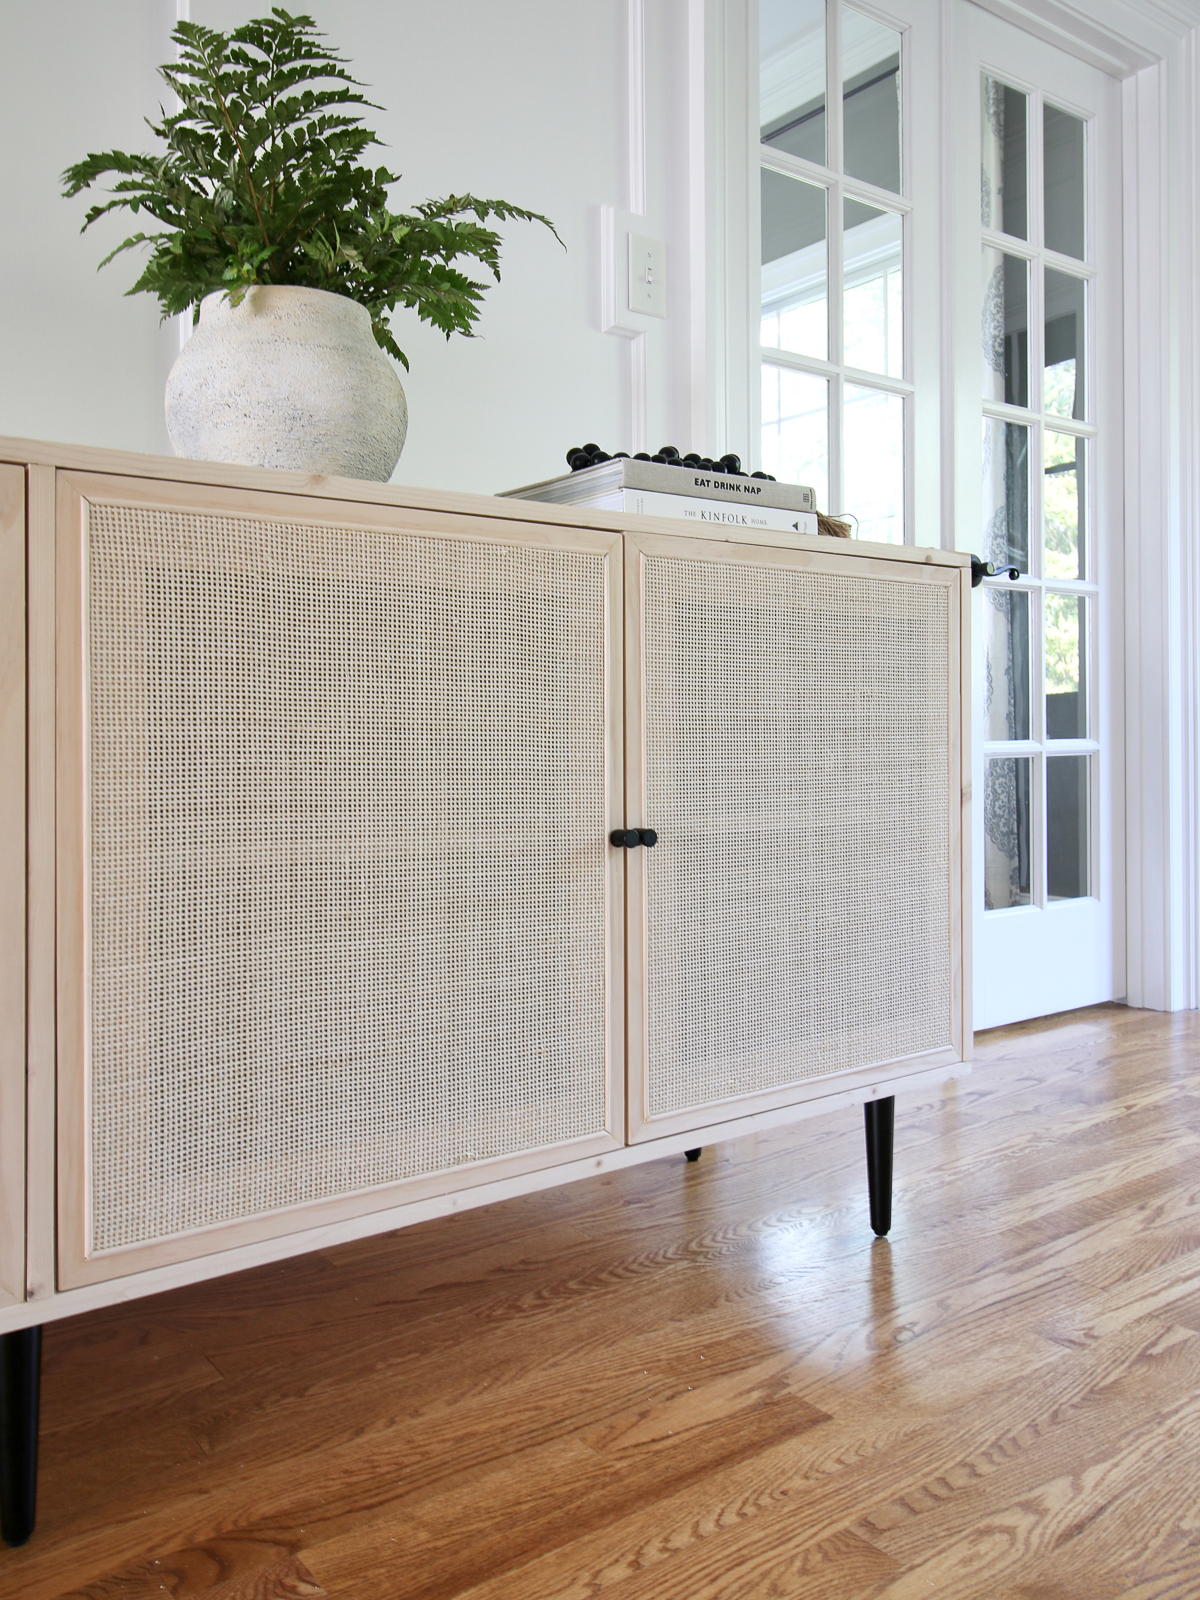
While hunting for furniture and decor to update my dining room, I fell in love with a beautiful woven Pottery Barn cabinet. It was out of my budget, so I went straight to learning all I could about furniture and chair caning – I was going to build my own. I even made a second cane cabinet in natural stain that was commissioned by a follower on IG.

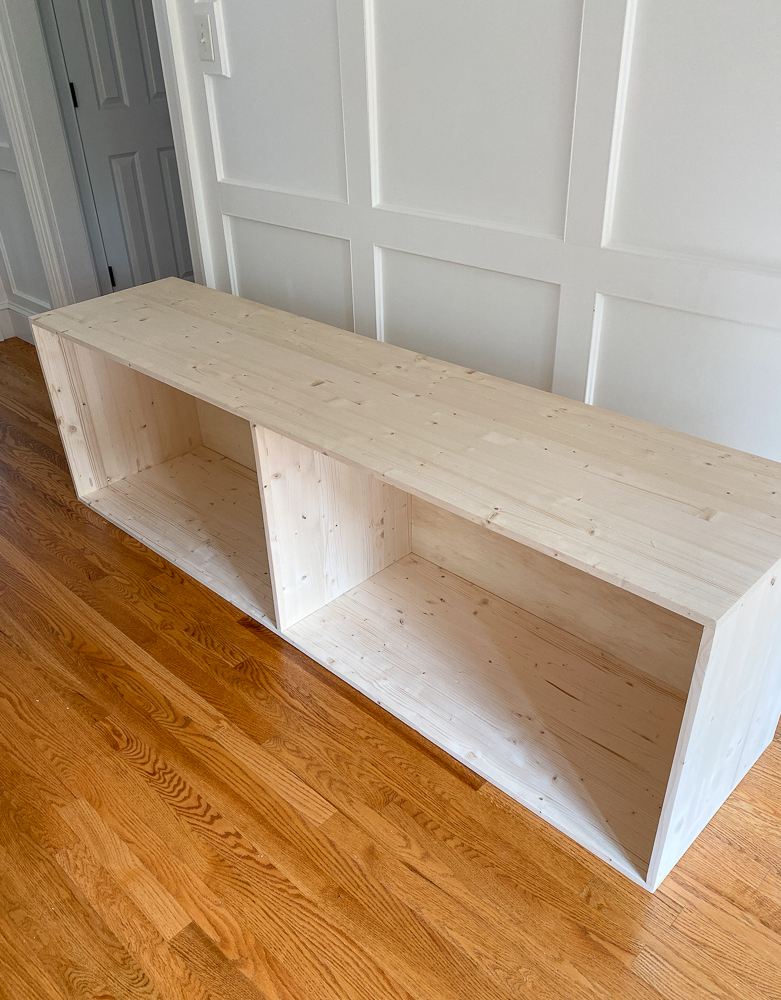
The cabinet has a pretty straightforward construction. You can find instructions in my post about home office cabinets and other spaces in my home. However, making doors is more complex and intricate. I searched “How to Cane Chairs” and came up with the steps I needed to make the standout feature – cane cabinet doors.
Whether you want to build something new or repair an old chair, these steps will help you get the results you want.

Simple Materials Guide
Get this FREE GUIDE to different types of trim and molding materials for your every DIY need – from wall molding to cabinetry!
Why choose rattan or cane furniture?
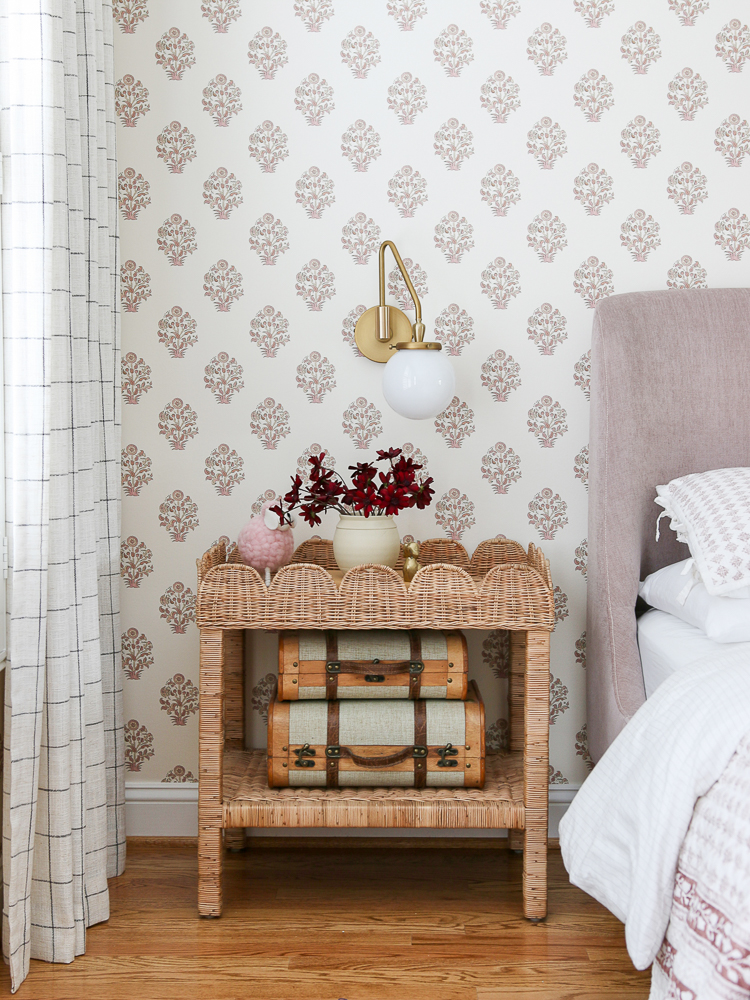
It’s no secret that I have a love for natural materials, like marble and wicker. My kitchen countertops, primary suite, and favorite woven decorative boxes are examples of that. It’s easy to incorporate these elements into your existing decor and elevate the look of your home.

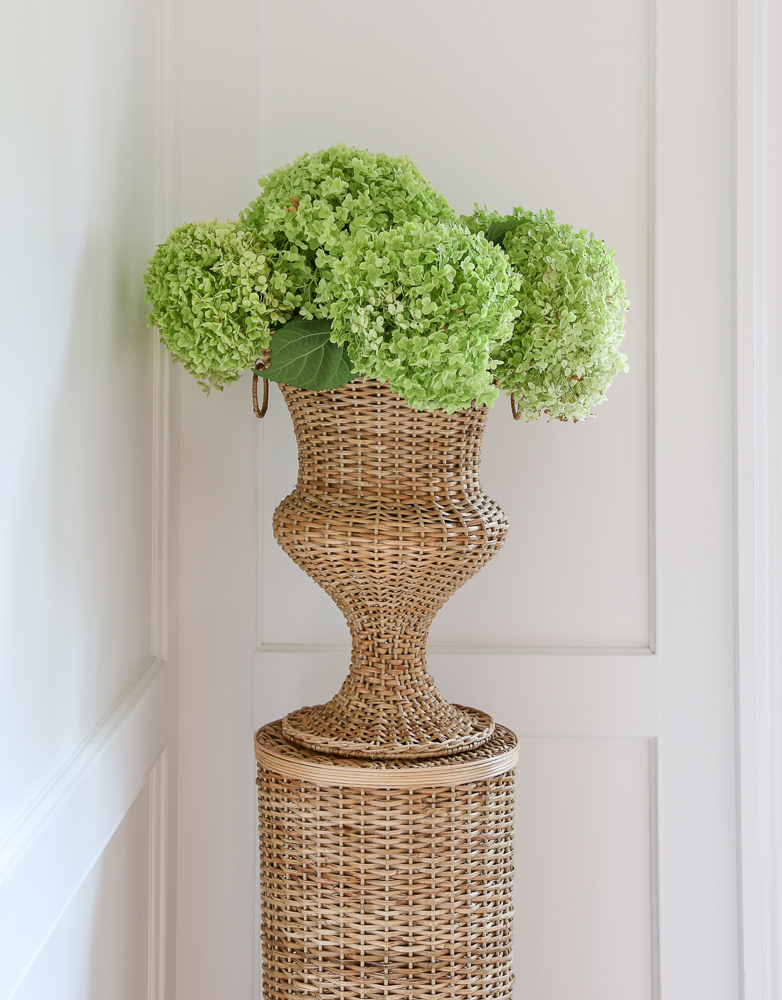
Cane and rattan seem to be experiencing a resurgence with the design trends moving toward a natural and neutral aesthetic. At the end of this post, I’ll share some of my favorite cane and wicker pieces around my home.
Where to order cane
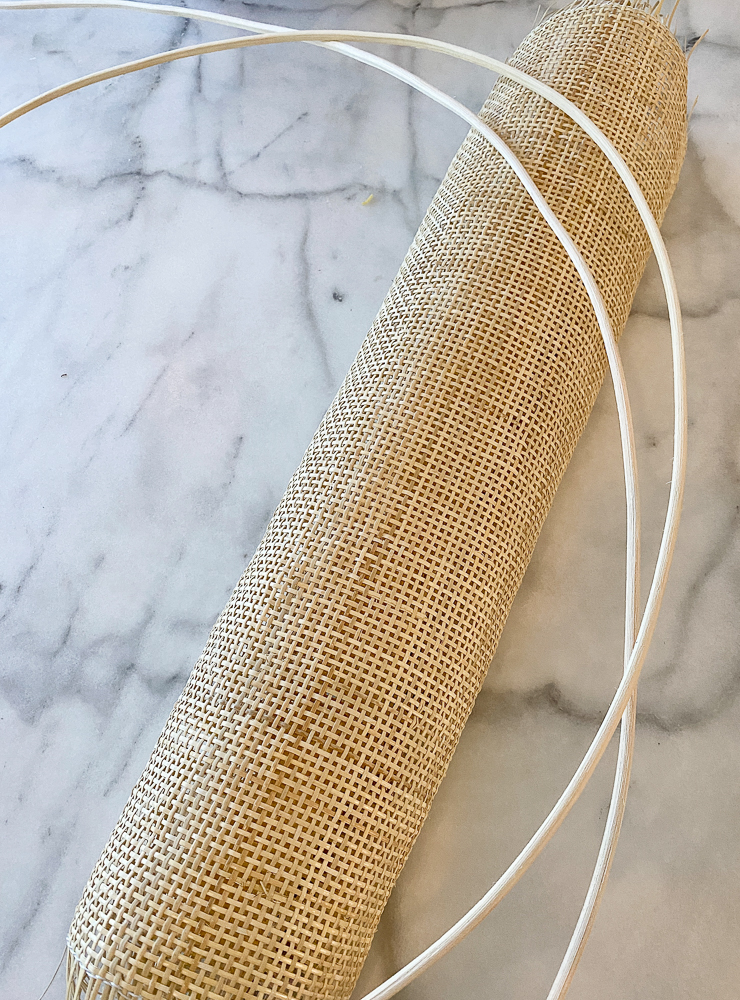
There are plenty of sources which means you’ll have no problem finding the perfect cane webbing roll for your project. For my DIY Pottery Barn cabinet, I ordered what’s referred to as a fine fine box pattern from a small family business – Cane & Basket.
They had plenty of what I needed to get my project done. However, keep in mind that sometimes small businesses run out of stock or even close down for periods of time.
Another great source for rolls of cane webbing is Amazon. They have a great selection of highly rated options with decent pricing and quick shipping. They also have several different patterns so you’ll be sure to find exactly what you need.
Tap the images to learn more:


If you are repairing the seat part of chair caning, a tighter weave is better. For a cane sideboard or anything that doesn’t have to support body weight, an open weave is okay to use.
How much cane do I need to get?
As far as measuring, a cane webbing roll comes in different widths, typically 18″ and 24″. Measure the width of your project area to determine which one will be best for you. My doors are 17″ wide so 18″ wide roll might have been a little too short since you need about 2″ extra on each side. So if the project is 17″ wide and I add 2″ on each side, that comes up to 21″ wide. I ordered a 24″ wide roll.
The length of the cane webbing rolls is sold by foot. You will need to measure the length of your project in inches and convert that to feet to know how long of a roll to order. For each area of the project (door, chair seat, back) add 2″ at the top and bottom of the cane, or 4″ total for each length. Add up all the lengths with extra inches to determine the total length. Then order some more just in case you mess up. It’s always better to order extra than run out of material in the middle of your project.

You’ll also need to get spline, which is the strip of material that gets wedged into the groove to secure the cane sheet. Measure the length of all the grooves (the perimeter of your full project) and add a generous about to allow for mistakes. It’s inexpensive and you may not need it, but you’ll be glad you have extra if you do.

I used a #9 reed spline for my DIY cabinet project. The reed spline # you need corresponds to the width of the groove you are filling. See the chart to see what # spline you need.

The channel groove method
You can attach cane to a door frame in many different ways using staples on the back or glue. However the traditional way – and the proper way to cane a chair – involves tucking the cane material into a channel or groove. I also chose that method for my cane cabinet. I love the traditional technique because, in addition to attaching the cane, it creates a beautiful detail to enhance the look of the finished piece.
To recreate the Pottery Barn cabinet, I made my own doors including the channel groove. I could create the groove as wide as I needed it and order the appropriate size spline. The grooves are made by running the plank on a lowered table saw with a dado blade. You have to lower the blade almost all the way down. Only 1/4″ of the blade will be showing. You don’t want to split the plank right in half. The groove depth will have to be less than the thickness of the board.

If you’re repairing chair caning, you will be working with the existing channel and will need to measure that. Order spline according to the groove width and the chart above.

Helpful tips before you start
Prepare your work area. Create a large enough space on the floor. Put something down to protect both the work surface and the project so you don’t end up scratching either one. Use an old towel or anything that will be thick enough to provide a barrier but solid enough to work on.
Measure correctly. I recommend doing it multiple times just be certain you order the proper amount of materials needed to complete your project.
Unlike plastic varieties, like my patio furniture, rattan is a natural material with variations in color. If you run out of cane webbing before you complete your project and need to order more, you run the risk of not getting the exact color the second time around.
Tools needed
For any furniture or chair caning project, you’ll need just a few tools to get the job done. More than likely, you already have most of these on hand.
- Scissors or wire cutter – these are used to cut the cane webbing roll to the length you need
- Plastic putty knife – to tuck the cane webbing into the groove
- Elmer’s glue – an extra measure to secure the cane and spline stay put
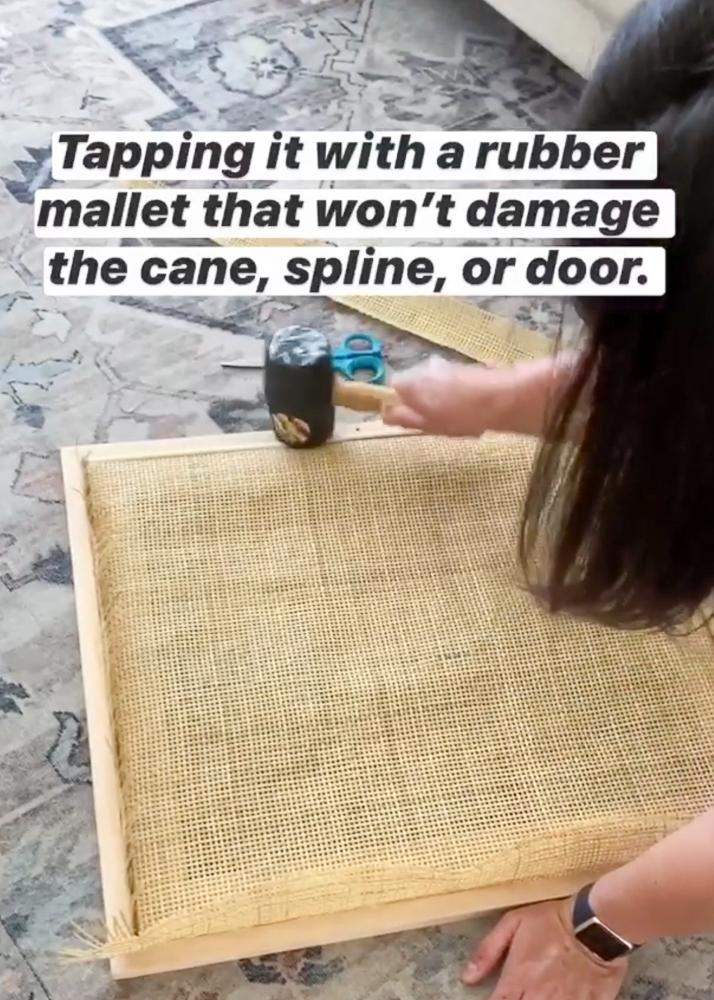
- A rubber mallet – this is used to ensure the spline has a secure fit in the channel without damaging the frame
- Utility knife – with a fresh blade, this will be used to cut the excess cane sheet after you install the spline
Check out my comprehensive list of essential DIY tools I use for all my projects!
How to cane chairs and other furniture
With your tools lined up and your workspace prepped and ready to go, it’s time to get started with these simple steps:
Remove old caning
If you are attempting to repair or replace old chair caning, your first move is to remove the existing cane and spline. Use a utility knife to cut away as much as you can. A flathead screwdriver can be used to scrape the old glue out of the grooves so you have a fresh start. If it’s stubborn, soak it with water to loosen it up.
Measure and cut
As suggested, measure more than once. Make a note of the dimensions of the cane webbing you need and add a couple of inches around the perimeter. If your seat has rounded edges, chair caning should be cut accordingly. Use sharp scissors to cut cane sheets to size.
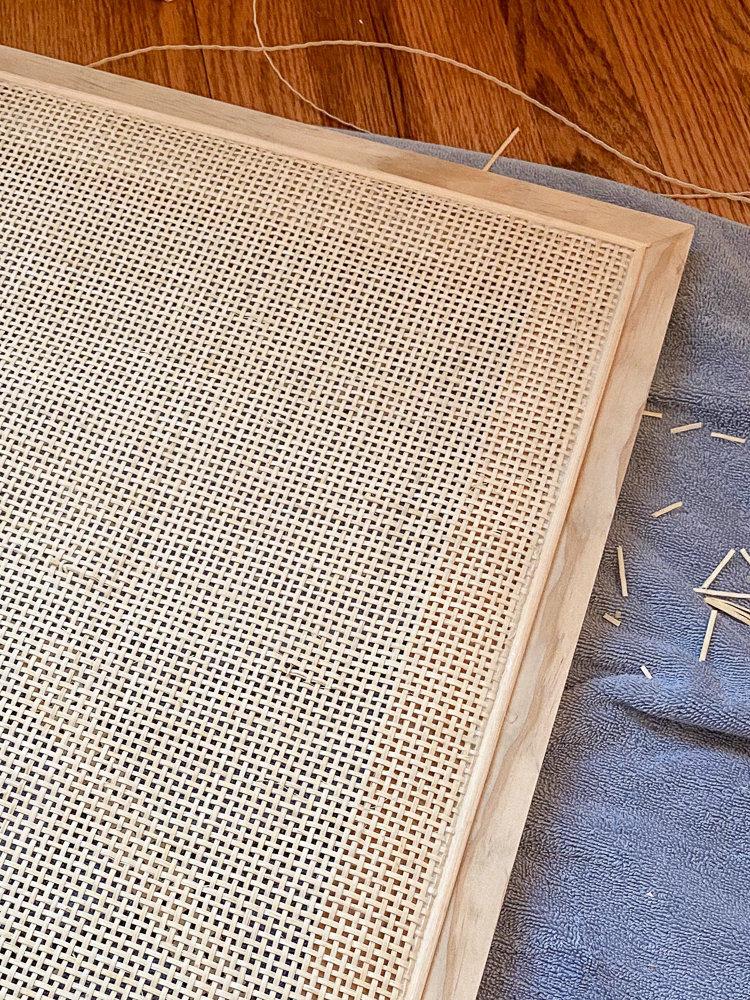
I cut the spline at 45° angles to get a beveled edge so the corners meet seamlessly. This isn’t always necessary if the spine is on the underside of your project, but since it was visible and part of my cabinet door design, I wanted it to look good.

Soak cane sheets
Fill a sink or tub and submerge your cane sheets prior to use. The recommended soaking time for cane is about 30 minutes. You may need to place a weight on top to keep it fully submerged. Cane should be wet when you are working with it so get started as soon as it’s done soaking. The cane strands are bendable and easier to work with when wet.

You don’t need to soak the spline. It needs to be firm so you can easily hammer it into place.
Add cane to chair seat or cabinet door
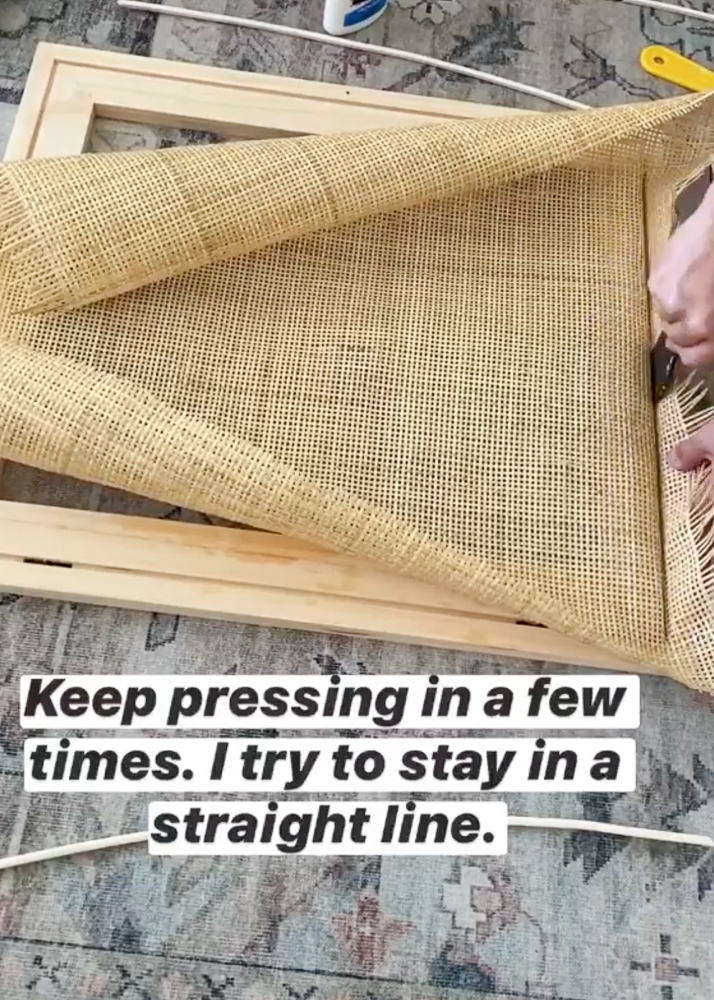
Wipe excess water off the cane sheet then it’s time to lay it over your chair seat or cabinet door. Make sure it’s centered and line it up as straight as you can before proceeding to the next step.
Once it’s in place, use the plastic spackle knife to push the pliable sheet into the grooves. Tuck it in as deep as you can all the way around. The excess should be sticking out on each side. Don’t worry if the surface looks a little wavy or bubbly. The cane sheet retracts and dries taut so it will end up smooth.


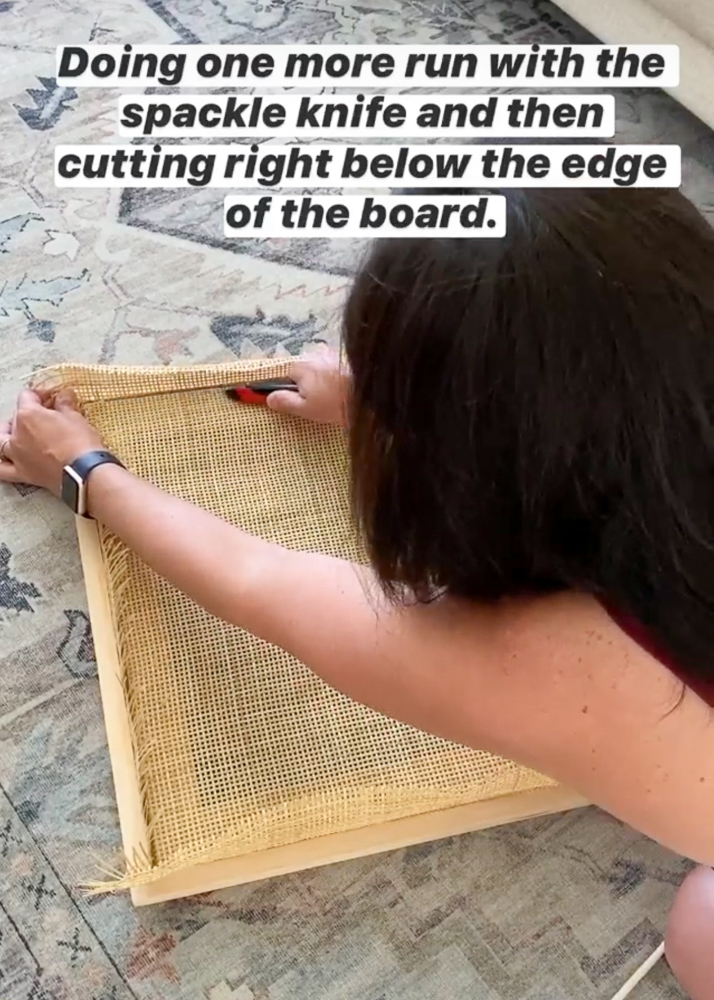
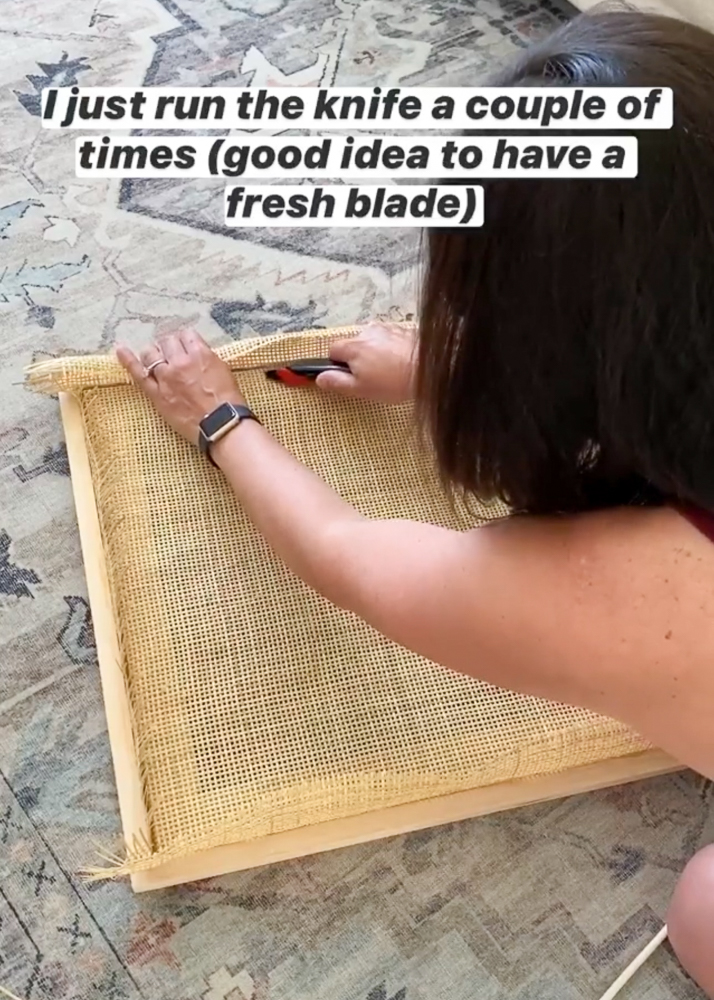
Remove excess cane
Now that you have everything in place, you can get rid of the frayed bits around the edges. You will need a utility knife for this and I recommend using a fresh blade to make it easier. Cut the cane all the way down below the edge of the groove for a clean finish. Going in at an angle helps to get down far enough. If you have tucked the cane in the groove well enough, it shouldn’t pop out of the groove.
Fill the groove with glue
You don’t need to use special glue. Regular Elmer’s glue is all I used for this because it dries clear. Don’t use wood glue! It dries yellow and if there is excess, it may be visible in your finished product.

After you put glue in the grooves, it’s time to add the spline. You’ve measured and cut the ends at 45° angles so each strip should fit perfectly. Use the rubber mallet to gently tap the spline all the way into the channel. You can wipe any excess glue that gets pushed out, but it dries clear and shouldn’t be a problem.
I used glue, but a properly sized spline should be enough to keep the cane in place for a cabinet door. Gluing at this stage ensures stability of the seams which is especially important for chair caning.

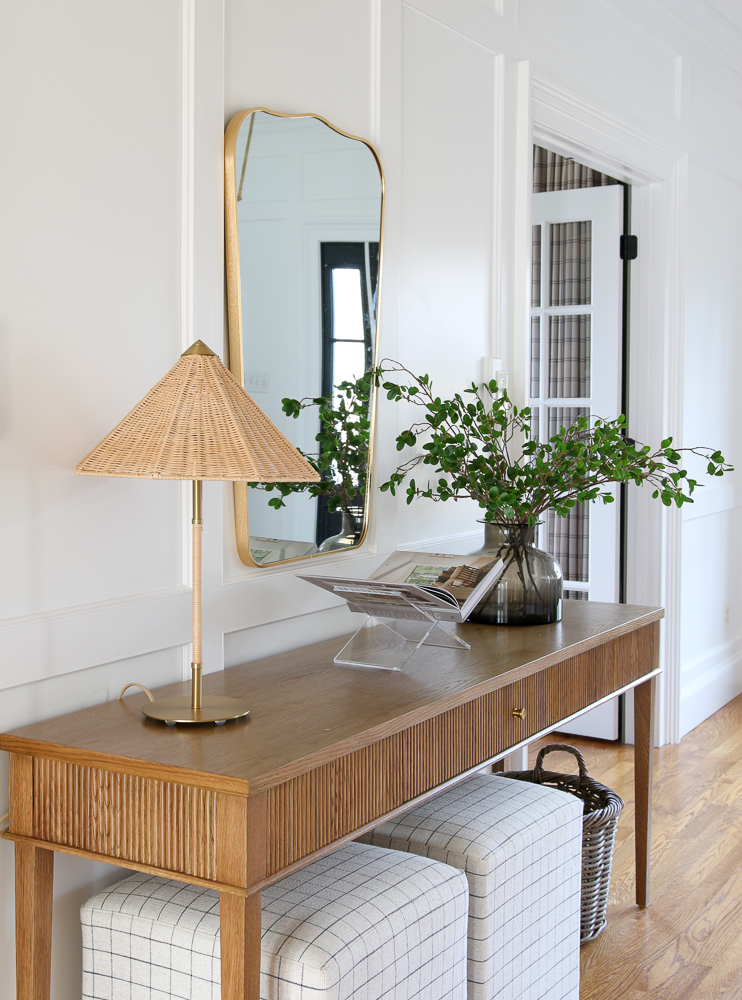
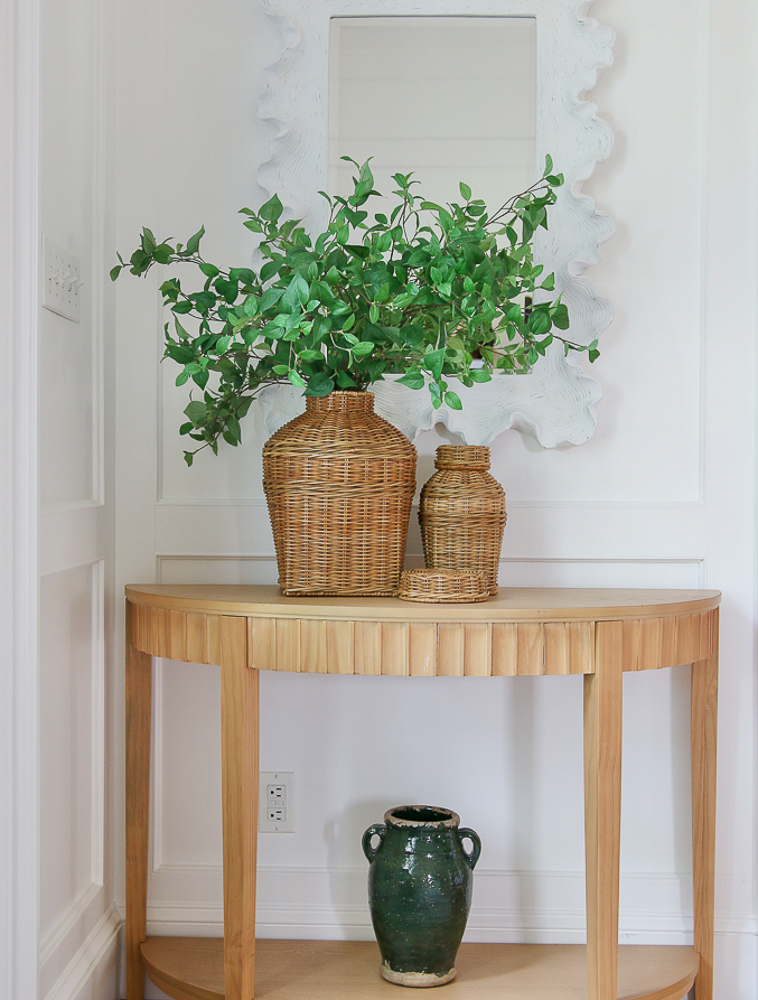
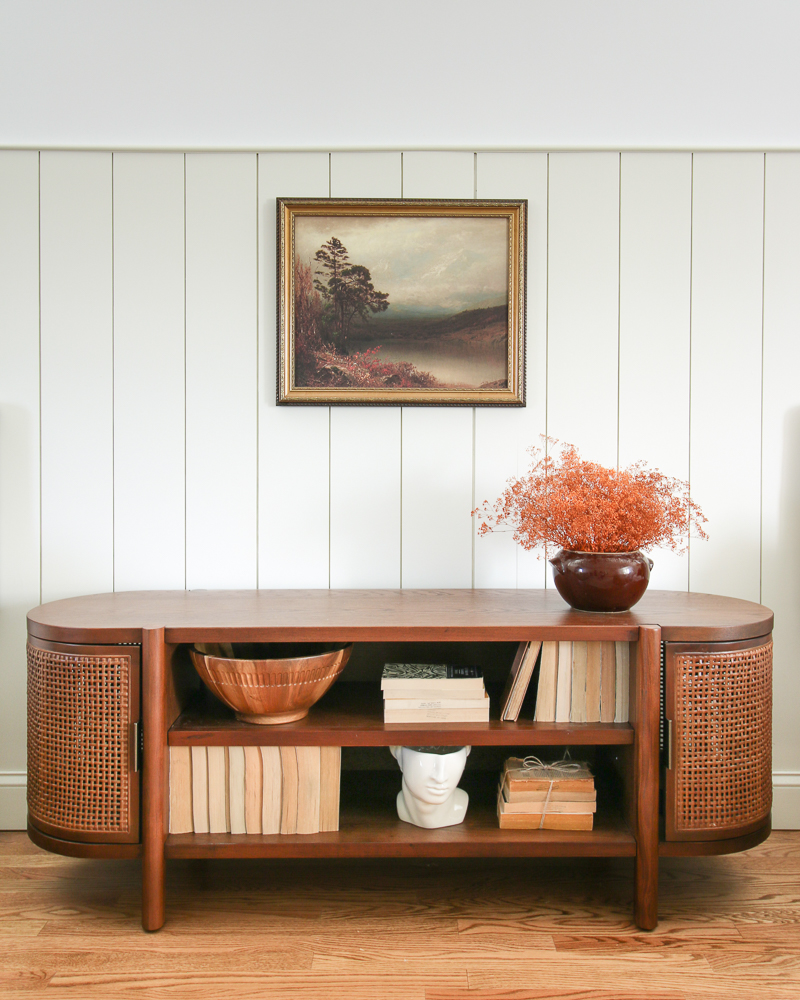
Cane and rattan in my home
It’s no secret that I have a love for natural materials. My kitchen countertops and primary bathroom are examples of that. That love extends to the decor I choose for my home as well.