Fireplace Builtins Design and Build
Disclosure: This post may contain affiliate links. As an Amazon Associate, I earn from qualifying purchases at no additional cost to you.
These fireplace builtins took more than a month to complete from scratch and I poured blood, sweat, and tears into them. There were moments when I thought I couldn’t do it and would have to call for help (looking at you crown molding!), and there were times when I was just bored and the end was nowhere in sight. I dropped boards on my legs and feet, tripped, fell off the ladder (on my butt), walked around with paint in my hair for days, and lost sleep for countless nights. The project was an ambitious undertaking but it also empowered me to conceive of and conquer even bigger ones in the future.
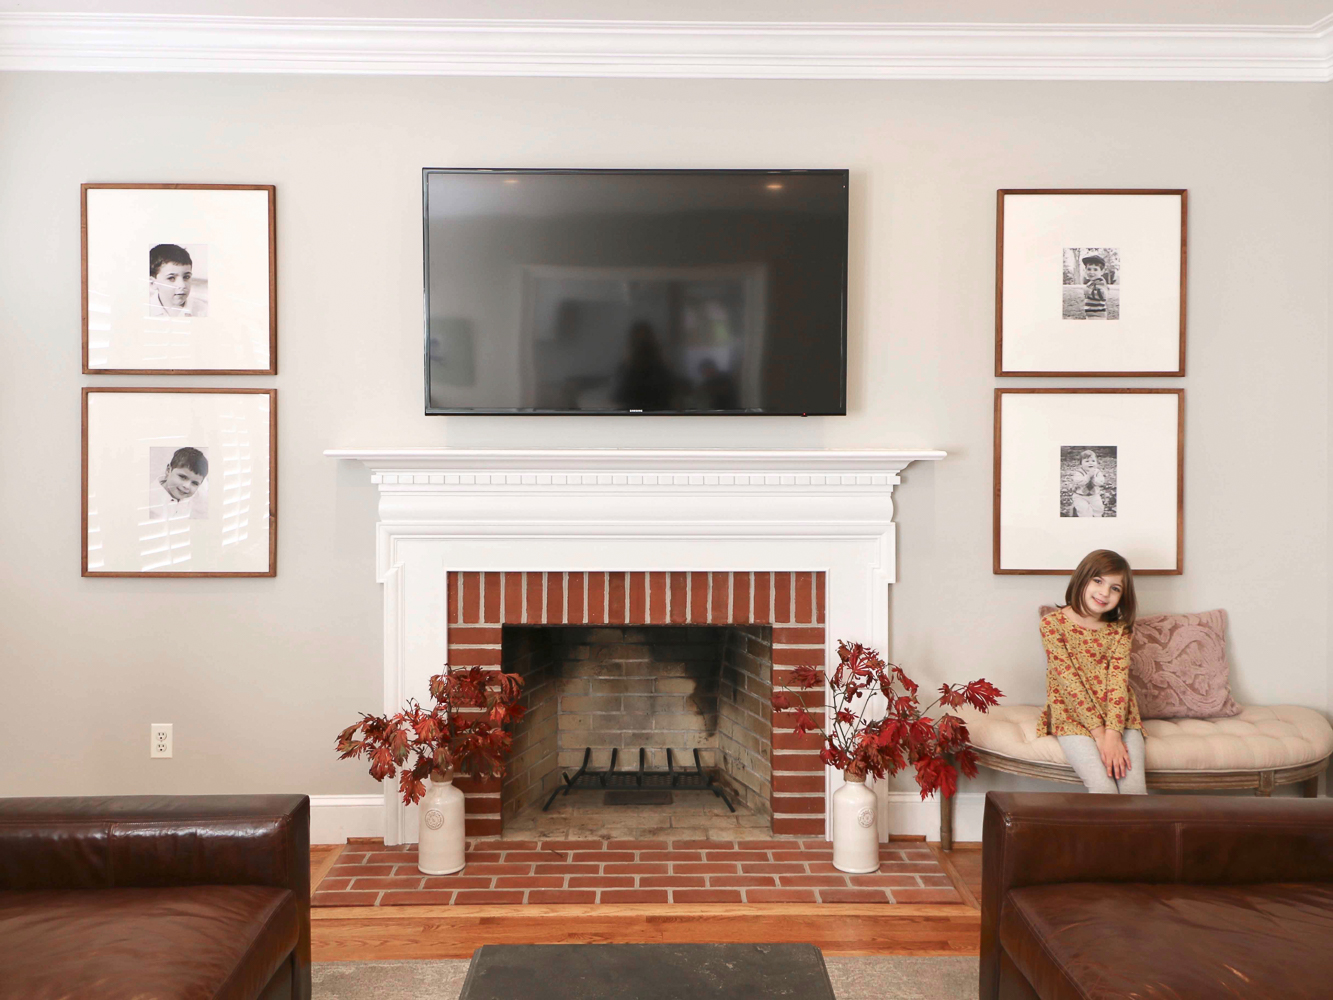
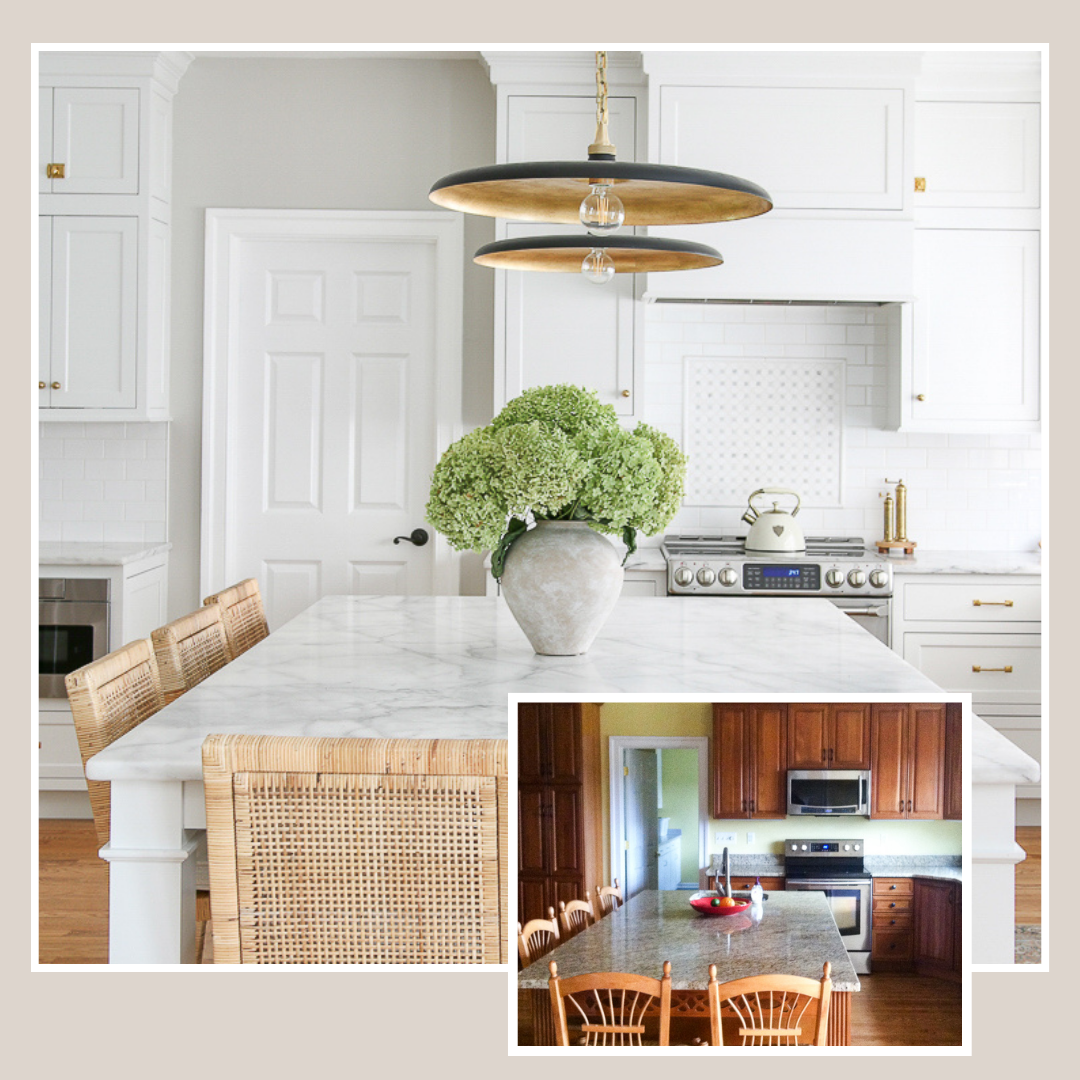
The wall before the fireplace builtins
This is what the fireplace wall looked like before. The built-ins were an afterthought for me. My initial goal was to just make over the brick fireplace. I didn’t realize I wanted to add built-in shelves until after I completed that project. I had always wanted open shelves and an opportunity to decorate them. The simplicity of the plain wall presented a challenge when it came to design and styling.
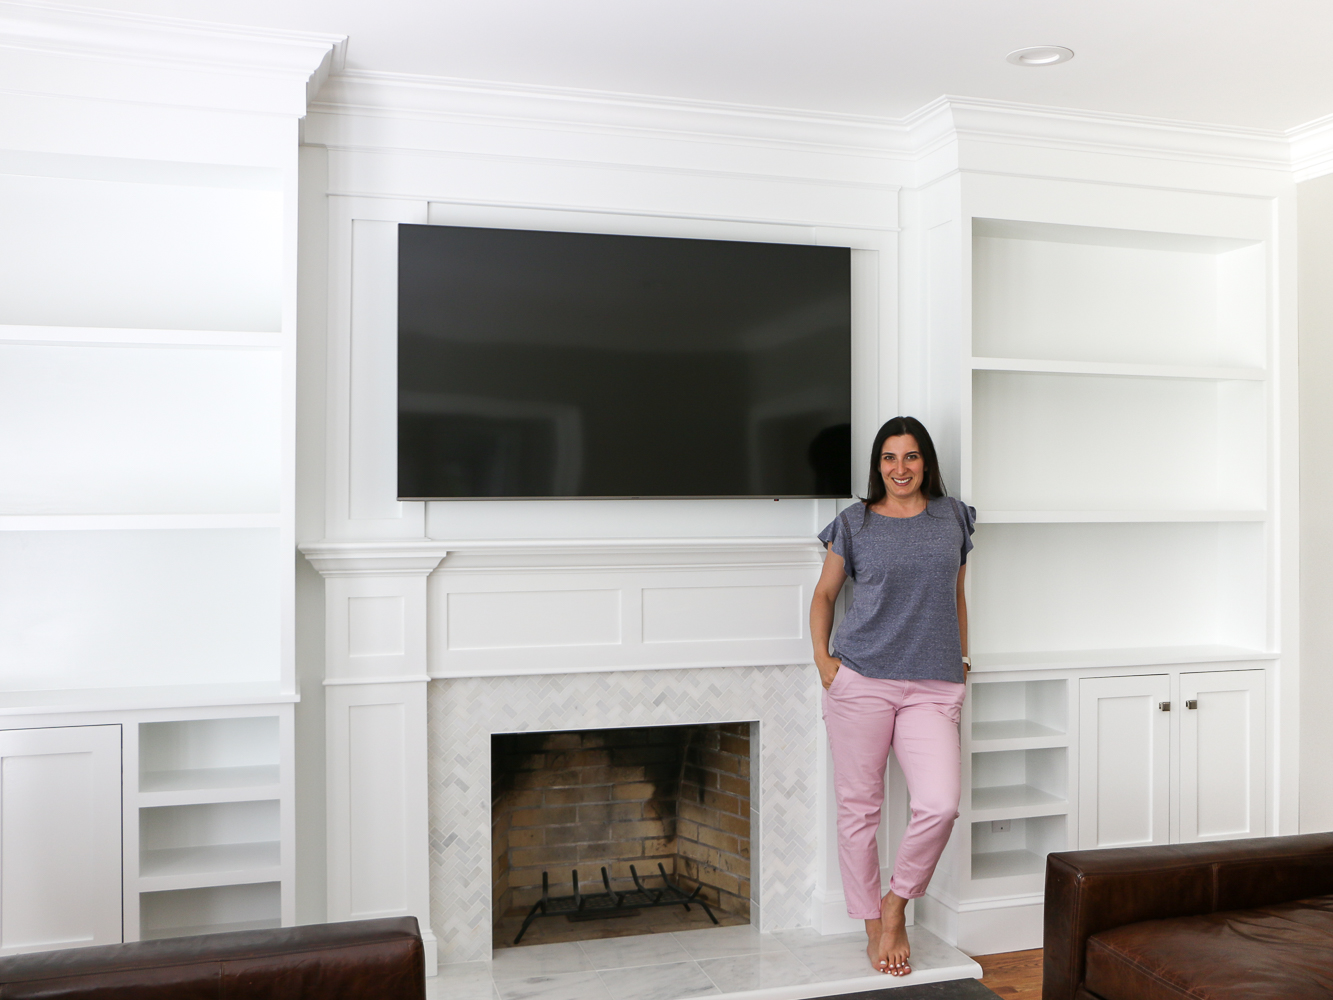
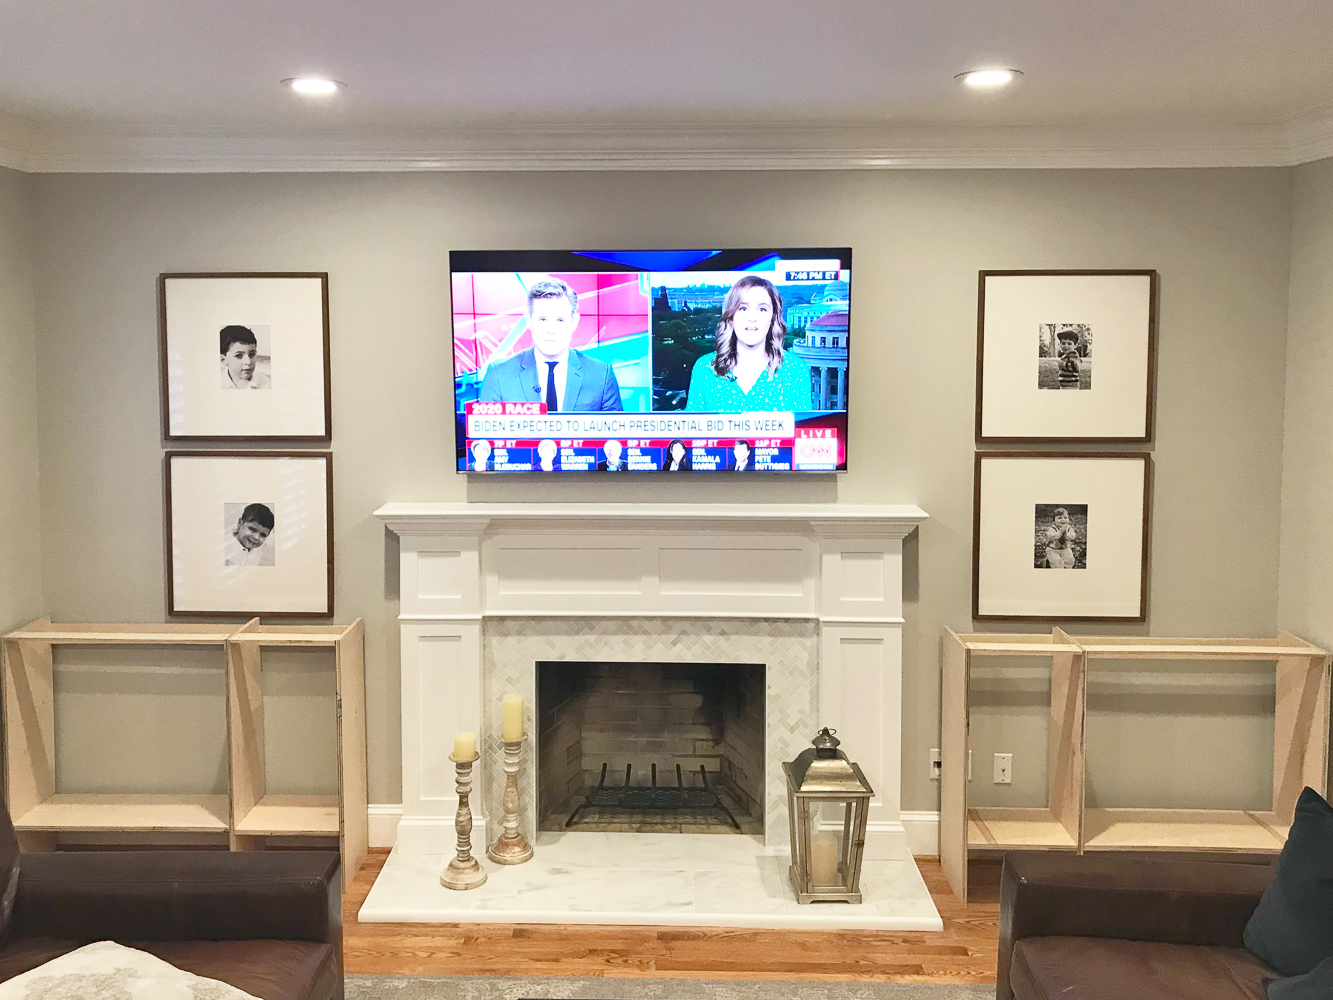
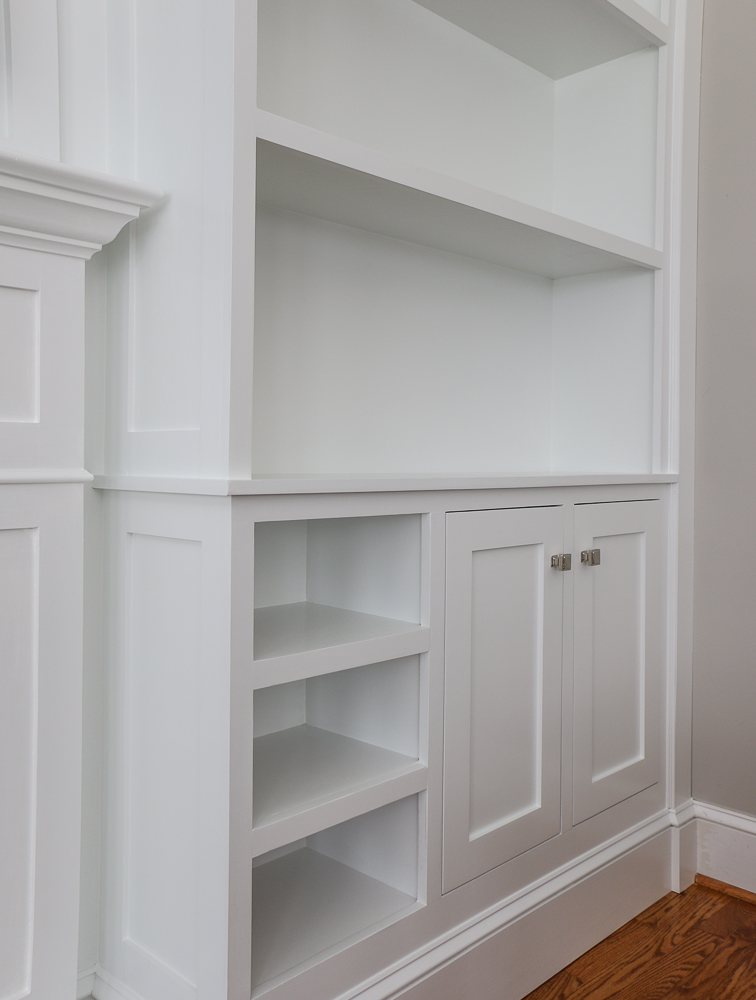
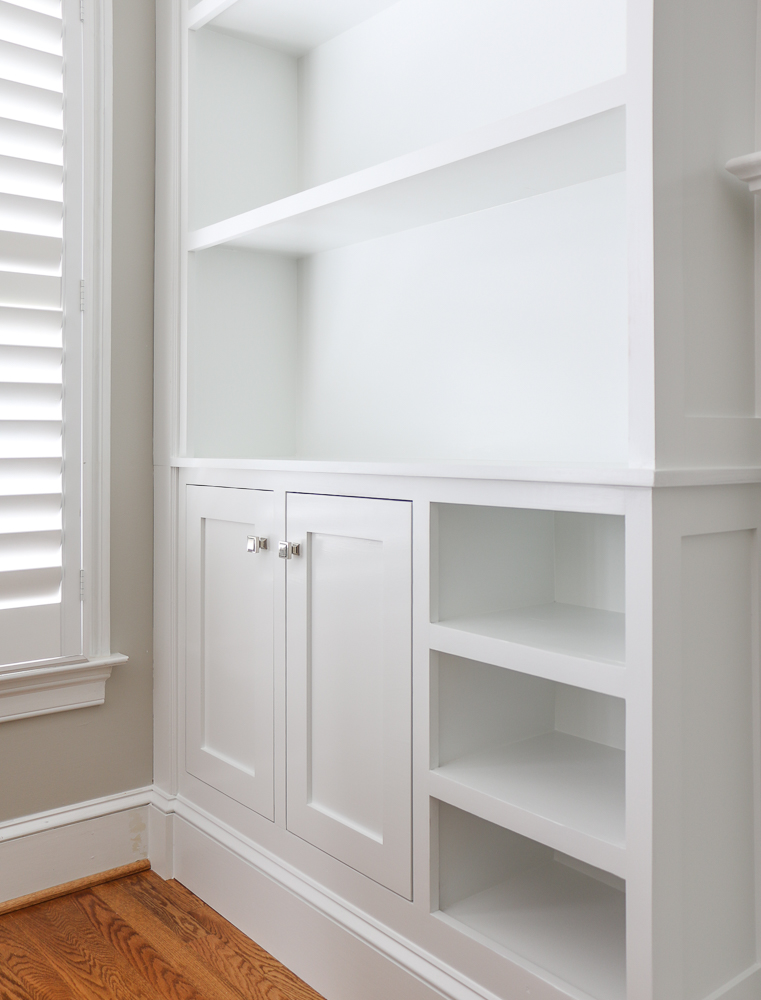
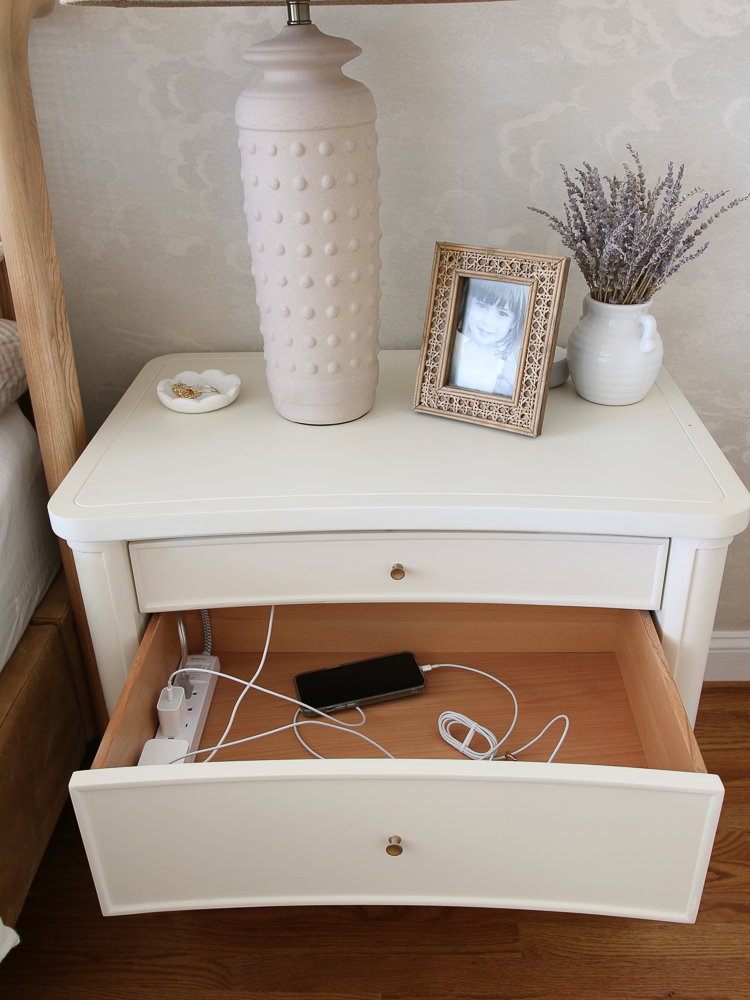
Here are the bookcases almost complete. The only thing missing are the drawers and drawer fronts and of course pretty decor. Check out my How to Hide TV Wires in Your Wall post!
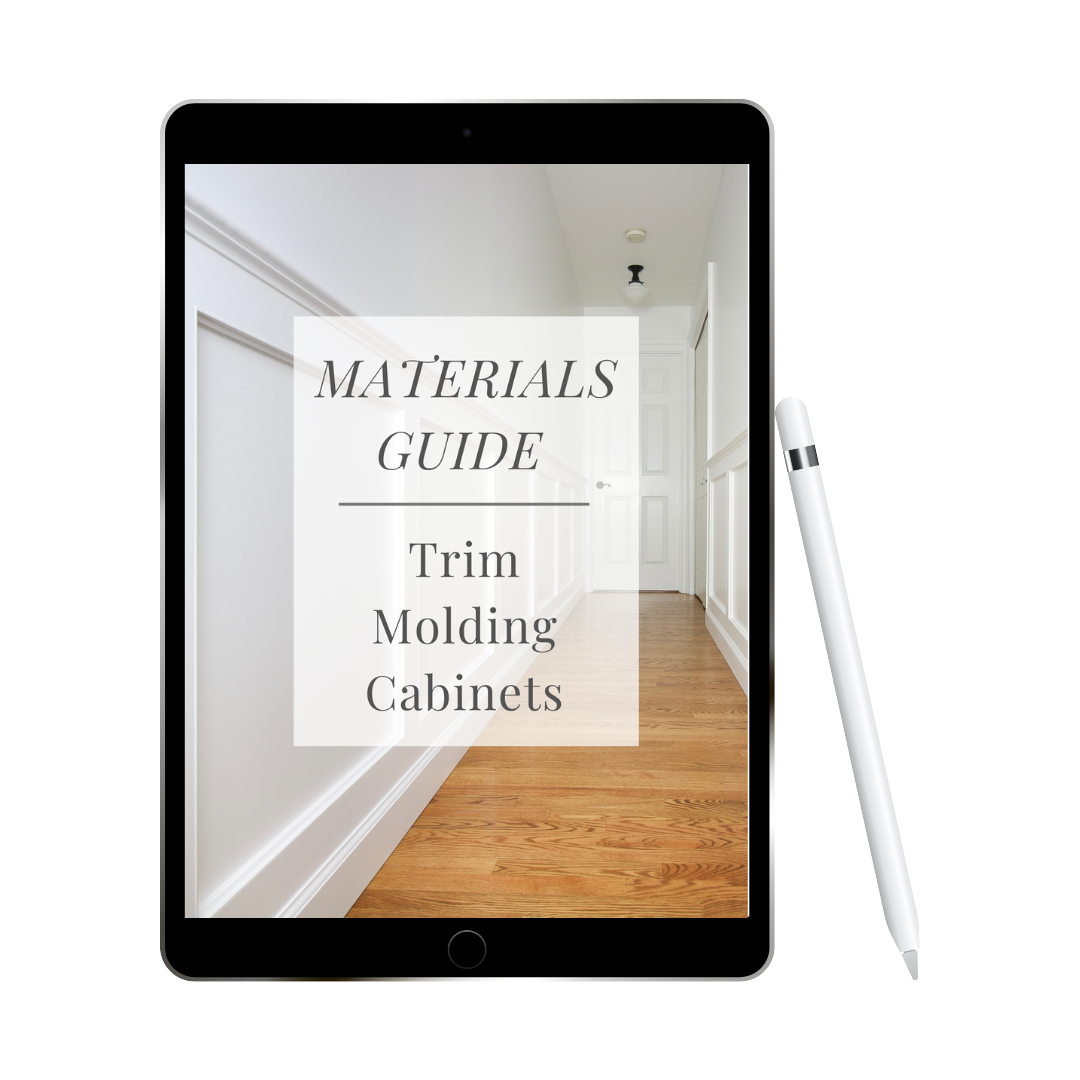
Simple Materials Guide
Get this FREE GUIDE to different types of trim and molding materials for your every DIY need – from wall molding to cabinetry!
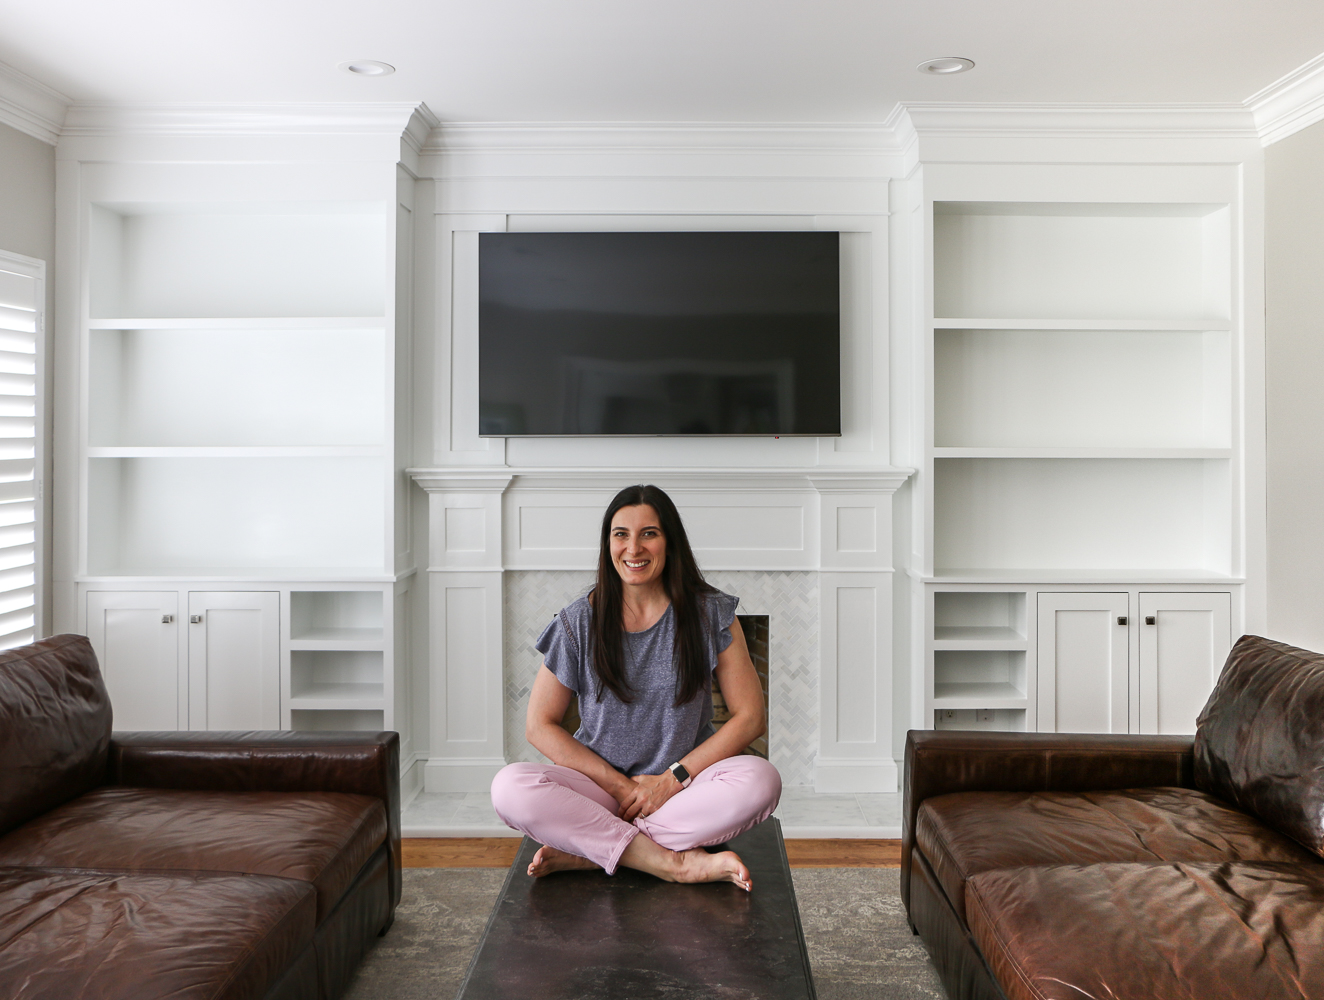
The build process
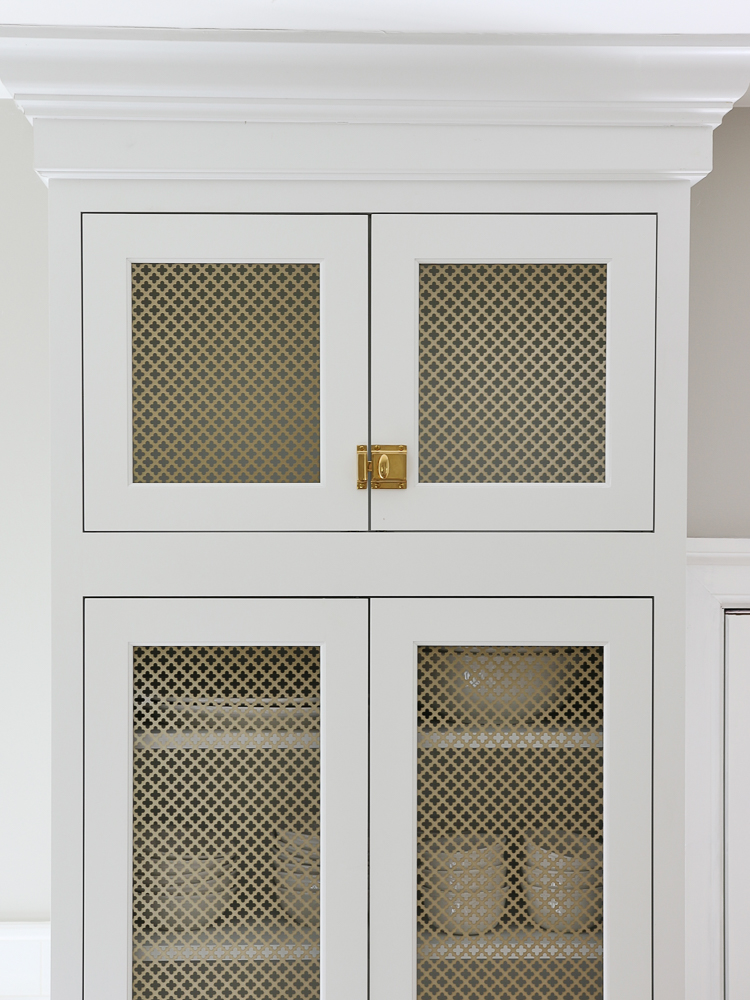
It was a lot of hard work but it was so worth it, friends. See for yourself! I was able to complete this fireplace built-in DIY project from beginning to end, all by myself! Except for the doors, I ordered those from Barkerdoor.com. I attempted to manufacture the doors myself and wasn’t happy with the result so I decided to outsource that part and it was very much worth it.
After some research and watching a lot of fellow DIYers on Instagram build cabinets, I was fairly certain I knew how to do it. It’s basically like building a box from plywood and trimming out the outside.
You may know that I have done smaller DIY projects in the past – Hallway Molding and Fireplace Surround. With each project, I gained experience, knowledge, and confidence to step up my game for the next one. I also added tools to my collection which made the job possible.
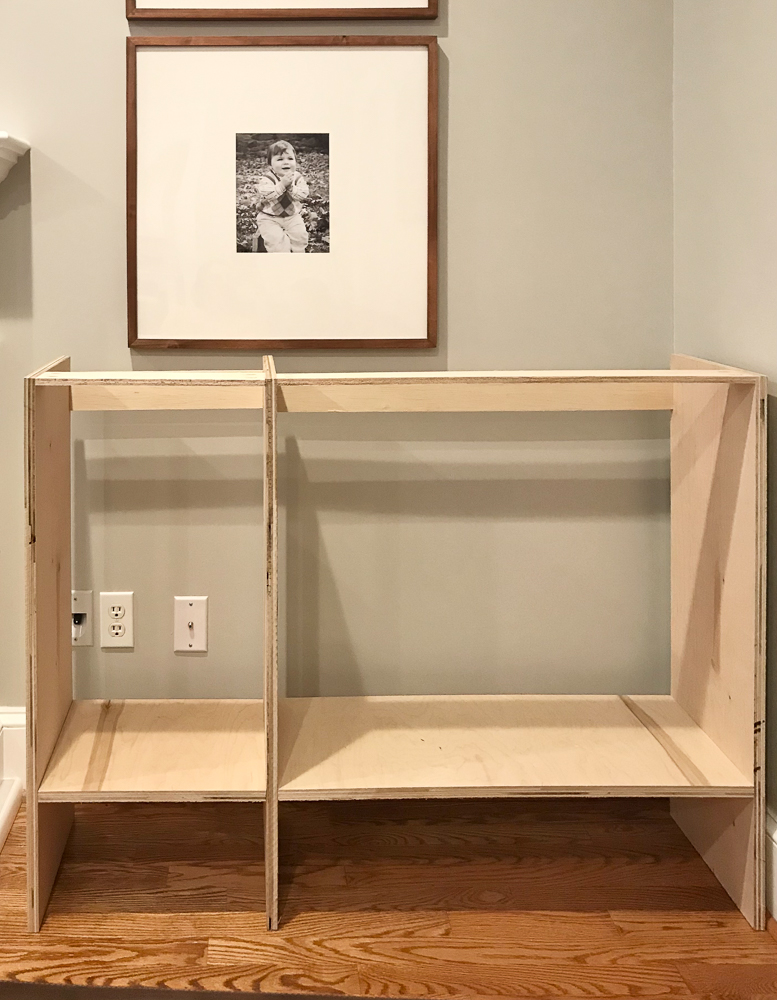
The first step was figuring out the parts of the bookcases – simple 3/4″ plywood sheets, cut to size and assembled using pocket hole screws.

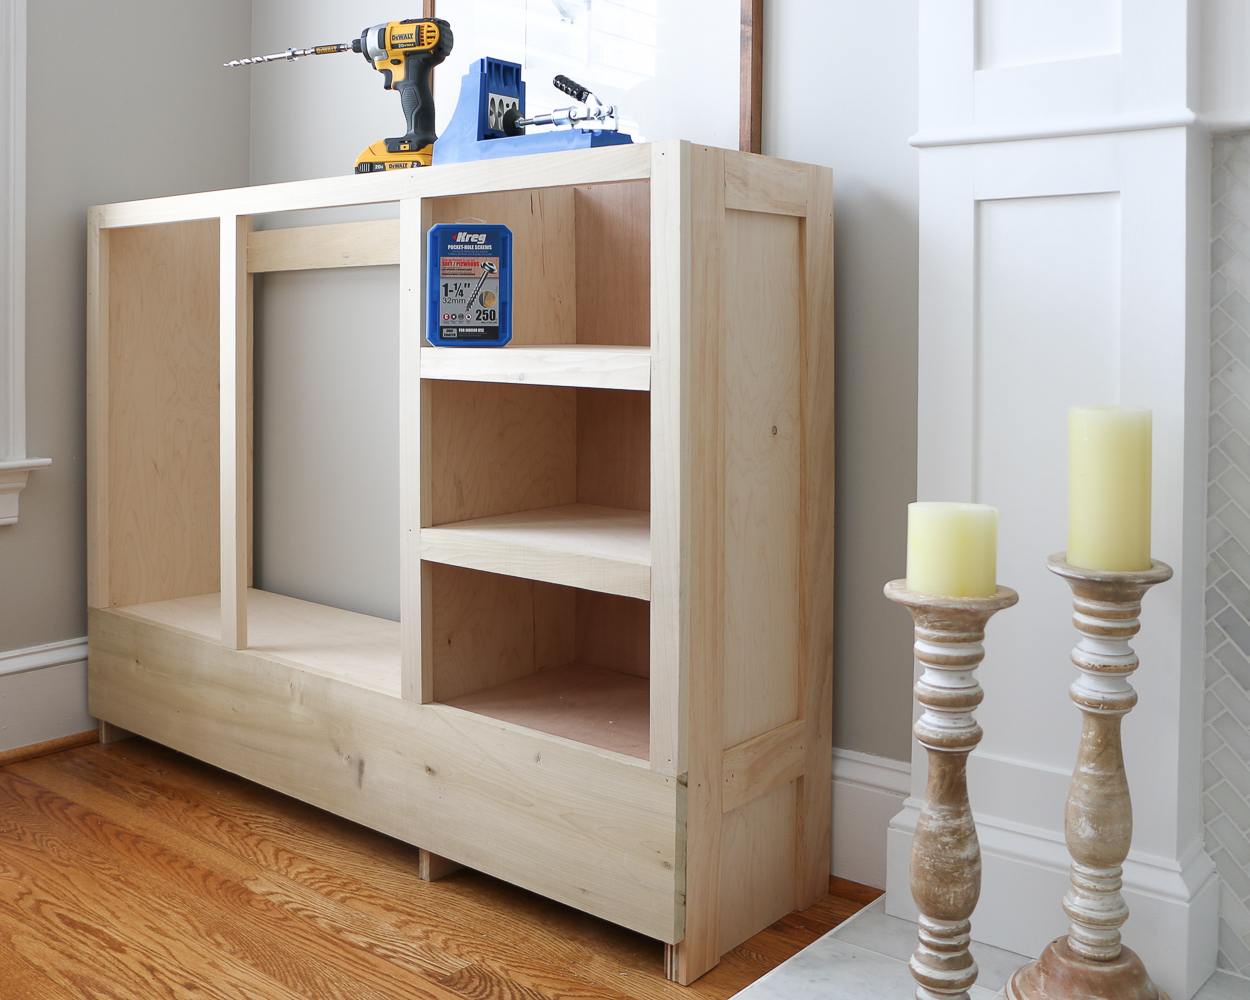
I added on another little cabinet which would become the drawers. I wanted a bit of visual interest in the base cabinets so I added the drawers instead of having 3 doors. The width of the cabinet is 48″.
The next step is adding a face frame out of 1×2 wood planks and 1×8 for the bottom. I also replicated the molding from the fireplace surround using lattice boards on the side of the cabinet.
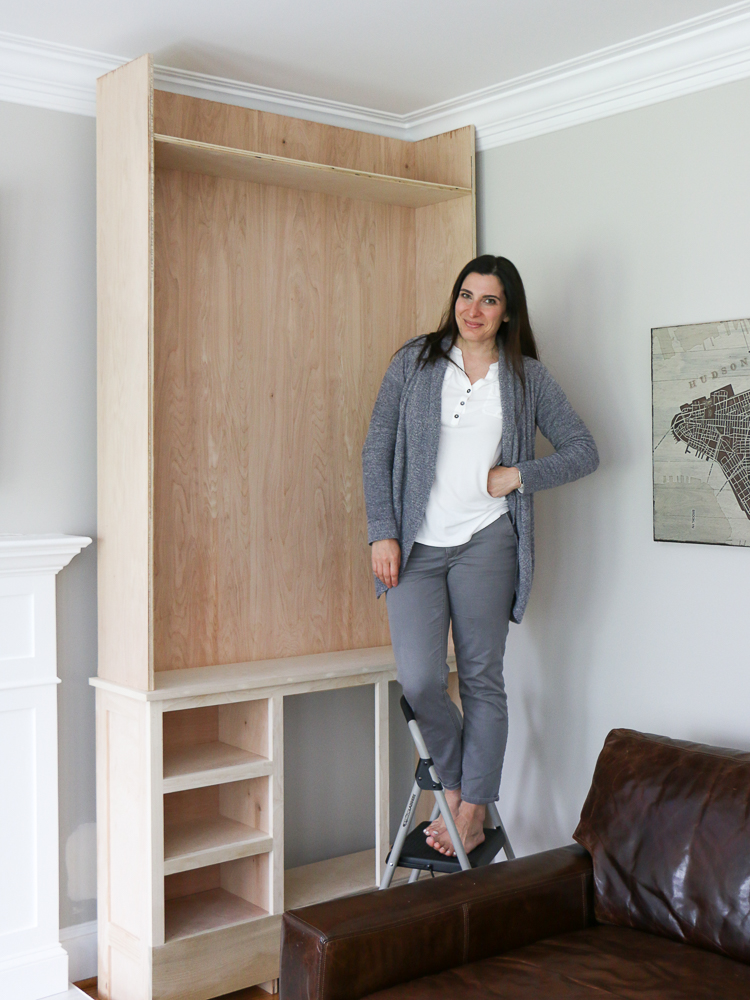
The upper shelf portion is a three-sided box. Our ceilings are 9 ft tall, and the base cabinets are 3 ft tall, which made the uppers almost 6 ft. They were a beast to carry in the house and hoist up on top. The upper portion runs into the existing crown molding. I had to cut into that to create a truly built-in look and cope the new crown molding around the cabinet into the existing molding. In the end, it looks like it has always been there. That was also the part where I cried and cursed and wanted to throw in the towel and call in my contractor.
The Tools
I already had a miter saw, table saw, and a nail gun from my previous projects but the tool that made building cabinets possible and easy was the Kreg Jig pocket hole system.
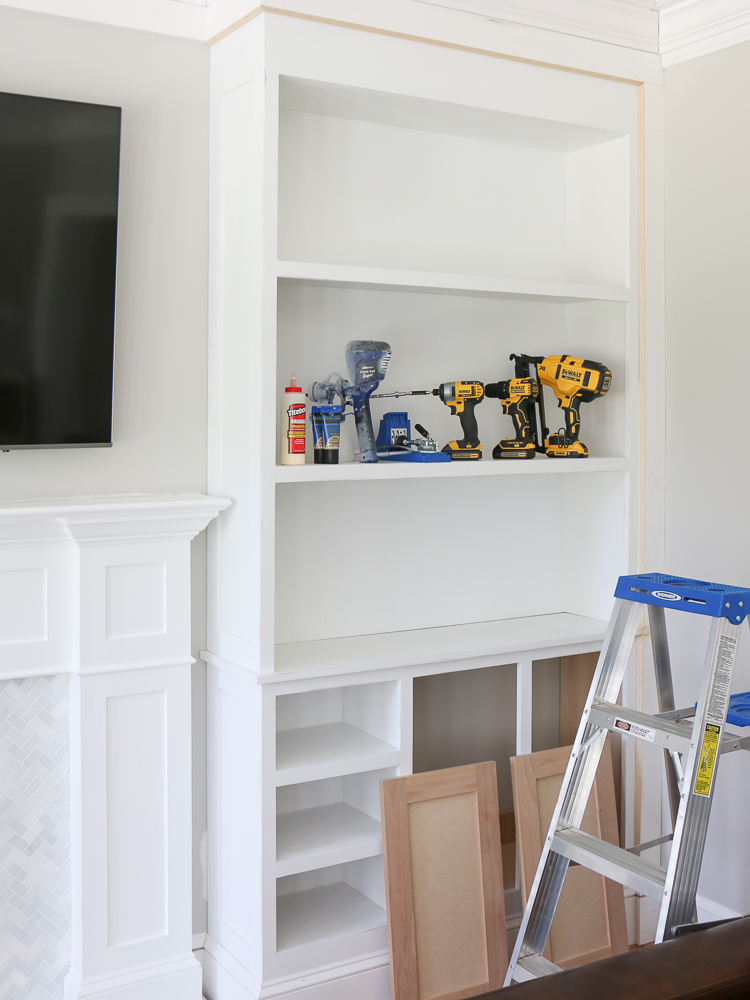


At this stage, I still didn’t think of myself as a DIY blogger and did a terrible job at documenting the steps. I hope the process photos can help you understand the construction of the cabinet. It was the first cabinet I ever built and have used this method many times after. It’s as simple as figuring out how to attach the plywood sides. The easiest way is using pocket hole screws. If you’re creative about their placement, they will never be visible. I also used them to attach the shelves – they are permanent. I filled the holes with wood plugs, sanded, and painted over them. They’re virtually invisible now.
Check out my comprehensive list of essential DIY tools I use for all my projects!
The Paint
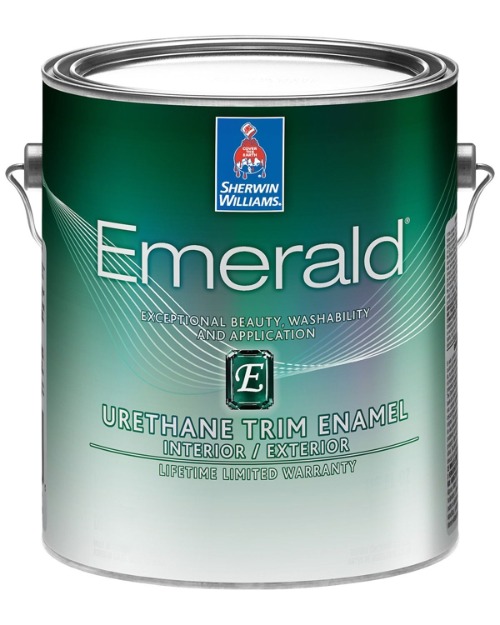
My main goal when doing any of my projects is that when finished, it looks like a professional did it, not a DIY. When it comes to DIY cabinetry, it is the paint job that can be the dead giveaway they weren’t built by a pro. I knew I’d have to go for some special type of paint to get that smooth lacquer finish I wanted. My DIY friends from IG recommended the Sherwin Williams Emerald Urethane Trim Enamel. I went with the Hi Hide White. It’s untinted, off-the-shelf white color that also goes by the name High Reflective White in the other SW product lines.
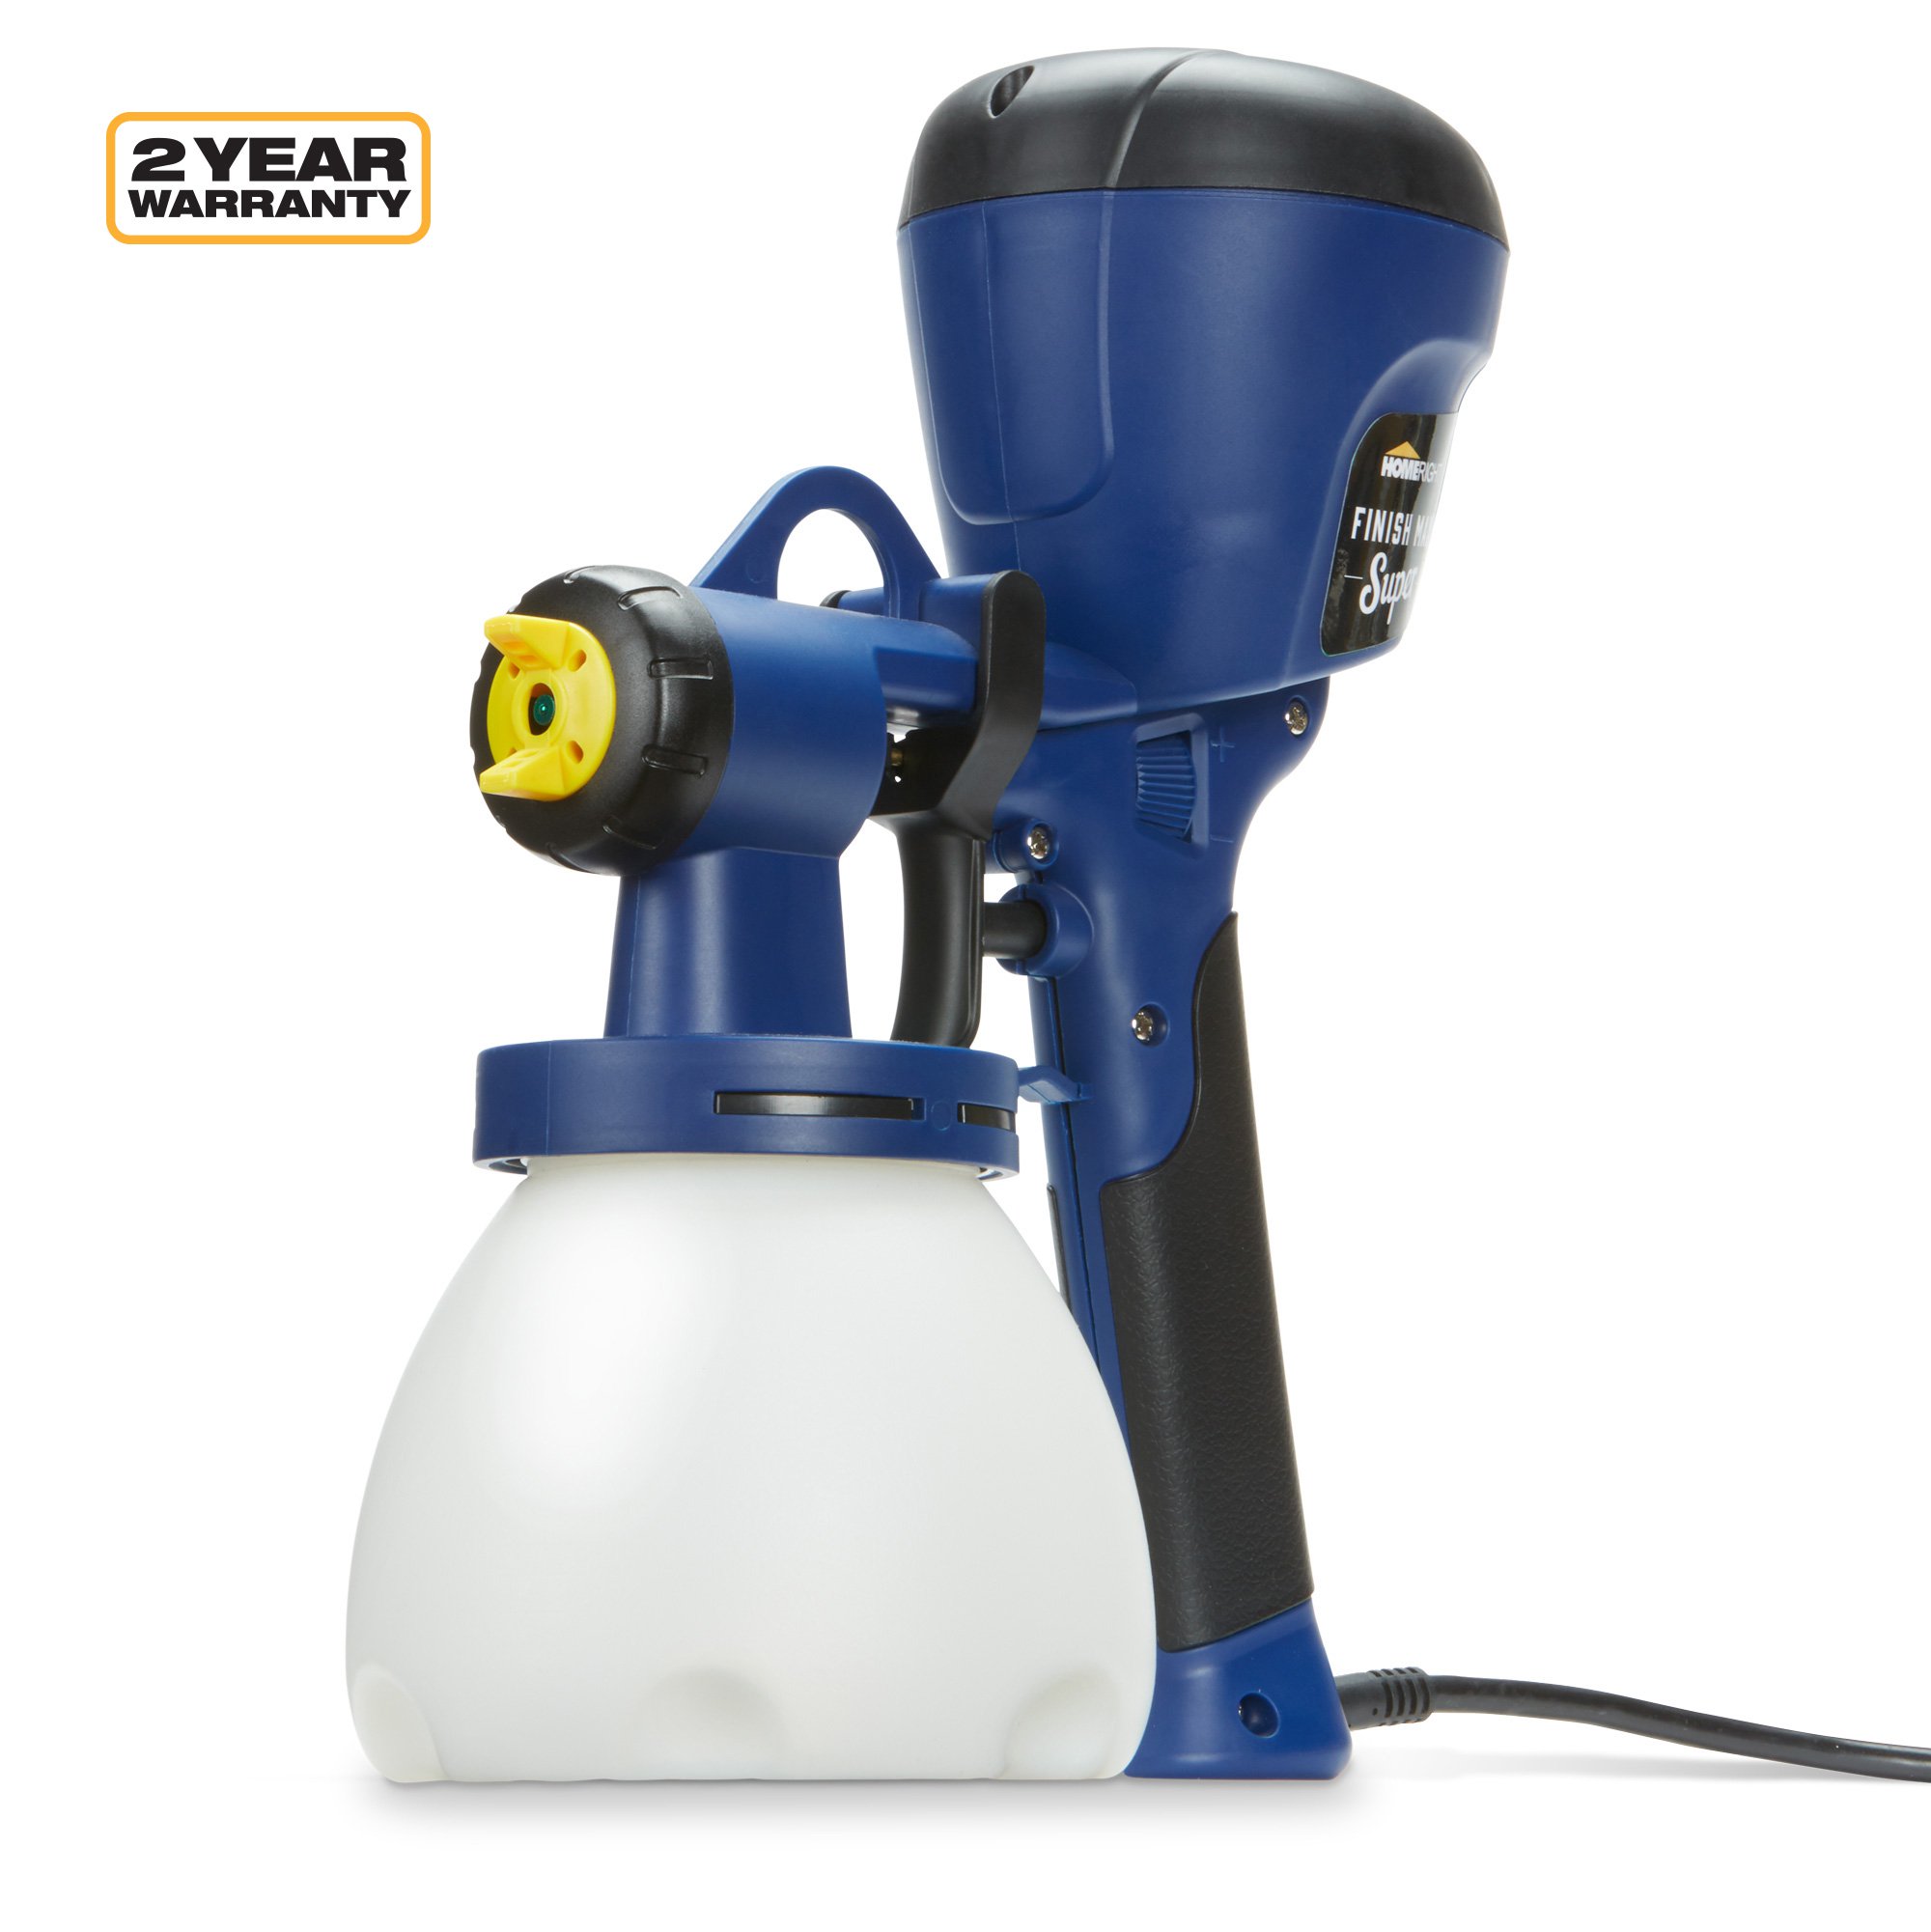
I also spray painted for the first time. I used the Super Finish Max Home Sprayer by HomeRight. Spraying instead of rolling or brushing is much faster. However, the sprayer caused a bit of a textured finish in spots that I had to sand down. There is definitely a learning curve when it comes to spray painting. This is an inexpensive entry level spray gun and I can’t honestly recommend it. It could be that I need to get better at using it. I did the final coat with a paintbrush once the built-ins were installed.
The Hardest Part
That would be the crown molding. Not only is crown molding a tricky thing to do, to begin with, but I had the added difficulty of coping my new crown to the existing molding in the middle and side walls. It is also a three-piece molding with one trim piece on the ceiling, one on the wall, and then the traditional crown between them. Getting all those elements to align is like throwing five balls to a juggler on a motorbike who just learned how to juggle two balls. It was crazy! I don’t even know how I did it. It’s not perfect but those imperfections were covered by caulk and paint.
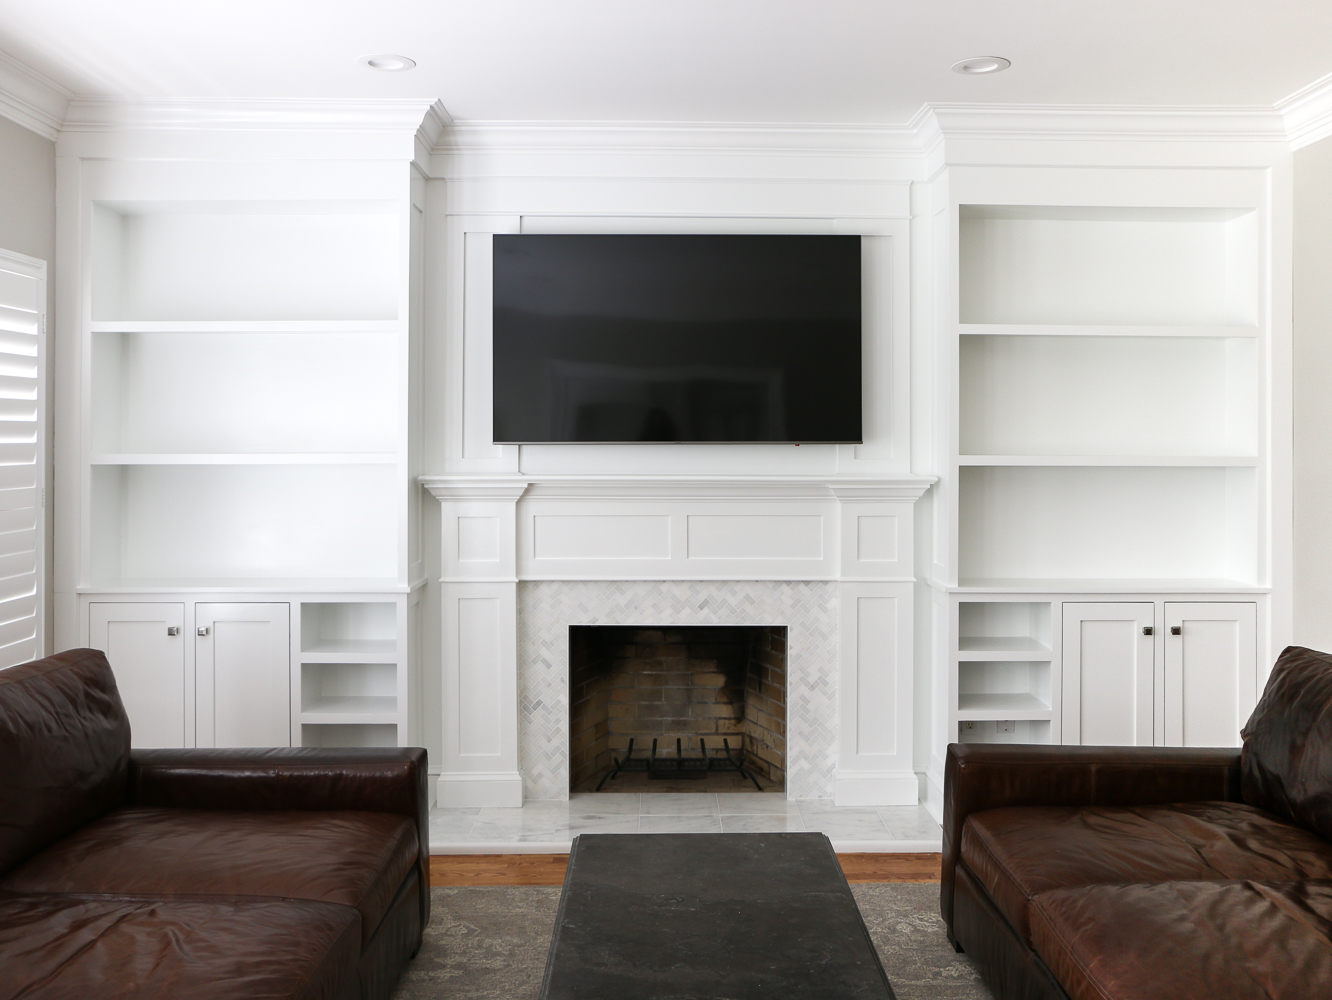
Design and dimensions
The base cabinets are 48″ wide, 36″ tall, 12″ deep. The doors and drawers measure 14″ wide. The face frame is 1.5″ wide (1×2 nominal) all around.
The open-shelf cabinets are 48″ wide, 62″ tall (including the 6″ tall header below the crown molding), and 12″ deep. Each shelf is 18″ tall.
I wanted a simple design that would coordinate with the fireplace and the kitchen cabinets. In my book, bigger is better when it comes to design. Rather than having too many shelves with a bunch of little things on them, I’d rather have taller shelves with larger objects on them. (More shelf styling tips and updated built-ins.) That’s why I chose to have only two shelves and make them 18″ apart. This height fits the scale of the room and the bookcases.
The Cost
I just added up all my expenses – nothing but Home Depot charges for the month of May 2019. It’s hard to tell how much money you’re spending when it’s just a couple of hundred at a time. After adding it all up, the total cost of materials is right around $1,500. I believe that if you hired a pro to build and install this type of fireplace builtins, they would charge between $3,000 and $5,000.
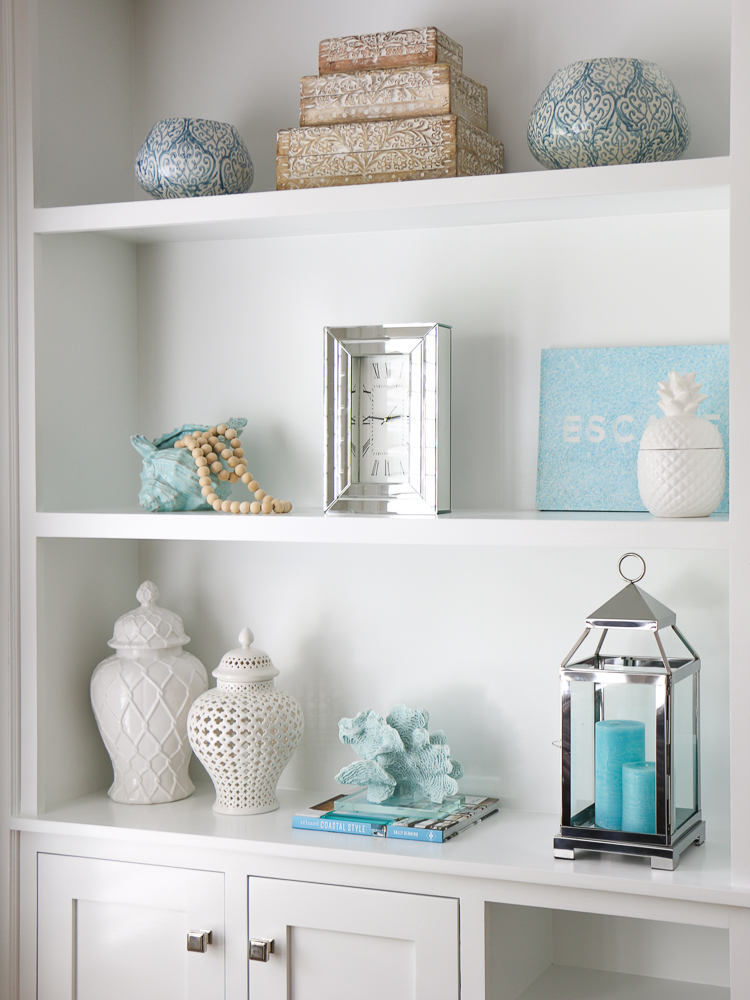
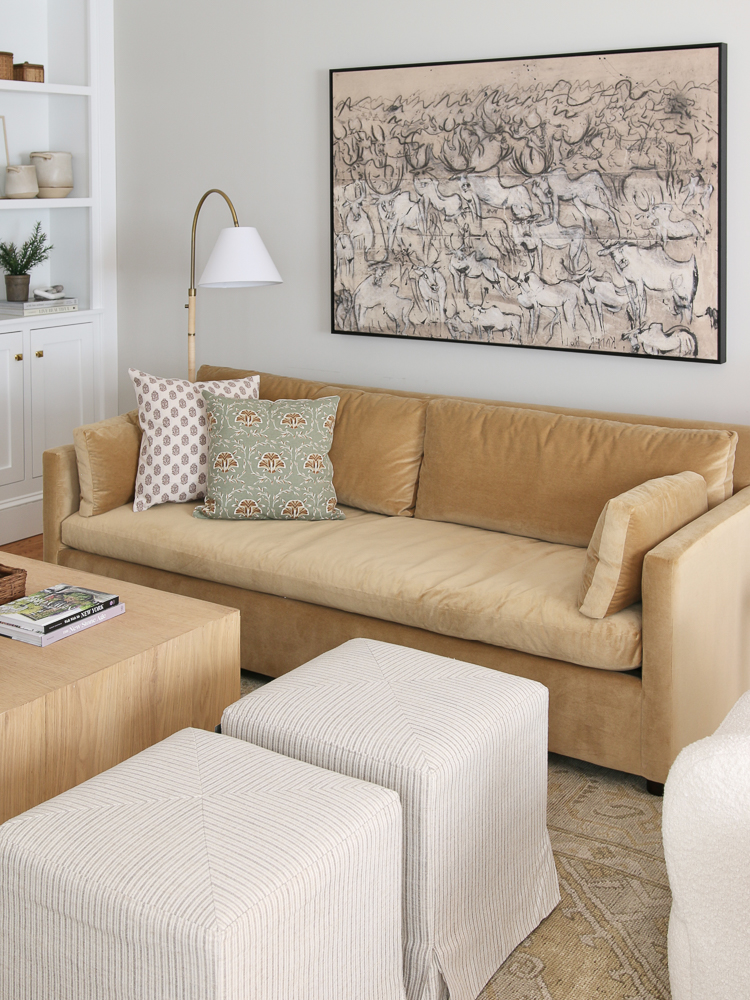
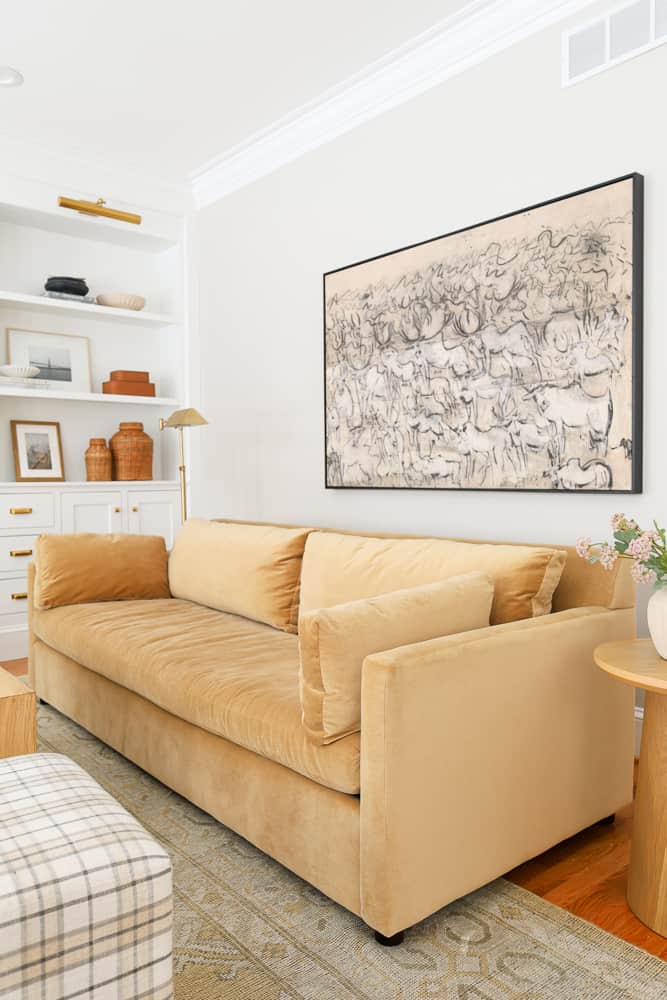
Styling The Shelves
Update: my style has changed quite a bit since this initial attempt at decorating. I decided to leave these photos up as a throwback to that time and a reminder to myself of how much I have evolved since then. To see more current styling, check out my shelf styling tips post.
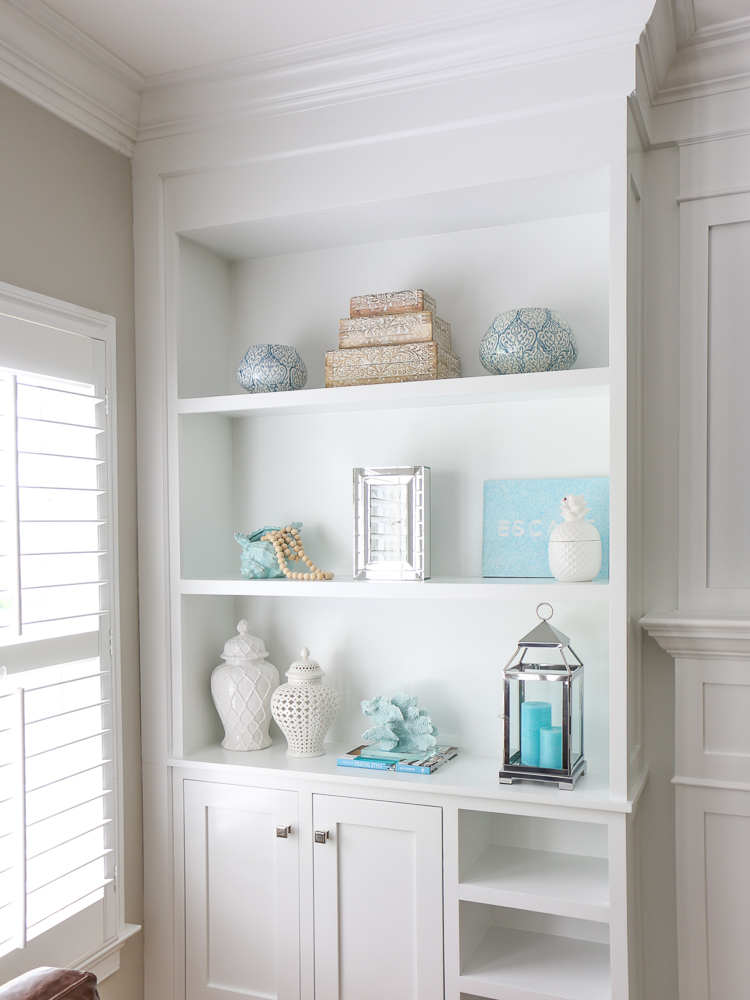
My style is minimalistic and part of me is worried about having to style these fireplace builtins now. I did a little styling with some decor objects I had on hand just to show you an example. I’m still waiting on picture lights that will go at the very top.
Great job what videos did you watch to do the trim/molding. I had to fire a contractor that was gas left me with a mess to finish and taken our money.
I’m assuming you mean the crown molding? If you search crown molding on the Home Depot website, they give you a very nice tutorial with a visual diagram. I use it every time. But crown is hard to matter what. You have to be consistent with how you place the board on the fence of the saw so you get the same angle every time. And when the walls or ceiling are not even, it doesn’t work. So you caulk A LOT!