Hang Garland on a Staircase With These Simple Steps
Disclosure: This post may contain affiliate links. As an Amazon Associate, I earn from qualifying purchases at no additional cost to you.
The tree takes center stage when decorating your home for Christmas. But don’t stop there! Looking for ways to add more holiday cheer around your home? Hanging garland on a staircase is the perfect way to do just that.
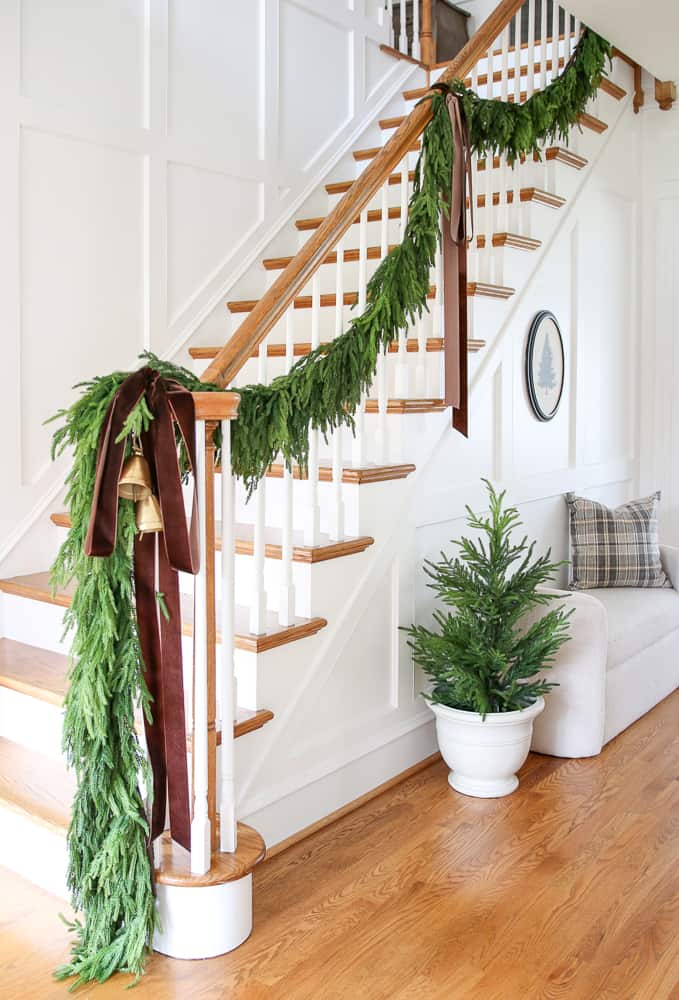
What supplies are needed to hang garland on a staircase?
Besides the obvious (garland!) you only need a few inexpensive supplies to attach garland to the banister.
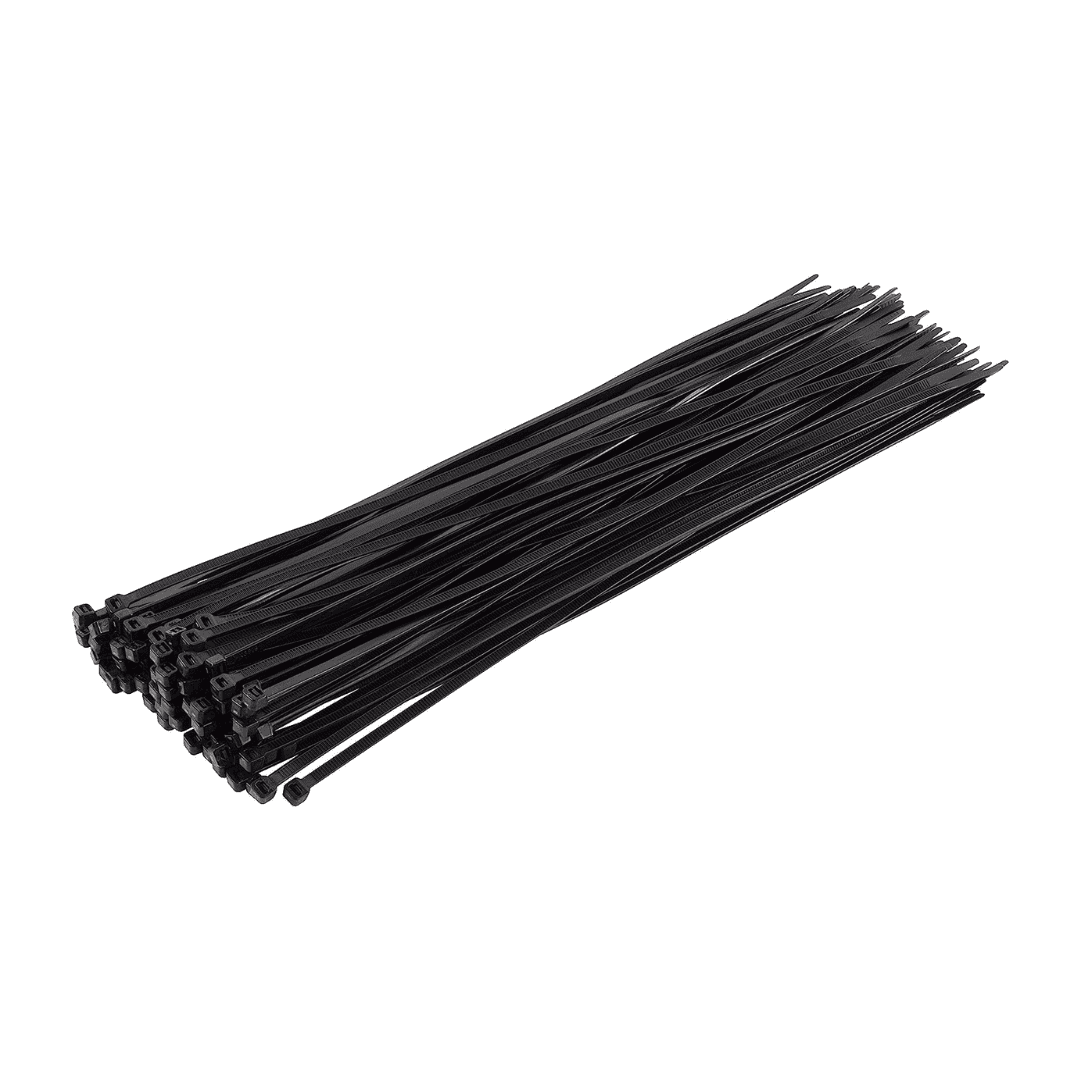
- Zip ties – My go-to way to secure the garland to the banister. They are heavy-duty enough to hold everything up and don’t cause damage to the surface of the railing.
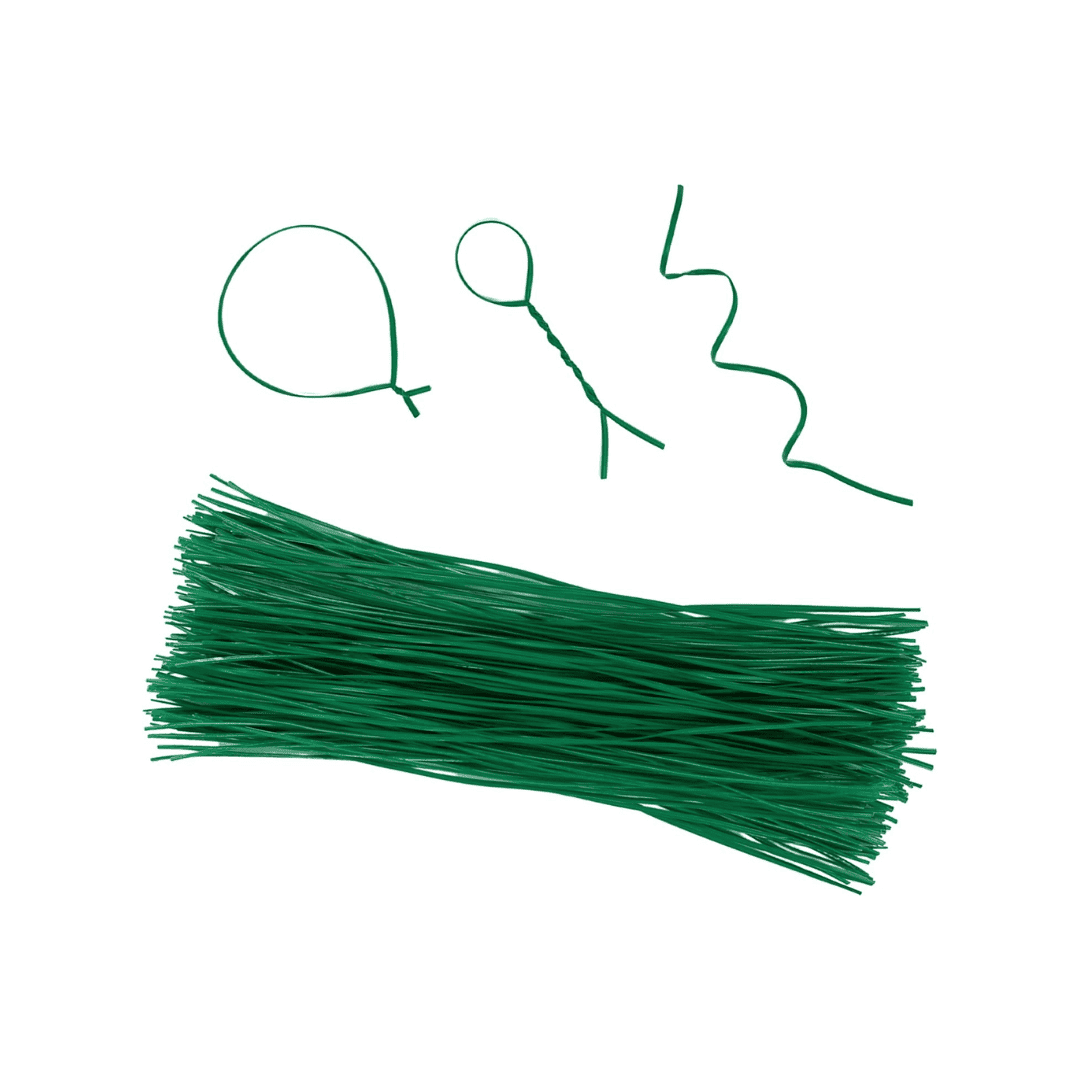
- Green twist ties – I like to use extra strands of garland or stems to fill in any bare spots and use these to keep them in place.
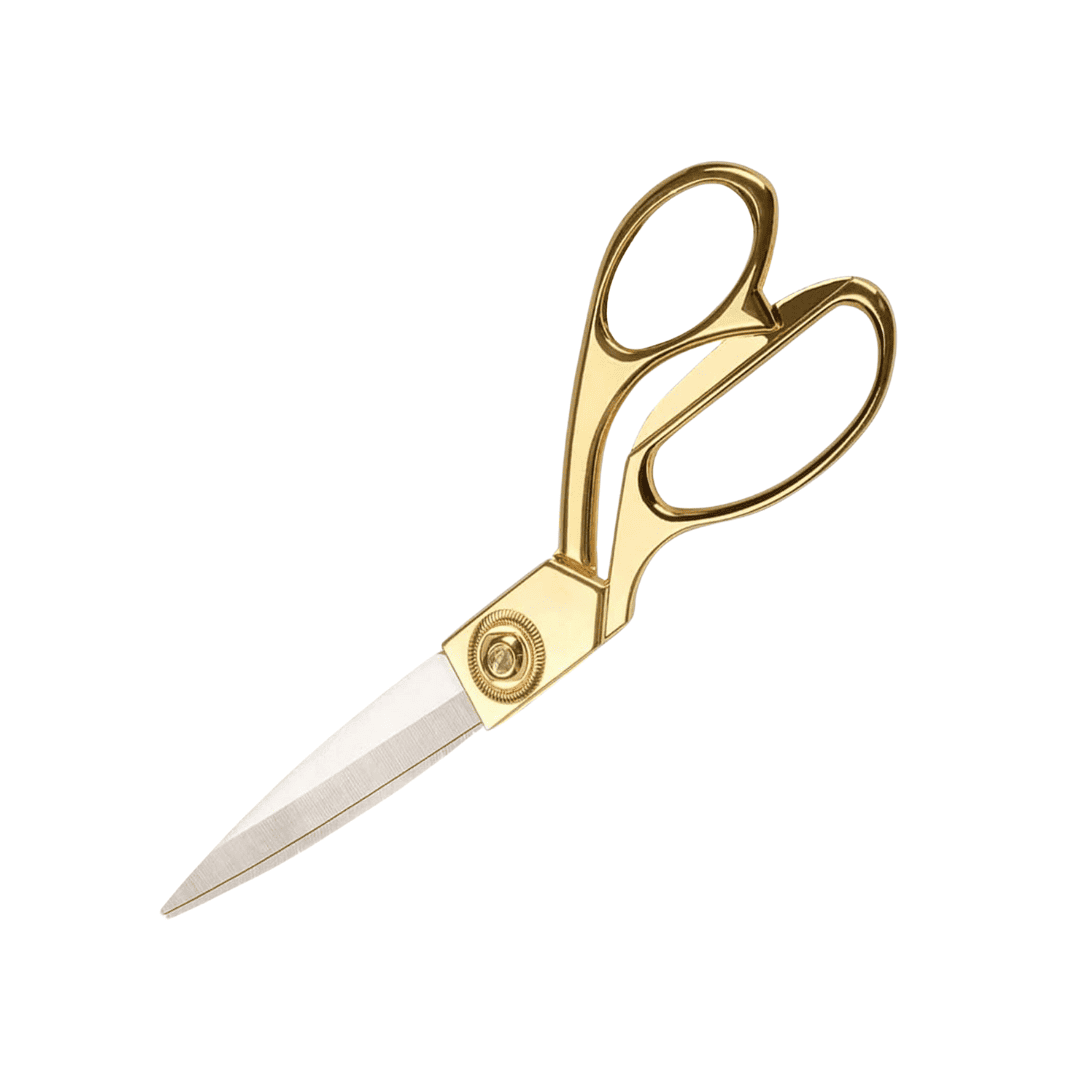
- Scissors – Have a pair handy to cut the excess part of the zip tie once you have the garland in place.
- Gloves – Protect your hands from cuts and prevent your manicure from turning green. Even though this garland has a rubbery feel, you’ll be working around the sharp edges of the cut zip ties and wires.

HELPFUL TIP: Keep your supplies nearby as you work. Otherwise, those zip ties may end up just out of reach as you finally get the garland where you want it!
What type of garland should I use?
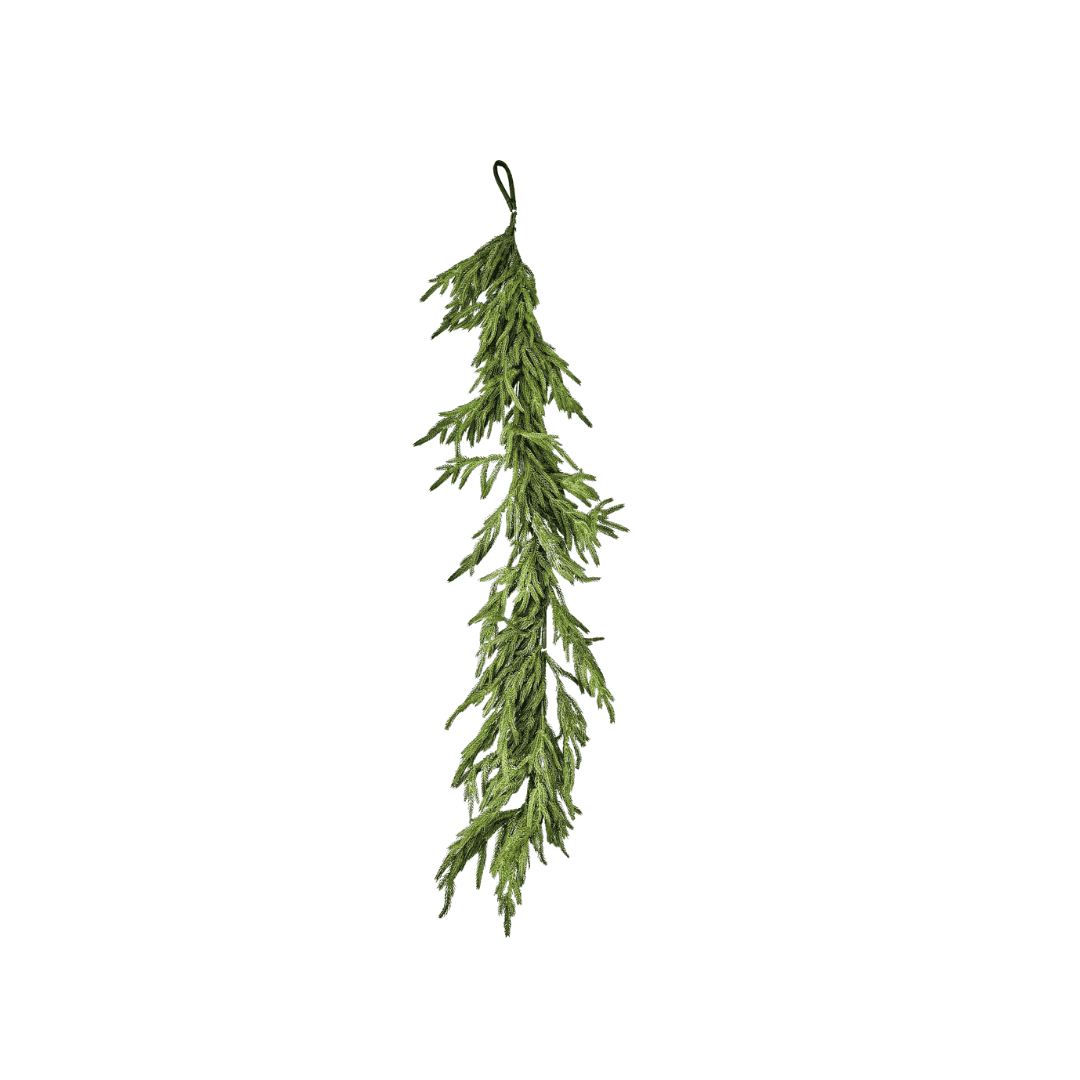
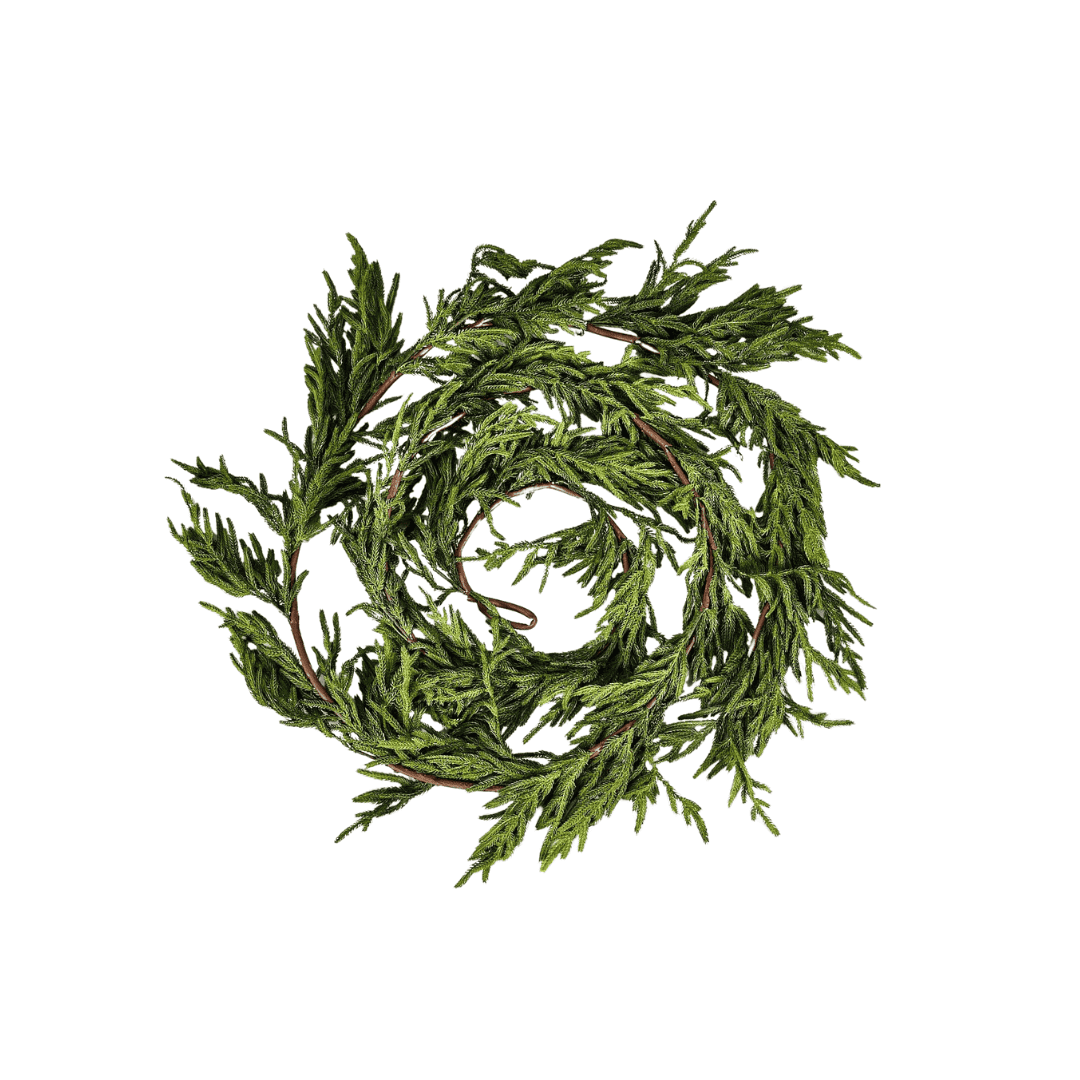
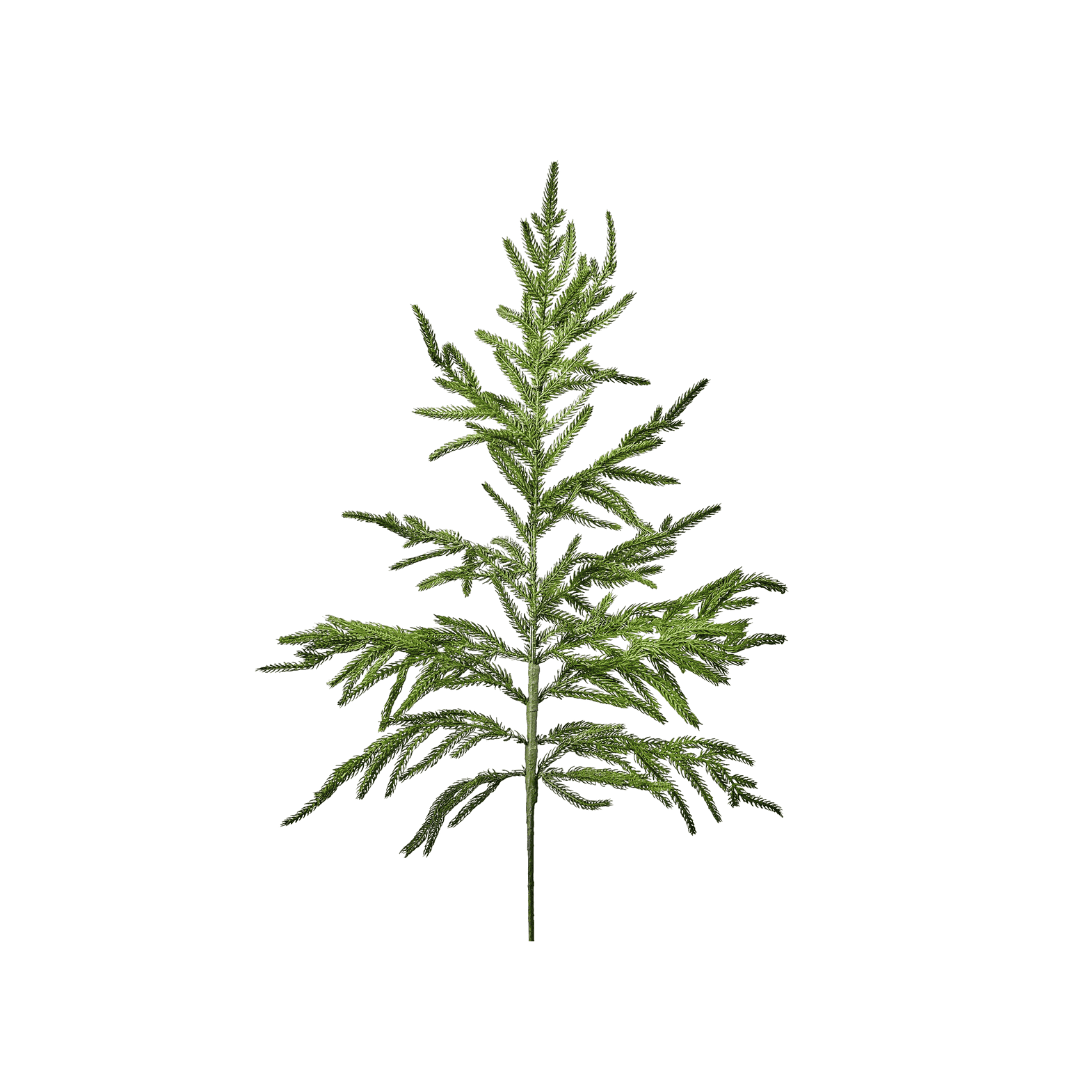
First things first – choose the type of garland you’ll be using. With all the options out there, it can be tricky to know what will look best. I’ve used quite a few different ones over the years and my favorite – by far – is the real-touch Norfolk Pine garland.
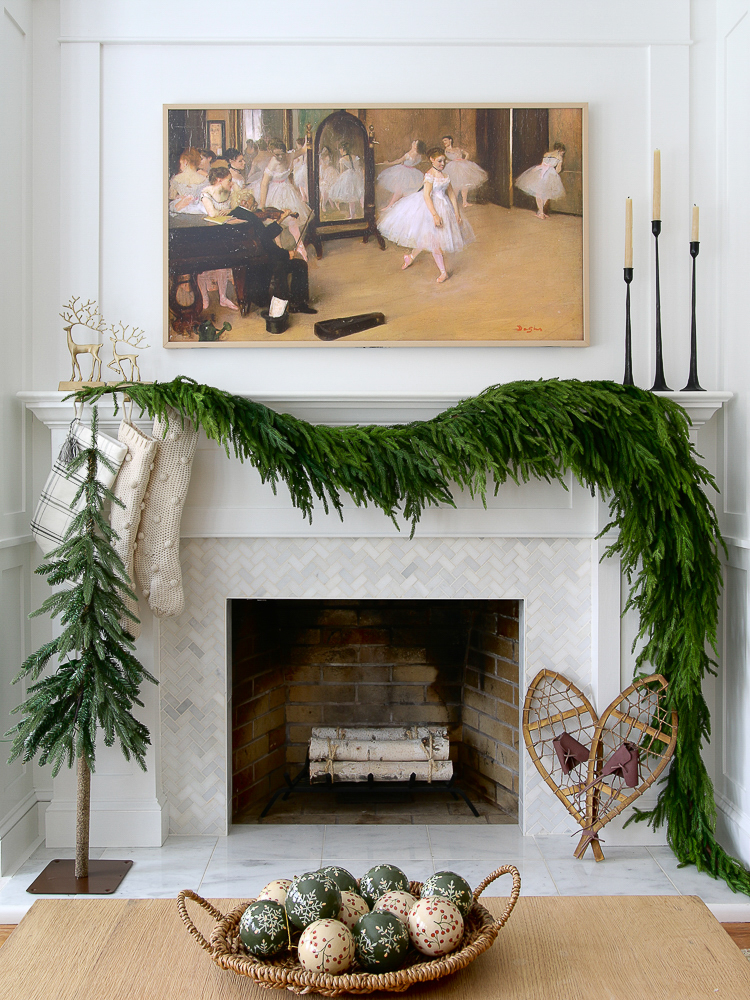
Unlike a cheap plastic version, the needles have a rubbery feel and the branches are bendable which makes it easy to work with. Subtle color variations give it a realistic look and the collection also includes a wreath and small tree.
For tips on hanging garland on a mantel, check out my step-by-step guide Christmas mantel guide!
Should the garland sit on top of the banister or the side?
If you are hanging garland on a staircase that is frequently used, you’ll want to drape and attach it along the side of the railing. This way the garland won’t be a safety hazard for those going up and down the stairs.
Placement is also important to how the garland will look on the staircase. It should be draped on the side of the banister that faces open space so it will be visible from different angles.
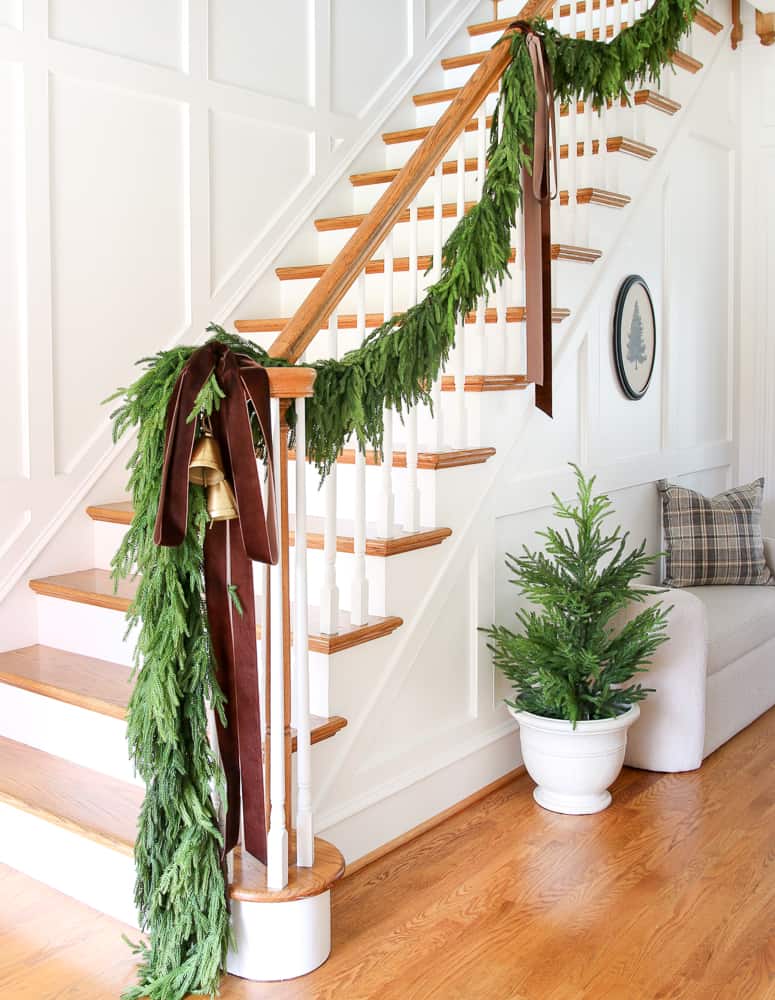
Simple steps to hang garland on a staircase
Hanging garland on a staircase is a simple, one-person job. Before you hang garland on a staircase, you need to know the length of the banister to see how many strands you will need. You’ll be draping the garland a bit so be generous and add extra to the total length.
Attach one end of the garland to the banister
Use gravity to your benefit and start at the top of the staircase. If you start on the bottom it will be harder to hold the garland up as you work. Branches should point downward – this allows the branches and stems to hang naturally.

Once you have the end of the garland where you want it, use a zip tie to attach it to the banister. Pull it tight and use the scissors to cut off the excess plastic.
Attach the middle of the garland
Drape the garland to your liking and attach a second point with a zip tie. For me, that means roughly halfway down the staircase. Try to keep the strand of garland from twisting as you go to keep the stem hidden.
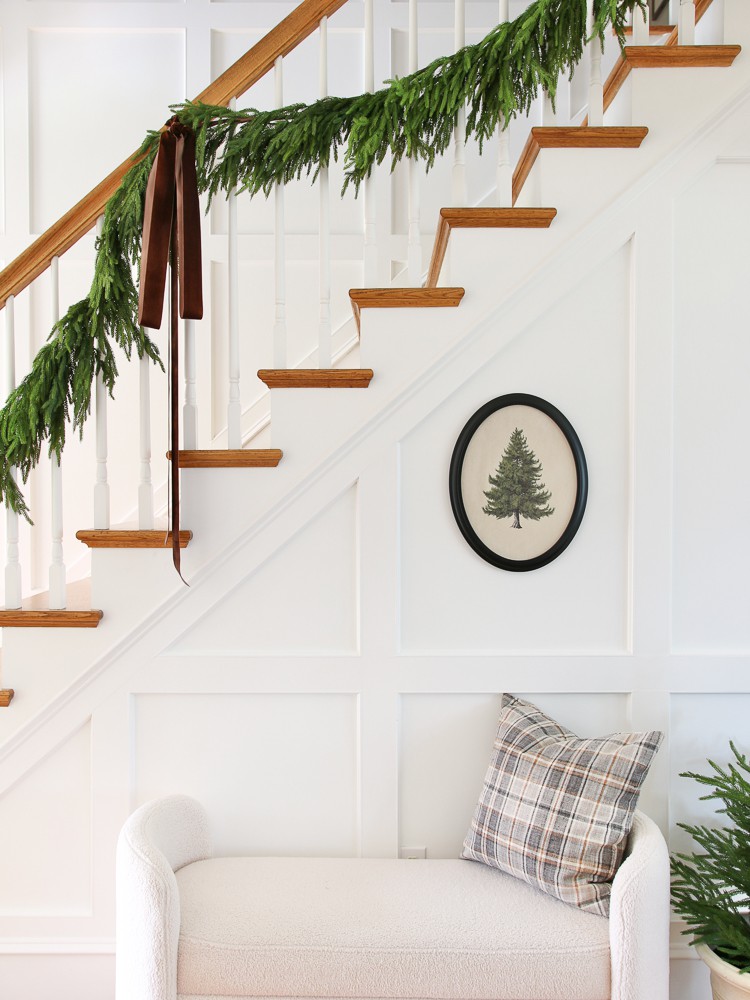
Do you like the boucle bench in my hallway? You can find it here!
Attach the end of the garland
To find the endpoint for your garland, create a second swag that hangs the same amount and is the same length as the first. Once again, use a zip tie to attach the garland to the banister.
If using an extra long strand of garland and it doesn’t reach as far as you’d like, add a shorter strand at the end. This way you have control over where your garland ends. I like the end of the garland to hang over the end of the banister and hit the floor.
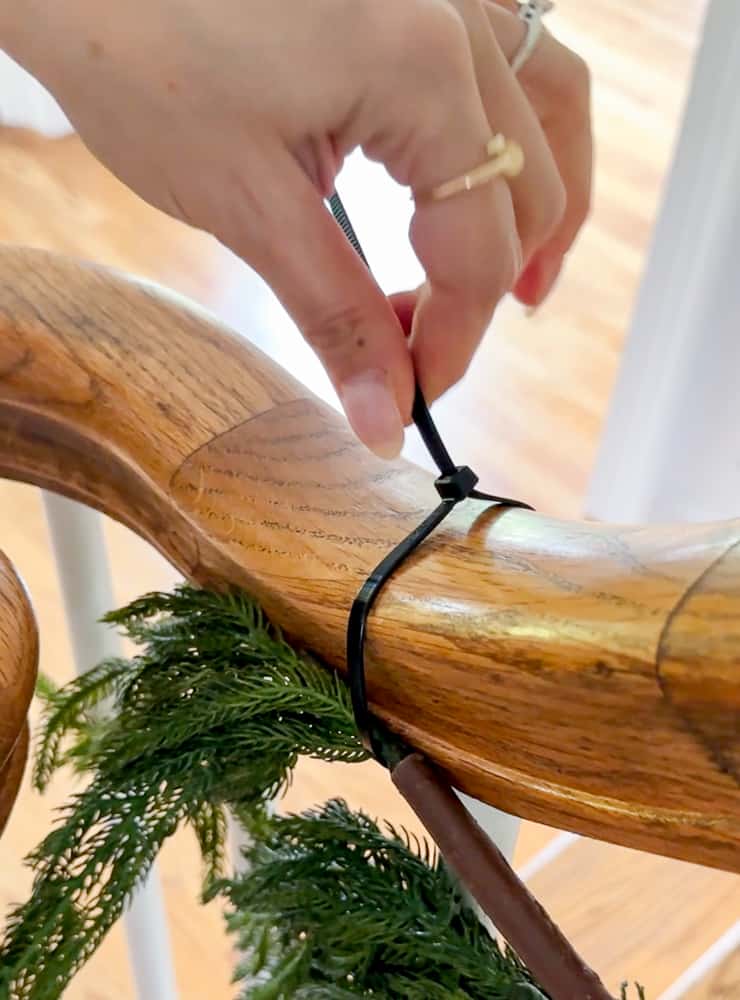
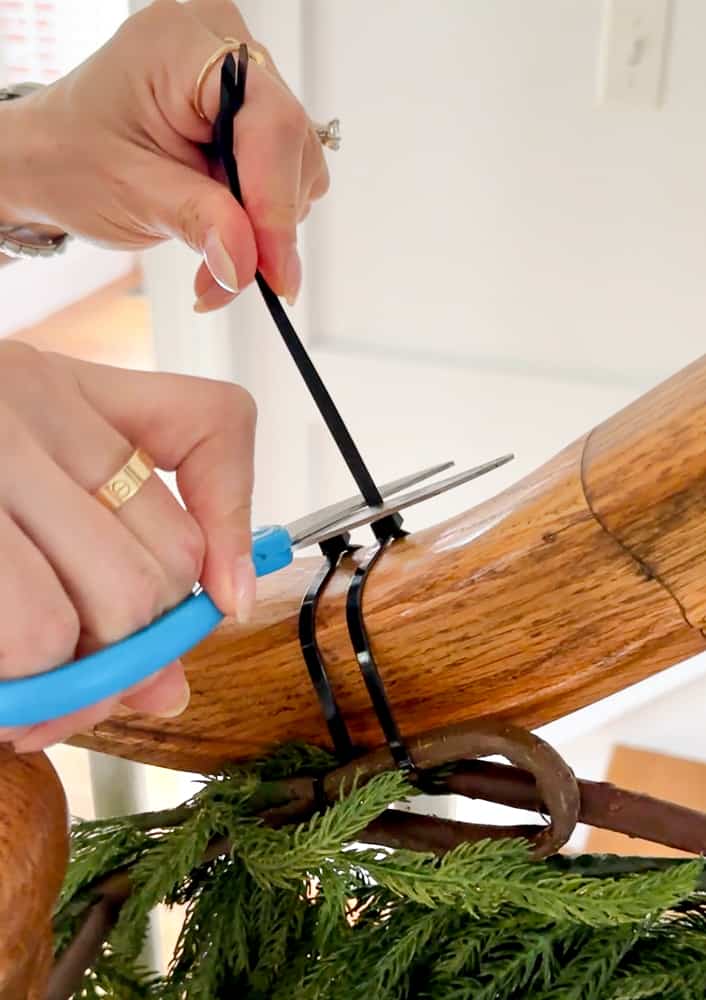
In the image above, you can see how I used a second zip tie to add the extra strand of garland.
Fill in the bare spots
Use stems to fill in any bare spots or to hide the stem of the garland. You can add as much or as little as you want – the fullness of your staircase garland is a personal preference.
Slide the stem’s branch under the greenery of the garland until you have it in place. Use green twist ties to keep them in place.

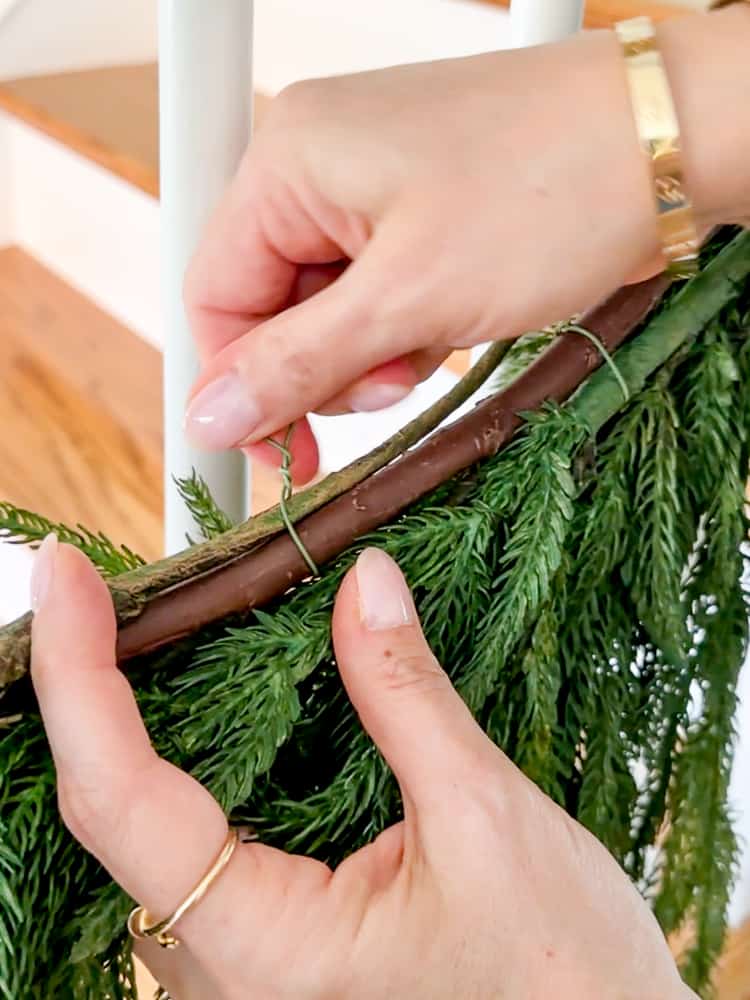

To keep your garland and stems in great shape to be used year after year, check out my Christmas Storage Solutions post to see how to keep it all protected and organized!

HELPFUL TIP: As you add strands of garland and stems, be sure the branches fall in the same natural direction. This will ensure the look of a continuous strand of garland.
Staircase garland decor
Ribbon
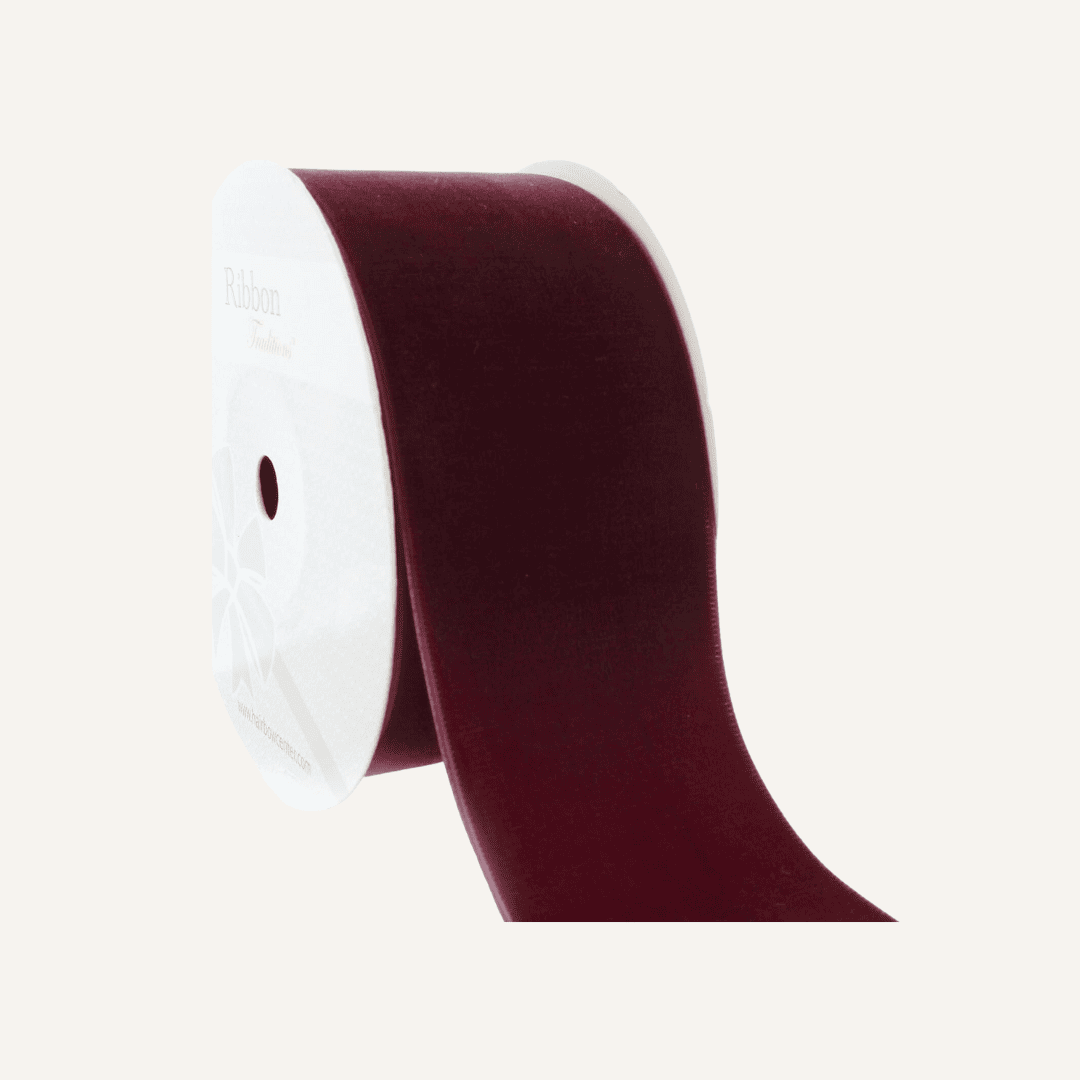
There are a few ways to add some finishing touches to your staircase garland. One of my favorite things to add to my garland is velvet ribbon.
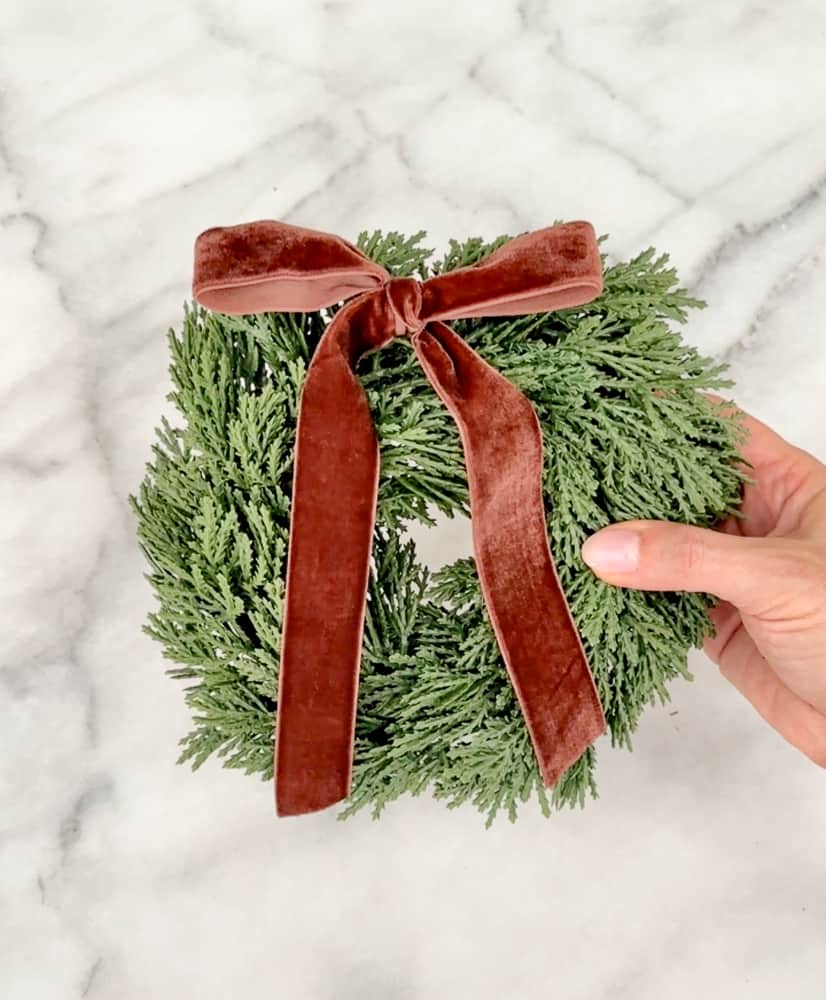
It has a dual purpose – I can add color to the space and hide the zip ties used to secure the garland to the banister. All you have to do is wrap it around the banister over the plastic and tie it in a bow.

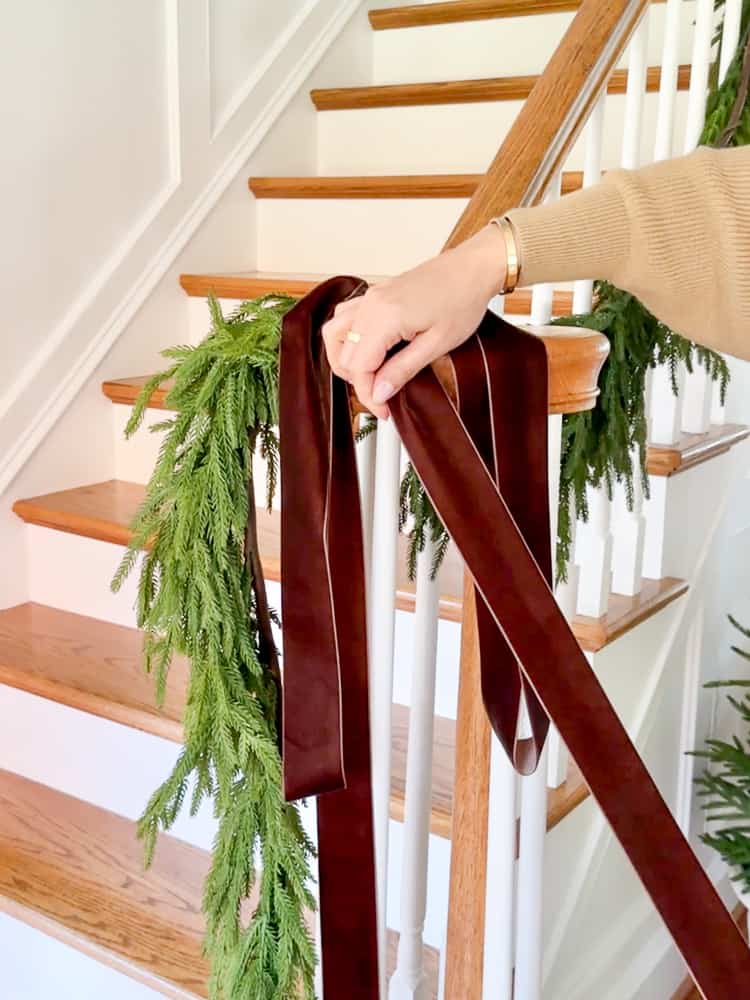
You can use traditional red ribbon for a classic look or try something different, depending in the colors you already have in your home.
Earthy tones – like brown, gold, and blue – have been popular recently and give your Christmas decor a cozy and luxurious look. This year I went with a deep, rich brown!
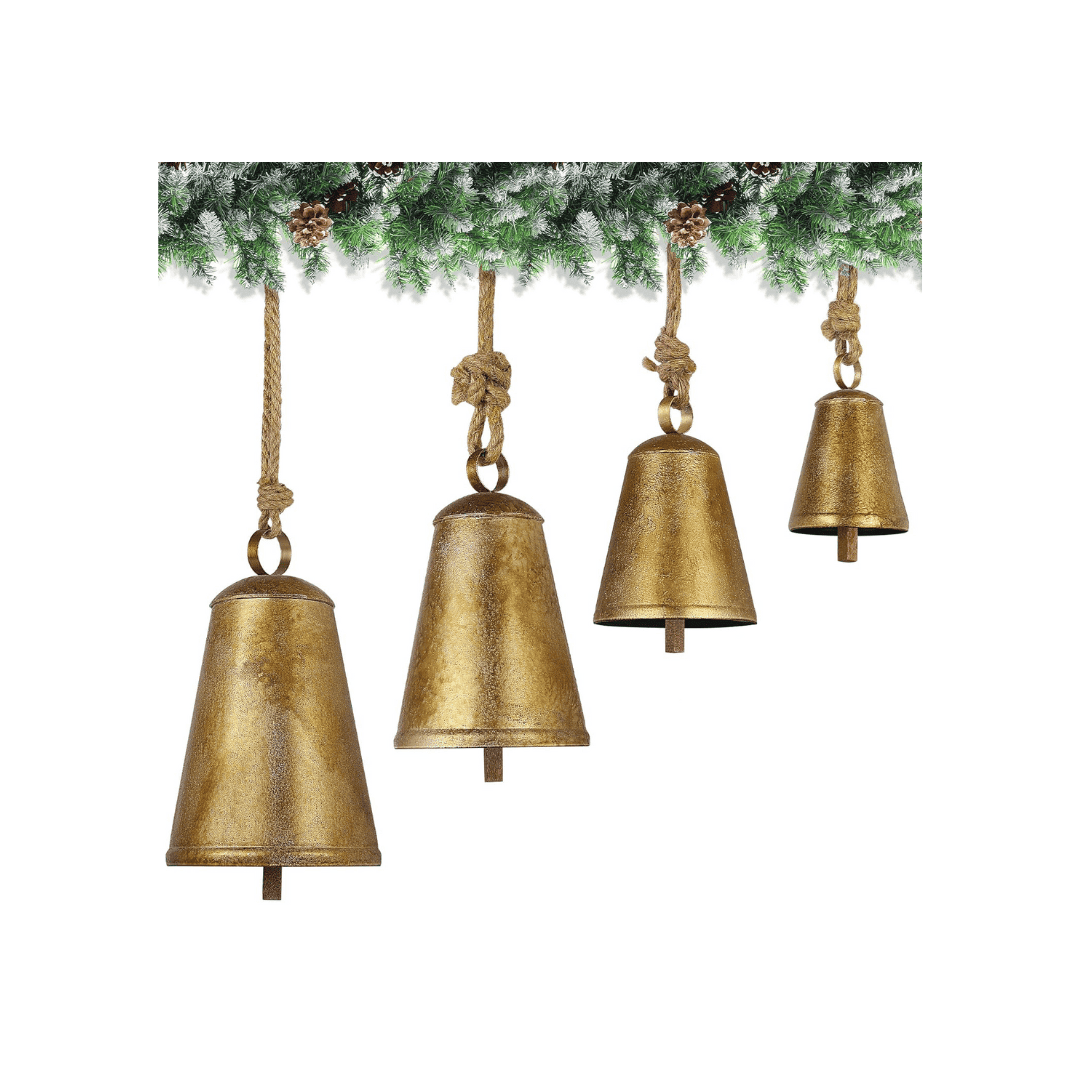
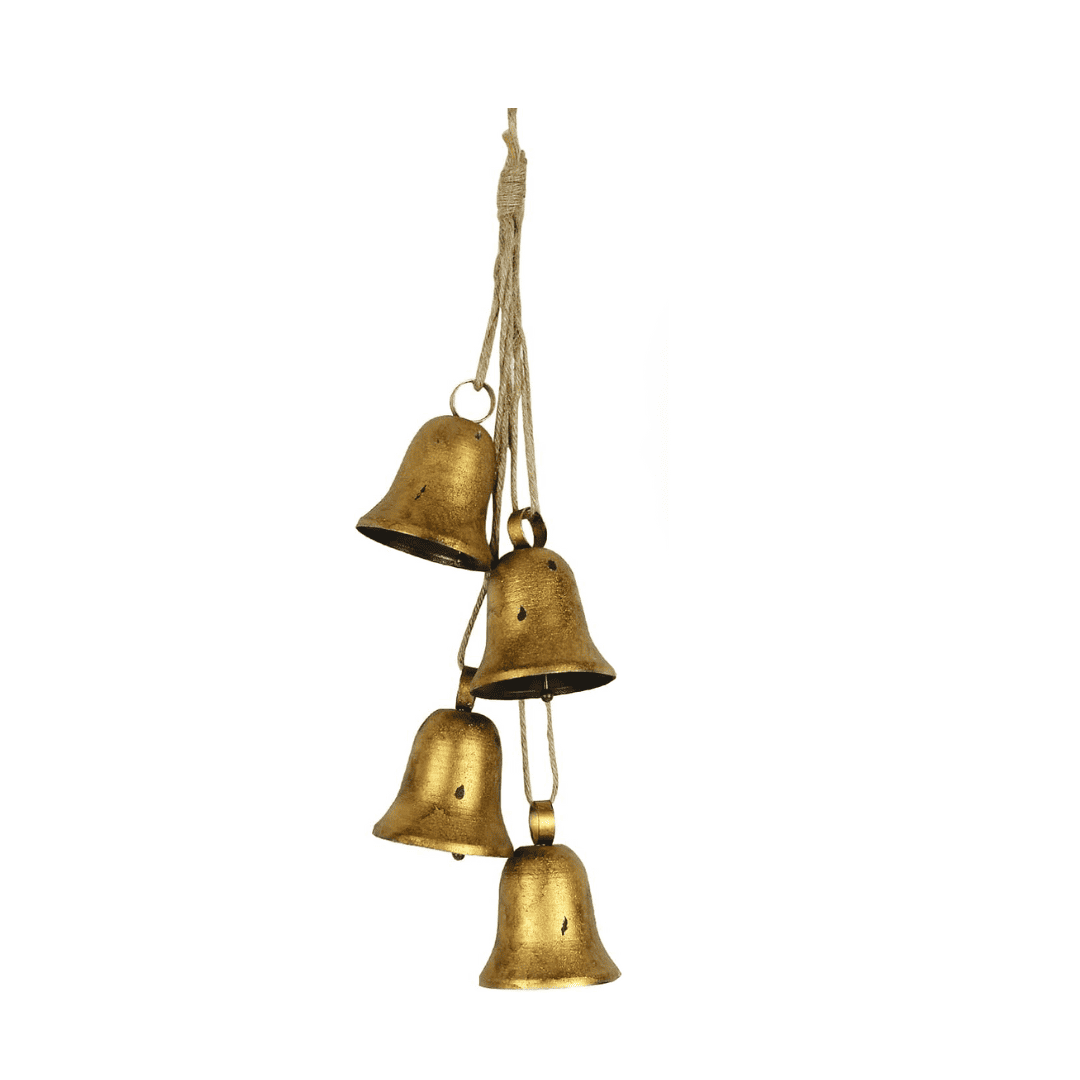
Vintage bells
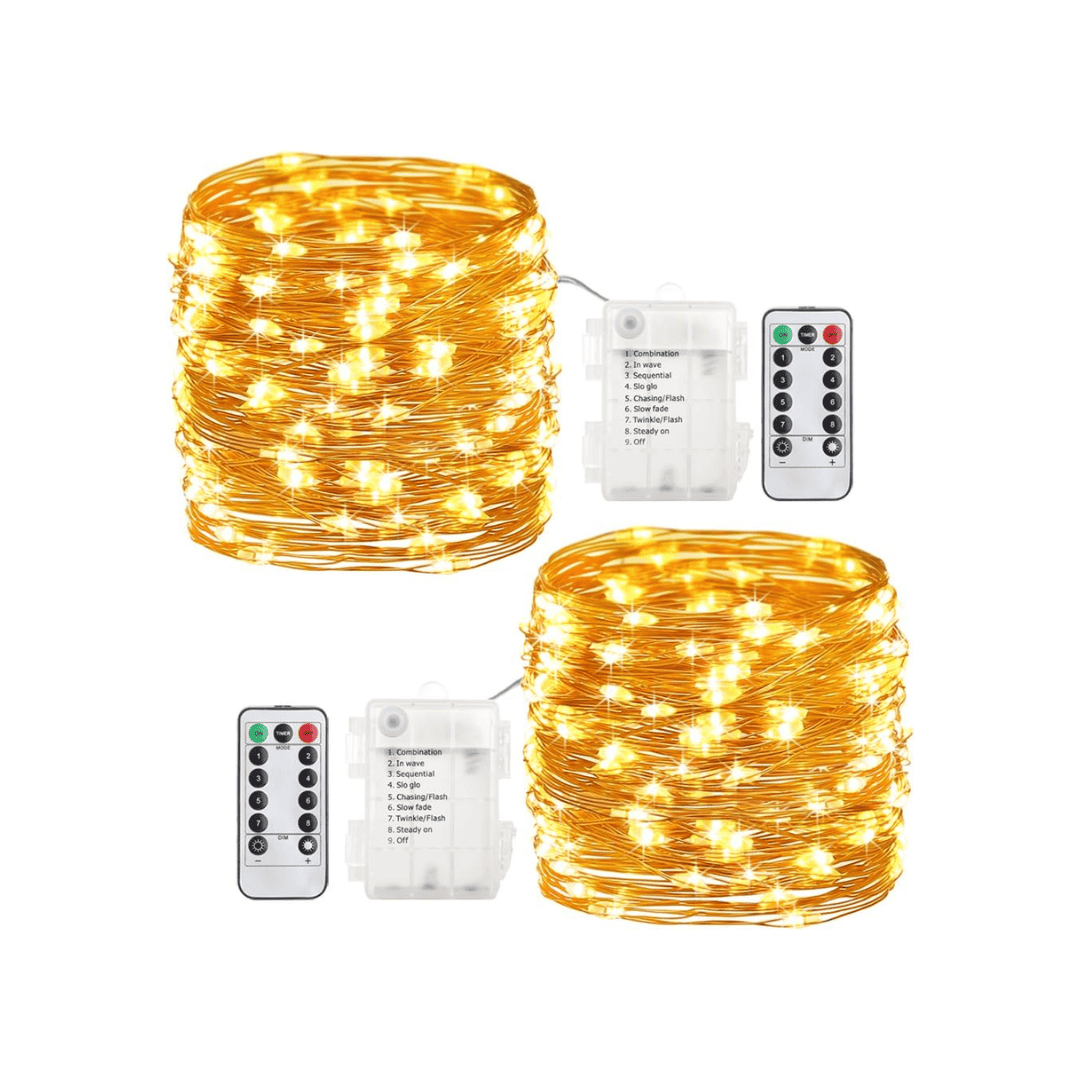
Decorative accents and lights
If you prefer a minimalist Christmas look, you can skip this step. Read this post for all my minimalist Christmas decorating tips.
WINTER DECORATING AFTER CHRISTMAS:
Check out this post that’s full of simple ways to create a warm and cozy winter home after the Christmas decorations come down.
